
Crochet Gosling Pocket Amigurumi Free Pattern - No Sew Baby Goose
On a springtime mantel, a crochet gosling amigurumi stands tall on long orange legs beside painted eggs and potted tulips. Dangly webbed feet swing freely whenever children carry the baby goose crochet toy, which makes a lively Easter basket filler.
Once someone sees the Crochet Pocket Gosling Amigurumi held up in pairs like this, the requests start. Nobody stops at one. Siblings want a matching set, and friends come back asking for their favourite colour. Each Crochet Pocket Gosling Amigurumi you hand over arrives with an order for its twin.
Crochet Pocket Gosling Amigurumi
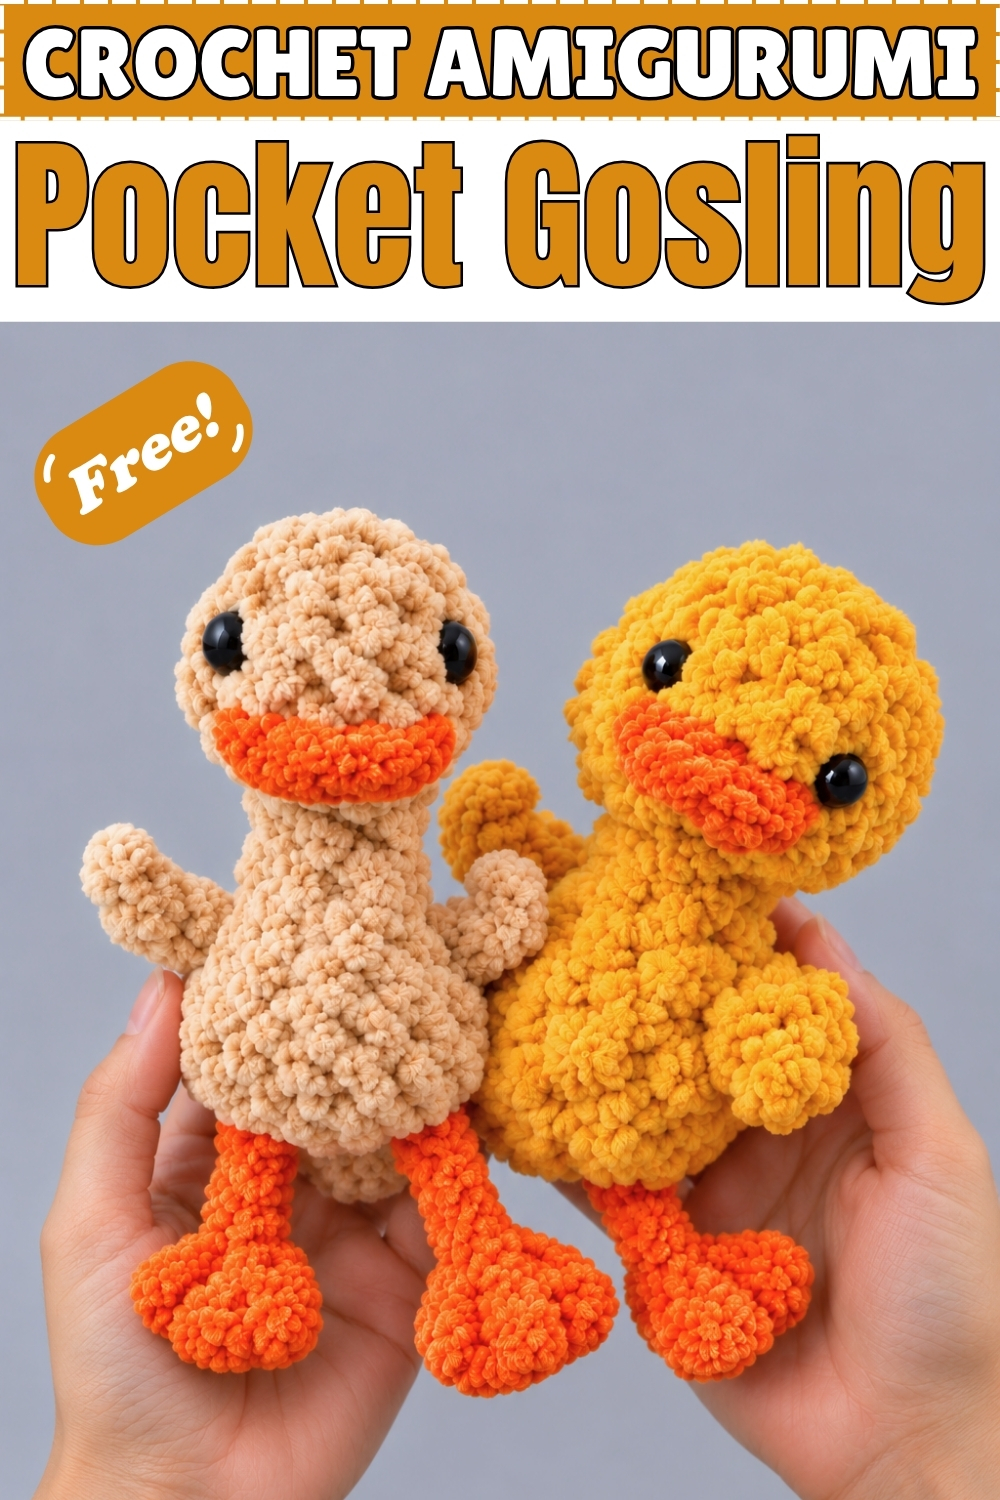
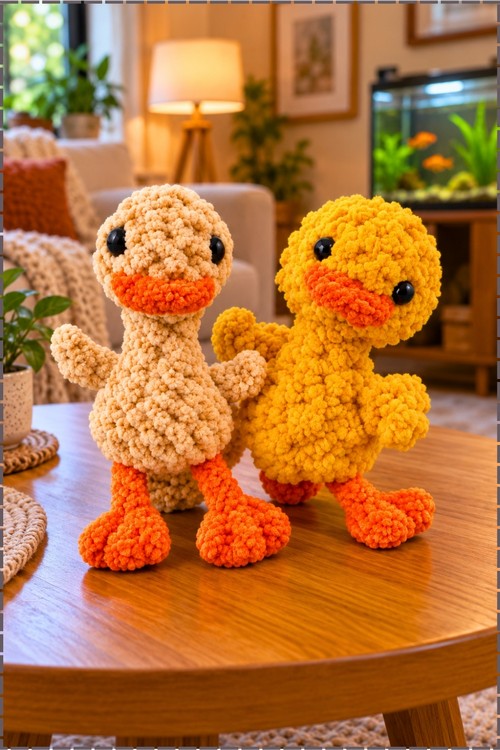
Seven chains at the back become both the tail feather and the first body round, so nothing on this gosling needs sewing. I made a pair, one in sandy beige and one in golden yellow, and gave both bright orange beaks and feet. Stubby wings grow straight out of the body round, so you never stitch them on later. Each crochet pocket gosling amigurumi fits snugly in a palm and squishes like a stress ball thanks to the bobbly blanket yarn. Glossy safety eyes sit wide on either side of the beak. My second one took barely an hour, in my experience.
Materials and Time
- Blanket style chenille yarn (such as Bernat Blanket) in a main colour for the head and body; I used sandy beige for one gosling and golden yellow for the other
- The same yarn in bright orange for the beak and feet
- 6.5 mm crochet hook (or whatever size suits your yarn)
- Black safety eyes with washers, or yarn for embroidered eyes
- Toy stuffing
- Tapestry needle, stitch marker, and scissors
The pattern works with any yarn weight if you match the hook to it. In blanket yarn, my first gosling took about an hour while I learned the tail and wing steps, and the second was quicker. Each one came out about the length of my palm from the top of the head to the tips of the toes.
Abbreviations are in US terms: sc (single crochet), hdc (half double crochet), inc (increase, 2 sc in one stitch), dec (decrease, 2 sc worked together), sl st (slip stitch), ch (chain), and st or sts (stitch or stitches).
Pocket Gosling Pattern
Head (Main Colour, Worked Top to Bottom)
- Round 1: Work 6 sc into a magic ring, or ch 2 and work 6 sc into the 2nd chain from the hook, then pull the ring tight and place your marker.
- Round 2: Inc in each stitch around (12 sts).
- Rounds 3 to 4: Sc 1 in each stitch around for 2 rounds (12 sts), and the top of the head now looks like a small round cup.
- Round 5: Dec around (6 sts).
- Place the safety eyes by counting down from the top to between Rounds 3 and 4, setting them roughly 3 stitches apart across the front, with the beak space left between Rounds 4 and 5; on both of mine they sit wide on either side of the face, and I used safety eyes rather than embroidering.
- Lock the washers on the inside, or skip this step if you'd rather embroider the eyes at the end.
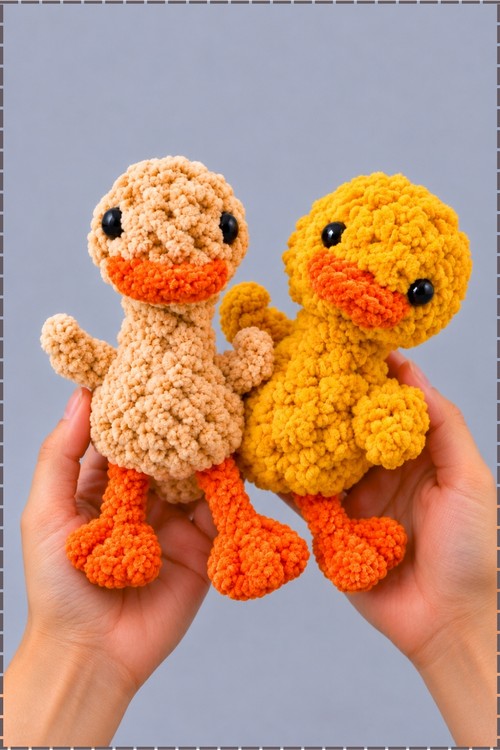
- Stuff the head firmly, pushing small pieces of stuffing out toward the edges so it doesn't clump in the middle.
Neck (Main Colour)
- Rounds 6 to 7: Sc 1 in each stitch around for 2 rounds (12 sts), and on my beige gosling this gives a tall, slender neck, while firmer stuffing makes the yellow one look rounder and stockier.
Body and Tail (Main Colour)
- Line your stitch marker up at the back of the gosling so the tail sits in the right place.
- Ch 7, then sl st into the 3rd chain from the hook to form the tail feather, and leave that little loop alone for the rest of the pattern.
- Sc in the next 4 chains, and place your stitch marker in the first stitch of this round.
- Sl st into the last sc you worked on the neck to close the gap, and don't count this slip stitch as a stitch.
- Sc 6 around the neck.
- Working along the other side of the chain, sc in the next 3 chains, then work 2 sc in the final chain to round off the bottom of the body.
Wings and Body Rounds (Main Colour)
- Round 11: Sc 4 stitches along the body.
- Round 11, first wing: Ch 4, then starting in the 2nd chain from the hook, work 1 sc, 1 hdc in the next chain, and 1 sc in the last chain, then sl st back into the body at the base of the last sc.
- Round 11 continued: Sc 6 around the neck and body.
- Round 11, second wing: Ch 4, then in the 2nd chain from the hook work 1 sc, 1 hdc in the next chain, and 1 sc in the last chain, then sl st back into the body where your last sc was made.
- Round 11 continued: Sc 5 to finish the round, and on mine the wings now stick out to the sides like two little arms.
- Rounds 12 to 14: Sc 1 in each stitch around for 3 rounds, skipping over the wing slip stitch anchors as you go.
- Stuff the neck and body fully through the bottom opening.
Closing the Body (Main Colour)
- Round 15: Work 7 dec, then sc 1 in the last stitch.
- Fasten off, leaving a long tail, then use the tapestry needle to sew the bottom closed and weave in the ends.
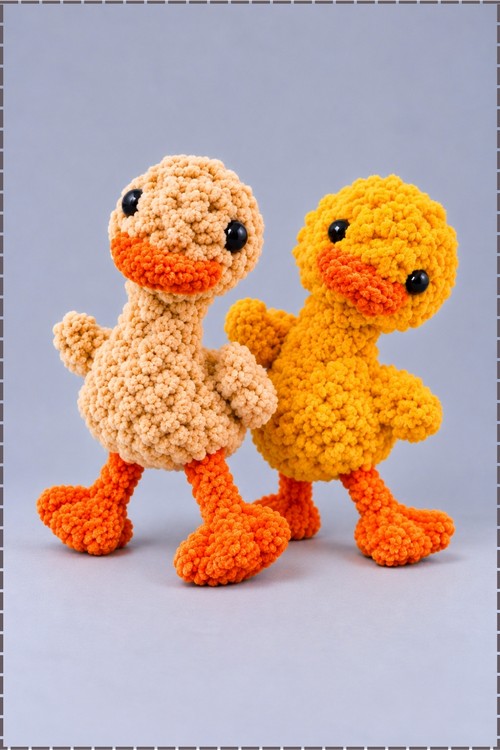
- Use any leftover tail to tack the wings to the body if you want them to lie flatter; I left mine sticking out.
Feet (Make 2, Orange)
- Attach orange yarn with a sl st to the bottom of the body, keeping it centred under the gosling; on mine the two legs sit side by side with a small gap between them, so position the second leg next to the first.
- Ch 7.
- In the 3rd chain from the hook, work 1 hdc, ch 2, and sl st back into that same chain, and the end of the chain spreads into a small webbed foot.
- Fasten off and knot or weave the tails securely into the foot and body.
- Repeat for the second foot.
Beak (Orange)
- Attach orange yarn between Rounds 4 and 5, across the 3 centre stitches on the front of the face.
- If you're right handed, start on the rightmost of the three stitches; left handed makers can mirror this and start on the leftmost.
- Work 1 standing sc in the first stitch.
- Work 1 hdc in the middle stitch.
- Work 1 sc in the final stitch, and in blanket yarn the beak spreads wide across the lower face like a little smile, as on mine.
- Fasten off and weave the tails into the head.
Embroidered Eyes (Optional)
- Using embroidery thread or worsted weight yarn, bring your needle out between Rounds 3 and 4, right beside the outer edges of the beak.
- Make one or several passes in and out of the same spot until the eye is the size and shape you want.
- Bring the tails back to the bottom entry point, knot them together, and hide them inside the head.
Making a Pair
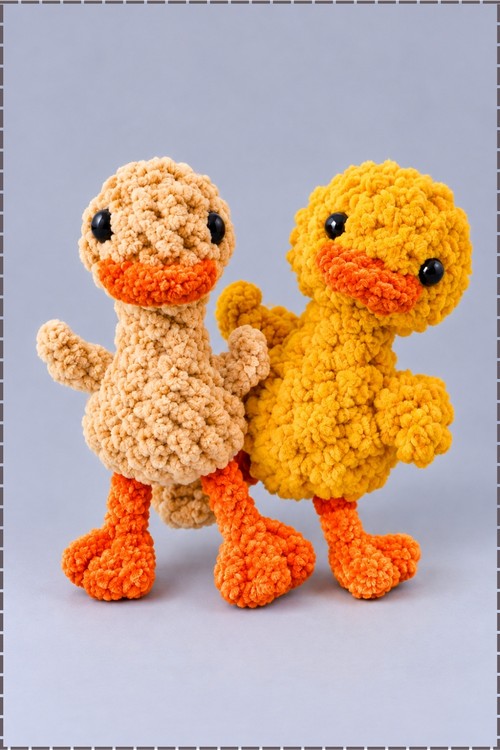
My first gosling was sandy beige, and the moment it sat on my desk, it looked lonely. So the second one came in golden yellow, and side by side they look like two siblings waddling out of the same nest. Swapping only the main colour keeps the pair matched, because the orange beak and feet tie them together. You could also try soft grey for a fuzzy Canada goose chick, white for a farmyard goose, or pastel blue and pink for a baby shower set.
Tips from the Nest
When I made my first gosling, I lost the tail loop in the fuzz and nearly crocheted into it. Push it out of the way with a finger before each round of the body, and it stays a neat little tuft.
Blanket yarn hides stitches completely, so count by touch. Feel for the gap in the centre of each stitch, and keep your marker moving every round, especially around the wings.
Stuff the head before the neck rounds. Once the neck narrows, it's hard to get stuffing back up into the head, and a soft head flops forward.
Tug the leg chains gently before fastening off. Blanket yarn chains can look uneven, and a quick stretch evens them out so both legs hang at the same length.
Why I Love This One
I love that a gosling goes from ball of yarn to finished baby goose in one sitting, with no pieces to sew and no counting rows of tiny parts.
Frequently Asked Questions
Can I use regular worsted yarn instead of blanket yarn? Yes. Match the hook to your yarn and the counts stay the same, so the gosling simply comes out smaller and the stitches show more clearly.
My wings flop down. How do I make them stand out? Make sure each wing is anchored with the slip stitch right at the base of the last sc. Stuffing the body firmly behind the wings also pushes them outward.
Should I use safety eyes or embroider them? Both work. Safety eyes give the glossy look of mine. Embroidered eyes are safer for babies and toddlers, and quicker if you don't have eyes to hand.
Why do my legs look different lengths? Chains in blanket yarn stretch unevenly. Count the chains carefully, give each leg a gentle tug before fastening off, and check both legs side by side before weaving in the ends.