
Crochet Amigurumi Pokeball Free Pattern - Mustard Yellow & Cream Plush Ball
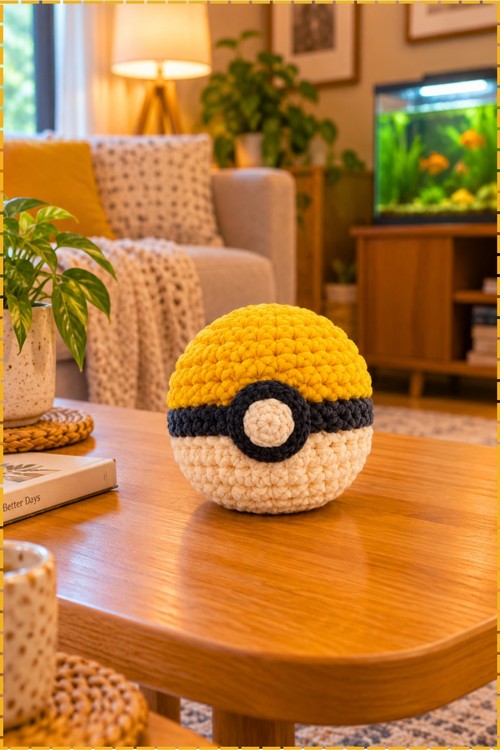
Give young Pokémon trainers a soft crochet amigurumi Pokeball they can roll across the living room floor without breaking anything. Video game controllers and collectible figures look at home beside the mustard plush ball amigurumi on a gaming shelf.
Round after round, your hook turns yarn into the Crochet Pokéball Amigurumi resting in this palm. Every colour change feels like reaching a checkpoint. Stuffing firms the sphere under your fingers. Then you sew on the button, and suddenly you want to throw your Crochet Pokéball Amigurumi at a friend.
Crochet Pokéball Amigurumi
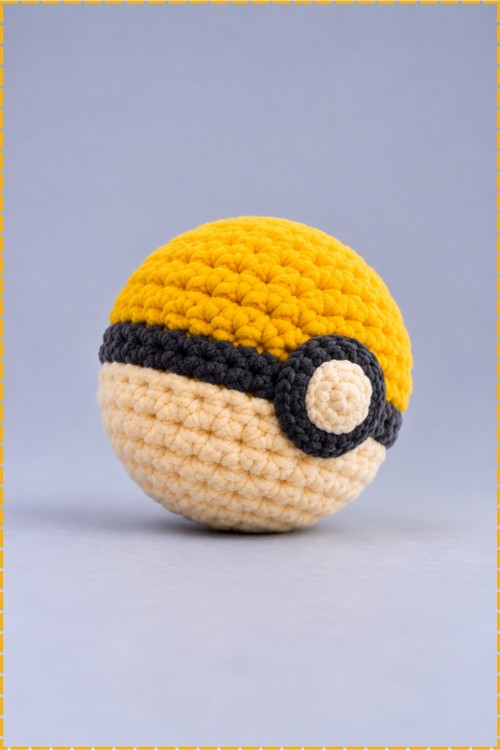
Each colour change happens on a joined round, so the stripes stay straight instead of stepping like a spiral. I swapped the classic red and white for mustard yellow and soft cream, with a charcoal band running around the middle. Back loop slip stitches give that band a crisp, raised edge on both sides. My crochet Pokéball amigurumi stands on its own as a squishy ball rather than hanging from a hat tie. Layered charcoal and cream circles form the button, which overlaps the band just like the real thing. Expect a single evening of hooking, in my experience.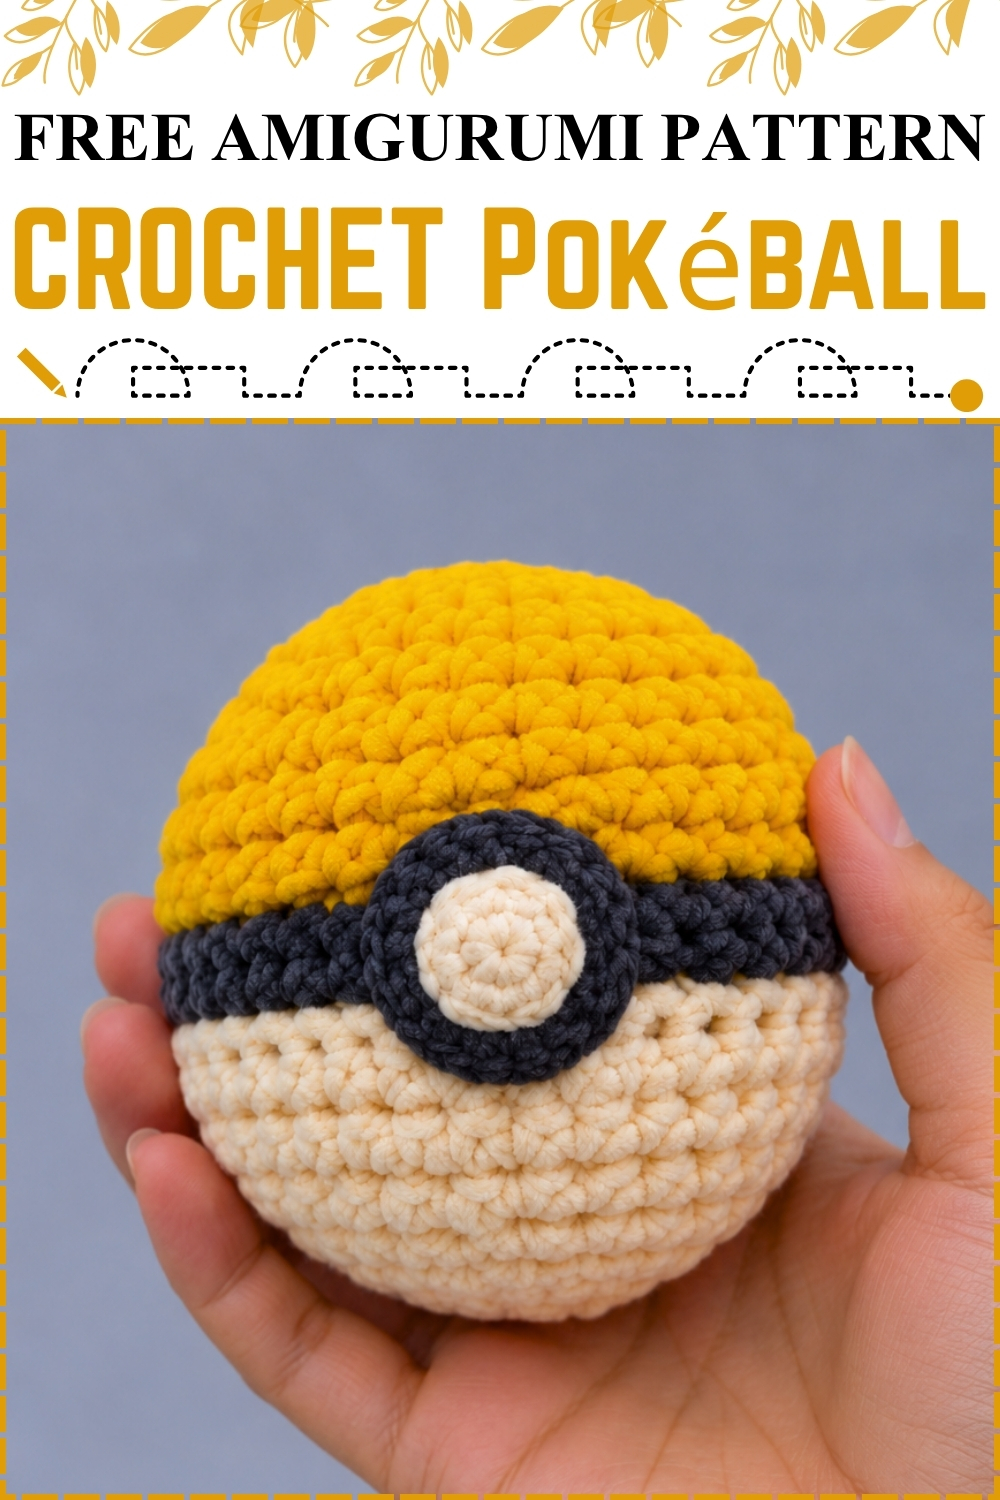
Difficulty and Time
I'd call this an easy project and a lovely one for a confident beginner. The ball is a simple sphere of single crochet. The only new skills are the joined colour change rounds and working in back loops, and both are explained below. In my experience the ball takes around an hour and a half, and the button adds another twenty minutes or so. Worked in worsted weight on a 5.0 mm hook, mine sits comfortably in the palm of one hand, roughly the size of a small orange.
Materials and Tools
- Worsted weight yarn in mustard yellow for the top half
- Worsted weight yarn in charcoal grey for the centre band
- Worsted weight yarn in cream for the bottom half
- DK (weight 3) yarn in charcoal grey and cream for the button (worsted weight works too, but DK gives a neater, rounder button)
- 5.0 mm crochet hook (adjust to your tension)
- 2.75 mm crochet hook for the DK button pieces
- Stitch markers
- Tapestry needle
- Scissors
- Fiberfill stuffing, or soft leftover yarn scraps
- Pliers (optional, for pulling the needle through thick spots)
- A crochet hat tie or foundation strap (optional, if you'd like it as a hat accent instead of a standalone ball)
Beginner Technique Notes
I use US crochet terms throughout. You'll see these short forms: SC means single crochet, increase means 2 SC worked into the same stitch, decrease means 2 stitches worked together into 1, HDC means half double crochet, BLO means back loops only, and sl st means slip stitch.
Continuous rounds versus joined rounds: Most amigurumi spiral without joining. Here, the rounds around the colour changes are joined with a slip stitch, so each stripe ends in a neat, level line. Once you're past the band, you go back to spiralling.
Back loops only: Each stitch has two loops along the top. The back loop is the one farthest from you. Working only into it leaves the front loop free as a little ridge, which is what gives the band its raised outline.
Slip stitch rounds: A slip stitch adds almost no height. Working a round of them in the new colour creates a tidy colour line before the taller SC round.
Invisible decrease (optional): For a smoother bottom half, insert your hook into the front loops only of the next two stitches, yarn over, pull through both, then yarn over and pull through the remaining two loops.
Crochet Pokéball Amigurumi Pattern
Starting Ring (Mustard Yellow)
- Leave a starting tail of about 6 to 7 inches, because on the hat tie version you need it for securing the ball, and on mine it simply gets pulled tight and woven in.
- Form your ring with a magic ring, or chain 2 and work into the first chain, and chain 1 if you use a magic ring.
- Round 1: Work 6 SC into the ring (6 stitches).
- On my standalone ball, pull the starting tail firmly to close the ring completely before moving on, so there's no hole at the top of the yellow dome.
Hat Tie Attachment (Optional)
- Pull your working loop a little larger so it doesn't unravel, and open the centre ring wide.
- Pass the end of your crochet hat tie straight through the centre ring.
- Pull the starting tail very tight so the ring closes snugly around the tie.
- With a tapestry needle, stitch the tail through the hat tie and back through the ring 4 to 5 times so the ball can't slip off.
- Bring the tail to the top, knot it a couple of times, and trim the excess; I skipped this whole section because mine is a standalone ball, so if you're making it as a toy, go straight on to Round 2.
Yellow Top Increases
- Pick your 5.0 mm hook back up and continue in mustard yellow.
- Round 2: Increase in every stitch around (12 stitches).
- Round 3: [Increase in the next stitch, 1 SC in the next stitch] 6 times (18 stitches), and placing a marker at the first increase helps you keep track of the repeats.
- Round 4: [Increase in the next stitch, 1 SC in each of the next 2 stitches] 6 times (24 stitches).
- Round 5: [Increase in the next stitch, 1 SC in each of the next 3 stitches] 6 times (30 stitches), which is your last increase round, and the piece should be a flat disc starting to curve into a shallow cap.
Solid Yellow Rounds
- Round 6: 1 SC in each stitch around, working in a continuous round.
- Round 7: 1 SC in each stitch around, then join with a sl st and chain 1, because joining here creates a straight guide line for the colour change.
- Round 8: 1 SC in each stitch around, then join with a sl st, and the yellow top should now look like a deep, rounded dome like mine.
Charcoal Band
- On the join of Round 8, cut the yellow and switch to charcoal grey, then tie the yellow and charcoal tails together on the inside so the change can't loosen.
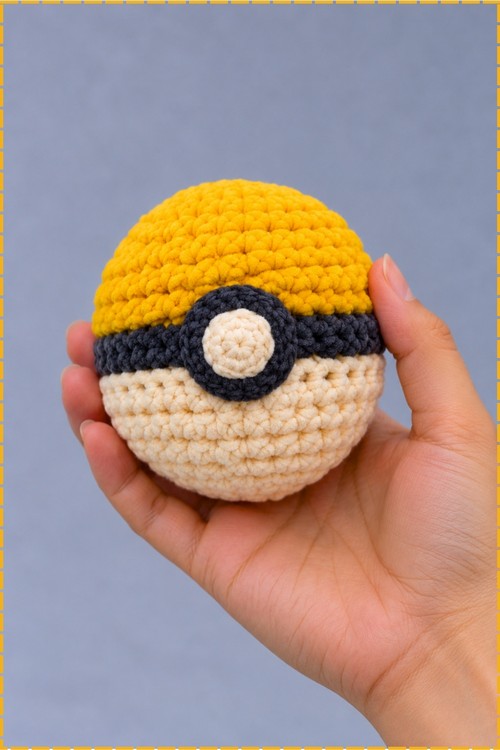
- Round 9: Sl st in the back loops only all the way around, then join into the first sl st rather than the starting chain 1, and you should see a clean charcoal line with a little yellow ridge just above it.
- Round 10: SC in the back loop only of each stitch all the way around, then join and switch to cream, and the charcoal band is now complete, with ridges framing it neatly on both sides as on mine.
Cream Base
- Cut the charcoal yarn and tie its tail securely to the new cream tail on the inside.
- Round 11: Sl st in the back loops only all the way around, then join and chain 1.
- Round 12: SC in the back loop only of each stitch all the way around, then join and chain 1, which is the last joined round.
- Round 13: 1 SC in each stitch around in a continuous round without joining.
Decreases and Closing
- Round 14: [Decrease over the next 2 stitches, 1 SC in each of the next 3 stitches] 6 times (24 stitches).
- Round 15: [Decrease over the next 2 stitches, 1 SC in each of the next 2 stitches] 6 times (18 stitches).
- Round 16: [Decrease over the next 2 stitches, 1 SC in the next stitch] 6 times (12 stitches), and the opening is now small enough to stuff comfortably.
- Stuff the ball firmly with fiberfill or soft yarn scraps, shaping it with your hands so the cream half is as round as the yellow top.
- Round 17: Decrease all the way around until the opening closes, then join, fasten off, and weave in the ends.
Button Ring (Charcoal Grey, DK Yarn and 2.75 mm Hook)
- Round 1: Work 8 HDC into a magic ring (or chain 2 and work into the first chain), then join and chain 1.
- Round 2: Work 2 HDC in each stitch around (16 stitches), then join and fasten off with a long tail for sewing, and you should have a flat charcoal disc with a small hole at its centre.
Button Centre (Cream, DK Yarn and 2.75 mm Hook)
- Start with cream yarn and work 8 HDC into a magic ring or chain loop.
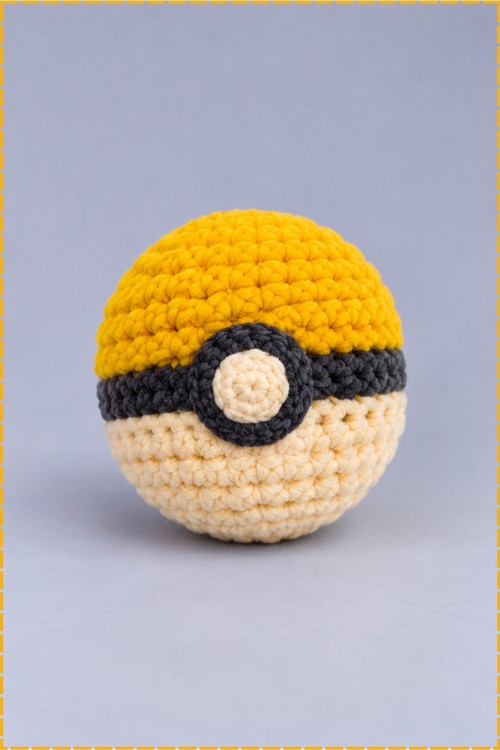
- Join and fasten off, leaving a long tail for sewing and assembling; on mine the cream centre is about half the width of the charcoal ring, which gives that classic bullseye look.
Button Assembly
- Pull the starting cream tail through the centre hole of the charcoal ring, then tie the cream and charcoal tails together at the back so the circles stay centred.
- Whipstitch around the edge of the cream circle with the long tail, catching the charcoal ring underneath all the way around.
- Bring the final tail to the back, knot it with the other tails, and tuck the ends neatly underneath.
Final Attachment
- Centre the button on the front of the charcoal band and pin it in place; on mine the ring is taller than the band, so it overlaps onto the yellow above and the cream below.
- Sew the button assembly onto the ball all the way around its outer edge, and use pliers to pull the needle through if the fabric feels too thick to get through by hand.
- Hide the last tail by passing it through the ball and trimming it flush.
Tips for a Neat Pokéball
- Tie every colour change on the inside. Knotting the old and new tails together keeps the stripes from loosening and stops gaps from opening at the joins.
- Join in the same spot every time. Lining up the slip stitch joins in one vertical column keeps the seam tidy, and you can turn that side to the back.
- Don't skip the starting chain 1 on joined rounds. Missing it makes the next round start a stitch early, and the band starts to slant.
- Stuff the cream half as firmly as the top. A softer bottom squashes flat and makes the ball look lopsided.
- Use DK yarn for the button if you have it. The thinner yarn keeps the circles crisp and stops the button from sitting too bulky on the band.
- Pin the button before sewing. A button that's even slightly off centre is the first thing people notice.
Customization Ideas
Go classic with red, black, and white, or try a deep purple top for a master ball look, or a navy top with red side patches for a great ball. Small versions in lighter yarn make sweet keychains or bag charms, and you can add the hat tie section to turn one into a beanie accent. For a sensory toy, tuck a small bell or rattle insert into the stuffing before closing.
Yarn Substitution
Any smooth worsted acrylic or milk cotton works, as long as all three colours are the same weight so the stripes sit level. Chunky yarn on a larger hook makes a big, squishy plush ball, while DK on a smaller hook makes a mini version. If you change the body yarn, scale the button yarn down a weight as well, so it stays proportionate.
Frequently Asked Questions
Why do my colour stripes look jagged? Spiralling rounds step up at each colour change. The joined rounds before and after the band fix this, so make sure you sl st and chain 1 exactly where the pattern says.
Do I need DK yarn for the button? No. Worsted weight works fine with your main hook. DK simply gives a neater, flatter button that sits nicely on the band.
Can I attach it to a hat? Yes. Follow the optional hat tie section right after Round 1, then continue with the pattern as written.
My ball came out slightly egg shaped. What happened? Usually the stuffing is uneven. Before closing, roll the ball between your palms and add small pieces wherever it looks flat.
Is it safe for babies? There are no safety eyes or small hard parts, so it's a good soft toy. Sew the button on very securely and check the seams regularly.