
Crochet Straw Bucket Hat Outfit Pattern - Mini Sun Hat
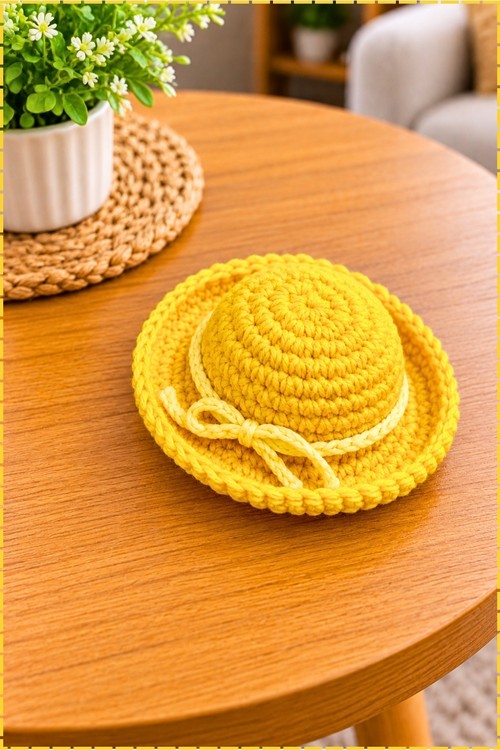
One palm holds the whole crochet straw hat outfit, from the flared sunny brim to the domed crown that keeps its shape on a tabletop. When summer photo shoots need a prop, the mini sun hat brightens a plush toy or small doll and then rests flat on a dollhouse shelf.
Dolls head into summer wearing this crochet straw hat outfit, shaded from the midday sun. Pack the crochet straw hat outfit for beach days, garden parties, and picnic blankets. Spring markets suit it too. Kids who dress their dolls by season want the crochet straw hat outfit ready before June.
Crochet Straw Hat Outfit
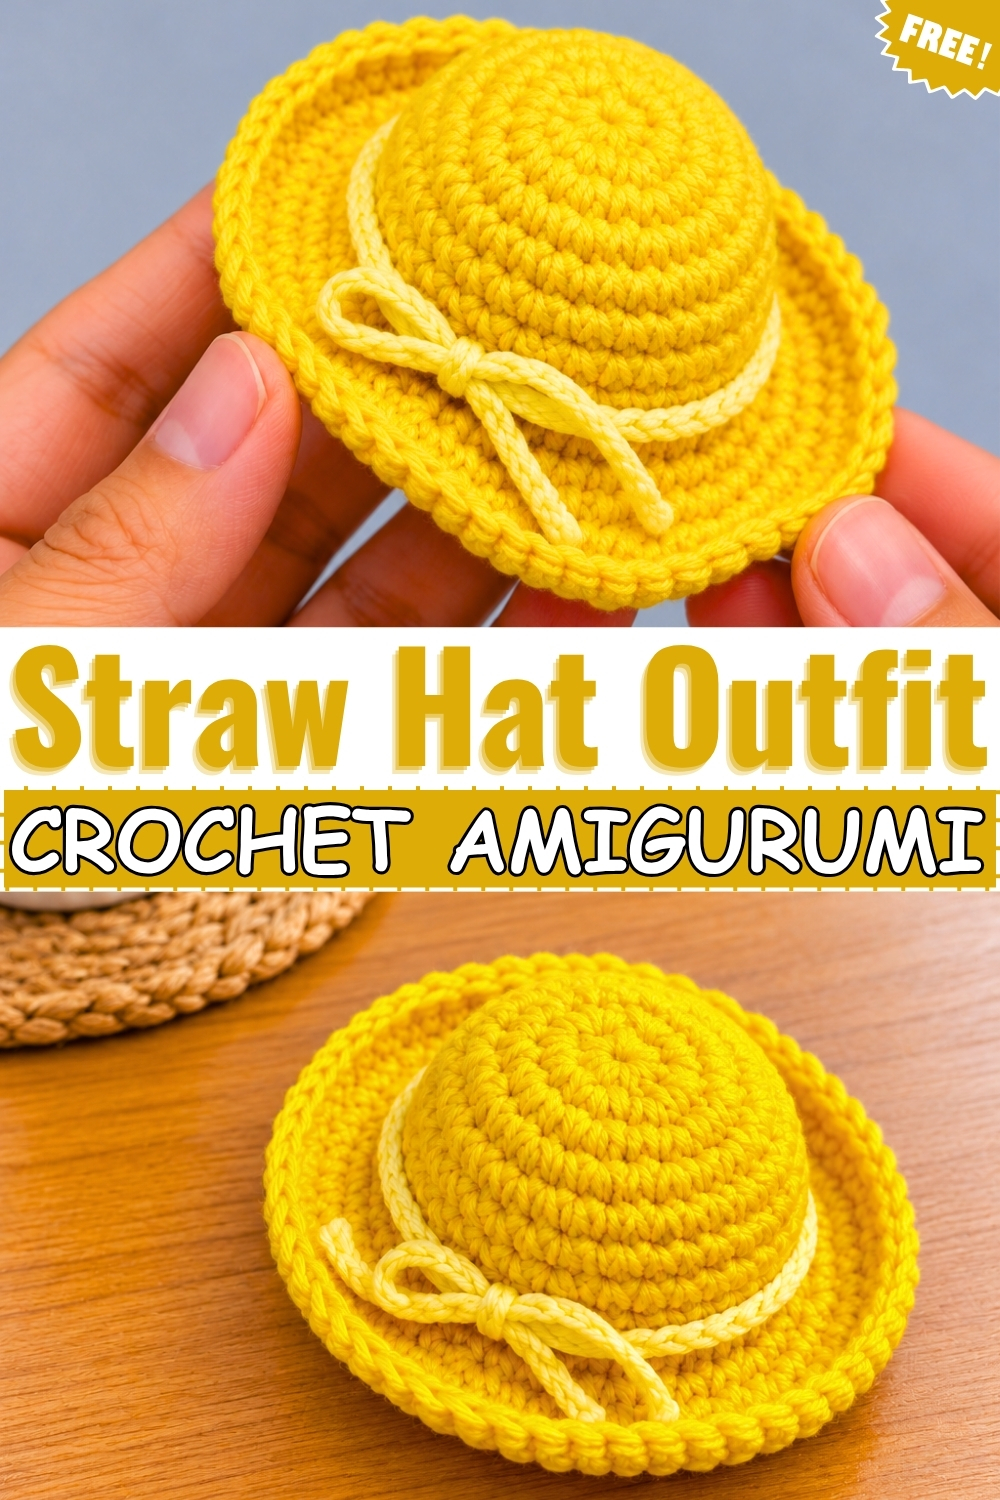
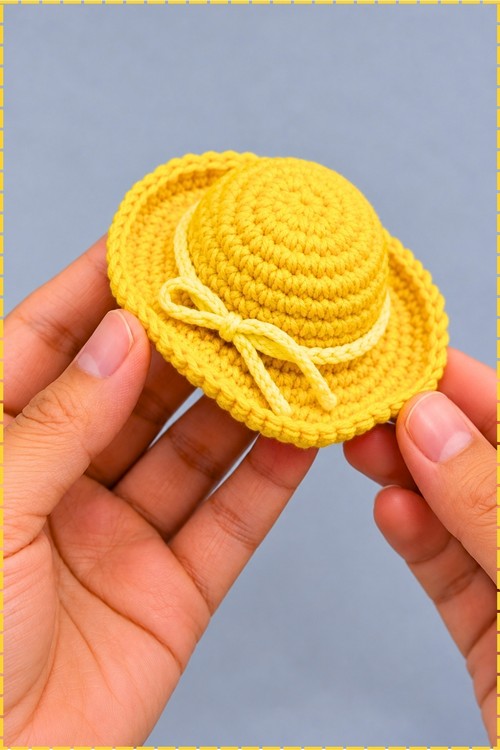
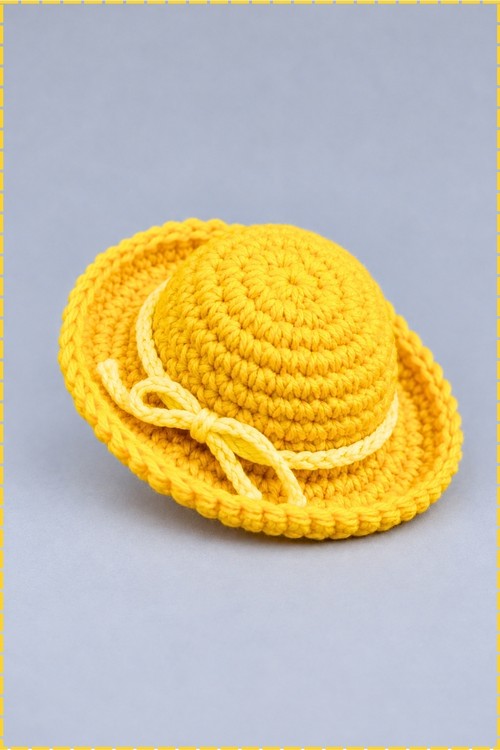
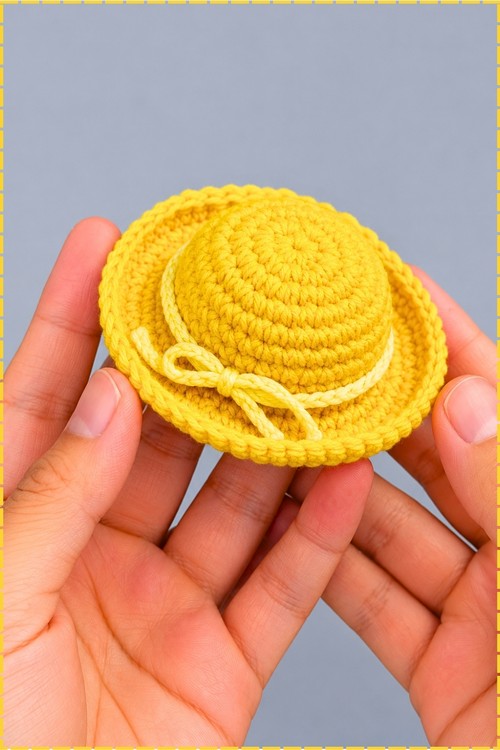
Fourteen rounds of single crochet turn a double magic ring into a domed crown and a wide flared brim. My crochet straw hat came out in sunny yellow cotton, which holds the brim edge crisp without any stiffener. Around the crown, a pale lemon chain cord wraps once and ties into a small bow on the front side. Unlike the original, I let the brim curl gently upward for a sun hat look rather than folding it down. Small dolls and plush toys wear it well in my experience. Any doll outfit gets an instant summer finish from it.
Why I love this one: it was the first doll accessory I finished in a single evening, and it made every doll on my shelf look ready for a picnic.
How This Little Hat Came Together
I started this hat on a grey afternoon when I wanted something bright on my hook. The crown grows fast, the sides rise on their own, and by the time the brim flares out you are holding something that already looks like a real hat. The pattern is simple enough that I skipped the beginner notes here; if you know single crochet, increases, and a magic ring, you have everything you need.
Materials and Tools
- Yellow 100% cotton yarn for the hat (cotton holds the shape far better than acrylic)
- Pale lemon or cream cotton yarn for the bow band
- 2.5 mm crochet hook
- Yarn needle
- Stitch marker (optional but helpful)
- Steam iron (optional, for shaping)
Difficulty and Time
Easy. In my experience it takes about an hour, a little longer if you add the bow band.
The Pattern
Abbreviations used: single crochet (sc), slip stitch (sl st), chain (ch), increase (inc, meaning 2 sc in the same stitch).
Crown
- Foundation: wrap the yarn twice around your finger for a double magic ring, insert the hook under both loops, pull up a loop, and ch 1 to secure it (this chain does not count as a stitch).
- Round 1: work 8 sc into the ring, gently pull the tail to find which loop tightens, pull that loop first, then tug the tail to close fully, and sl st into the first real sc (8 sts); the center should close with no hole, which matters on a hat because the top is the first thing people see.
- Round 2: ch 1, work 2 sc in each stitch around, and sl st to join (16 sts); you now have a small flat disc.
- Round 3: ch 1, then (1 sc, inc) repeat around, and sl st to join (24 sts); keep the disc flat, since early cupping makes the crown pointy.
- Round 4: ch 1, then (1 sc, inc) repeat around, and sl st to join (36 sts); this is the full width of the crown top, and mine was a neat flat circle at this point.
Sides
- Rounds 5 to 9: ch 1 at the start of each round, work 1 sc in each stitch around, and sl st to join, for 5 straight rounds (36 sts per round); the edges rise and the crown turns into a rounded dome, so watch that your joins stack in a straight line at the back of the hat.
Brim
- Round 10: ch 1, then (5 sc, inc) repeat around, and sl st to join (42 sts); the fabric starts to flare outward right where the crown ends.
- Round 11: ch 1, then (inc, 2 sc) repeat around, and sl st to join (56 sts); the brim widens quickly and should begin to ripple slightly before it settles.
- Rounds 12 to 14: ch 1 at the start of each round, work 1 sc in each stitch around, and sl st to join (56 sts per round); keep the count steady, because a miscount here makes the brim wave unevenly.
Finishing and Shaping
- After Round 14, fasten off and weave the tail in neatly on the inside of the hat.
- Shape the brim with your fingers; I curled mine gently upward all the way around for a sun hat look, while the original folds the brim down where the sides end (either works).
- Steam the brim lightly for a more defined edge if you like (optional).
Bow Band
- With pale lemon yarn, chain until the cord wraps around the base of the crown with enough left over to tie a bow.
- Wrap the cord around the crown where the sides meet the brim, tie it into a small bow at the front side of the hat, and trim the tails to a length you like; mine hangs just over the brim edge.
- Tack the band in place with a few stitches at the back and under the bow so it does not slide.
Tips and Troubleshooting
When I made my first test hat, I lost count on Round 11 and the brim rippled like a ruffle. A stitch marker at the start of each round fixed that on the next try. If the crown looks too tall for your doll, it usually means your tension loosened in the side rounds, so go tighter rather than skipping a round. Steam works best on cotton; on acrylic it can flatten the stitches too much.
Yarn Substitution
Cotton is worth sticking with here. If you only have acrylic, a light starch spray on the brim helps it keep its curl.
Customization Ideas
- Swap the yellow for natural beige to get a classic straw look.
- Use a satin ribbon instead of the crochet bow band.
- Glue a tiny felt flower beside the bow.
- Make a matching mini bag in the same yellow to complete the outfit.
FAQ
What size doll does it fit? Mine suits small dolls and plush toys with a head roughly the size of the crown top. Use a larger hook and thicker yarn for bigger dolls.
Can I fold the brim down instead? Yes. Fold it where the sides end and steam it for a droopier sun hat.
Why is my brim wavy? Extra or missed increases in Rounds 10 and 11 are usually the cause. Count each round before joining.
Do I need to starch the hat? Not with cotton in my experience. Starch only helps if you switch to softer acrylic.