
Crochet Strawberry Keychain Pattern Free For Beginners
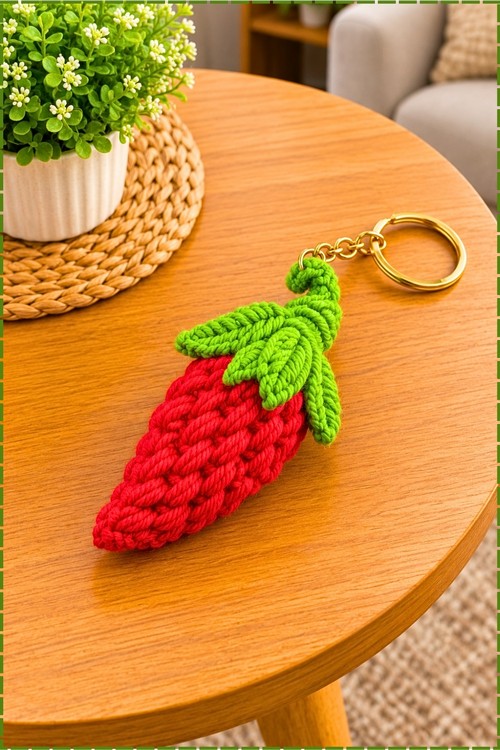
Bright red puff rows and a lime green leaf make the crochet strawberry keychain easy to spot on a key hook by the front door. Lunch boxes and pencil case zips carry the palm sized amigurumi strawberry charm through the school week, so kids can find their own bag at a glance.
Keys turn up faster when the Crochet Strawberry Keychain dangles from the ring. Berry body, single leaf, chain loop. No face, no fuss. Beginners learn one stitch and finish. Hang the Crochet Strawberry Keychain on a bag, a zip pull, or a gift ribbon for anyone who picks strawberries first.
Crochet Strawberry Keychain
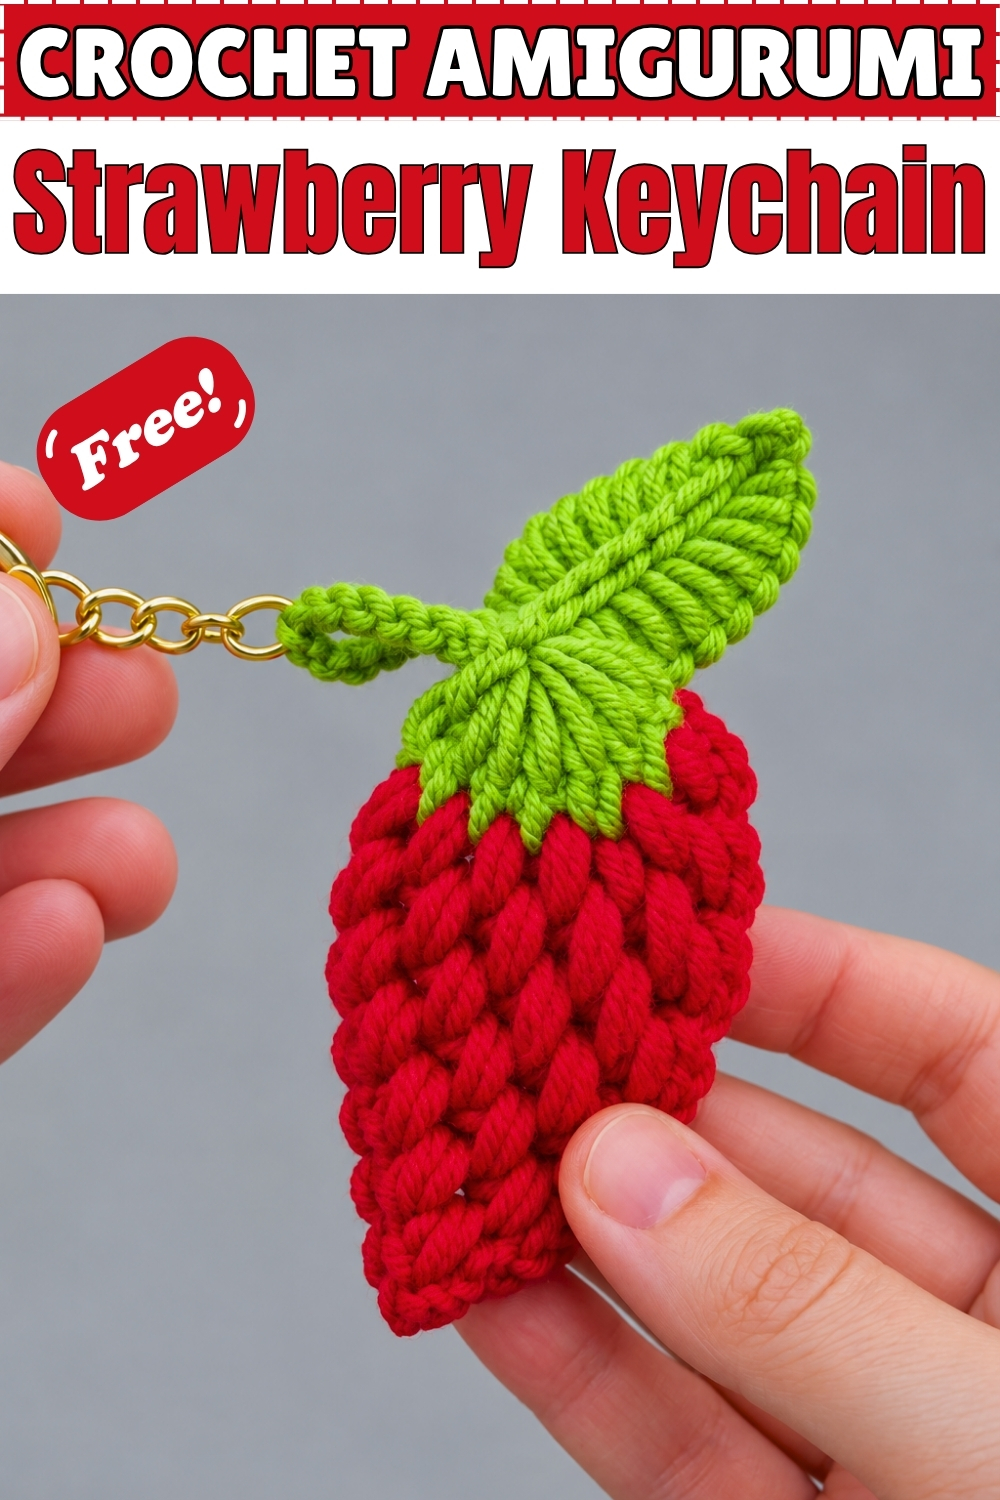
Instead of starting from a magic ring, you wrap green yarn around a large safety pin to set up the loops for this strawberry's calyx. Rows of slanted puff stitches then build the red body, tapering down to a rounded point. My crochet strawberry keychain has one broad green leaf with a raised center vein, sitting up and to the side of the stem. Next to it, a short green chain loop carries the gold key ring. Tunisian texture gives the berry a chunky, braided look that reads clearly even from a distance. Plan on one sitting if you already know basic Tunisian stitches.
Materials and Tools
- Lime green yarn for the calyx, leaf, and keychain loop
- Red yarn for the strawberry body
- Crochet hook suited to your yarn
- Large safety pin or blanket pin
- Scissors
- Yarn needle for weaving in ends
- Gold key ring with a short chain
Difficulty and Time
Intermediate. The shapes are simple, but the safety pin setup and Tunisian rows take some practice if you have only done regular crochet. In my experience it takes about an hour once you have the hang of the pin method; allow longer for your first one.
Technique Notes
- The safety pin acts as a small loom. It holds the wrapped green loops in place while you work into them, so the calyx keeps its fan of straight lines. Wrap with even tension and keep the loops side by side without overlapping; uneven wraps show clearly in the finished calyx.
- Tunisian rows are worked in two passes. On the forward pass you pick up loops and keep them on the hook, and on the return pass you work them off again. If the red body starts to curl, loosen your tension on the return pass.
- The tapered point comes from decreasing on every row. Decrease at both edges each time so the strawberry stays symmetrical instead of leaning to one side.
- Lock the green header band tightly before you join the red. A loose header lets the wrapped loops slide when you remove the pin.
- Weave all tails into the back of the piece, along stitches of the same colour, so no green shows through the red.
The Pattern
Setting Up the Loops on the Pin (Calyx Base)
- Take a large safety pin and your green yarn.
- Wrap or anchor the green yarn around the bottom bend of the pin to make a secure starting slip knot.
- Working along the length of the open safety pin, wrap the green yarn evenly around both sides of the pin to form a row of parallel loops, roughly 10 to 12 vertical loops lined up side by side. The loops should sit close together like the teeth of a comb; they become the fan of green lines at the top of the berry.
Securing the Top Loops
- Insert your crochet hook into the loops at the top edge of the wrapped green section.
- Work Tunisian simple stitch or slip stitches across the top loops, pulling the yarn through to lock them together into a solid green header band. The header should feel firm and the loops should no longer slide on the pin.
Strawberry Body (Red Yarn)
- Switch to red yarn and join it to the top of the green base with a chain stitch.
- Work rows of slanted Tunisian or puff style stitches downward along the red body. The stitches lean in neat diagonal rows, which gives the body its braided texture.
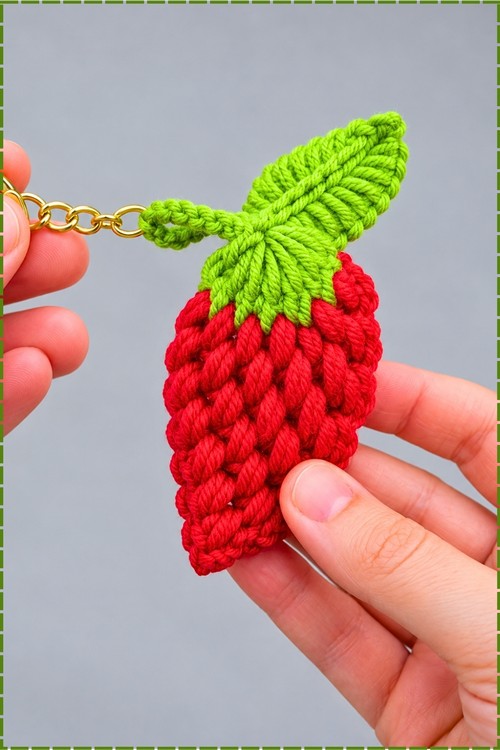
- Keep building the strawberry shape by decreasing stitches evenly on each row to form the tapered point at the bottom. On mine, the body is wider at the top under the calyx and narrows to a soft, rounded tip rather than a sharp point.
- Fasten off the red yarn once the tip is complete.
Leaf
- Reattach the green yarn and form chains, then work a textured leaf shape using elongated loops and slip stitches.
- On my strawberry, the single leaf rises from the top of the calyx and points up and to the right, with a raised line down the center like a vein and slanted stitches on either side.
- Make a second side leaf the same way if you want a fuller stem (optional; mine has one leaf).
Keychain and Finishing
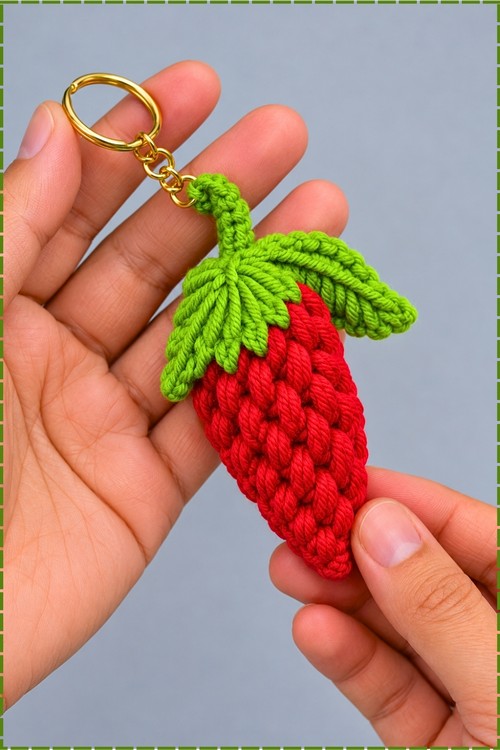
- Crochet a chain strap from the side of the calyx until it reaches your preferred length.
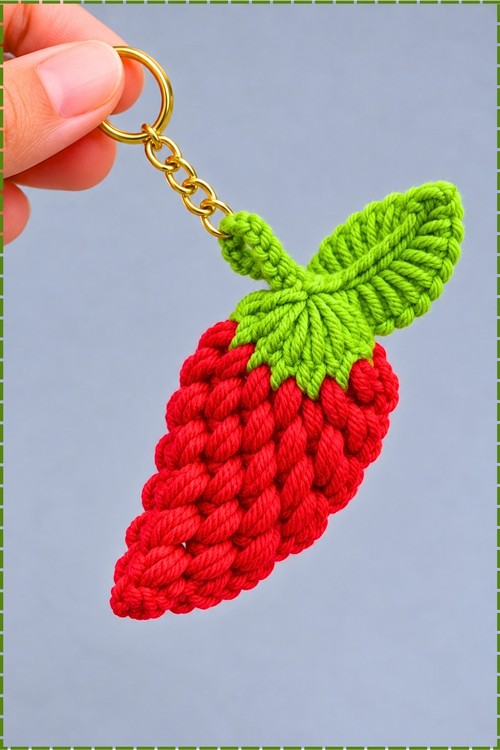
- Fold the strap into a loop and attach the gold key ring and chain to it. On mine, the loop sits on the left side of the calyx, opposite the leaf.
- Fasten off securely, weave in all remaining tails, and trim the excess.
- Remove or slide out the safety pin to reveal the neat, textured loops at the top. The calyx should now be a fan of green lines radiating out over the top of the red body.
Yarn Substitution
A smooth, firm acrylic or cotton blend shows the Tunisian texture best. Fluffy or very soft yarns blur the slanted rows, and splitty yarns make the pin wrapping harder to keep even. Use the same weight for both colours so the calyx and body line up.
Customization Ideas
- Add a few white or yellow seed stitches on the red body with a yarn needle.
- Work the body in pink for a pink strawberry, or white for a pineberry.
- Make two leaves for a fuller top.
- Skip the key ring and sew a pin back on the reverse to make a brooch.
FAQ
Can I do this without a safety pin?
You need something to hold the wrapped loops. A blanket pin or a short knitting needle works, but a large safety pin is the easiest because it closes and holds the loops while you work.
Why are my loops uneven on the calyx?
Usually the wrapping tension changes as you go. Wrap slowly, keep the yarn snug against the pin each time, and push the loops together before you lock the header.
My strawberry leans to one side. What happened?
The decreases were probably uneven. Decrease the same way at both edges on every row so the taper stays centered.