
Crochet Strawberry Bag Charm Free Pattern
Loop the crochet strawberry bag charm over a rearview mirror or a laptop bag strap, where its twisted red cord lets the berry swing freely. Farmers market regulars find their own tote faster in a crowd when a crocheted strawberry keychain hangs from the handle.
Your backpack zipper or purse strap can carry this crochet strawberry bag charm on its cord. Students who switch bags get a simple way to mark each one. Teachers can hand out a crochet strawberry bag charm as a class reward. Strawberry collectors add the crochet strawberry bag charm next.
Crochet Strawberry Bag Charm
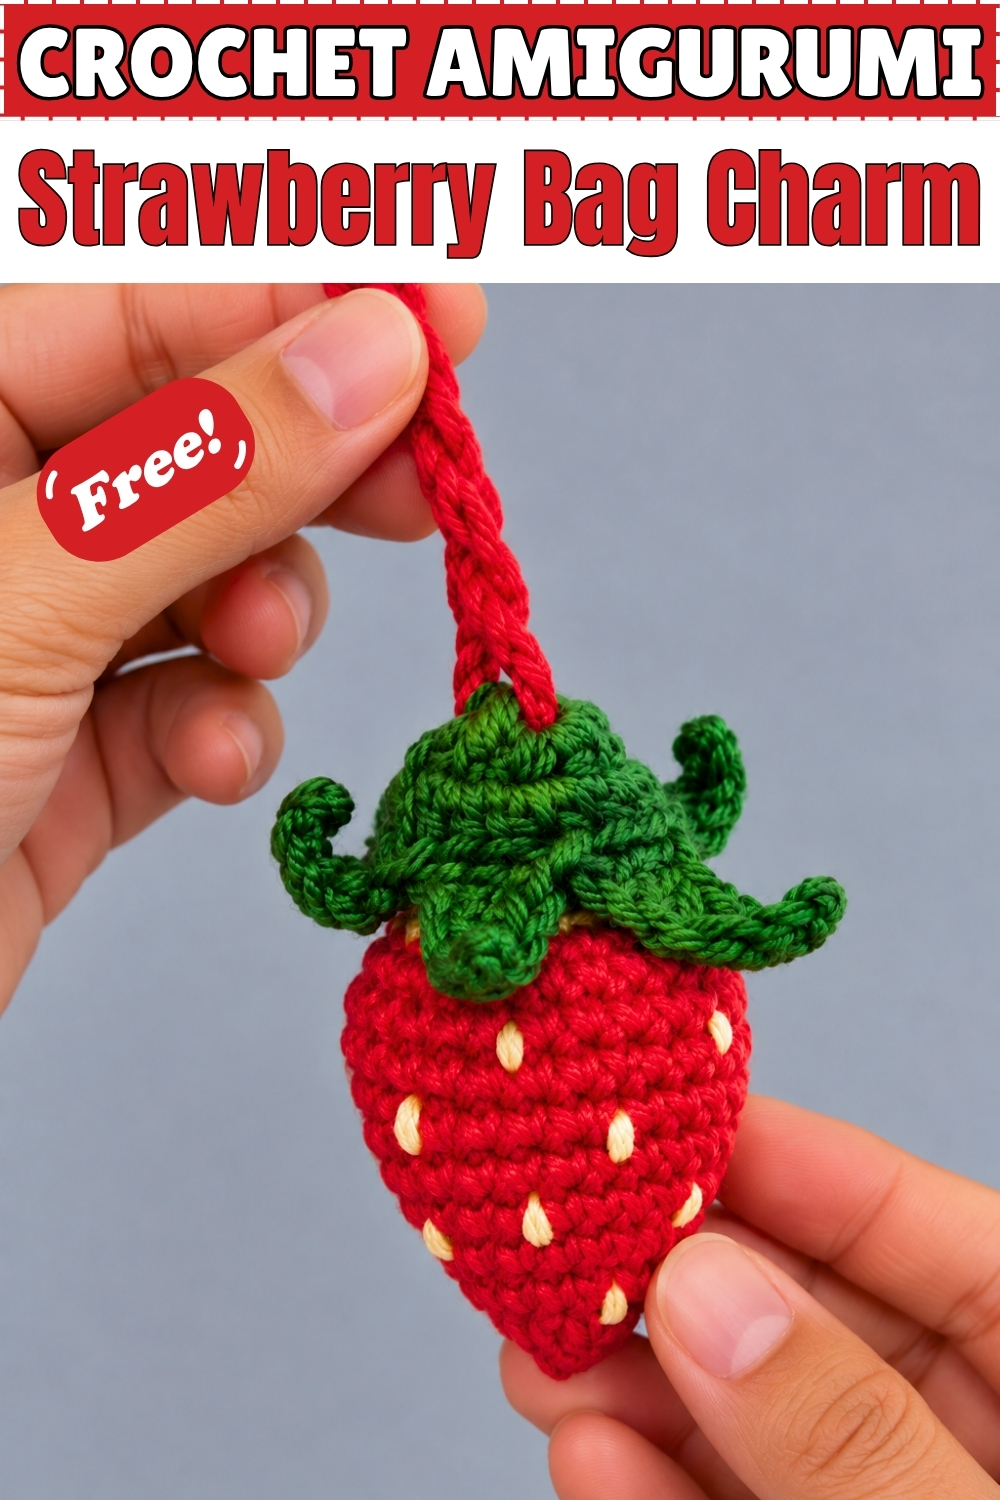
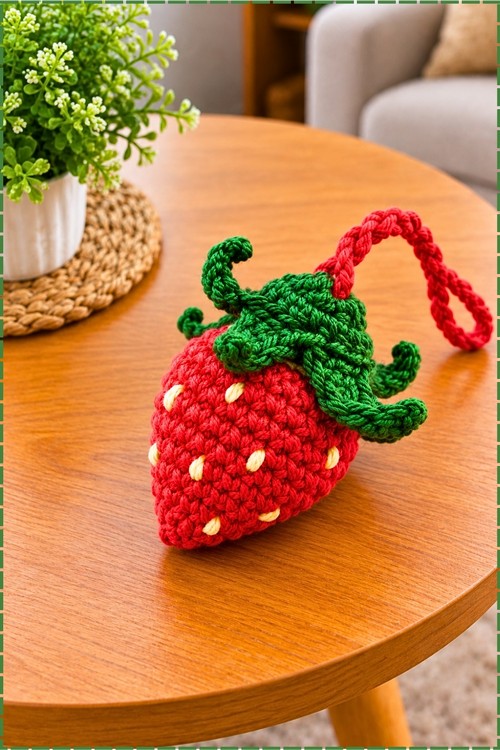
Increasing rounds grow the berry from a small magic ring at its tip, then decreases pull it in toward a leafy green cap. I made this crochet strawberry bag charm in bright red worsted yarn with light stuffing so it holds a plump shape. Cream seed stitches scatter across the body, and the cap carries six curling leaves that twist like real strawberry tops. Instead of a metal keyring, mine hangs from a red chain loop that slips over a strap. Simple stitches keep it quick, and most crocheters can finish one in about an hour. Expect to want a second.
Materials and Tools
- Red worsted weight yarn for the berry and the hanging loop
- Green worsted weight yarn for the leaf cap
- Cream or pale yellow yarn for the seeds
- Crochet hook suited to your yarn (I used a size that gave a tight, dense fabric)
- Small amount of polyester fiberfill
- Yarn needle
- Stitch marker
- Keyring or clasp (optional)
Difficulty and Time
Easy level in my experience. One charm took me roughly an hour, though your pace may differ.
Technique Notes
- Magic ring: wrap the yarn around two fingers, pull up a loop, work your stitches over both strands, then pull the tail to close. Pull it fully tight or the strawberry tip will show a hole.
- Single crochet (SC): insert hook, yarn over, pull up a loop, yarn over, pull through both loops. Go down a hook size if the stuffing peeks through your stitches.
- Increase (inc): 2 SC in the same stitch.
- Decrease (dec): work 2 SC together. An invisible decrease through front loops keeps the red surface smooth.
- Half double crochet (HDC): yarn over, insert hook, pull up a loop, yarn over, pull through all three loops.
- Double crochet (DC): yarn over, insert hook, pull up a loop, then yarn over and pull through two loops twice.
- Slip stitch (sl st): insert hook, yarn over, pull through the stitch and the loop on the hook.
- Chain (ch): yarn over and pull through the loop on your hook.
- Stitch marker: move it to the last stitch of each round. Rounds blend together fast in red yarn, so this saves a lot of frogging.
The Pattern
Part 1: Strawberry Body
- Round 1: with red yarn, make a magic ring, ch 1, work 6 SC into the ring, pull it closed, and sl st into the first SC (6 sts); place your marker in the last stitch, and you should have a tight little circle that becomes the pointed tip.
- Round 2: (1 SC in next st, inc) repeat 3 times; the circle starts to widen and cup slightly.
- Round 3: (1 SC in next 2 sts, inc) repeat 3 times (12 sts); the tip now looks like a shallow cone.
- Round 4: (1 SC in next 4 sts, inc) repeat 3 times; the slow increase keeps the berry tapered instead of round.
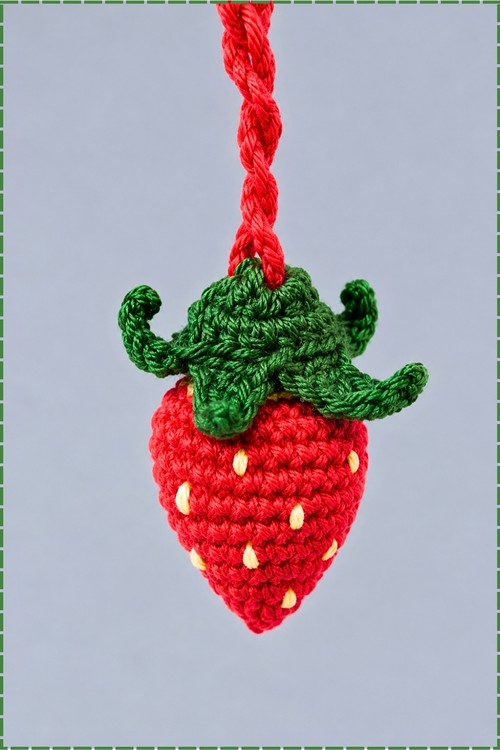
- Rounds 5 and 6: (1 SC in next 5 sts, inc) repeat 3 times in each round (21 sts at the end of Round 6); the body reaches its widest point here.
- Before closing, embroider the seeds: thread cream yarn and make short vertical stitches scattered across the red body, staggered row to row as in my piece, until you like the spacing.
- Rounds 9, 10, and 11: (1 SC in next 2 sts, dec) repeat 6 times (18 sts); stuff the berry lightly as you go so it stays plump and slightly heart shaped, like mine.
- Fasten off the red and leave the top open for the cap, or close the remaining stitches with a yarn needle if you prefer a sealed berry.
Part 2: Leaf Cap and Stem
- Round 1: with green yarn, make a magic ring and close it with a sl st on top; keep the ring small so the cap sits snug at the center.
- Round 2: ch 1, then (1 DC in next st, 2 HDC in same st) repeat 6 times; you get a small flat green disc.
- Round 3: place your marker, then (1 HDC in next st, 1 HDC in next st, 2 HDC in next st) repeat 6 times (18 HDC), and finish with a sl st; the cap should now be wide enough to cover the top opening.
- Round 4: ch 6, sl st in the first chain, 1 SC in each of the next 2 chains, 1 HDC in the next chain, 1 DC in the last chain, skip 2 stitches, and sl st into the next stitch; this makes one leaf.
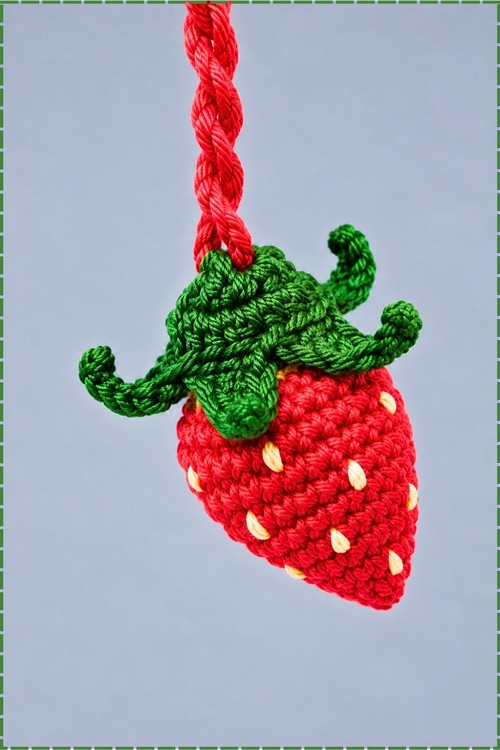
- Repeat the leaf sequence 6 times around (6 leaves); in my piece the leaves curl and twist at the tips, so give each one a gentle twist with your fingers before sewing.
- In the final stitch, sl st and ch 1, then cut the yarn and leave a tail long enough for sewing.
Part 3: Hanging Loop and Assembly
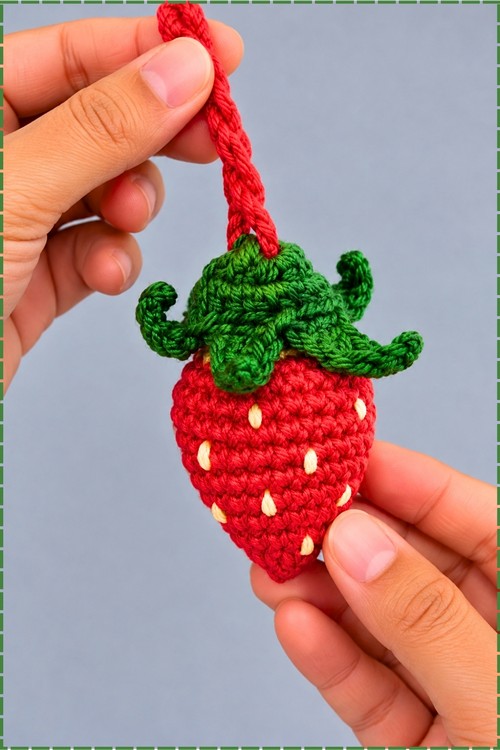
- Center the cap on the top of the berry with the leaves draping over the shoulders, and sew it down around the edge of Round 3.
- With red yarn, chain until the loop reaches your preferred length; I used a thick, twisted looking chain that matches the berry.
- Sew both ends of the loop to the center top of the cap, right where the stem would grow, so the charm hangs straight.
- Weave in and secure all loose ends with the yarn needle.
- Attach a keyring or clasp to the loop if you want to clip it on instead of looping it over a strap (optional).
Tips and Troubleshooting
Most problems come from loose tension or a missing marker, both covered in the technique notes above. If the berry turns out round rather than tapered, check that you did not add extra increases in Rounds 2 to 4. If the leaves lie flat, twist them more firmly and tack the curled tips with one stitch.
FAQ
Can I make it into a pouch instead of a stuffed charm? Yes. Skip the stuffing and leave the top open, then attach the cap along one side only so it lifts like a flap.
Why do my seed stitches sink into the fabric? Pull them just snug, not tight. Loose enough to sit on the surface keeps them visible.
What size does it finish at? Mine came out roughly palm sized in worsted yarn. Thicker yarn and a larger hook will make it bigger.