
Strawberry Puppy Crochet Keychain Pattern Free - Mini Amigurumi Dog
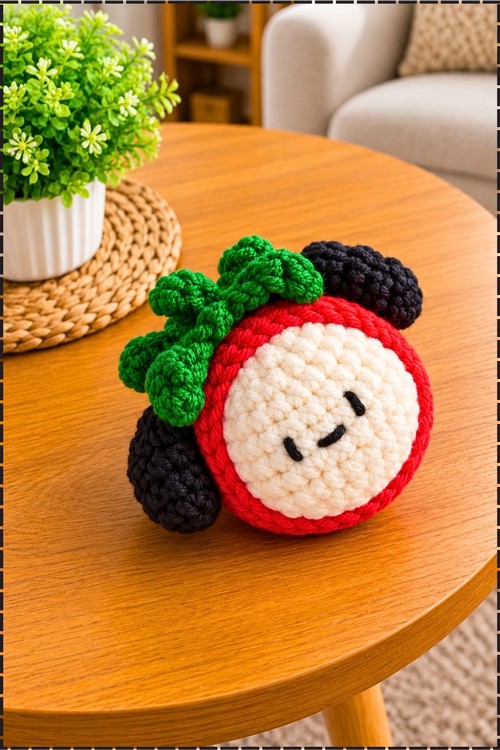
Tucking the crochet strawberry puppy keychain into a birthday gift bag hands a dog lover a red berry pup with floppy black ears and curly green leaves. Between video calls, the round strawberry dog amigurumi sits upright on a desk all by itself and keeps its owner company.
Halfway through, the Crochet Strawberry Puppy Keychain still looks like fruit, until the ears go on and a dog appears. That switch is the fun part. The leaves curl themselves as you work. Make the Crochet Strawberry Puppy Keychain for the moment those ears turn your berry into a pup.
Crochet Strawberry Puppy Keychain
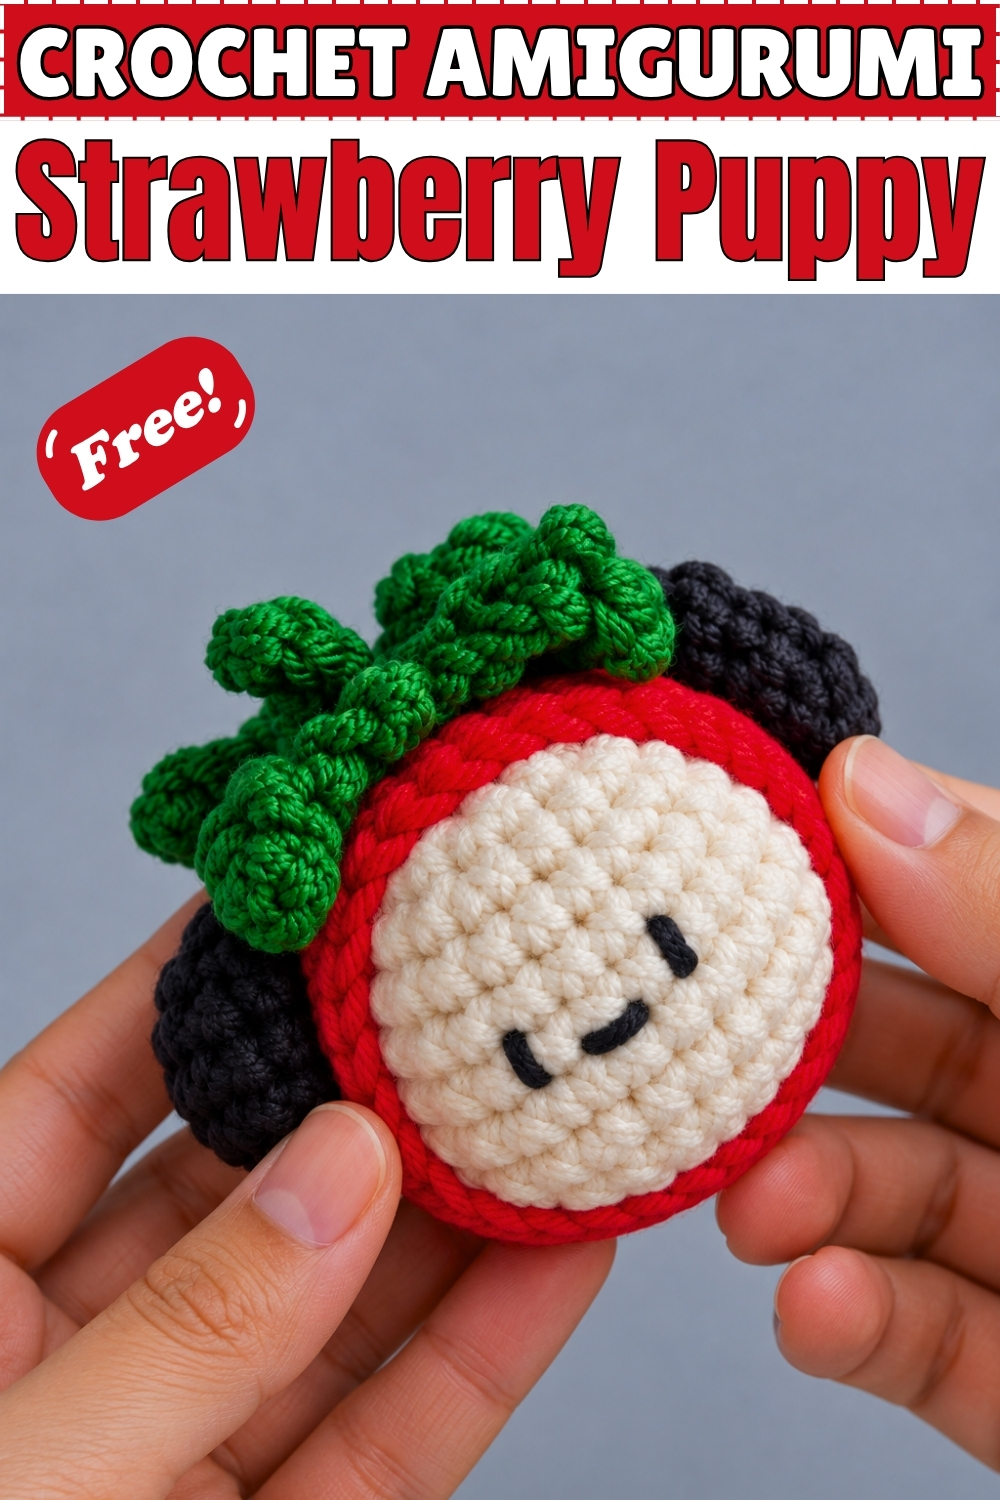
Most of the shape comes from the head itself, which widens at the cheeks before closing into a firm, stuffed ball. A red hood then slips over it like a strawberry skin, leaving a round cream face peeking out. I gave my crochet strawberry puppy keychain chunky black ears that flop down on each side. Curly green leaves sit on top and spill over toward the back like a fresh strawberry cap. For the face, I kept things simple with two little stitched eyes and a tiny smile, and left off the nose. Everything comes together in an evening or two, depending on your pace.
Materials and Tools
- Milk cotton yarn in cream for the head
- Milk cotton yarn in red for the strawberry hood
- Milk cotton yarn in green for the leafy calyx
- Milk cotton yarn in black for the ears
- Black thread or yarn for the face
- 2.5mm crochet hook
- Fiberfill stuffing
- Yarn needle
- Hot glue gun
- Scissors
- Keychain ring or clasp (optional, for turning it into a keychain)
Abbreviations (US Terms)
- ch: chain
- sc: single crochet
- inc: increase (2 single crochet in the same stitch)
- dec: decrease (single crochet 2 stitches together)
- slst: slip stitch
- hdc: half double crochet
Difficulty and Time
I'd call this an easy beginner project with a few fiddly finishing steps. The head and hood are simple rounds, while the ears and calyx are small and take a little patience. In my experience the whole puppy takes around two to three hours, with most of the time spent on the head and the assembly.
Beginner Technique Notes
Every round in this pattern is joined, not worked in a spiral. You start each round with a chain 1 and finish it with a slip stitch into the first single crochet. The chain 1 does not count as a stitch, so always make your first single crochet into the same stitch you just slipped into. Joined rounds give you a neat, straight seam, which helps when you line up the hood later.
The head grows wider only at the sides in R8, where the increases sit in two groups of four. That is what gives the puppy its round cheeks. Count carefully here, because putting the increase groups in the wrong place makes the head lopsided.
For the leaves on the calyx, each chain 5 forms a small stalk that you work back down with a slip stitch, single crochet, and half double crochet. Keep your tension firm so the leaves stand up and curl rather than lying flat.
Hot glue sets fast, so place the calyx where you want it before you press it down. A small dot in the center is enough and stops glue from showing at the edges.
The Pattern
Head (Cream Yarn)
- R1: Make a magic ring and ch 1, work 6 single crochet (sc), and slip stitch (slst) into the first sc to finish (6 sts). Pull the ring tight so there is no hole at the back of the head.
- R2: Ch 1, work 6 increases (inc), and slst to join (12 sts).
- R3: Ch 1, work (1 sc, 1 inc) 6 times in total, and slst to join (18 sts).
- R3 (continued): Ch 1, work (1 sc, 1 inc, 1 sc) 6 times, and slst to join (24 sts). Work this as its own full round; the piece should now be a flat disc.
- R4 to R7: Ch 1, work 24 sc in each round for 4 rounds, and slst to join each round (24 sts). The disc turns into a deep, round cup.
- R8: Ch 1, work 6 sc, 4 inc, 4 sc, 4 inc, 6 sc, and slst to join (32 sts). The head now bulges out at two opposite sides; those bulges become the puppy's cheeks.
- R9: Ch 1, work 32 sc around, and slst to join (32 sts).
- R10: Ch 1, work 6 sc, 4 decreases (dec), 4 sc, 4 dec, 6 sc, and slst to join (24 sts). Line these decreases up with the increases from R8 so the cheeks stay even.
- R11: Ch 1, work (1 sc, 1 dec, 1 sc) 6 times, and slst to join (18 sts). Start stuffing now while the opening is still wide.
- R12: Ch 1, work (1 sc, 1 dec) 6 times, and slst to join (12 sts). Add more stuffing so the head feels firm and round.
- R13: Ch 1, work 6 dec (6 sts).
- Stuff the head firmly, topping up through the small opening, and fasten off. The finished head is a firm ball, slightly wider across than it is tall.
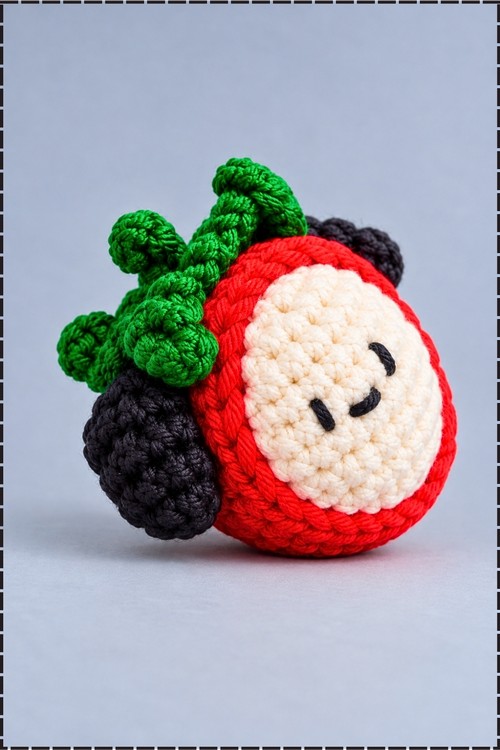
Strawberry Hood (Red Yarn)
- Using red yarn, work the same rounds as the head from R1 to R5.
- Work straight rounds from R6 to R9 in red, just as the head rounds are worked, to form the strawberry hood.
- Fasten off, leaving a tail for securing the edge. You should have a red cup that is deep enough to cover the back and top of the head.
Ears (Black Yarn, Make 2)
- Ch 5.
- Skip the first stitch, then work 2 sc into the next stitch.
- Work 1 half double crochet (hdc), then 3 hdc into one stitch, then 1 hdc, then 2 sc.
- Finish with 1 slst and fasten off, leaving a tail for sewing. Each ear should be a small, rounded oval.
- Repeat to make the second ear.
Calyx (Green Yarn)
- Make a magic ring and ch 1.
- R1: Work (1 sc, 5 ch, 1 slst, 1 sc, 1 hdc, 1 sc) 5 times around the ring.
- Pull the ring tight and finish with a slst and ch 1. You should have a small green star of leaves; on mine, the leaves curl upward and outward rather than lying flat.
- Fasten off.
Assembly and Face
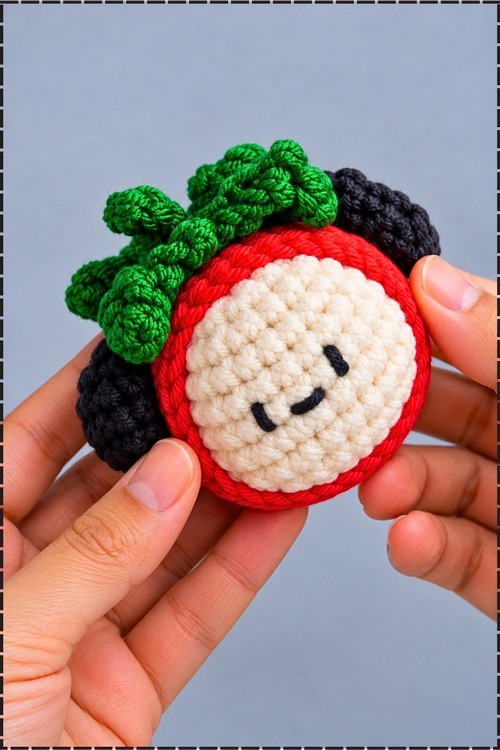
- Fit the red hood over the cream head so the open edge frames the face. On my puppy, the red sits as a ring all the way around the cream face, like a hood.
- Shape the bottom edge of the hood with decreases as needed so it hugs the head, then secure the yarn.
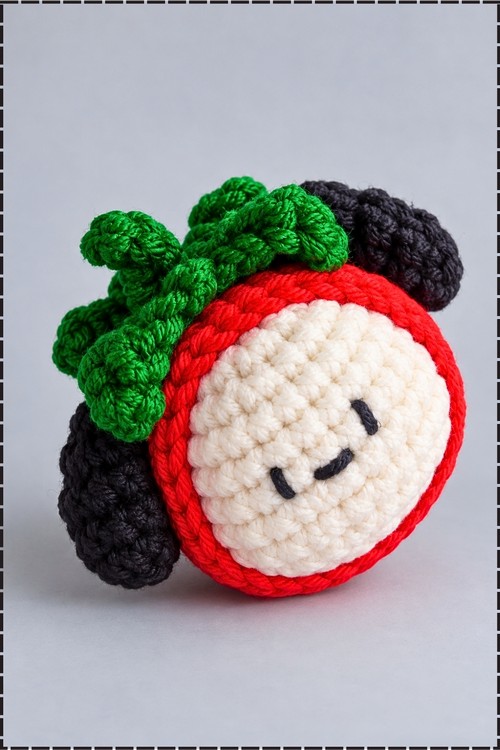
- Use black yarn and a needle to sew the ears onto the sides of the hood. Mine sit at the upper sides, behind the face, with one ear flopping lower than the other.
- Use hot glue to attach the green calyx on top of the hood, toward the back so the leaves spill over the top as on mine.
- Embroider the eyes and a smiling mouth on the cream face using black thread. I stitched each eye as a short line and added a small curved smile between them, centered on the face.
- Embroider a nose above the mouth if you like (optional; I left mine off).
- To make it a keychain, sew a keychain ring or clasp securely through the top of the hood with leftover yarn, going through several times so it holds the weight of keys (optional).
Tips and Troubleshooting
- If your hood is too loose, go down half a hook size for the red pieces; a snug hood stays in place without much shaping.
- Pin the ears before you sew them, and check the puppy from the front so they sit at the same height.
- Stitch the face before you glue on the calyx, so you can hold the head without squashing the leaves.
- Keep your face stitches shallow, going only into the top layer of the cream, so the threads don't pull the face in.
- If the leaves on the calyx won't curl, roll each one between your fingers for a few seconds after you finish it.
- Use a dab of glue under the hood edge as well as stitches if the keychain will be handled every day.
Yarn Substitution
Milk cotton gives this puppy a soft, matte look with a bit of body. Any light weight cotton or cotton blend works as long as you use the same weight for all four colours. Acrylic in a similar weight is fine too, though it can feel squishier and makes the leaves curl less.
Customization Ideas
- Make the ears brown or cream for a different breed.
- Add pink blush to the cheeks.
- Embroider a few cream or yellow seeds on the red hood for a more strawberry look.
- Use a green hood and pink calyx for a reversed berry.
- Make it as a small plush without the keychain and set it on a shelf.
FAQ
Can I make this without the keychain?
Yes. It is a complete little plush on its own. Skip the ring and it sits upright on a desk or shelf.
Why does my head look lopsided?
Usually the increases in R8 or the decreases in R10 are in the wrong place. Count the stitches between the groups of four and check that the decreases line up above the increases.
How big is the finished puppy?
Mine fits in the palm of my hand. Your size will depend on your yarn and tension.
Do I need hot glue?
No. You can sew the calyx on with green yarn instead, which holds up better on a keychain that gets handled a lot.
Can I use safety eyes?
Yes. Add them to the head between the middle rounds before you finish stuffing and closing it, and pick a small size so they suit the face.