
Crochet Small Ghost Applique Free Pattern For Spooky Halloween Decor
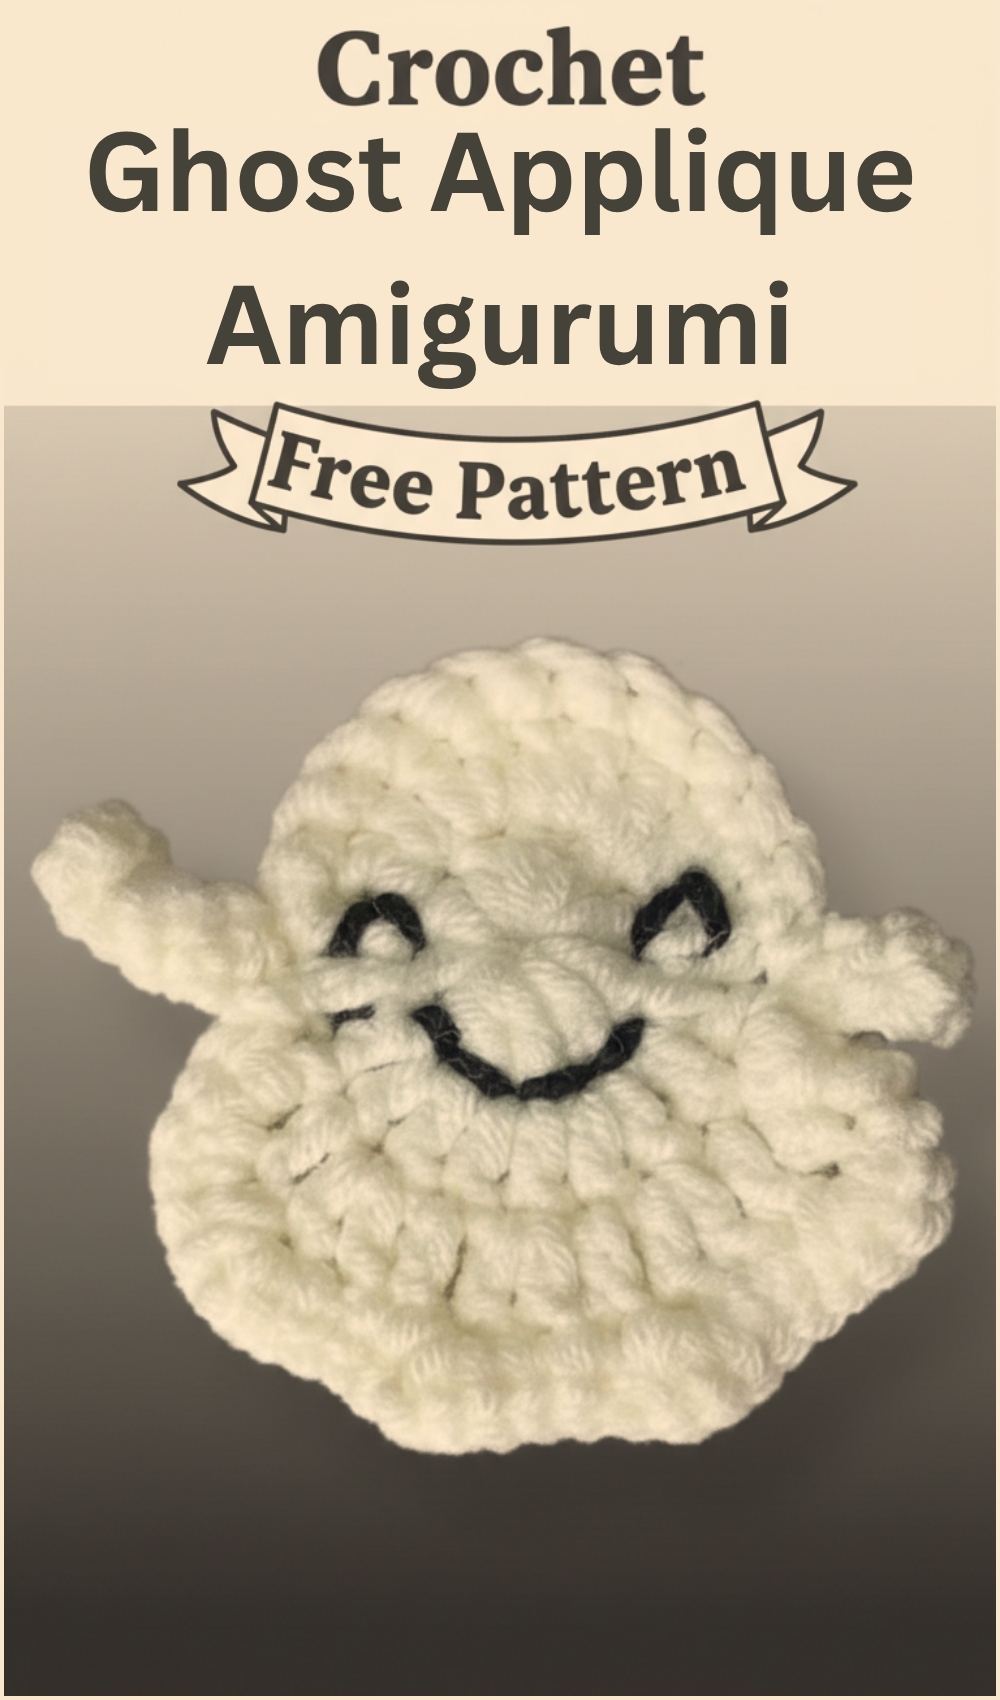
This crochet ghost applique pattern is a quick and charming project designed especially for Halloween-themed crafts. With its simple stitches and flat design, this little ghost works up fast and is perfect for using up small yarn scraps.
Crochet Ghost Applique
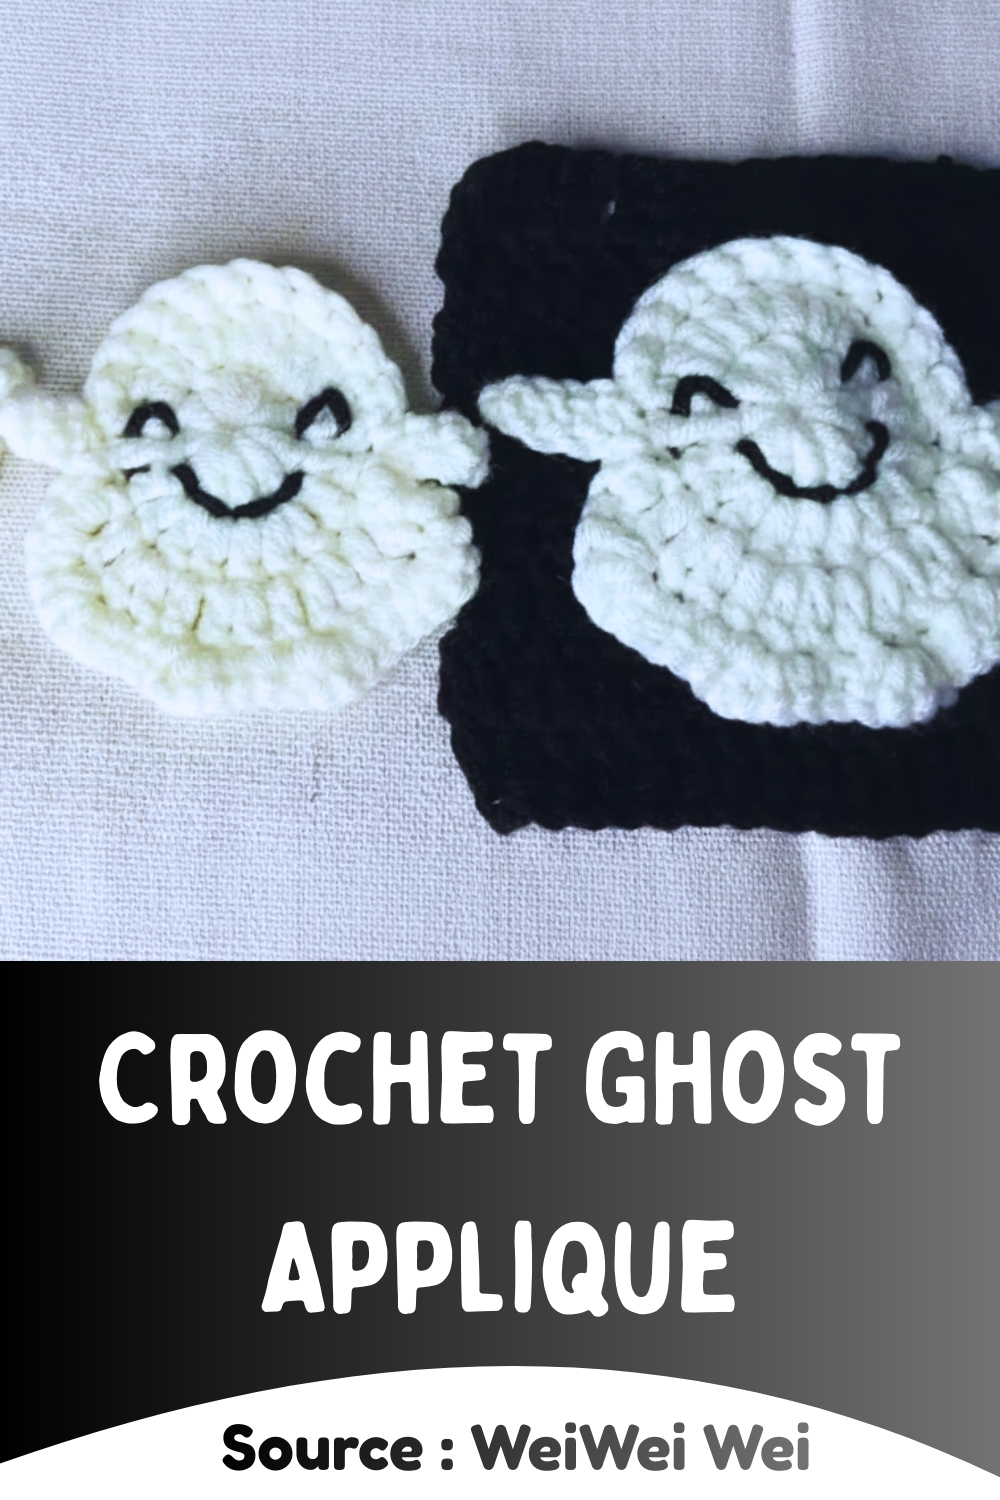
If you are looking to add a touch of whimsy to your handmade projects, this Crochet Ghost Applique is the perfect spooky-sweet addition. These ethereal little accents feature a classic rounded head and a flowing, wavy base that perfectly mimics a friendly spirit drifting through the air. Beyond just being adorable, they are incredibly versatile; you can stitch them onto seasonal sweaters, embellish a trick-or-treat bag, or even string several together to create a festive garland for a Halloween mantel display.
Skill level
-
This pattern is rated as Easy or Advanced Beginner
-
It requires knowledge of the Magic Ring and basic stitches like single, half-double, and double crochet
Finished size
-
Depending on your yarn weight and hook size, the finished piece typically measures 2 to 3 inches
-
Using a standard 3.5mm hook with worsted weight yarn will result in a palm-sized character
Materials
-
Small amount of worsted weight yarn
-
Crochet hook suitable for your yarn size
-
Yarn needle
-
Scissors
-
Embroidery floss or black yarn for facial features
Abbreviations
-
MR: Magic Ring
-
Ch: Chain
-
St: Stitch
-
Sc: Single crochet
-
Hdc: Half double crochet
-
Dc: Double crochet
-
Sl st: Slip stitch
Helpful notes before starting
-
Keep your tension consistent to ensure the center ring closes tightly without a gap
-
When working the shaping row, pay close attention to the stitch counts as the height changes quickly
-
Using a stitch marker in the first stitch of each section can help you stay on track
Construction overview
-
The project begins with a circular base worked in double crochets
-
Shaping is achieved by working multiple stitches into single stitches of the previous round to expand the top
-
Arms are created using chain extensions that are worked back toward the body
-
The final shape is flat-backed, making it ideal for appliques or small stuffed tokens
Stitch and shaping clarity
-
The transition from single to double crochet creates a tapered look for the head
-
Doubling the stitches (working 2 in each) provides the necessary width to prevent the piece from curling inward
-
Skipping stitches when attaching the arms creates a defined "shoulder" area
Step by step pattern instructions
-
Magic Ring and Base
-
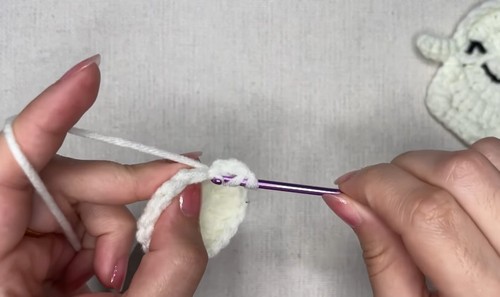
Make a magic ring
-
Chain 2 (does not count as a stitch)
-
Work 12 double crochets into the magic ring
-
Pull the ring tight and join with a slip stitch to the first double crochet
-
Shaping the Top of the Head
-
Chain 1
-
Work 2 single crochets in the first stitch
-
Work 2 half double crochets in the next stitch
-
Work 2 double crochets in the next stitch
-
Work 2 double crochets in the next stitch
-
Work 2 half double crochets in the next stitch
-
Work 2 single crochets in the next stitch
-
Arms and Bottom Edge
-
Chain 3 to form the first arm
-
Starting in the second chain from the hook, work 1 single crochet
-
Work 1 half double crochet in the next chain
-
Skip one stitch on the body and slip stitch into the next stitch
-
Work 1 single crochet in each of the next 3 stitches along the bottom
-
Chain 3 to form the second arm
-
Work 1 single crochet in the second chain from the hook
-
Work 1 half double crochet in the next chain
-
Skip one stitch on the body and slip stitch into the next stitch
-
Finishing the Body
-
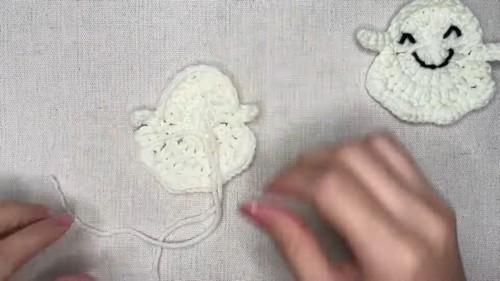
Slip stitch evenly around the remaining stitches at the top of the head
Assembly guidance
-
Ensure the magic ring tail is pulled very tight and knotted securely on the back before weaving
-
When working the slip stitches around the top, keep them loose so the head shape does not distort or pull tight
Eye and facial feature placement
-
Facial Features
-
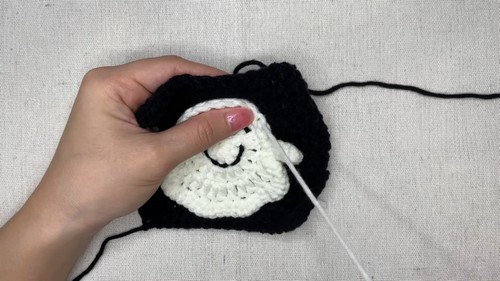
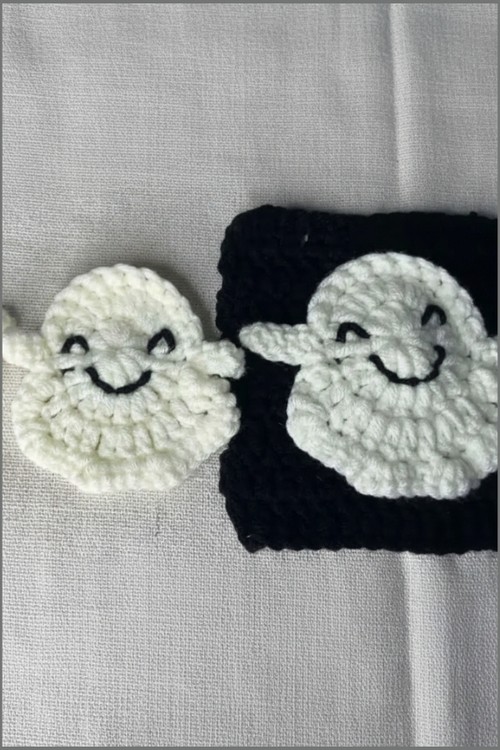
Sew two small vertical stitches or French knots for the eyes near the center
-
Sew a small round or straight stitch below the eyes for the mouth
-
Place the eyes between the center ring and the shaping row for a balanced look
Stuffing tips
-
If you choose to make two of these and join them, use small pinches of polyester fiberfill
-
Focus stuffing in the center of the base to give the character a slightly rounded "belly"
Finishing notes
-
Use a sharp yarn needle to hide the yarn tails within the stitches of the base
-
Gently pull the arms outward after finishing to straighten the chain stitches
Beginner notes
-
If your double crochets look loose, try using a hook one size smaller than recommended on the yarn label
-
The "Chain 2" at the start is purely for height and should be ignored when joining your first round
Troubleshooting
-
If the edges are curling significantly, you may be crocheting too tightly during the shaping row
-
If the arms look twisted, ensure you are working into the "bumps" or loops of the chain consistently
Customization ideas
-
Change the arm length by adding more chains to the initial arm setup
-
Use variegated yarn to create a colorful, patterned version without changing yarn mid-project