
Crochet Broom Applique Free Pattern For Halloween Decor
This crochet Halloween broom applique pattern is a quick and creative project that adds a playful spooky touch to your seasonal makes. Designed with simple stitches and a compact size, this applique is perfect for decorating hats, bags, blankets, garlands, or Halloween-themed home décor.
Crochet Broom Applique
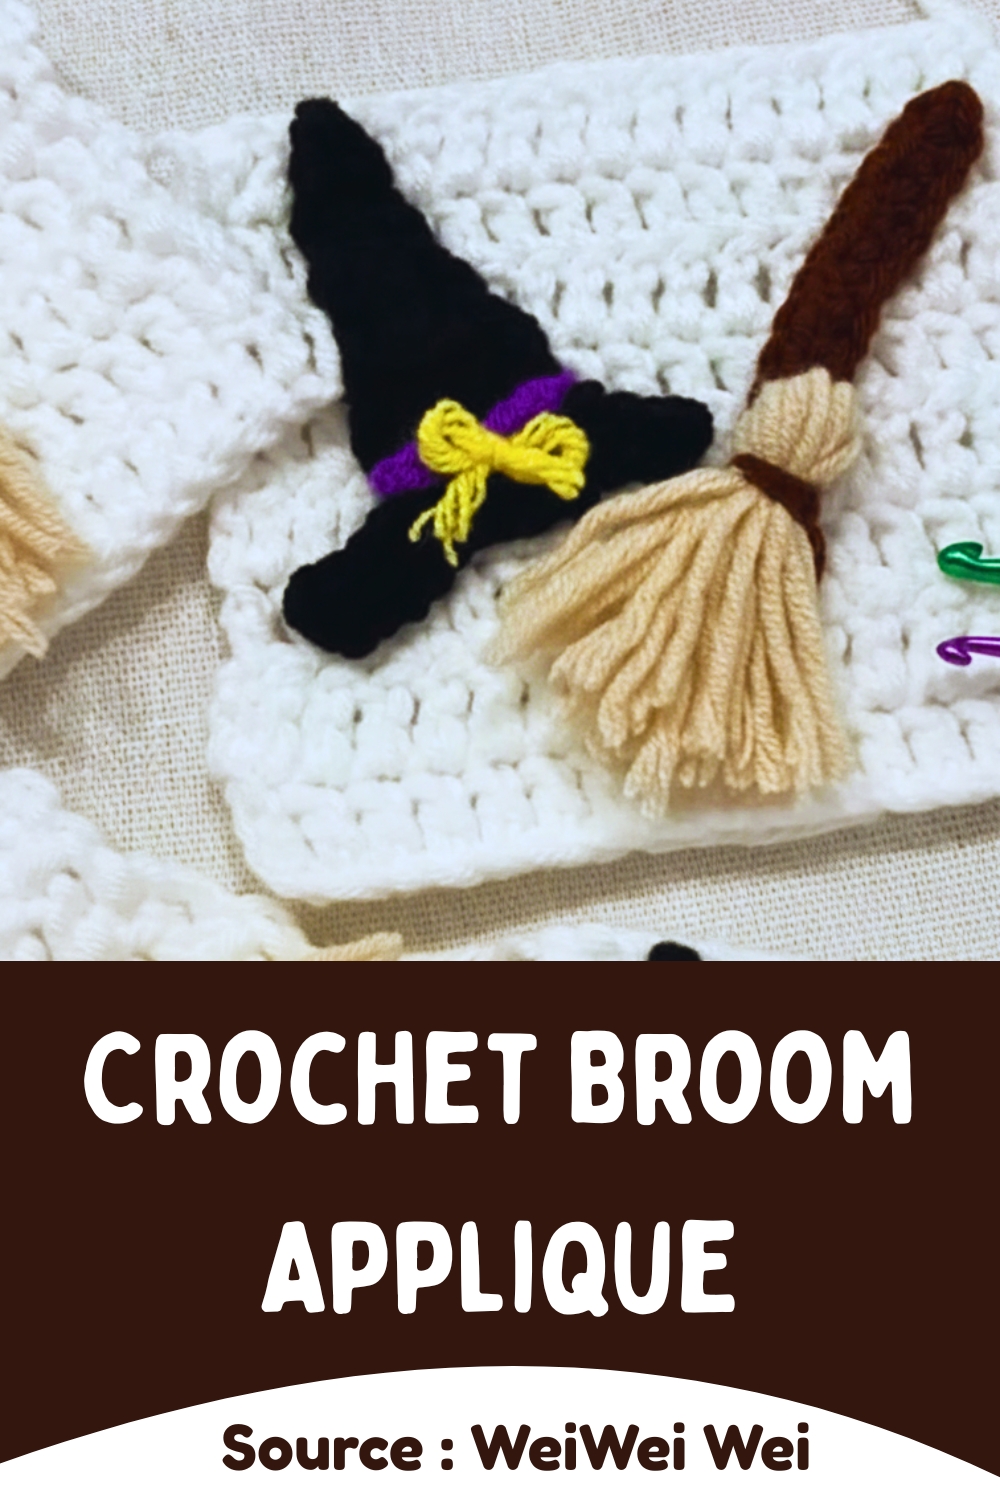
Finding the perfect whimsical touch for your autumn decor becomes a breeze once you discover the charm of a Crochet Broom Applique design. These slender, textured embellishments capture the rustic essence of a traditional hearth broom, featuring a sturdy handle and a flared, "straw" base that mimics the real thing with surprising detail. Beyond just being a cute seasonal accent, they are incredibly versatile; you can stitch them onto oversized sweaters, glue them to handmade greeting cards, or even string them together for a miniature witchy garland.
Skill level
-
This is an advanced beginner project that introduces foundational shaping through varied stitch heights.
Finished size
-
When using the recommended hook, your broom will measure approximately 3 to 4 inches in length, making it a perfect size for tiered trays or dollhouse accessories.
Materials
-
Brown yarn for the handle
-
Yellow or beige yarn for the bristles
-
Small amount of black yarn for the tie
-
2.5 mm crochet hook or suitable size
-
Scissors
-
Yarn needle
Abbreviations
-
ch: chain
-
sc: single crochet
-
hdc: half double crochet
-
dc: double crochet
-
tr: treble crochet
-
sl st: slip stitch
Helpful notes before starting
-
Maintain a consistent tension throughout the handle to ensure it remains stiff enough to hold its shape.
-
The bristles rely on the height difference between a single crochet and a treble crochet to create the iconic "fan" shape of a broom.
-
Counting your stitches on the handle is vital to ensure both sides are symmetrical.
Construction overview
-
The handle is worked as a flat, rounded rectangle by crocheting around both sides of a foundation chain.
-
The bristles are worked in a single piece that expands outward from a central chain.
-
The two pieces are joined not by complex sewing, but by a decorative yarn wrap that mimics the construction of a real corn broom.
Stitch and shaping clarity
-
The 3 single crochets in the final chain of the handle act as a pivot point, allowing you to turn the corner smoothly without the piece curling.
-
In the bristles section, the transition from single crochet to treble crochet creates a steep diagonal slope.
-
Using a chain-4 to return to the base of the bristles ensures the bottom edge remains wide and flat rather than pointed.
Broom Handle
-
Start with a slip knot and chain 16
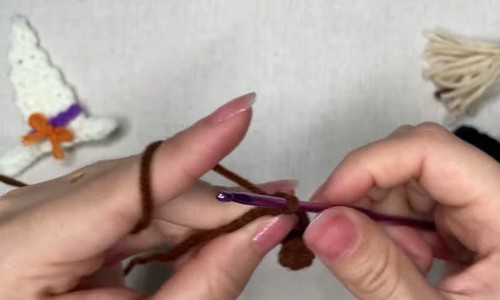
-
Work 1 single crochet in the second chain from the hook
-
Work 1 single crochet in each of the next 13 chains
-
Work 3 single crochets into the last chain to turn the corner
-
Working along the opposite side of the foundation chain, work 1 single crochet in each of the next 14 stitches
-
Slip stitch into the first single crochet to join
-
Fasten off and leave a tail if sewing is needed
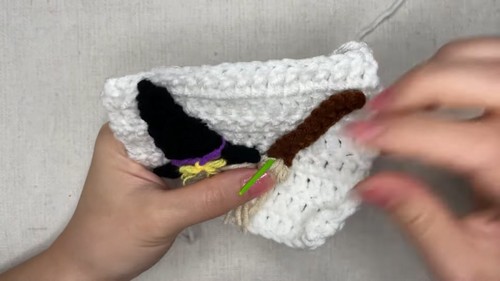
Broom Bristles
-
Make a slip knot and chain 7
-
Work 1 single crochet in the second chain from the hook
-
Work 1 half double crochet in the next stitch
-
Work 1 double crochet in the next stitch
-
Work 1 treble crochet in each of the next 3 stitches
-
Chain 4
-
Slip stitch into the same stitch as the last treble crochet
-
Chain 4 again
-
Work 1 treble crochet into the same bottom stitch
-
Work 2 treble crochets, 1 double crochet, 1 half double crochet, and 1 single crochet along the opposite side of the chain
-
Slip stitch to the first single crochet to close the shape
-
Fasten off
Assembly guidance
-
Position the handle so that about half an inch overlaps with the top of the bristles.
-
The "narrow top" of the bristles is the area where you started your initial chain.
-
Ensure the handle is centered so the broom doesn't look lopsided once the tie is applied.
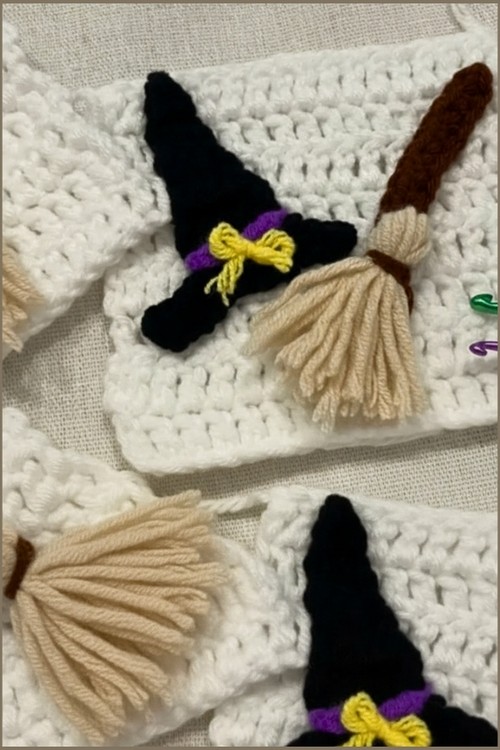
Tie and finishing
-
The black yarn tie serves two purposes: it secures the two pieces together and provides a traditional visual detail.
-
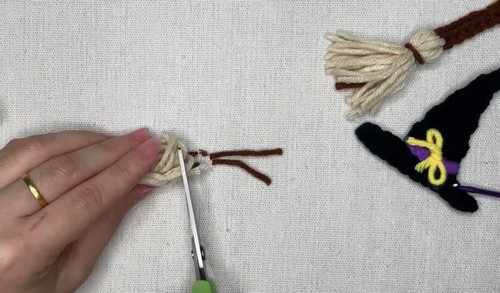
Hold the handle against the bristles and begin wrapping the black yarn tightly around the overlap.
- Wrap at least five or six times to create a distinct band.
Stuffing and structure tips
- This specific design is flat and does not require polyester fiberfill.
- If you find your handle is too floppy, you can crochet over a small piece of floral wire or a cocktail stick to add internal support.
Troubleshooting
-
If the bristles are curling, your treble crochets may be too tight; try to pull up a taller loop when working those stitches.
-
If the handle has a hole in the center, ensure you are working into the "humps" on the back of the chain for the second side.
Customization ideas
-
Use a variegated "tweed" yarn for the bristles to give them a more natural, straw-like appearance.
-
Add a small loop of thread to the top of the handle to turn the piece into a seasonal ornament.
-
Experiment with a "cinnamon" scented spray on the finished piece for a rustic kitchen aesthetic.