
Crochet Gojo Cat Pattern Free Amigurumi
Pick 6 mm safety eyes or black felt circles for your Gojo cat amigurumi, then add a crocheted blindfold strip and white hair tufts worked right onto the head. Nine pieces in 4 ply milk cotton on a 2.5 mm hook make a 4 to 5 inch cat in two to three hours.
Jujutsu Kaisen fans clock this crochet Gojo cat amigurumi immediately from the black felt circles alone. It gets requested constantly in fan craft communities, and the boxy shape makes it one of the faster builds in that fandom. Makers who know the character understand exactly why the blindfold reads before anything else does.
Crochet Gojo Cat Amigurumi
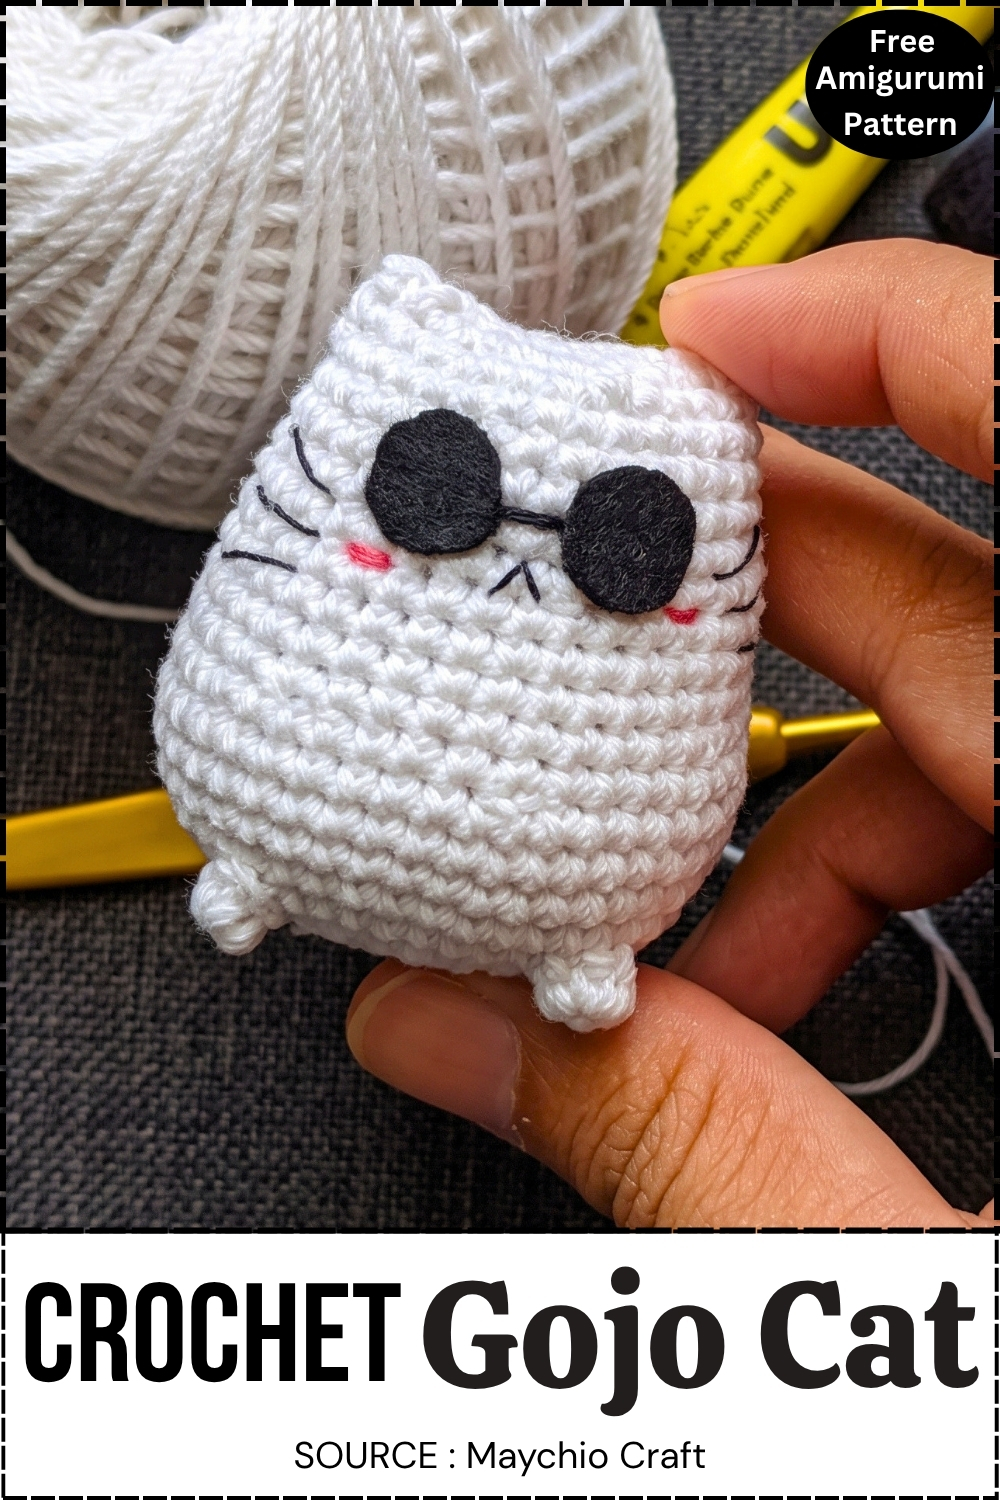
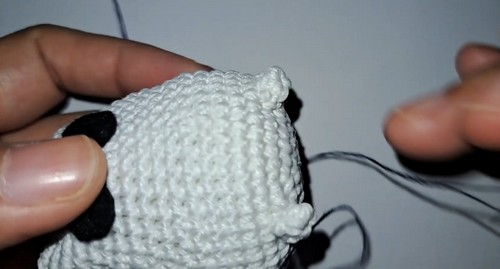
Two oversized black felt circles sit where the eyes should be on this cat, giving it the blindfolded look that makes it instantly recognisable as Gojo. The body is boxy rather than round, with tiny nub legs at the base and small ears at the top corners of the head. Stitched whiskers and pink cheek marks sit beneath the felt circles. Parts are minimal: the body works up as one main piece, with ears and legs added on. No complex shaping anywhere. The felt eye application is the only step that requires precision, and that is mostly about placement.
Colour Ideas
The base pattern is white head and tail with a black body, but the colour scheme is easy to change.
- All white with a pale lavender blindfold for a softer palette
- Grey body instead of black for a subtler contrast
- Add a small yellow or gold chain stitch detail along the blindfold edge for a decorated look
- Work the hair tufts slightly longer, five to six chains each, for a more dramatic spiky silhouette
- Make the tail in black to match the body for a full contrast version
The blindfold placement is the most visible detail. Getting it centred on the head matters more than anything else.
Quick Facts
- Finished size: approximately 4 to 5 inches tall, estimated
- Difficulty: beginner to easy
- Estimated time: 2 to 3 hours
- Piece count: 9 pieces including blindfold and hair tufts
What You Will Need
- Milk cotton yarn 4 ply in white, roughly 15 to 20 g estimated, for the head, ears and tail
- Milk cotton yarn 4 ply in black, roughly 20 to 25 g estimated, for the body, limbs and blindfold
- A 2.5 mm crochet hook
- Two 6 mm safety eyes, or black felt if preferred
- Polyester fiberfill stuffing
- Yarn needle
- Scissors
Pieces List
- Head, make 1 in white
- Ears, make 2 in white
- Body, make 1 in black
- Arms and legs, make 4 in black (2 legs, 2 arms, all identical)
- Tail, make 1 in white
- Blindfold strip, make 1 in black
- Hair tufts, worked directly onto the head
Safety Eye and Felt Timing
- The pattern offers two options: 6 mm safety eyes or black felt. The choice changes when you need to act.
- If using safety eyes, place them during the head rounds while the head is still open, between Rounds 7 and 12. The head begins decreasing at Round 13 and by Round 15 the opening is too narrow for a washer. Once the head is stuffed and closed, safety eyes cannot be added. The blindfold will cover part of the eye area anyway, so place the eyes just below where the blindfold will sit rather than centred on the face.
- If using black felt, cut two small circles and glue or sew them on after the blindfold is attached, filling in the gap below it. No timing constraint applies.
- For any toy going to a child under three years old, use black felt only and sew rather than glue. Anchor every thread end inside the head before closing.
The Pattern
Head in White Yarn
- R1: work 6 sc in a magic ring (6)
- R2: work 6 inc around (12)
- R3: work 1 sc then 1 inc, repeat 6 times (18)
- R4: work 2 sc then 1 inc, repeat 6 times (24)
- R5: work 3 sc then 1 inc, repeat 6 times (30)
- R6: work 4 sc then 1 inc, repeat 6 times (36). By Round 6 the head should still lie nearly flat, like a wide shallow disc just starting to lift at the edges. If using safety eyes, place them during Rounds 7 to 12 before the decreases begin
- R7 to R12: sc in each stitch around (36). By Round 9 the head should be a clear open bowl with straight walls and a flat bottom, holding its shape easily
- R13: work 4 sc then 1 dec, repeat 6 times (30)
- R14: work 3 sc then 1 dec, repeat 6 times (24)
- R15: work 2 sc then 1 dec, repeat 6 times (18). The head should be visibly closing in now, with a small oval opening remaining. Stuff the head firmly now while access is still good
- Stuff firmly
- R16: work 1 sc then 1 dec, repeat 6 times (12)
- R17: work 6 dec around (6)
- Fasten off and weave in ends
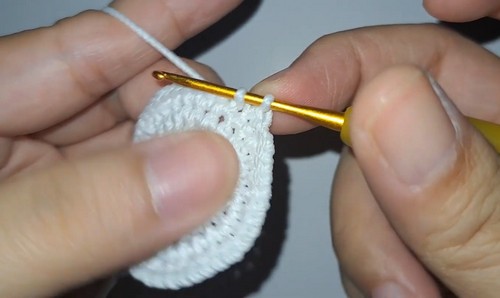
Ears, Make 2 in White Yarn
- R1: work 4 sc in a magic ring (4)
- R2: work 1 sc then 1 inc, repeat 2 times (6)
- R3: work 2 sc then 1 inc, repeat 2 times (8)
- R4: work 3 sc then 1 inc, repeat 2 times (10). The ear should read as a small pointed oval, wider at the base than the tip
- Fasten off leaving a long tail for sewing
- Sew both ears to the top of the head, evenly spaced
Body in Black Yarn
- R1: work 6 sc in a magic ring (6)
- R2: work 6 inc around (12)
- R3: work 1 sc then 1 inc, repeat 6 times (18)
- R4: work 2 sc then 1 inc, repeat 6 times (24). By Round 4 the body base should be a flat disc, the floor the cat will sit on
- R5 to R9: sc in each stitch around (24). By Round 7 the body should be an open cylinder with straight walls, clearly shorter than it is wide
- R10: work 2 sc then 1 dec, repeat 6 times (18). The top pulls in noticeably here, forming the shoulder line
- R11: sc in each stitch around (18)
- Stuff the body now
- Sew the body to the head securely
Arms and Legs, Make 4 in Black Yarn
All four pieces are identical.
- R1: work 6 sc in a magic ring (6)
- R2: sc in each stitch around (6)
- R3: sc in each stitch around (6)
- R4: sc in each stitch around (6). Each piece is a short compact tube, identical to the others
- Fasten off leaving a long tail for sewing
- Sew two pieces to the bottom of the body as legs
- Sew two pieces to the sides of the body as arms
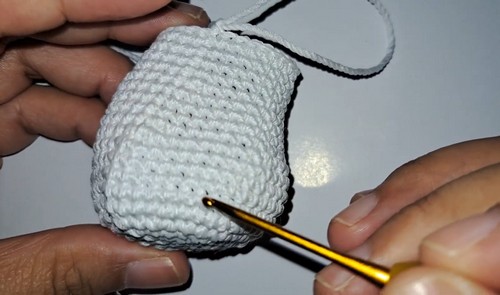
Tail in White Yarn
- R1: work 5 sc in a magic ring (5)
- R2 to R10: sc in each stitch around (5). The tail is a slim narrow tube, noticeably thinner than the arms and legs at 5 stitches versus 6
- Fasten off leaving a long tail for sewing
- Sew to the back of the body
Working in continuous rounds for the first time? No problem at all, the video tutorial below makes it easy to keep track!
Blindfold in Black Yarn
- Ch 40, or enough to wrap comfortably around the head at eye level. Test the length against the head before working the sc row
- Work 1 sc in each chain across (40 or adjusted length)
- Wrap the strip across the eye area of the head, centred
- Sew securely at the back
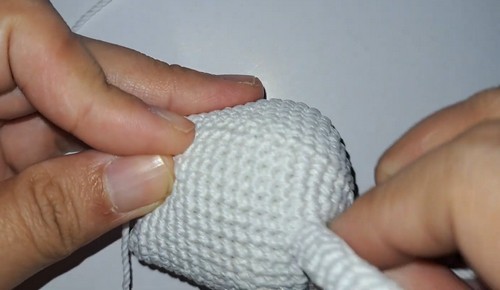
Hair Tufts in White Yarn
- Attach white yarn to the top of the head at your chosen tuft position
- Ch 3 to 4
- Work back down the chain using sl st and sc to create a small spike
- Repeat to create multiple tufts, spacing them across the top of the head in a cluster
- Secure each tuft and weave in the ends
Assembly
- Sew the body to the bottom of the head, aligning the 18 stitch body opening against the closed head base. Use the body yarn tail and work around the full circumference.
- Pin both ears to the top of the head before sewing either one. Look from the front to confirm even spacing.
- Sew both legs to the base of the body, spaced evenly so the cat sits without tipping.
- Pin both arms to the sides of the body at roughly the same height and check the symmetry before sewing.
- Sew the tail to the back of the body, at the base near the legs.
- Wrap the blindfold strip across the eye area and sew it at the back. Centre it carefully and look from the front before sewing.
- Add felt eyes or embroider eyes just below the blindfold edge if using felt.
- Work the hair tufts last, directly onto the top of the head.
Tips
- Make all four limbs in one session. At 4 rounds each they take about five minutes total and matching the tension across all four prevents one arm from looking shorter than the other.
- Pin the blindfold before sewing it. Wrap it, check from the front, then adjust the angle before any stitches go in. A blindfold that sits even slightly crooked is immediately visible.
- The hair tufts look best when they are worked close together in a tight cluster at the crown rather than spread across the top of the head. Three to four tufts in a small area reads more clearly than six spaced across a wide zone.
Stuffing Guide
- Head: firm. The hair tufts and blindfold both add surface weight and the head needs to hold its shape.
- Body: firm enough to hold the four limbs without sagging but not drum tight.
- Arms, legs and tail: no stuffing. At 5 or 6 stitches each they are too narrow to benefit from fill and remain soft and flexible without it.
Overstuffing the body is the most common issue on this cat. The body closes from 24 stitches at R4 to 18 at R10 and too much fiberfill in the upper body pushes back against the shoulder decrease at R10, making the transition look abrupt rather than smooth.

Toy Safety
- Safety eyes must go in before the head is closed. There is no access point after closing.
- For children under three: use felt eyes only, sewn rather than glued.
- Weave all ends deep into the stuffed interior and trim close.
- Hand wash only in cool water and reshape while damp.
FAQ
- The blindfold is pulling the head fabric when I sew it at the back. What went wrong? The chain was too short. Measure the head circumference before working the sc row and add two or three extra chains for ease. You can also try sewing the back seam with less tension, leaving the blindfold slightly loose rather than taut.
- Can I make the hair tufts longer for a more dramatic look? Yes. Chain 5 or 6 instead of 3 to 4 and the spikes stand taller. Keep the slip stitch and sc return row to maintain the spike shape. Longer tufts will need a slightly stiffer yarn or a tighter tension to stay upright rather than drooping.
- All four limbs are identical. How do I know which are the legs and which are the arms? They are truly the same piece and only the attachment point distinguishes them. Sew the two that will be legs to the bottom of the body first, then position the two that will be arms on the sides. If you sew a leg to the side it still looks correct.
- My ears are not staying upright after sewing. How do I fix it? Sew through the base of each ear and at least two or three stitches of the head rather than just one stitch at the attachment point. A wider anchor catches more head fabric and holds the ear in position against the weight of the floppy tip.