
Crochet Raspberry Keychain Pattern Free With Puff Stitch
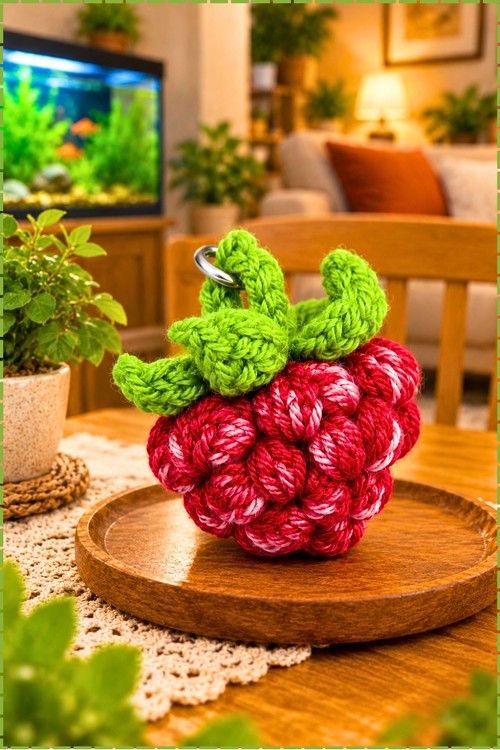
Silver split rings let the crochet raspberry keychain clip onto lunch bags, pencil cases and tote handles for a pop of berry red all school year. Set down on a wooden dish beside the fruit bowl, the puff stitch raspberry amigurumi passes for real berries at a glance.
Your keys gain a sidekick with attitude once the Crochet Raspberry Keychain Amigurumi swings from the ring. Its leaf cap tilts like a hat, and the berry looks ready to roll off. Each Crochet Raspberry Keychain Amigurumi takes a different mood from how its bobbles settle, so no two look alike.
Crochet Raspberry Keychain Amigurumi
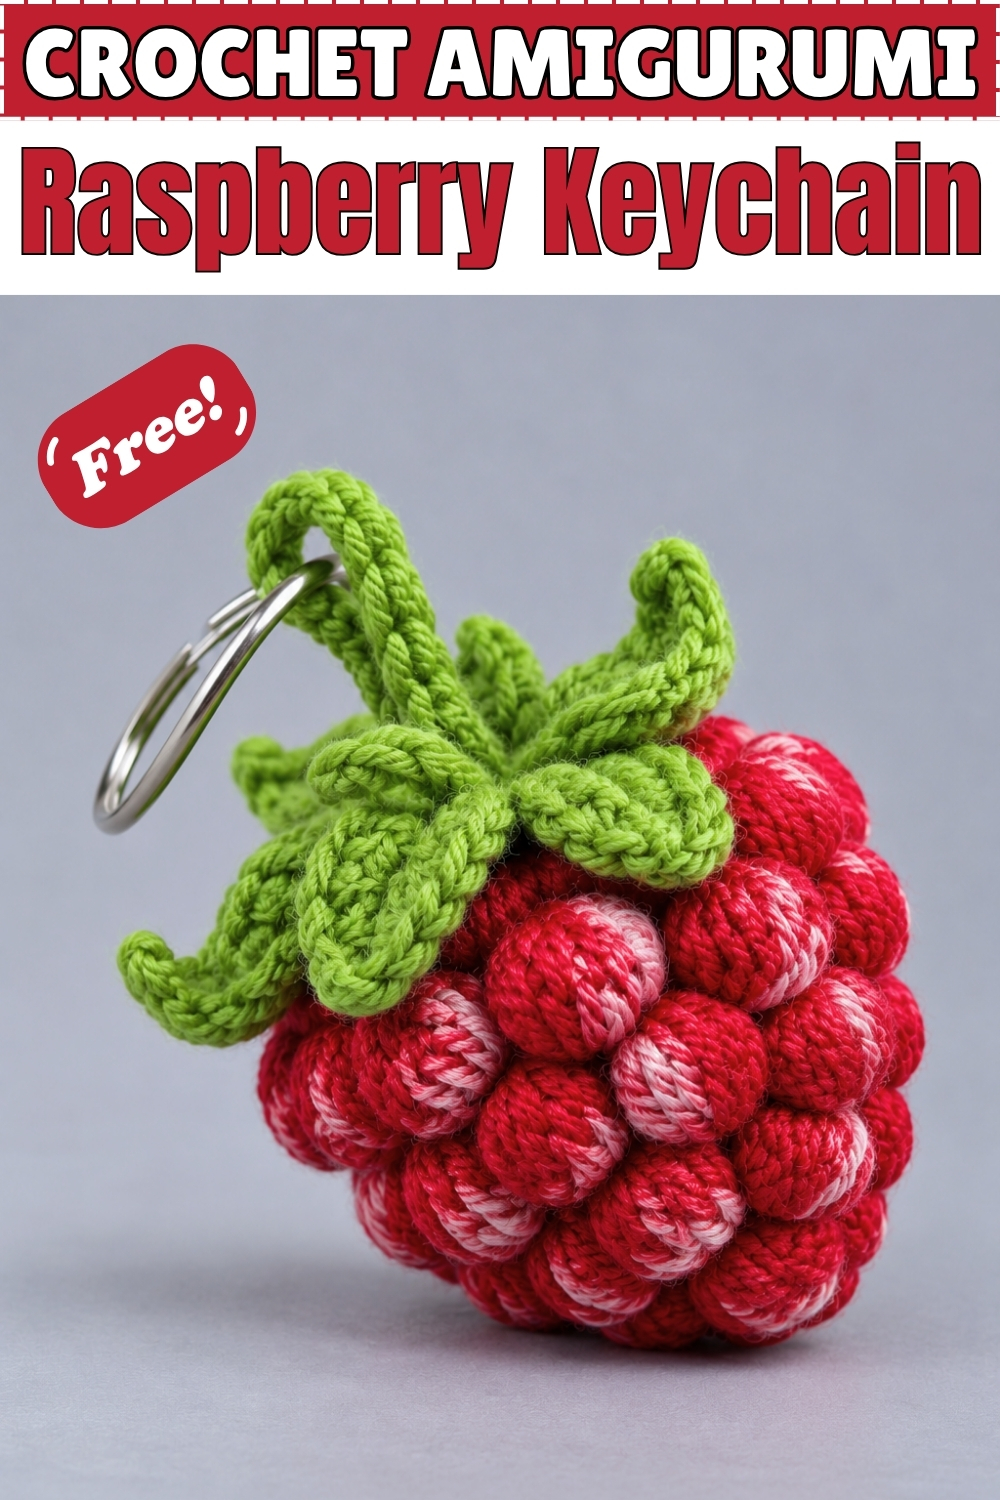
Every bump on my berry comes from one puff stitch. Each one sits in the space between the stitches below, so the bobbles stack into those familiar raised drupelets. I picked a red yarn flecked with pale pink, and the lighter streaks catch the light just like ripe fruit does. Green leaves curl over the top, and a sturdy stem loop holds the split ring in place. My crochet raspberry keychain started as a quick scrap project and became the one I reach for most. Small pieces like this teach the puff stitch faster than any swatch. You only need two colours, a fine hook, and a little stuffing to begin.
Materials and Tools
- Red yarn with pale pink flecks for the berry. I used a marled red that shifts between deep red and soft pink, which gives each puff a ripe, sunlit look. YarnArt Jeans is the yarn this pattern was built around, and a plain red works too.
- Green yarn for the leaves and stem loop. I went with a bright spring green.
- Crochet hook, 1.9 mm.
- Split key ring or keychain base. Mine is a simple silver split ring threaded straight through the stem loop.
- Polyester fiberfill for stuffing.
- Tapestry needle for sewing and weaving in ends.
- Scissors.
- Pliers, optional, for opening a stiff ring or attaching a keychain base with a jump ring.
- Stitch marker, optional, to mark the first puff stitch of each round.
Difficulty and Time
I would call this an easy to intermediate project. The shape is simple, but puff stitches take a little practice to keep even, and the fine hook asks for some patience. In my experience the berry, leaves, and loop fit into a relaxed evening, and your second one will go noticeably faster. Mine came out roughly the size of a big garden raspberry, though your yarn and tension will change that.
Beginner Technique Notes
- Magic Circle (MC): an adjustable ring you crochet into and then pull closed, so the centre has no hole.
- Single Crochet (SC): insert the hook, pull up a loop, yarn over, and pull through both loops.
- Half Double Crochet (HDC): yarn over, insert the hook, pull up a loop, yarn over, and pull through all three loops.
- Double Crochet (DC): yarn over, insert the hook, pull up a loop, then yarn over and pull through two loops twice.
- Slip Stitch (Sl St): insert the hook, yarn over, and pull straight through the stitch and the loop on your hook.
- Chain (Ch): yarn over and pull through the loop on your hook.
- Puff Stitch: yarn over (YO), insert the hook into the stitch or space, grab the yarn, and pull up a loop. Repeat this 4 times in total, so you have several loops sitting on the hook. Grab the yarn and pull through every loop at once, then chain 1 to lock the puff closed.
- Puff Stitch Decrease: pull up 4 loops in the first space as for a puff stitch, but do not finish it. Move to the next space and pull up 4 more loops. Grab the yarn and pull through every loop from both puffs at once, then chain 1 to fasten. Two puffs become one, which pulls the round inward.
The secret to plump puffs is keeping every loop the same height. I pull each loop up to roughly the same level before I start the next one, and that keeps the bobbles round instead of lopsided.
The Pattern
1. The Raspberry Body
- Use the red yarn for every body round.
- Round 1: Make a magic circle.
- Crochet 3 puff stitches into the magic circle [3 puff stitches].
- Pull the tail tight to close the ring.
- Join with a slip stitch into the top of the first puff stitch; you should now see three plump bobbles around a closed centre, and on my berry this end forms the rounded tip at the bottom.
- Round 2: Work this whole round into the spaces between the puff stitches of Round 1, never into the tops of the stitches.
- Crochet 2 puff stitches into the space between the first two puff stitches.
- Move to the next space and crochet 2 puff stitches into that same space.
- Move to the final space and crochet 2 puff stitches into that space.
- Join with a slip stitch to the first puff stitch [6 puff stitches, 3 increases]; the piece should curve into a small shallow cup, and if it ruffles or lies flat, check that you worked into the spaces and not the stitch tops.
- Round 3: Make 6 increases around, still working into the spaces between the puff stitches of the previous round [6 increases].
- Join with a slip stitch to the first puff stitch, just as you did in the earlier rounds; the cup should now widen clearly and start to look like the base of a berry.
- Body, continued: Keep working puff stitches into the spaces between the stitches of the previous round until the berry reaches your preferred width.
- Once it is wide enough, place 1 puff stitch in each space without increasing and keep going until the berry reaches your preferred length.
- Stuff the berry firmly, pushing the fiberfill down into the tip first so the bottom stays round.
- Work puff stitch decreases around the opening until the hole is small enough to close.
- Add a final bit of stuffing through the small opening if the top feels soft.
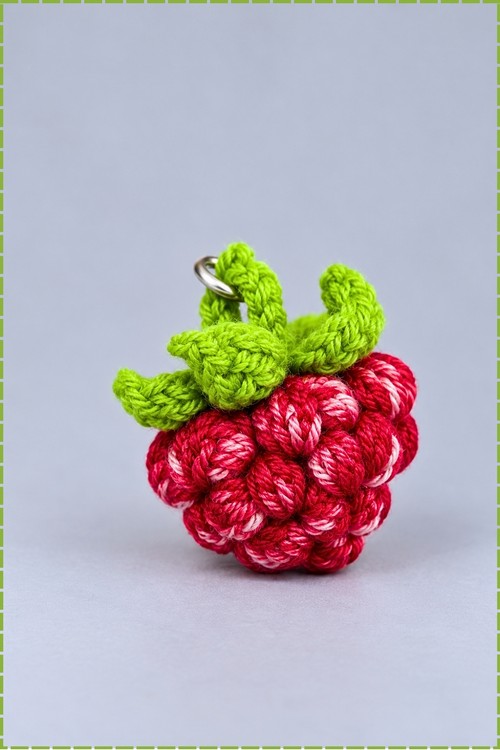
- Fasten off, leaving a long tail, then weave it through the last stitches and pull to close the hole; the finished berry should be rounded at the tip and a touch broader near the top, where the leaves will sit.
2. The Leaves
- Switch to the green yarn.
- Chain a short length for the first leaf.
- Work back along the chain using slip stitch, single crochet, half double crochet, and double crochet, building height toward the middle and stepping back down so the leaf ends in a point.
- Repeat to make a ring of pointed leaves, either worked along one shared chain or made separately and sewn together at the centre.
- Make enough leaves to circle the top of the berry with their tips spreading outward; on mine, the leaves form a loose star that curls at the ends.
3. The Stem Loop
- Keep using the green yarn.
- Chain until the cord reaches your preferred length for the loop.
- Slip stitch back along the chain if you want a firmer, thicker cord like mine.
- Fold the cord into a loop and leave both tails long for sewing; the loop should feel sturdy enough to carry the ring without stretching.
4. Assembly
- Place the leaf ring on the closed top of the berry, centred over the gathered hole so it hides the decrease rounds.
- Sew the leaf centre down firmly to the berry.
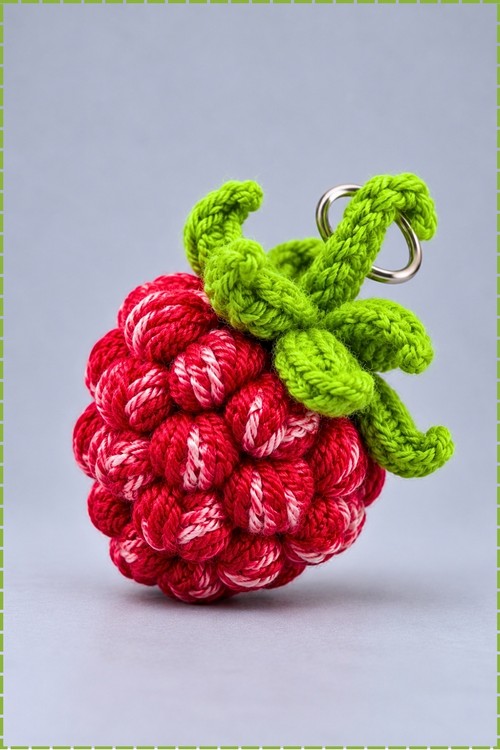
- Leave the leaf tips free so they curl down over the shoulders of the berry instead of lying flat, as they do on mine.
- Sew both ends of the stem loop into the centre of the leaves so the loop stands upright.
- Thread the split ring through the stem loop.
- Use pliers to open the ring if it feels stiff, or to attach a keychain base if yours comes with a jump ring.
- Weave all remaining ends into the berry and trim; your finished raspberry should hang upright from the ring with the leaves sitting like a little green crown.
Tips for a Better Berry
- Use a stitch marker on the first puff of every round. Puff stitches hide the start of the round very easily, and the marker saves you from counting the same space twice.
- Keep your tension even across all four loops of each puff. Tight loops flatten the bobble, and loose loops let stuffing peek through.
- Stuff in small pinches rather than one big wad. Small amounts fill the gaps between the puffs and give that bumpy surface a firm, even feel.
- Stop and stuff before the opening gets small. Once the decreases pull the hole tight, pushing fiberfill into the tip becomes frustrating.
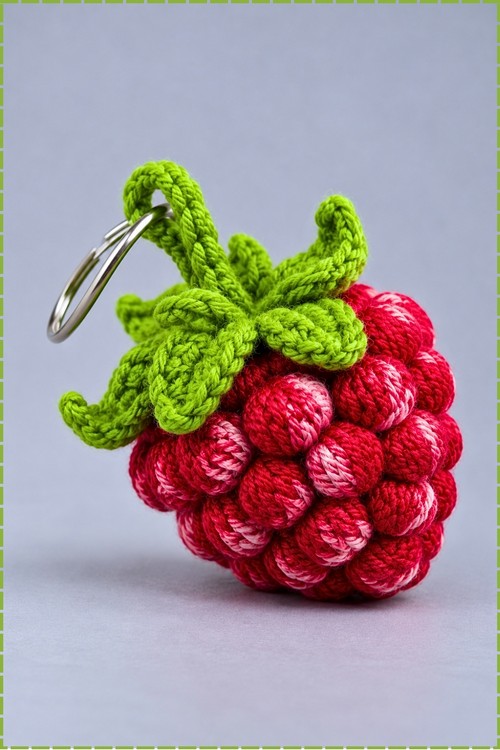
- Shape the leaves with your fingers after sewing. A gentle pinch and twist at each tip encourages the curl you see on my berry.
- Pick a yarn with a little sheen for the berry. Cotton blends make the puffs look juicy and hold their shape much better than fuzzy yarns.
Yarn Substitution
Any smooth cotton or cotton blend in a light weight works well here, since the berry needs crisp, defined puffs. If you switch to a thicker yarn, move up to a hook that suits it and expect a larger berry. Marled or variegated reds give the pink streaks I love on mine, while a solid red reads as a cleaner, more graphic fruit. Steer clear of very fuzzy or brushed yarns, because the halo blurs the bobbles and hides the raspberry texture.
Customization Ideas
- Make a blackberry by swapping the red for a deep purple or near black yarn.
- Work a golden raspberry in soft yellow or peach for a rarer variety.
- Skip the key ring and sew on a safety pin to wear it as a brooch.
- Add a lobster clasp instead of a split ring so it clips onto bag straps.
- Make several berries on short stem loops and gather them on one ring as a little bunch.
- Hang one from a ribbon loop as a fruit ornament for a summer tree or a kitchen shelf.
Frequently Asked Questions
Why do the puff stitches go into the spaces and not the stitches?
Working into the spaces lets each new puff nestle between two puffs below. That offset is what creates the staggered, bumpy look of a real raspberry. Going into the stitch tops stacks the puffs in straight columns and the berry loses its texture.
My stuffing shows between the puffs. What should I do?
Try a smaller hook or pull each loop of the puff a little snugger. Stuffing with a colour close to your yarn also helps, and you can always add a thin layer of matching scrap yarn inside before the fiberfill.
Can I make this without a keychain?
Yes. The berry works beautifully as a bag charm, a brooch, a play food piece, or a hanging ornament. Just skip the ring and keep or remove the stem loop depending on how you want to display it.
How long does one raspberry take?
In my experience, one berry with its leaves and loop fits into an evening of relaxed crocheting. The puff stitches slow you down the first time, and the second berry usually goes much faster.
Is the 1.9 mm hook necessary?
A fine hook keeps the fabric tight so the stuffing stays hidden and the puffs stay round. You can use a slightly larger hook with a thicker yarn, but keep the fabric dense enough that you cannot see light through it.