
Crochet Pompompurin Free Pattern Amigurumi
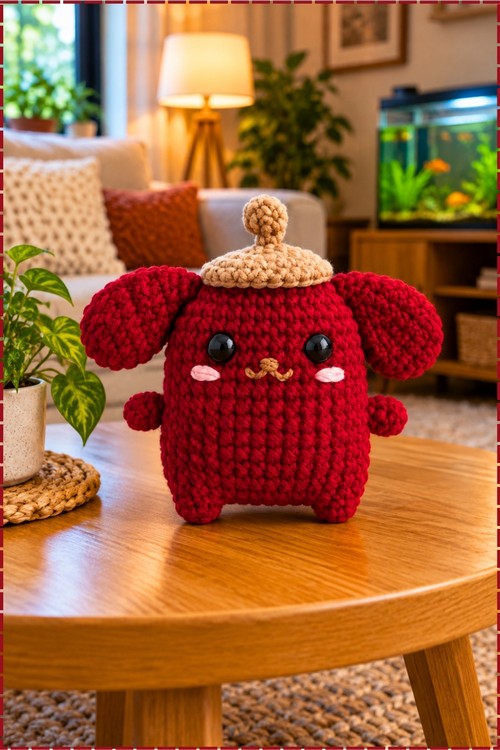
Sanrio collectors get a standing crochet Pompompurin amigurumi that balances on its stubby feet atop a coffee table or bookcase. Dorm shelves gain a bright companion when the crimson Pompompurin crochet doll sits among autumn decor or leafy houseplants.
Floppy ears and a pudding shaped hat give this Crochet Pompompurin Amigurumi a personality that stands out. Fans of character collectibles will enjoy displaying this handmade version, especially alongside other crochet characters in a growing collection.
Crochet Pompompurin Amigurumi
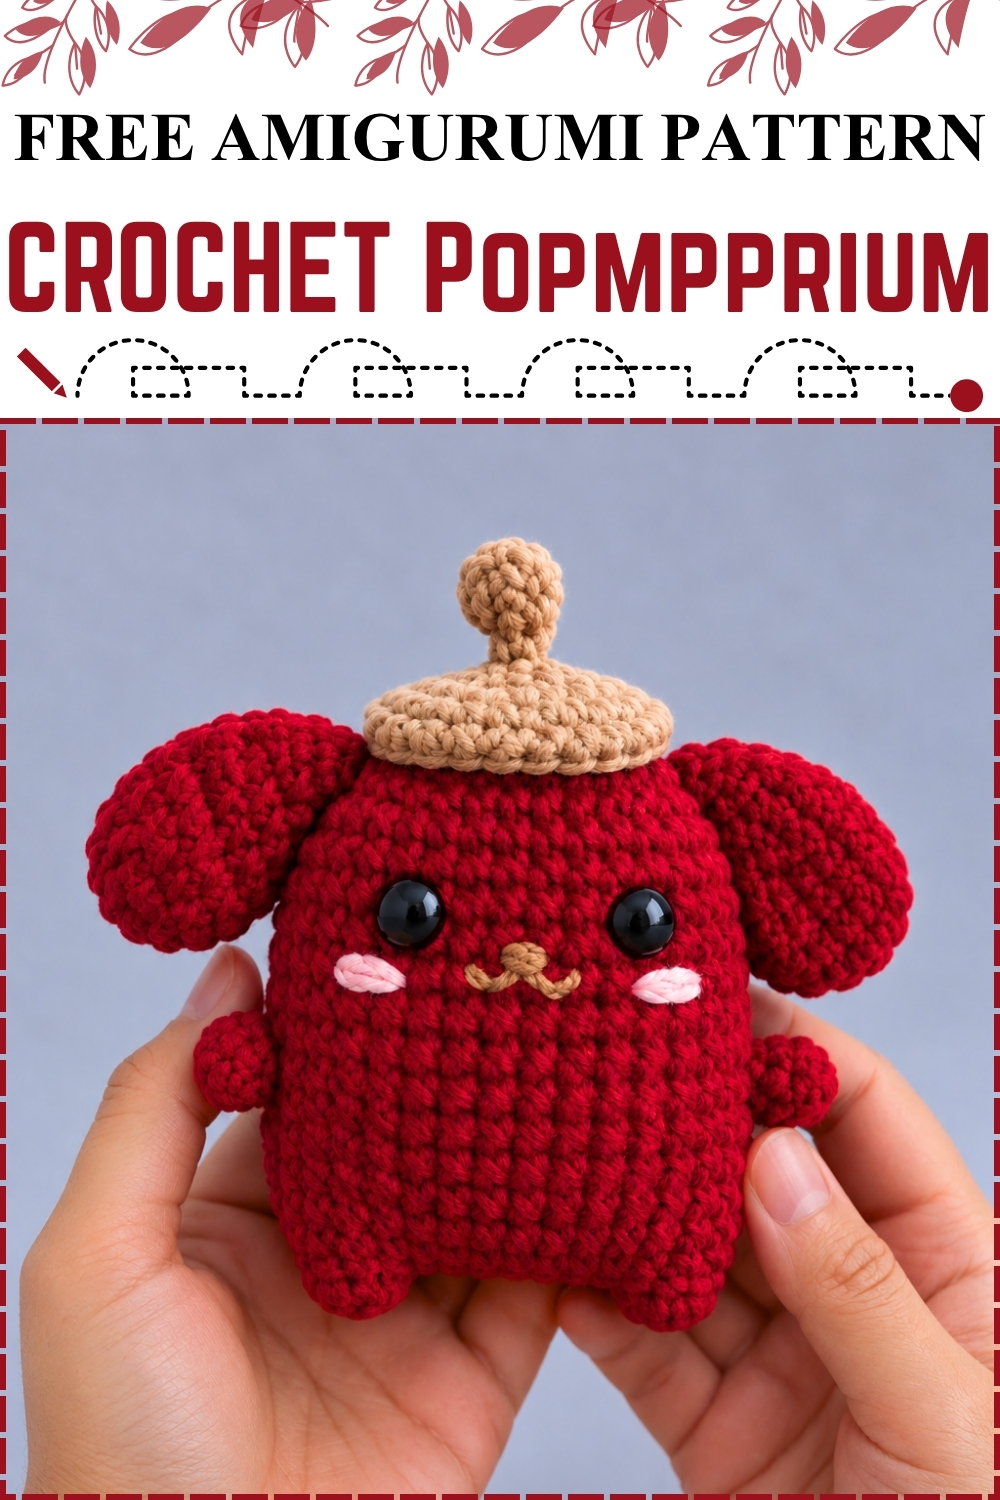
The crochet Pompompurin amigurumi starts at the joined feet and builds upward in one continuous piece. Instead of sewing them on afterward, you work the hands and ears directly into the rounds. Finally, you sew a removable-style beret to the top of the head. My version uses deep red yarn for the entire body, ears, and hands. The result is a bold Valentine or holiday colourway that still reads as Pompompurin once the tan beret goes on. Large black dome safety eyes, a tan embroidered dog nose, and soft pink cheek marks fill in the face.
Materials and Tools
- Cotton yarn in deep red for the body, ears, and hands
- Cotton yarn in tan or caramel for the beret
- Cotton yarn in tan for the nose embroidery
- Pink yarn for the cheek embroidery
- 3 mm crochet hook
- Two large black dome safety eyes
- Synthetic fiberfill stuffing
- Yarn needle and scissors
- Stitch markers
The deep red yarn on mine has a smooth matte finish that makes the stitches read very cleanly in the photo; a cotton or cotton-blend at this gauge gives the most consistent stitch definition for the integrated ear rounds.
Technique Notes
- The feet are made first and joined with a chain bridge so the entire lower body can be worked in a single continuous round from the base up; keep your stitch marker in the first stitch of each round since the joining round is easy to lose track of.
- Hands and ears are attached by crocheting directly through both the body stitches and the piece at the same time rather than sewing; hold the piece firmly against the body at the correct round before starting that section so it sits at the right height.
- A triple increase means working 3 single crochet (sc) into a single stitch; it creates a sharp outward point that shapes the base corners of the body.
- Insert the safety eyes before Round 22 when the opening begins closing quickly; dome safety eyes need space to push through and lock at the back.
- Keep tension consistent through Rounds 13 to 18, the straight body section; uneven tension here shows more than anywhere else on a smooth-bodied amigurumi.
- The beret knob at the top is the small upward stitch cluster visible at the centre of the hat in my photo; it forms naturally from the opening magic ring construction of the beret.
The Pattern
Hands (Make 2, Deep Red)
- Round 1: Make a magic ring (MR) and work 6 sc (single crochet) into the ring [6 sc].
- Rounds 2 to 3: Work 6 sc in each round [6 sc per round].
- Finishing: Slip stitch (sl st) through the back loop only to close, cut the yarn leaving a tail to weave in, and hide the ends inside; the hands are small flat discs that will be integrated into the body sides later; make the second hand the same way.

Ears (Make 2, Deep Red)
- Round 1: Make a MR and work 8 sc into the ring [8 sc].
- Round 2: Work an increase (inc) in every stitch around [16 sc]; the piece becomes a small flat circle here.
- Rounds 3 to 6: Work 16 sc in each round [16 sc per round]; the ear builds into a short cylinder.
- Round 7: (2 sc, 1 decrease (dec)) repeat 4 times [12 sc].
- Rounds 8 to 9: Work 12 sc in each round [12 sc per round].
- Finishing: Sl st to close, cut yarn, and hide ends inside; make the second ear the same way.
Beret (Tan)
- Round 1: Make a MR and work 6 sc into the ring [6 sc].
- Round 2: Work 6 sc [6 sc]; working even here without increases lets the centre knob form naturally from the tighter ring, which is the small raised bump visible at the top of the hat in my photo.
- Round 3: Work 3 dec [3 sc].
- Round 4: Work 3 inc [6 sc].
- Round 5: Work 6 inc [12 sc].
- Round 6: (1 sc, 1 inc) repeat 6 times [18 sc].
- Round 7: (2 sc, 1 inc) repeat 6 times [24 sc].
- Round 8: Work 24 sc [24 sc]; sl st to close, leave a long tail for sewing, and set aside.
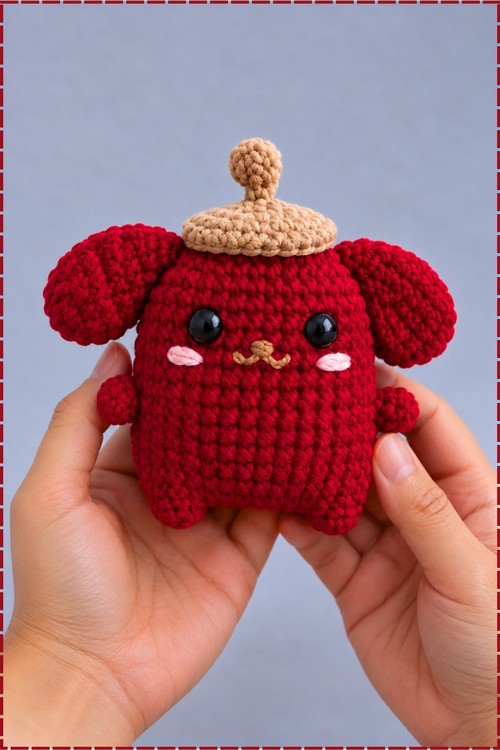
Feet and Body Foundation
- First foot: Make a MR, work 6 sc, then work another round of 6 sc, sl st to close, and cut the yarn [6 sc].
- Second foot and joining chain: Make a MR, work 6 sc, then work another round of 6 sc; do not cut the yarn.
- Chain 11, then join to the first foot by working 6 sc around the first foot, then 11 sc along the foundation chain, 6 sc around the second foot, and 11 sc along the other side of the chain [34 sc total]; the two feet are now connected and you are working in a continuous oval around both of them.
Body Construction
- Round 4: 3 sc, 1 triple increase (3 sc in one stitch), 16 sc, 1 triple increase, 13 sc [38 sc]; the triple increases shape the two front corners of the body base.
- Rounds 5 to 9: Work 38 sc in each round [38 sc per round].
- Round 10 (joining first hand): Work 22 sc, then crochet 3 stitches through both the first hand and the body at the same time, then work 13 sc [38 sc]; position the hand flat against the body side before starting the 3 joining stitches so it sits at the right angle as seen in my photo.
- Round 11 (joining second hand): Work 3 sc, then crochet 3 stitches through both the second hand and the body, then work 16 sc, then work 3 sc across the remaining outside stitches of the first hand, then work 13 sc [38 sc].
- Round 12: Work 3 sc, then 3 sc over the hand join, then 32 sc [38 sc].
- Rounds 13 to 18: Work 38 sc in each round [38 sc per round].
- Round 19: (7 sc, 1 dec, 8 sc, 1 dec) work the sequence to reduce [34 sc]; insert the safety eyes now, between Rounds 16 and 17, positioned about 7 stitches apart and centred above the gap between the feet; lock the backs firmly.
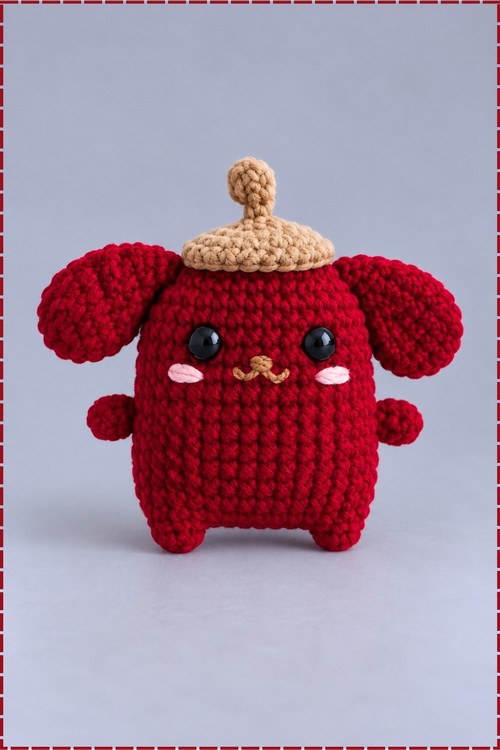
- Round 20 (joining first ear): Work 2 sc, then crochet 6 stitches through both the first ear and the body, then work 11 sc, then 9 sc [34 sc]; hold the ear against the side of the head so it sits at the level you want before starting the join.
- Round 21: Work 2 sc, then (1 sc, 1 dec, 3 sc) across the ear section, then 1 dec on the body, then 7 sc, then 1 dec, then (3 sc, 1 dec, 1 sc) across the second ear section, then 9 sc on the body [30 sc].
- Round 22: (2 sc, 1 dec) twice, 3 sc, 1 dec, (2 sc, 1 dec) twice, 7 sc [24 sc].
- Round 23: (2 sc, 1 dec) repeat 6 times [18 sc]; stuff the body firmly and fill the ears up to about Round 5 before the opening closes further.
- Final Round: (1 sc, 1 dec) repeat 6 times [12 sc]; sl st to close, leave a long tail, then thread the yarn through the front loops of the last 12 stitches and pull tight to close.
Assembly and Face Details
- Ear seams: Sew the base of each ear securely to the body between Rounds 16 and 17 with a couple of stitches to keep them from flopping outward.
- Nose: Embroider the nose with tan yarn centred between Rounds 15 and 16; on my piece the nose reads as a small curved dog nose shape made from a few close stitches of tan yarn, matching the beret colour.
- Cheeks: Embroider small pink oval blush marks on each side between Rounds 14 and 15; mine are two soft pink ovals visible on either side of the nose in the photo.
- Eye depth: Add a couple of stitches around each safety eye stem to create a slight indentation that makes the eyes look more sunken and expressive.
- Beret: Sew the finished beret to the top centre of the head using the long tail; position it slightly forward so the knob points straight up as in my photo.
FAQ
- Why are the hands worked into the body rounds instead of sewn on? Crocheting them in during the body construction gives a much stronger join than sewing; the hands on my piece have been handled a lot and have not shifted at all.
- My ears are floppy after attaching. What helps? A few tack stitches at the base of each ear, worked through the ear and into the body at Rounds 16 and 17, hold them in position without needing internal wire.
- Can I use a different colour? The original pattern uses yellow for classic Pompompurin; my red version is a colour variant that still works because the beret and face details carry the character recognition.