
Crochet Heart Amigurumi Free Pattern - Easy Stuffed Heart Plushie
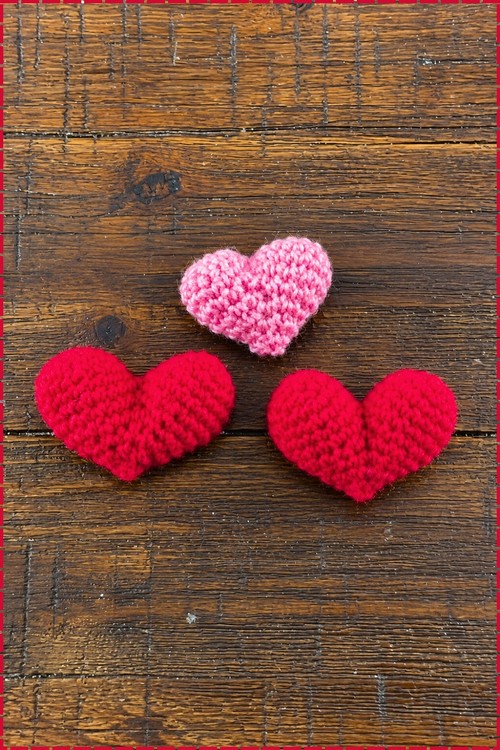
Valentine's Day tables pick up a rustic touch when three crochet heart amigurumi in cherry red and baby pink sit scattered between the plates. Couples can tuck a stuffed heart plushie into a coat pocket or under a pillow as a small surprise, since it fits easily in one palm.
Personality comes easy with this crochet heart amigurumi because there is no face to read. It sits wherever you put it and says nothing. Make a pile in different colours and the crochet heart starts acting like a set rather than a single toy. Quiet, plump, and stubbornly cheerful about it.
Crochet Heart Amigurumi
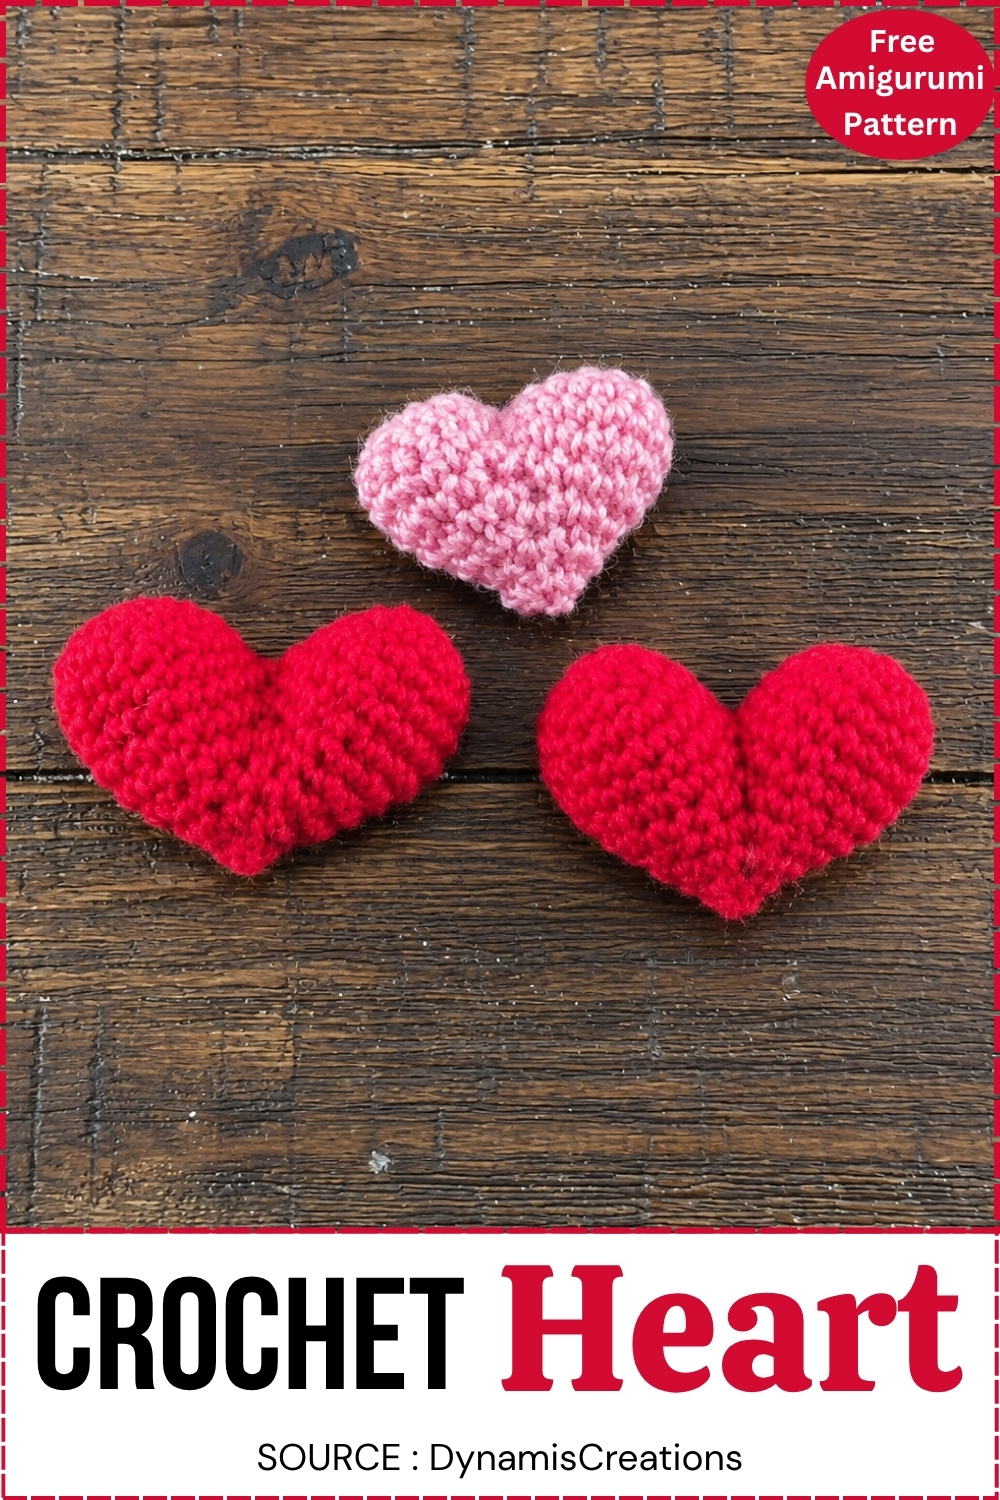
Two rounded lobes meet at the top and taper down to a point at the base, so the shape reads clearly even at this size. The stitches sit flat and smooth with no texture work, just rows of single crochet following the curve. Stuffing gives it a slight dome across the front rather than a flat face. Red and pink are both shown, though any solid colour holds the shape just as well. It comes off the hook in one piece with no parts to sew on afterward. Increases and decreases handle all the shaping, which makes this one of the easier things to get right on a first try.
Is This a Good First Project?
- Yes, and better than most things recommended as one. There is no colour changing, no shaping you have to place by eye, and nothing gets sewn onto anything else. The whole thing is single crochet.
- The one part that will feel strange is round 6, where you crochet around two separate pieces to join them. It is awkward the first time for everyone. It is also over in one round and it is the technique that makes the heart shape happen on its own, so it is worth pushing through rather than avoiding.
Materials and Tools
The pattern does not name a yarn weight. A 4 mm hook suits DK or worsted worked tightly.
- Yarn in any colour, roughly 20 to 30 g
- 4 mm crochet hook
- Stitch marker, or a short piece of scrap yarn
- Stuffing. Toy filling is easiest, but yarn scraps or fabric scraps work
- Yarn needle
- Scissors
Finished size sits somewhere around 7 to 9 cm across. Estimate rather than a figure from the pattern.
Abbreviations
- SC: single crochet
- Increase: 2 single crochet in the same stitch
- Decrease: single crochet two stitches together
- Magic ring: adjustable ring used to start amigurumi
- Stitch counts appear in brackets.
Pieces List
- Top domes, 2, worked to 18 stitches each
- Heart body, worked directly onto the two joined domes from round 6 onward
Two pieces, and after round 6 there is only one. Nothing gets sewn together.
Techniques You Need
Read this even if some of it is familiar. Three of these are the difference between a heart that works and one that does not.
The Magic Ring
- Wrap the yarn around two fingers so the loop crosses over the working yarn. Put your hook through the loop, catch the working yarn and pull it back through, then chain 1 to lock it. Now work your 6 single crochets into the ring itself, catching both strands of the loop as you go.
- When all 6 are done, pull the tail firmly. The hole closes completely.
- If the magic ring defeats you, chain 2 and work 6 single crochet into the second chain from the hook instead. It leaves a slightly larger hole, but on this project it ends up buried inside a stuffed dome where nobody will ever see it.
Continuous Rounds
- You do not join these rounds. No slip stitch at the end, no chain at the start. You spiral, working the first stitch of the new round straight into the first stitch of the old one.
- The catch is that your round now has no fixed starting point. There is no seam telling you where you are, which is exactly why the next technique matters.
Marking the Round
- Put a stitch marker in the first stitch of every round and move it up each time you come back to it. A locking marker is ideal, but a safety pin, a paperclip or a loop of contrast yarn all do the job.
- On this heart, rounds 4 and 5 are both plain rounds of 18 with nothing to distinguish them. That is where beginners lose their place. Mark it and count.
Invisible Decrease
- The standard decrease works, but it leaves a small ridge on the surface. On a heart there is no face or detail to distract from it, so it shows.
- For the invisible version: put your hook through the front loop only of the next stitch, then through the front loop only of the stitch after it. You now have three loops on the hook. Yarn over and pull through the first two, then yarn over and pull through the remaining two.
- Use it on every decrease from round 7 onward. It costs a second per stitch and it is the single change that makes a first project look less like a first project.
Joining Two Pieces in One Round
- This is round 6 and it is the only genuinely new thing here.
- You finish the second dome and leave its yarn attached. Then you pick up the first dome, hold the two side by side with their open edges facing you, and single crochet into a stitch on the first dome to connect them. From there you simply keep going, working one single crochet into every stitch around the outside of both domes as though they were one big circle.
- You end up with 36 stitches in the round and two domes hanging below it. The valley where the two domes meet is the top of the heart, and you never crochet it. It just appears.
Closing the Final Hole
- When the last decrease round is done you will have a small opening. Cut the yarn leaving a tail, thread it onto your needle, and run the needle through the front loop of each remaining stitch going around. Pull tight and the hole draws shut.
- Then push the needle into the heart, bring it out somewhere on the side, pull, and snip close so the end disappears inside.
Crochet Heart Pattern
Top Pieces, Make 2
- Round 1: magic ring, 6 SC, pull tight [6]
- Round 2: 2 SC in each stitch around [12]
- Round 3: 1 SC, 1 increase, repeat around [18] Checkpoint: a flat disc lying down on the table without cupping or ruffling. If the edge waves, your increases are too loose. If it has already curled into a bowl, your tension is very tight and the heart will come out small.
- Round 4: 1 SC in each stitch around [18]
- Round 5: 1 SC in each stitch around [18] Checkpoint: a rounded dome with an open bottom, roughly the depth of a bottle cap. It should hold its shape when set down rather than flopping flat.
- First dome: slip stitch and fasten off, leaving a short tail.
- Second dome: repeat rounds 1 to 5, but do not cut the yarn. Checkpoint: hold both domes side by side. They must match in width and depth. This is your last chance to redo one, because round 6 locks them together permanently.
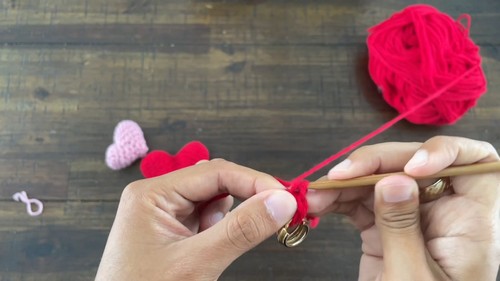
Joining the Domes
- Pick up the first dome.
- Single crochet into one stitch of the first dome to join the two pieces.
- Round 6: 1 SC in every stitch around both domes [36] Checkpoint: one continuous round with both domes below it and a natural valley across the middle where they meet. That valley is the top of the heart. Small gaps often open at the two points where the domes touch, so close them now with the short tail from the first dome, before any stuffing goes in.
Not sure how to read amigurumi abbreviations yet? Follow the video tutorial below and the written pattern will start making sense in no time!
Shaping the Heart
- Round 7: 4 SC, 1 decrease, repeat around [30] Checkpoint: the sides start pulling in below the domes. The piece should read as a heart from the front already.
- Round 8: 3 SC, 1 decrease, repeat around [24]
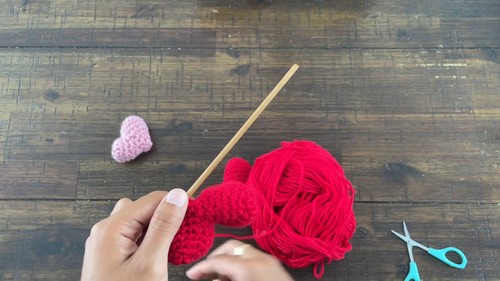
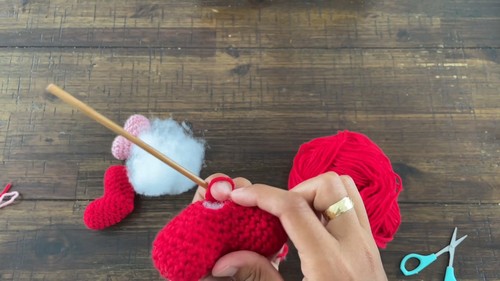
- Round 9: 2 SC, 1 decrease, repeat around [18] Checkpoint: stuff firmly now, before the opening gets any smaller. Push stuffing upward into both domes first, using the blunt end of your hook or a chopstick. You are filling against the direction you crocheted, which catches people out.
- Round 10: 1 SC, 1 decrease, repeat around [12]
- Round 11: decrease in every stitch until the hole is small enough to close [6] Checkpoint: one round of 6 decreases takes 12 down to 6, which closes cleanly.
Finishing
- Fasten off leaving a small tail.
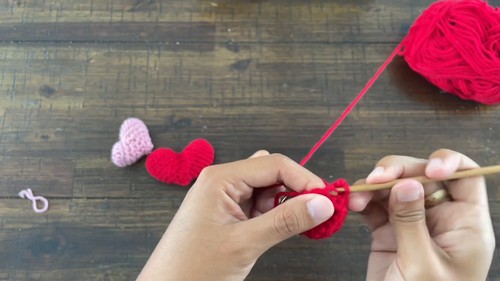
- Thread the tail on a needle and run it through the front loops of the remaining stitches, then pull tight to close the hole.
- Use the needle or the back of your hook to tuck the tail inside.
- Adjust the shape with your hands.
Three small things to know.
- Most rounds carry no stated stitch count. Only rounds 2, 3 and 6 give a number. The counts in brackets above are what each round's own instructions produce, worked out from the stitches consumed, not figures taken from the original. If you want to check yourself, every decrease round removes exactly 6 stitches.
- Round 11 has no target. It says to decrease in every stitch until the hole is small enough to close, which is a strange instruction to give a beginner who has no idea what small enough means. From 12 stitches, one round of 6 decreases gives you 6, and 6 is what you want. Do not work a second round.
- The closing instruction sits in the wrong section. The finishing steps say only to fasten off and tuck the tail inside, which on its own would leave a hole in the bottom of your heart. The actual instruction to pull the yarn through the last stitches appears further down, in a separate paragraph about shape adjustment. I have put it back into the finishing steps above where it belongs.
If You Want to Add a Face
This pattern has no facial features and the heart is complete without them. If you want to add a face, the timing matters and it is not obvious.
- Safety eyes have to go in before you stuff at round 9. Once the domes are packed with filling there is no way to get a hand inside to seat a washer, and the heart is nowhere near closed at that point.
- The easiest moment is right after round 6, when the piece is one open round of 36 with both domes empty and reachable.
- Position them on the domes, one on each, roughly level with each other and slightly toward the centre.
- Push the post through from the outside, look at the heart straight on, then seat the washer from inside. Washers do not come off once they are on.
- Embroidered eyes can go on at any stage, including after the heart is completely finished. For a first project this is much easier, since you can hold the shape and judge the expression properly.
- For a toy going to a child under three, use embroidery only. On a small stuffed piece with no other components, safety eyes would be the only hard part and they are not worth including.
- Sleepy closed eyes suit this shape well and are two short curved lines each. A tiny stitched smile below the valley finishes it.
Assembly and Shaping
There is no assembly here in the usual sense, since nothing is sewn together. What is left is shaping.
- Close the final opening properly, going around twice if the first pass leaves a gap.
- Squeeze the heart gently all over once it is closed. The stuffing redistributes and the shape improves.
- Round out both domes with your fingers so the top curves stay full.
- Press the bottom point into shape between your thumb and finger.
- Look at it from the front. If one dome sits higher than the other, work stuffing from the fuller side toward the emptier one rather than adding more.
- Tuck the tail well inside. On a plain piece with no detail, a tail on the surface is the only thing there is to look at.
Stuffing Guide
- Domes: firm and rounded. They carry the whole silhouette. A soft dome makes the heart read as a lump rather than a heart.
- Fill the domes before the lower section. Push stuffing upward with the blunt end of your hook, since your finger will not reach.
- Lower section: firm enough to hold the taper without stretching the stitches.
- Bottom point: go easy. Overstuffing there pushes the point outward and flattens the shape you spent five rounds building.
- Use small pieces rather than one large clump. A single lump leaves a hard core and hollow corners.
- Stuff at round 9, exactly where the pattern says. Earlier and you are working around a full piece, later and the opening is too small to reach through.
- Where overstuffing shows first: round 6 at the widest point, where the fabric stretches and white filling shows between stitches. Red and dark yarns show it worst.
FAQ
- What does working in continuous rounds actually mean? You never join or turn. You just keep spiralling, going straight from the last stitch of one round into the first stitch of the next. It means there is no seam line, which is why amigurumi looks smooth, and it also means you must mark your place or you will lose it.
- My two domes came out different sizes, does it matter? Yes, and there is no fixing it after round 6. A dome that is one round shallower makes one side of the heart sit lower, and you will see it from every angle. Five rounds is quick to redo.
- There is a hole where the two domes meet, what did I do wrong? Nothing at all. Two round pieces only touch at a single point on each side, so a small gap at each junction is completely normal. Close them with the short tail from the first dome during round 6, before stuffing.
- How do I know if my stitches are tight enough? Hold the fabric up to a light. If you can see through it, stuffing will show through too. Drop to a 3.5 mm hook and start again. Amigurumi is worked much tighter than the ball band suggests.
- How much should I stuff it? Firm enough that the heart holds its shape when you set it down, soft enough that it gives when you squeeze it. If you can see stitches pulling apart, that is too much. If the domes dent when you press them, that is too little.
Your first one will teach you more in an hour than reading about it will, and the join gets easy the second time.