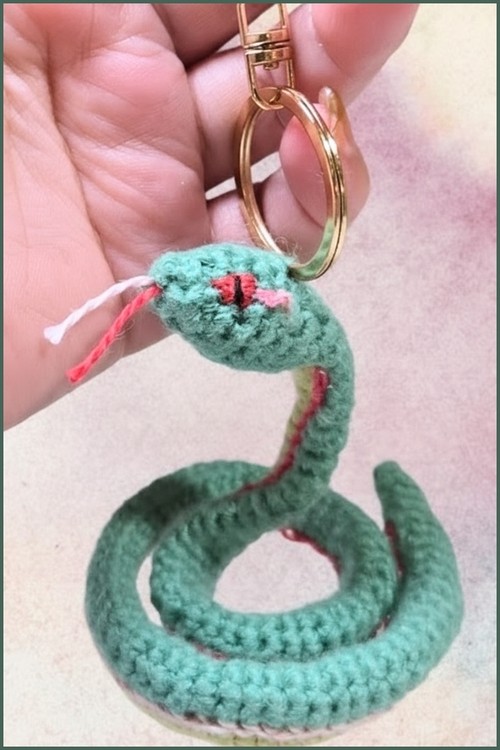
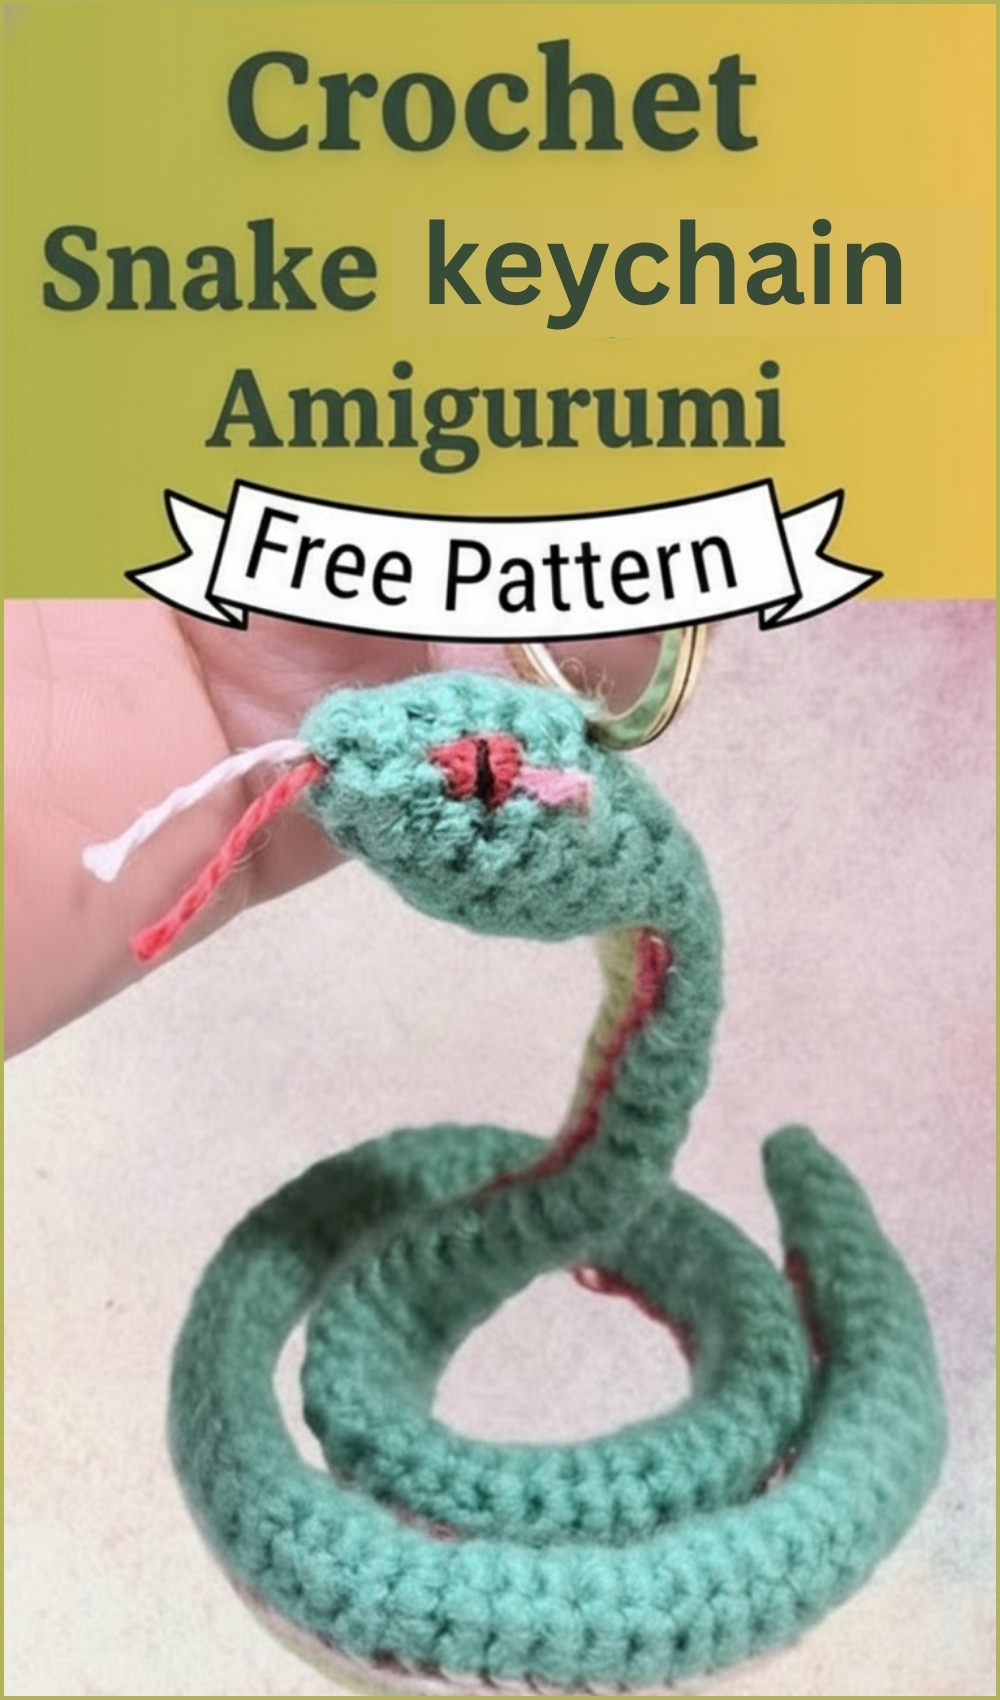
Realistic Amigurumi Snake Keychain Crochet Pattern
Graceful shaping and long, continuous rounds give this snake its distinctive flowing form, while the internal wire allows it to bend and pose naturally. The contrast between the body and belly colors, combined with embroidered details, creates a striking, lifelike finish that feels polished without being overly complicated.
Crochet Snake Keychain Amigurumi
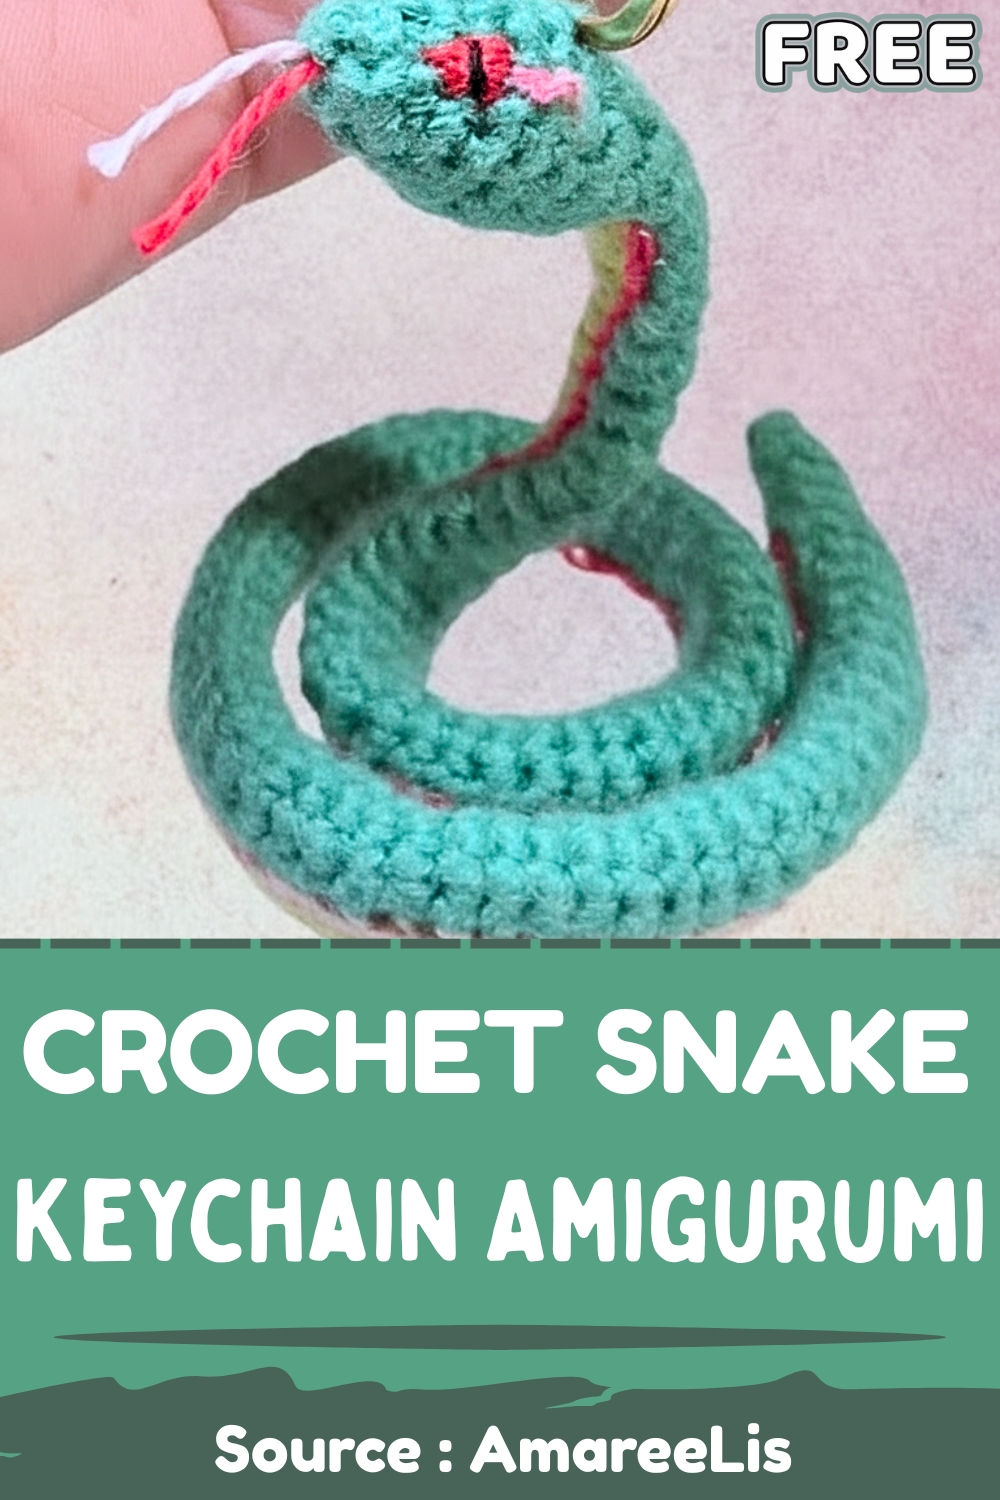
This design leans heavily on consistency, tension control, and careful color transitions, making it a satisfying project for crocheters who enjoy rhythm and structure.
Skill Level
Intermediate
This pattern is repetitive but requires:
- Consistent stitch tension over many rounds
- Clean color changes
- Careful wire placement and shaping
- Patience during embroidery and finishing
Finished Size
- Approximately 30 cm long (based on inserted wire length)
Materials
- GETTING STARTED & MATERIALS
- Inspired by the Fogil Split Snake.
- Yarn: Lion Brand Sea Foam (main body), Celery (belly).
- 2 mm crochet hook, stitch markers, measuring tape, scissors, yarn needles, 1 mm jewelry wire, stuffing.
- Embroidery: red yarn, black thread.
Abbreviations
- sc: single crochet
- inc: increase
- dec: invisible decrease
Helpful Notes Before Starting
- This snake is worked continuously in spirals — no joining rounds. Use a stitch marker.
- The body is very long (over 80 rounds), so take breaks to avoid tension inconsistency.
- The belly color (Celery) always stays aligned on one side — this creates the snake’s underside.
- Wire is added early, so smooth edges and safety are important before insertion.
Construction Overview
This snake is built in one continuous piece:
- Head is shaped first with gradual increases
- Wire is inserted to form the internal structure
- Body is worked in long repeating rounds with two colors
- Tail tapers down with decreases
- Embroidery adds facial features and body detail
There is no sewing of separate parts, which makes shaping and alignment especially important as you go.
HEAD
(Pattern kept exactly as written)
- Begin with a magic ring.
- Round 1: 6 single crochet (sc) in the magic ring.
- Round 2: 6 sc.
- Round 3: Invisible increase (inc), 1 sc.
- Repeat 3 times (9 stitches total).
- Round 4: 1 sc, invisible inc, 1 sc.
- Repeat 3 times (12 stitches total).
- Round 5: Invisible inc, 3 sc.
- Repeat 3 times (15 stitches total).
- Rounds 6-7: 15 sc.
What’s happening here
- The increases create a rounded, slightly elongated head shape
- Even spacing of increases prevents a lumpy or uneven head
- Rounds 6–7 stabilize the shape before decreasing begins
PREPARE WIRE
- Round off both ends of a 34 cm piece of 1 mm jewelry wire.
The final length will be about 30 cm.
Important tips
- Always loop or blunt the ends of the wire so it doesn’t poke through stitches
- You can wrap ends with yarn or tape for extra safety
HEAD CONTINUED
- Round 8: Invisible decrease (dec), 3 sc.
- Repeat 3 times (12 stitches total).
- Round 9: 1 sc, invisible dec, 1 sc.
- Repeat 3 times (9 stitches total).
- Lightly stuff the head and insert the larger end of the wire.
Why this matters
- Decreases shape the head inward, giving it a natural taper
- Light stuffing keeps the head soft while still holding form
- Inserting wire now ensures it runs through the entire body evenly
BODY
- Rounds 10-91: 6 sc in Sea Foam yarn and 3 sc in Celery yarn.
Change colors seamlessly as you crochet.
Stitch and shaping clarity
This section builds the entire snake length:
- Each round = 9 stitches total
- 6 stitches = main body (Sea Foam)
- 3 stitches = belly (Celery)
Key things to watch
1. Belly alignment
- Always keep the 3 Celery stitches in the same position
- If they drift, the belly will twist around the body
2. Color changes
- Switch yarn on the last yarn-over of the previous stitch
- This avoids visible steps or jagged transitions
3. Tension consistency
- Over 80 rounds, small tension changes become noticeable
- Try to maintain the same grip and rhythm
TAIL
- Round 92: 1 sc in Sea Foam, invisible dec in Sea Foam, 3 sc in Sea Foam, 1 sc in Celery, invisible dec in Celery (7 stitches total).
- Rounds 93-95: 5 sc in Sea Foam, 2 sc in Celery.
- Round 96: 2 sc in Sea Foam, invisible dec in Sea Foam, 2 sc in Sea Foam, 1 sc in Celery (6 stitches total).
- Round 97: 5 sc in Sea Foam, 1 sc in Celery.
- Round 98: 6 sc in Sea Foam.
- Continue with only Sea Foam yarn.
- Round 99: 1 sc, invisible dec, 3 sc (5 stitches total).
- Round 100: 2 sc, invisible dec, 1 sc (4 stitches total).
- Cut and secure both yarns.
What’s happening here
- Gradual decreases taper the body into a natural pointed tail
- Belly color fades out smoothly instead of stopping abruptly
- Final rounds remove the belly completely for a clean finish
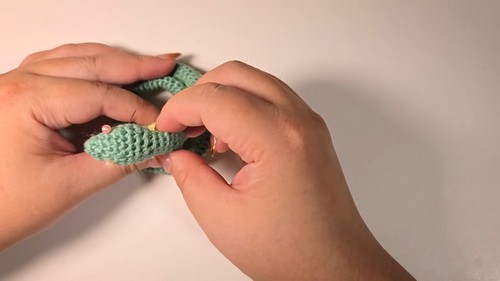
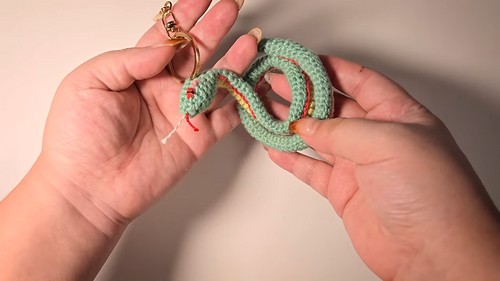
Assembly Guidance
- Since this is one piece, shaping happens as you crochet
- Gently bend the wire inside to give the snake:
- Curves
- Coiled poses
- Lifted head positions
Eye and Facial Feature Placement
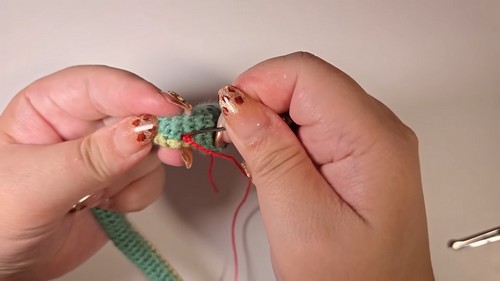
EMBROIDERY
Eye Slits: Use a double strand of black thread for three vertical stitches on each eye.
Placement tips
- Position eyes on the sides of the head, slightly forward
- Keep both sides symmetrical by:
- Marking positions before stitching
- Counting stitches from the center
Body Embroidery Details
- Belly: Use a single, 150 cm gold embroidery thread for vertical stitches along the belly.
- Red Stripes: Use a single, 350 cm ombre red yarn to create a chain stitch pattern along the body.
How to approach this
- Work slowly and evenly along the body
- Follow the natural curve of the stitches
- Keep spacing consistent for a clean, professional look
Stuffing Tips
- Keep stuffing light and even, especially near the head
- Avoid overstuffing — the wire provides structure
- If stuffing bunches, use a crochet hook to distribute it evenly
Beginner Notes
- Long projects like this can feel repetitive — that’s normal
- Use stitch markers not just for rounds, but also:
- Belly alignment
- Eye placement
- Take breaks to maintain even tension
Troubleshooting
- Belly twisting around body: You’re shifting stitch position each round. Keep the 3 Celery stitches aligned.
- Visible color change line: Switch yarn earlier (during the last yarn-over of the previous stitch).
- Wire poking through: Ends were not rounded enough — always secure and blunt them.
- Snake looks uneven: Likely tension inconsistency — check hook grip and yarn handling.
Customization Ideas
- Change color palette for different snake species
- Add thicker stripes or patterns
- Use metallic thread for decorative effects
- Adjust wire length for longer or shorter snakes
- Shape into spirals, coils, or hanging forms