Crochet Rose Doll Head Free Pattern For Beginner’s Guide To Simple Stitches
If you’re looking to make a unique and charming crochet doll, the rose doll head pattern is a great place to start. This step-by-step guide covers the first five rounds of the head, with clear instructions that are easy to follow. Each round builds on the previous one, helping you create a smooth and well-structured foundation for your doll.
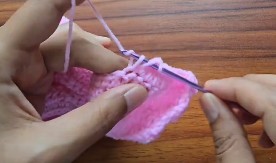
Crochet Rose Doll Head
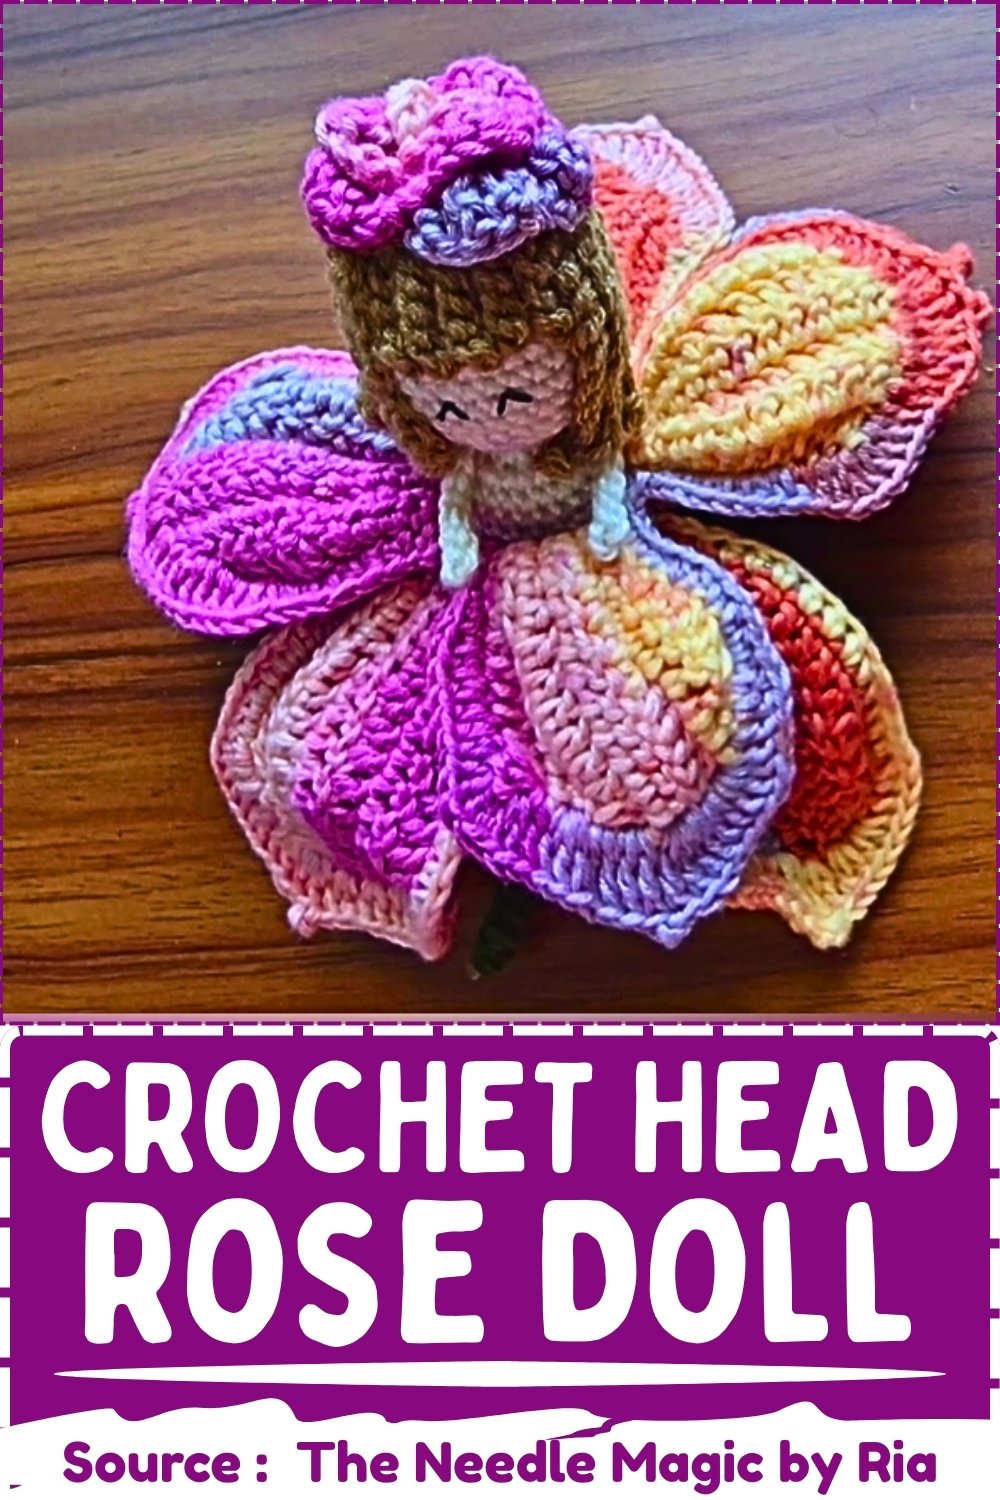
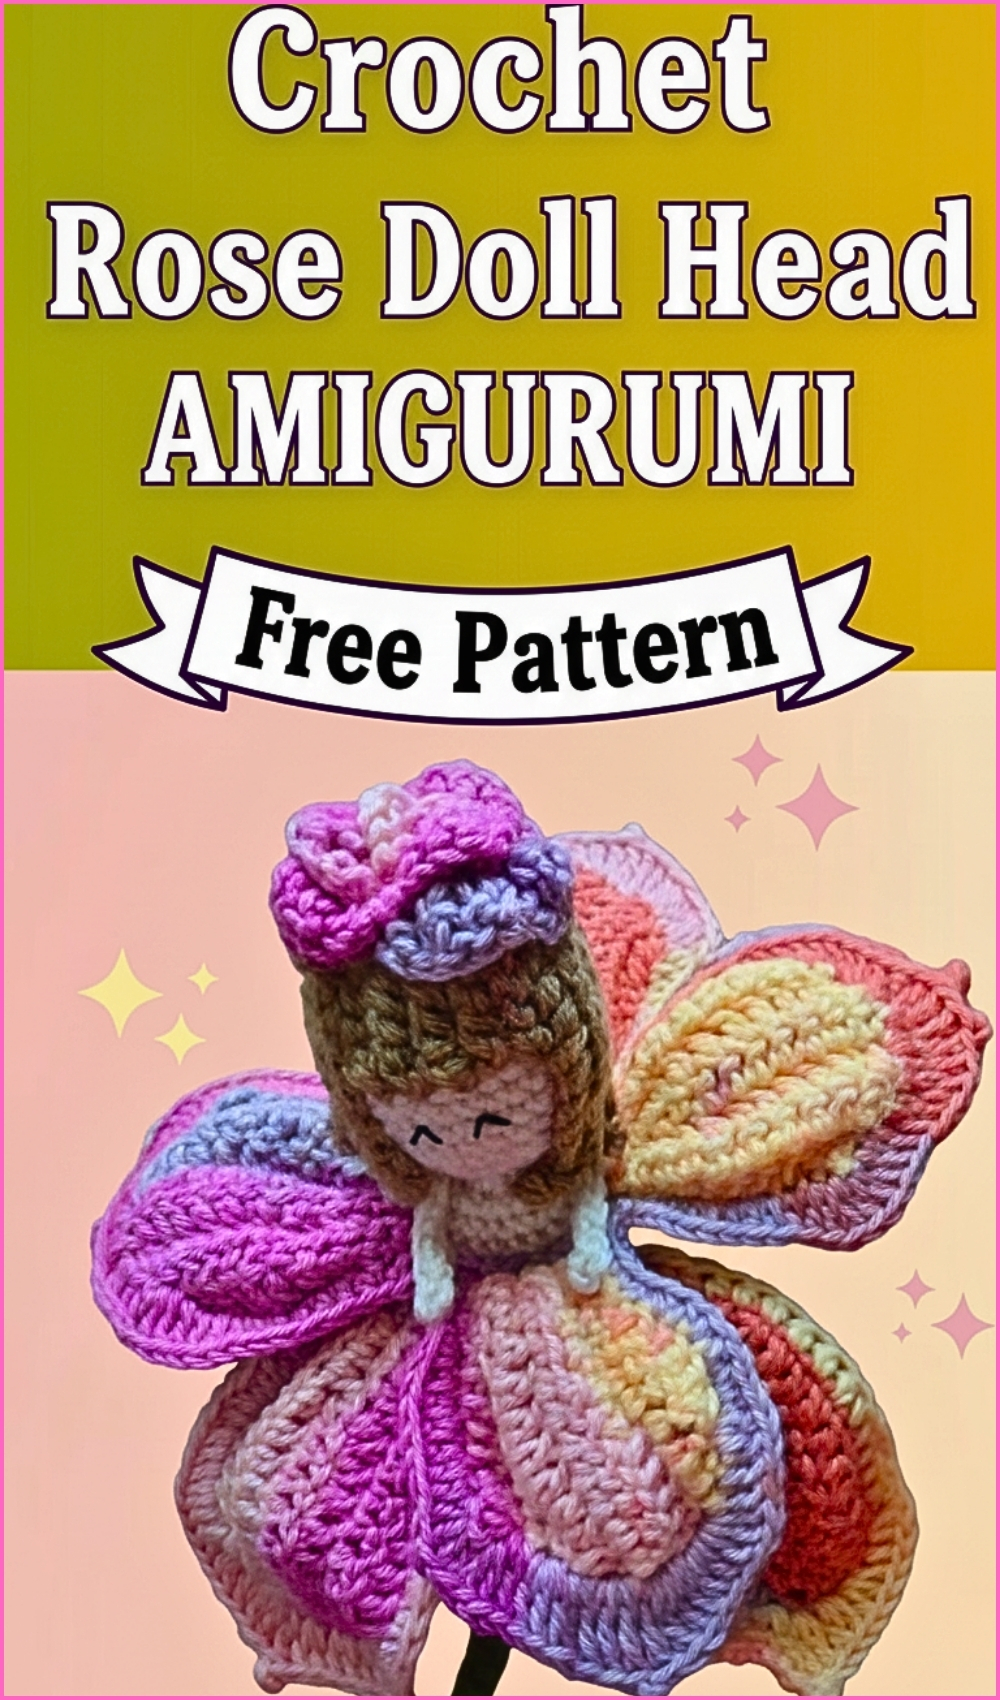
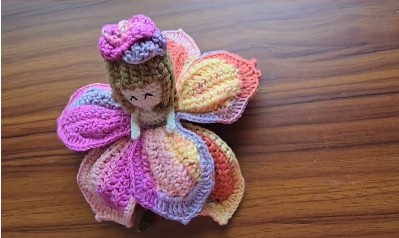

Elevate your fiber art collection by experimenting with a Crochet Rose Doll Head blueprint that beautifully synthesizes nature and miniature sculpture. This captivating creation displays lush, velvety stitched petals framing a dainty, endearing face, proving highly functional as a decorative brooch or a dreamy nursery mobile element. Its intricate textures and boundless color combinations provide an enchanting, deeply satisfying experience for passionate makers.
Project Skill Level
-
This pattern is ideal for confident beginners who know how to make a basic chain and want to master the geometry of amigurumi shaping.
Estimated Finished Size
-
Your final piece will measure approximately two inches in diameter when using standard worsted weight yarn and a four-millimeter hook.
Required Materials
-
Medium worsted weight yarn in any color of your choice
-
Four millimeter crochet hook
-
Plastic stitch marker to track the start of your rounds
-
Fiberfill stuffing to fill your shape
-
Yarn needle with a large eye for weaving in the yarn tail
-
Scissors for trimming your yarn
Crochet Abbreviations
-
ch stands for chain stitch
-
sc stands for single crochet
-
inc stands for increase, which means making two stitches in the same space
Helpful Notes Before Starting
-
Keep your tension slightly firmer than usual to prevent your stuffing from peeking through the stitches later.
-
Use a stitch marker in the first stitch of every round because it is incredibly easy to lose your place when working in circles.
-
Always count your stitches at the end of every round to ensure your increases line up perfectly.
Construction Overview
-
You are building a flat circle that will serve as the top or bottom dome of an amigurumi piece.
-
The shape expands by adding exactly six new stitches in every single round.
-
This mathematical progression ensures the piece stays flat and does not ripple or cup too early.
Stitch and Shaping Clarity
-
The magic circle acts as an adjustable loop that completely eliminates the hole in the center of your work.
-
An increase simply means placing two single crochets into one single stitch from the previous row.
-
Spacing the increases further apart in each round allows the circle to grow evenly rather than forming sharp corners.
Step by Step Pattern Instructions
- Magic Circle
- Create a magic circle and place six single crochet stitches inside.
- Pull the yarn tail to close the circle and slip stitch to join. You will have a total of six stitches.
- Increase
- Chain one, then make two single crochet stitches in each of the six stitches from the previous round.
- You will end this round with a total of 12 stitches.
- Increase on Every Second Stitch
- Chain one, make one single crochet in the first stitch, and two single crochet in the next.
- Repeat this pattern for the entire round to get a total of 18 stitches.
- For Increase on Every Third Stitch
- Chain one, make one single crochet in each of the first two stitches, and two single crochet in the third.
- Repeat this pattern for the entire round to get a total of 24 stitches.
- Increase on Every Fourth Stitch
- Chain one, make one single crochet in each of the first three stitches, and two single crochet in the fourth.
- Repeat this pattern for the entire round to get a total of 30 stitches.
Assembly Guidance
-
If you are attaching this piece to a body, leave a long yarn tail of about twelve inches when you fasten off.
-
Pin the piece securely to your main project before sewing to keep it from shifting out of alignment.
-
Whipstitch through both the loops of this piece and the body stitches to create a seamless join.
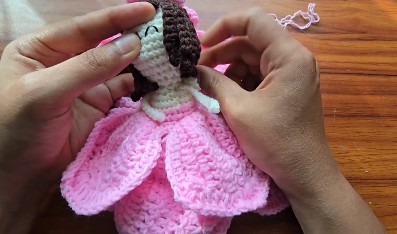
Eye and Facial Feature Placement
-
Safety eyes look best when placed between rounds three and four if you are using this piece as a tiny head.
-
Space the eyes roughly five to six stitches apart to give your character a cute, balanced expression.
-
Embroider any nose or mouth details directly centered between the two eyes for perfect facial symmetry.
Stuffing Tips
-
Tear your fiberfill into small, fluffier clumps rather than pushing one large hard ball into the piece.
-
Push the stuffing firmly into the sides first to emphasize the round shape you created with your increases.
-
Avoid overstuffing near the final round so your hook does not accidentally catch the white fibers.
Finishing Notes
-
Pull the center magic ring tail tightly one last time before weaving it into the inside of your work.
-
Knot your final yarn tail securely on the inside of the piece so it never unravels during handling or washing.
-
Smooth out the exterior stitches with your fingers to evenly distribute the stuffing inside.
Beginner Notes
-
Do not worry if your circle looks slightly hexagonal, as this naturally happens when increases stack directly on top of each other.
-
If your work starts curling into a bowl shape too early, check that you did not accidentally skip any increase stitches.
-
The chain one at the start of the round does not count as a stitch, so never work your final stitches into it.
Troubleshooting
-
If you have fewer than thirty stitches at the end, recount your single crochets between the increases in the final round.
-
If there is a noticeable hole in the center, your magic circle was not pulled tight enough before joining.
-
If the edges of your circle are wavy, your tension might be too loose, and switching to a smaller hook will fix it.
Customization Ideas
-
Change your yarn color on the very last round to create a cute patterned hat or cap effect for a character.
-
Continue the established math pattern by adding an extra single crochet between increases if you want to make a larger toy.
-
Use a fuzzy velvet yarn with this exact same pattern to instantly create a plush, oversized version of the shape.