Crochet Liloy's Disney Stitch Amigurumi Pattern Free
If you're a fan of Disney's Stitch, this crochet pattern will help you create your very own amigurumi version of the lovable alien!
Crochet Liloy's Disney Stitch
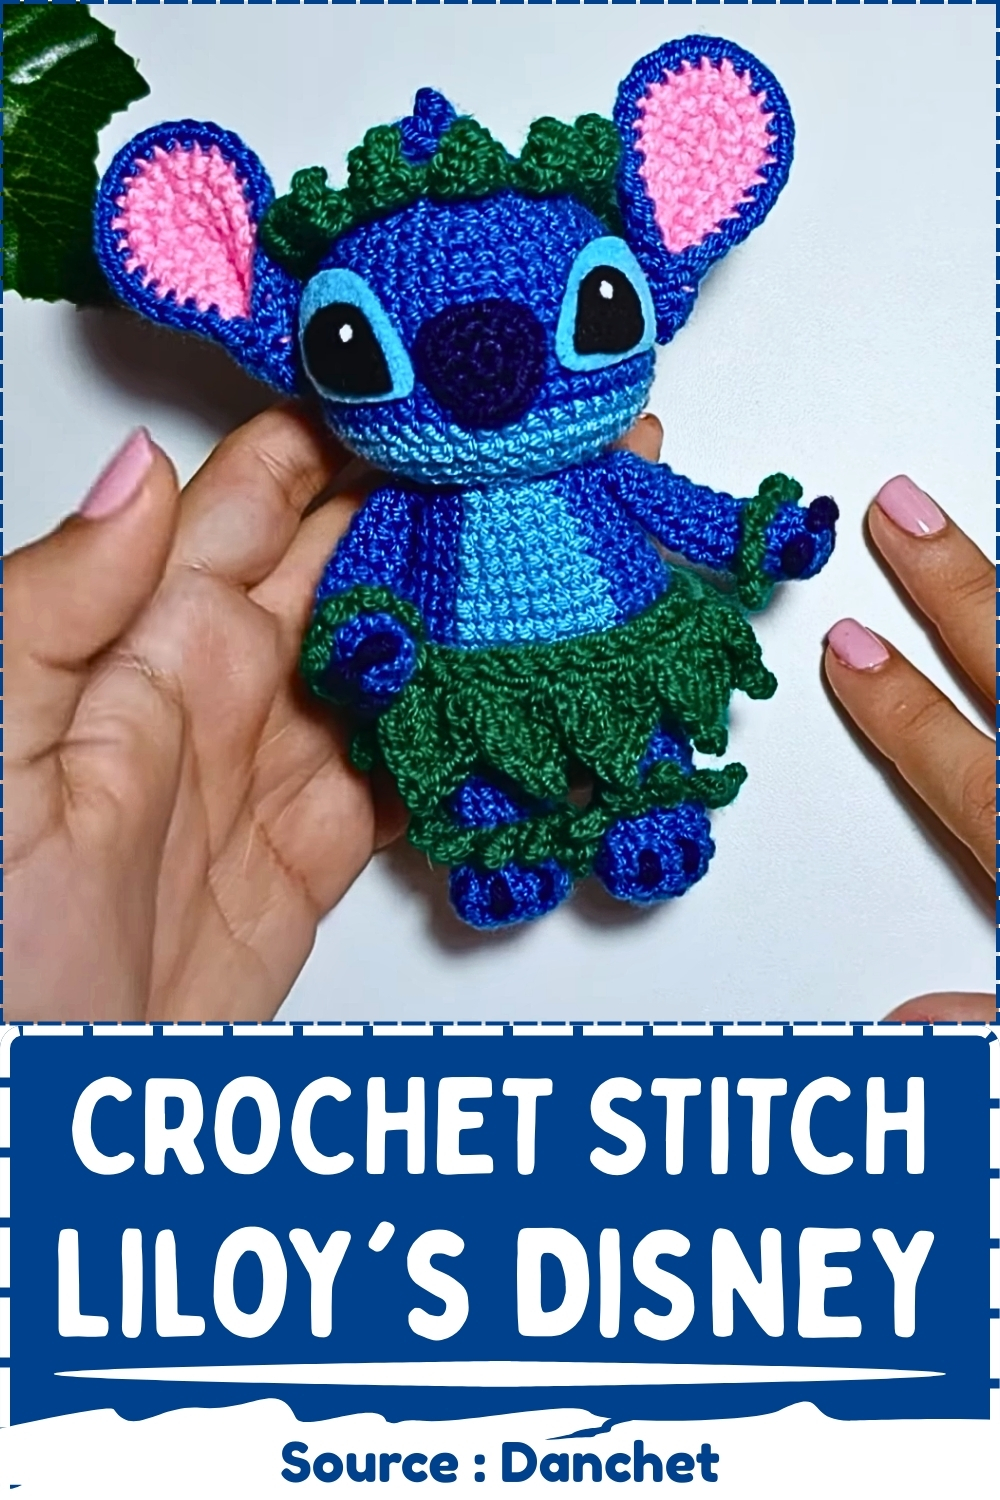


Unleashing your inner artisan is incredibly rewarding when exploring the Crochet Liloy's Disney Stitch crafting guide. Replicating the quirky alien's distinct blue hues and oversized features, this structured layout lets you build a highly durable, tactile amigurumi. Serving beautifully as a cozy couch companion or a joyful nursery decoration, the final handmade piece offers immense artistic satisfaction and nostalgic charm for creators.
Skill level
-
Intermediate because of the precise multi-color tapestry work, leg-joining technique, and multi-layered assembly requirements.
Finished size
-
Varies based on your tension and yarn choice, typically averaging around six to eight inches tall when using standard worsted weight yarn and a matching hook.
Materials
-
Blue yarn
-
Dark blue yarn
-
Light blue yarn
-
Pink yarn
-
Green yarn
-
Pipe cleaners for the arms
-
Felt for the eyes
-
Fiberfill stuffing
-
Crochet hook matching your yarn weight
-
Yarn needle
-
Stitch markers
Abbreviations
-
sc: single crochet
-
inc: increase (two single crochet stitches in the same stitch)
-
dec: decrease (sc two stitches together, preferably using the invisible decrease method)
-
st / sts: stitch / stitches
Helpful notes before starting
-
Use a stitch marker in the first stitch of every round because working in continuous spirals makes it easy to lose your place.
-
Keep your tension consistent, especially when switching between different yarn colors, to prevent the fabric from puckering or pulling unevenly.
-
When changing colors, pull the new color through the last two loops of the previous stitch to ensure a clean line without bleeding.
Construction overview
-
The legs are crocheted individually first, then joined together by a chain sequence to establish the base of the torso.
-
The body is worked upward from that leg joint, incorporating a light blue belly patch using tapestry crochet techniques before narrowing at the neck.
-
The arms are worked as separate tubes, wired with pipe cleaners for poseability, and flattened at the top for clean sewing.
-
The head is created as a separate round piece with a distinct color shift at the lower section before being stuffed and attached to the main body.
Stitch and shaping clarity
-
The leg shaping uses a cluster of decreases on Round 5 to quickly create the foot arch, pushing the fabric forward to form a foot shape.
-
The body increases expanding to 35 stitches create a rounded hip effect right above the leg join.
-
The head uses uniform six-stitch increase rounds to create a smooth, spherical shape that prevents corners from forming.
Step by step pattern instructions
Arms
-
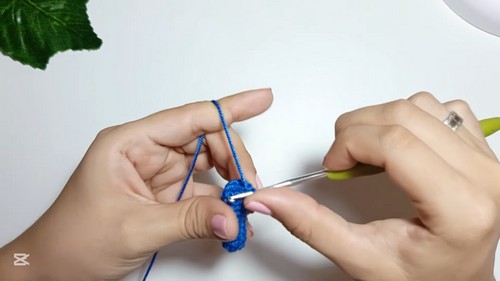
Using blue yarn, make a magic ring with 8 single crochet (sc) stitches.
-
Work 9 rounds of 8 sc each.
-
Insert a piece of pipe cleaner.
-
Close the arm by crocheting 3 sc stitches, joining the front and back.
-
Make two arms.
Legs
-
Using blue yarn, make a magic ring with 5 sc stitches.
-
Round 2: 5 increases (10 sc).
-
Round 3: (1 sc, 1 increase) x 5 (15 sc).
-
Round 4: 15 sc.
-
Round 5: 5 sc, 3 decreases, 4 sc (12 sc).
-
Rounds 6-12: 12 sc per round.
-
For the first leg, finish with a slip stitch and a chain. Cut the yarn.
-
For the second leg, crochet 4 extra sc stitches, then chain 2.
Body
-
Round 13: Join the legs by crocheting 12 sc on the first leg, 2 sc on the chains, 12 sc on the second leg, and 2 sc on the chains (28 sc).
-
Round 14: (3 sc, 1 increase) x 7 (35 sc).
-
Round 15: 14 sc in dark blue, 4 sc in light blue, 17 sc in dark blue.
-
Round 16: 13 sc in dark blue, 6 sc in light blue, 16 sc in dark blue.
-
Round 17: 12 sc in dark blue, 8 sc in light blue, 15 sc in dark blue.
-
Rounds 18-19: Work 2 rounds of sc, maintaining the color changes.
-
Round 20: (3 sc, 1 decrease) x 7 (28 sc), maintaining the color changes.
-
Rounds 21-22: Work 2 rounds of sc, maintaining the color changes.
-
Round 23: (2 sc, 1 decrease) x 7 (21 sc), maintaining the color changes.
-
Round 24: 21 sc, maintaining the color changes.
-
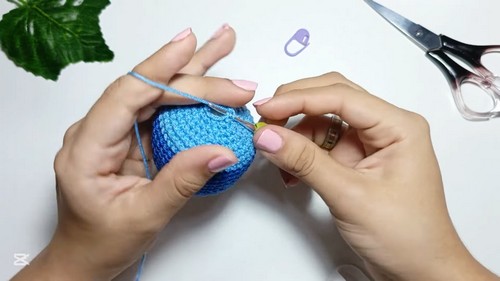
Close with an invisible stitch and stuff the body.
Head
-
Round 1: Magic ring with 6 sc.
-
Round 2: 6 increases (12 sc).
-
Round 3: (1 sc, 1 increase) x 6 (18 sc).
-
Round 4: (2 sc, 1 increase) x 6 (24 sc).
-
Round 5: 24 sc.
-
Round 6: (3 sc, 1 increase) x 6 (30 sc).
-
Round 7: (4 sc, 1 increase) x 6 (36 sc).
-
Round 8: 36 sc.
-
Round 9: (5 sc, 1 increase) x 6 (42 sc).
-
Rounds 10-14: 42 sc per round.
-
Rounds 15-16: Change to light blue yarn and work 2 rounds of 42 sc.
-
Follow the video’s instructions for decreasing, closing, and stuffing the head.
Assembly and Details
-
Ears: Crochet two pairs of ears, one blue and one pink. Join them with dark blue yarn.
-
Nose: Create a small nose with dark blue yarn.
-
Claws: Make three tiny claws for each hand and foot with dark blue yarn.
-
Hawaiian Skirt and Headpiece: Make a green skirt and headpiece as shown in the video.
-
Final Assembly: Sew the head and arms to the body.
-
Attach the claws to the feet and hands.
-
Add the hair, nose, felt eyes, and ears.
-
Finally, dress Stitch in the skirt and headpiece.
Assembly guidance
-
Align the legs so the feet face directly forward before sewing the head on, ensuring the body base is perfectly centered.
-
Position the flattened edge of the arms right below the neck line on the sides of the body, slanting them slightly forward for a natural look.
-
Secure all elements with straight pins before sewing to check your symmetry from the front, sides, and back profiles.
Eye and facial feature placement
-
Position the felt eyes on the lower half of the head, ensuring they span across the color transition line for accurate character framing.
-
Center the dark blue nose directly between the eyes, placing it just slightly lower than the center point of the eye pieces.
-
Attach the ears securely to the upper sides of the head, angling them slightly backward and downward to capture the relaxed look.
Stuffing tips
-
Stuff the feet firmly before moving up the legs to keep the bottoms flat and structural.
-
Fill the body completely, pushing stuffing into the hip curves created by the increases to support the weight of the head.
-
Ensure the neck area is packed densely to prevent the head from wobbling or tilting after assembly.
Finishing notes
-
Weave in all stray yarn ends deeply inside the body cavity using a yarn needle to prevent them from slipping out with use.
-
Trim any visible threads from the felt eye pieces cleanly before securing them firmly to the head.
-
Gently bend the wired arms to give the character a dynamic, expressive pose once assembly is finished.
Beginner notes
-
Take your time when joining the legs, as dropping a stitch on the central chain will throw off your entire stitch count for the body.
-
Carry the unused color loosely behind your work during the belly color changes to avoid pulling the fabric too tight.
-
Practice the invisible decrease method on a scrap piece of yarn if standard decreases leave gaps in your work.
Troubleshooting
-
If your legs are pointing inward or outward unevenly, undo Round 13 and adjust the positioning of your extra 4 single crochets on the second leg.
-
If the color transitions look jagged, ensure you are making your color switches during the final pull-through of the previous stitch.
-
If gaps appear between your stitches showing the white fiberfill stuffing, switch to a smaller hook size to tighten your tension.
Customization ideas
-
Embroider the mouth using black embroidery floss to add a mischievous smirk or wide smile to the face.
-
Vary the shade of green yarn used for the Hawaiian skirt to create a tropical, multi-toned grass texture.
-
Incorporate tiny fabric flowers into the headpiece to enhance the festive theme.