
Plant Crochet Pattern With Realistic Leaves And Pot
Crochet Plant
The shaping in the base ensures stability, while the wire-supported leaves allow you to control movement and positioning, making this a satisfying project for anyone who enjoys combining crochet with simple structure techniques.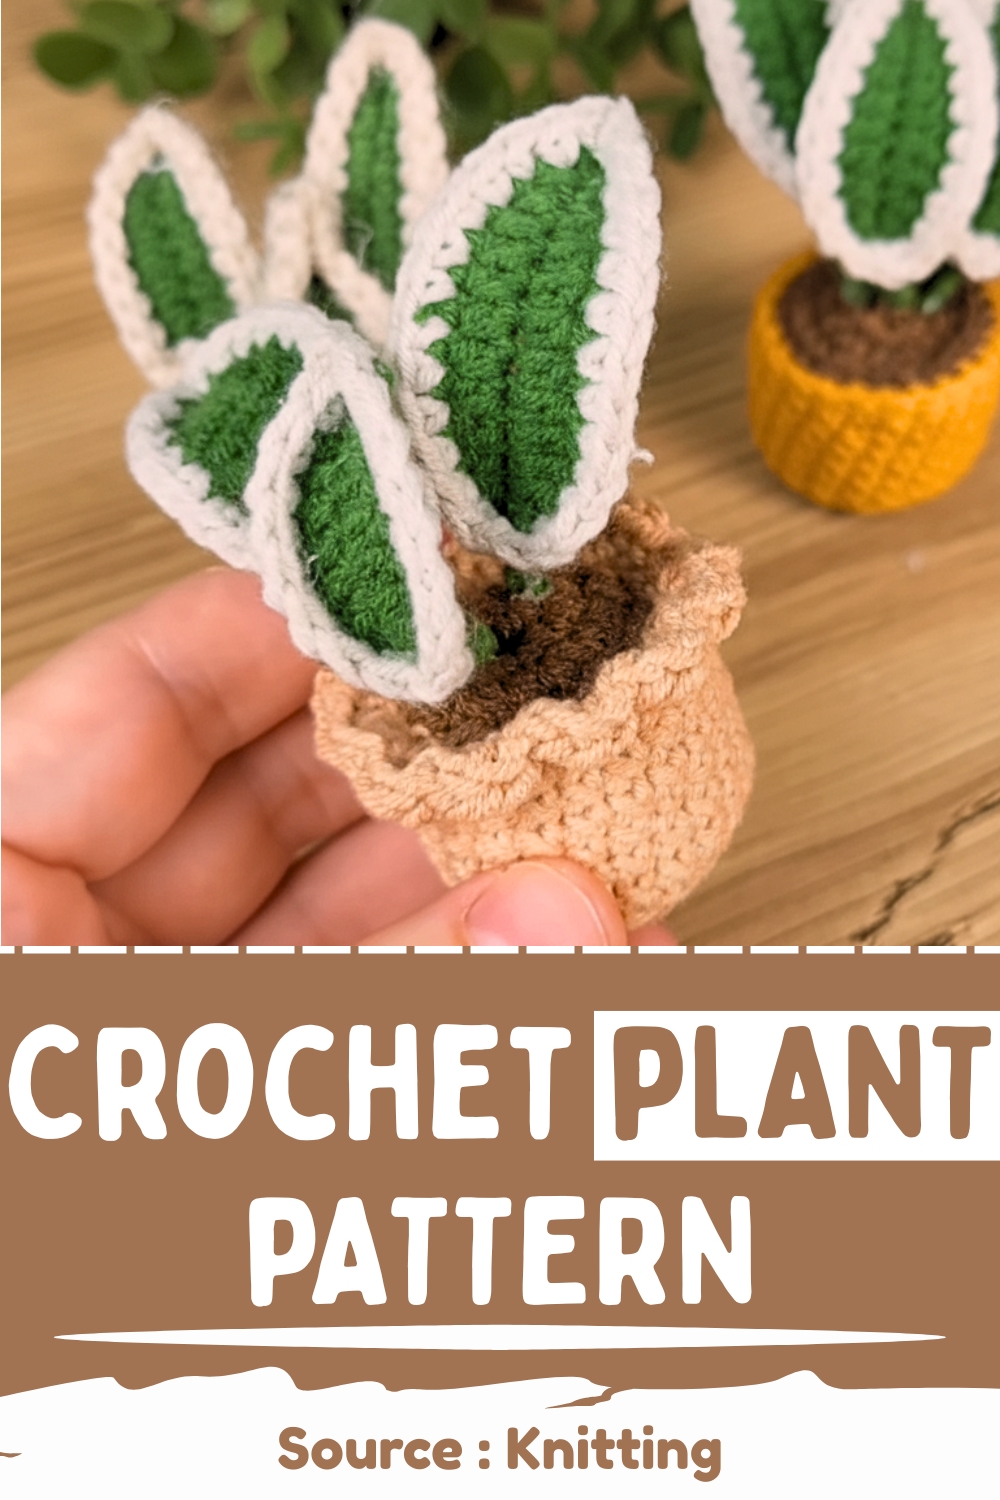
Skill Level
Beginner to Intermediate
You’ll be working in the round, increasing evenly, and handling a bit of assembly with wire and glue. The stitches themselves are simple, but shaping and finishing require attention.
Finished Size
Depends on your yarn and hook choice, but typically a small decorative plant that fits comfortably in the palm of your hand.
Materials
- Yarn (pot color, dark brown, green, white, beige)
- Crochet hook (appropriate size for your yarn)
- Scissors
- Yarn needle
- Floral wire (15–20 cm pieces)
- Hot glue gun
- Cotton stuffing
- Small piece of a bottle cap
Abbreviations
- sc: single crochet
- hdc: half double crochet
- slst: slip stitch
- inc: increase (2 stitches in the same stitch)
- dec: decrease

Helpful Notes Before Starting
- Work in continuous rounds unless otherwise stated.
- Use a stitch marker to track the start of each round.
- Keep your tension consistent, especially for the pot, so it holds its shape.
- The bottle cap inside the base is what prevents the pot from collapsing—don’t skip it.
Construction Overview
This piece is made in three main parts:
- The pot – worked in the round to form a stable base
- The soil – a flat circular insert
- The leaves – crocheted around wire for structure
Everything is then assembled and secured inside the pot, with final shaping and finishing touches added at the end.
Stitch and Shaping Clarity
- The increases in the early rounds of the pot and soil create a flat circle. This is what forms a stable base rather than a curved shape.
- Once you stop increasing (Rounds 5–11), the work naturally begins to turn upward, forming the sides of the pot.
- The leaf shaping comes from working different stitch heights (slst → sc → hdc), which creates a tapered, natural curve.
Pattern Instructions
THE POT
- Round 1: Start with a magic ring and crochet 6 single crochets (sc) into the ring.
- Round 2: Crochet 2 sc in each stitch for a total of 12 stitches.
- Round 3: Repeat the sequence of 1 sc, then 2 sc in the next stitch.
- You should have 18 stitches total.
- Round 4: Repeat the sequence of 2 sc, then 2 sc in the next stitch.
- You should have 24 stitches total.
- Rounds 5-11: Crochet 24 sc in each round to create the sides of the pot.
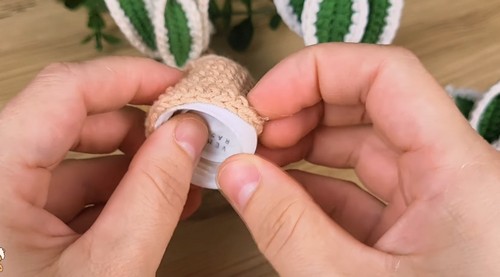
- Finish by cutting the yarn and weaving in the end.
- A small piece of a bottle cap is placed inside the pot to help it keep its shape.
THE SOIL
- Using dark brown yarn, follow the same pattern as the pot for the first four rounds.
- After the fourth round, cut the yarn and weave in the end. This will be the base for the plant to sit on.
THE LEAVES
- Step 1: Cut a piece of floral wire about 15-20cm long and fold it in half.
- Step 2: With green yarn, crochet a chain of 12 stitches, then add one extra chain.
- Step 3: Insert the floral wire into the chain.
- Step 4: Crochet around the chain and wire, starting with a slip stitch (slst), followed by a single crochet (sc), then 9 half double crochets (hdc), and finish with 1 sc.
- Step 5: Continue crocheting on the other side of the chain, mirroring the first side.
- Step 6: With white yarn, crochet a border of single crochets around the entire leaf to create the white edging.
- Step 7: Once the leaf is complete, trim the excess wire and yarn.
- Repeat the process to create a total of three leaves.
Assembly Guidance
Building the Plant Center
- Attach each leaf to the soil close to the center, spacing them evenly.
- Think of a triangle layout when placing three leaves—this keeps the plant balanced from all angles.
Securing the Leaves
- First glue them in place for positioning.
- Then sew them down to make sure they stay secure long-term.
- The extra glue underneath prevents shifting when the piece is handled.
Step-by-Step Assembly
- Step 1: Hot glue the bottom of each leaf to the center of the dark brown "soil" piece.
- Step 2: Trim the wire stems of the leaves using pliers.
- Step 3: Use a large needle to sew the leaves to the soil, securing them firmly.
- Step 4: Glue the leaves to the soil from the underside to prevent them from moving.
- Step 5: Place the assembled plant into the pot.
- Step 6: Stuff the pot with cotton stuffing around the plant.
- Step 7: Sew the brown soil piece to the top edge of the pot with a needle and dark brown yarn.
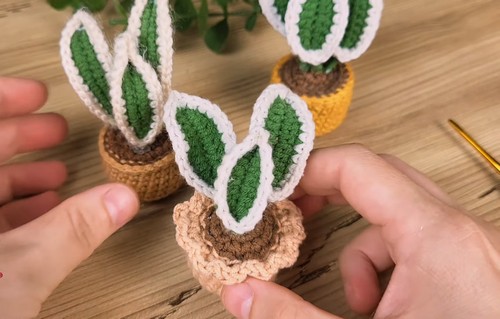
- Step 8: Use beige yarn to create a ruffled edge around the top of the pot.
- Step 9: Weave in all loose yarn ends.
- Adjust the leaves as desired.
Stuffing Tips
- Add stuffing gradually around the plant rather than all at once.
- Focus on filling the sides to support the structure without pushing the soil piece upward.
- Keep the center slightly less dense so the leaves sit naturally.
Leaf Positioning and Shaping
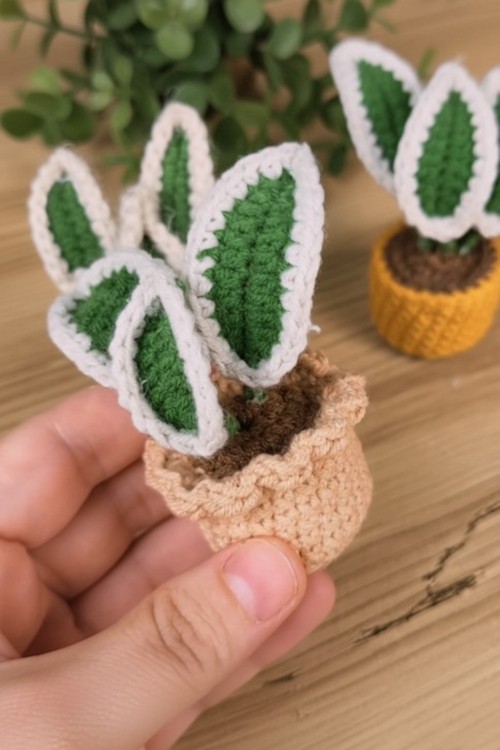
- Gently bend the wire inside each leaf to create a natural curve.
- Angle the leaves slightly outward rather than straight up for a more realistic look.
- Adjust after assembly—this is where the wire really shines.
Finishing Notes
- The beige ruffled edge softens the top of the pot and gives a finished, decorative look.
- Take time to weave in ends securely, especially near the soil edge where they can loosen with use.
Beginner Notes
- If your pot starts curving inward, your tension may be too tight—try loosening slightly.
- If it flares outward, your tension may be too loose or increases uneven.
- Practice the leaf once before making all three to understand the shaping.
Troubleshooting
Pot won’t stand properly
- Make sure the base is flat (Rounds 1–4 evenly increased)
- Ensure the bottle cap piece is centered
Leaves feel unstable
- Double secure with both glue and stitching
- Trim wire to a manageable length before sewing
Soil piece doesn’t fit
- Check stitch count (24 stitches)
- Adjust hook size if needed for tighter or looser fit

Customization Ideas
- Change pot colors to match home decor
- Add more leaves for a fuller plant
- Use variegated green yarn for natural leaf variation
- Embroider small details onto the pot for a decorative touch