Perfect Crochet Amigurumi Ball Free Pattern For Dolls And Animals
This amigurumi ball crochet pattern is a must-have foundation for creating doll heads, animal heads, and countless crochet characters. Designed with clean shaping and smooth symmetry, this pattern helps you achieve a perfectly round result every time.
Crochet Amigurumi Ball


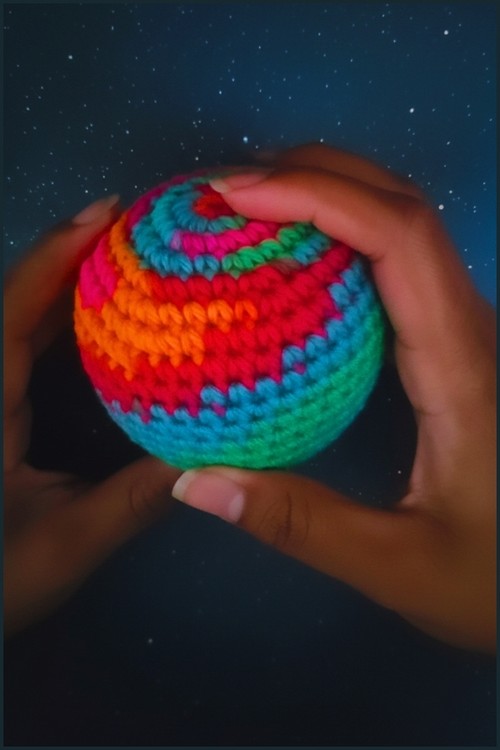

Unlocking endless crafting possibilities starts with mastering a classic Crochet Amigurumi Ball design. Boasting a flawlessly smooth, dense surface, this lightweight sphere is incredibly useful for constructing anything from educational sensory toys to vibrant holiday ornaments. Its compact, uniform features provide the ultimate blank canvas, sparking immense creative appeal for fiber artists eager to customize colors, textures, and charming faces.
Skill Level
-
This is a beginner level project designed to teach foundational three-dimensional shaping.
Finished Size
-
The final dimensions will vary based on your yarn choice and tension, but using standard bulky yarn with the recommended hook will yield a palm-sized sphere.
Materials
-
5mm crochet hook
-
Yarn
-
Scissors
-
Sewing needle
-
Safety pin or stitch marker
Abbreviations
-
sc: single crochet
-
inc: increase (two single crochets in the same stitch)
-
dec: decrease (invisible decrease recommended for amigurumi)
-
st/sts: stitch/stitches
Helpful Notes Before Starting
-
Always place your safety pin or stitch marker in the first stitch of every round to keep track of your place, as amigurumi is worked in a continuous spiral without joining.
-
Keep your tension firm and consistent throughout the project to ensure the stuffing does not peek through the stitches later.
Construction Overview
-
You will build this sphere from the top down, starting with a flat, expanding circle.
-
The middle section adds depth without adding width, transforming your flat circle into a bowl shape.
-
The final section mirrors the beginning by reducing the stitch count to close the bottom of the sphere seamlessly.
Stitch and Shaping Clarity
-
Increases are stacked systematically in the first phase, adding exactly six new stitches every round to expand the circle evenly.
-
The middle phase requires no counting of increases or decreases, acting as the stabilizing body of the sphere.
-
Decreases must line up with the previous expansion rounds to ensure the bottom curves at the exact same rate as the top.
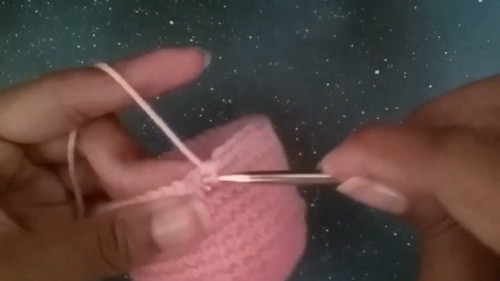
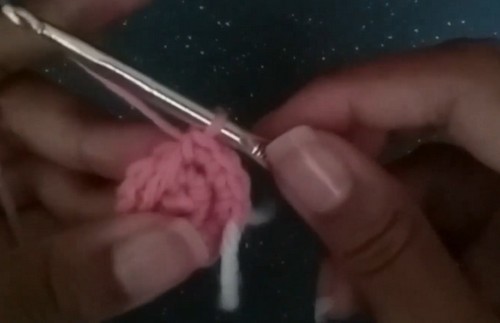
Step by Step Pattern Instructions
Increase Phase
-
Round 1: Start with a magic circle and crochet 6 single crochets
-
Round 2: Crochet 2 single crochets in each stitch for a total of 12 stitches
-
Round 3: Crochet 1 single crochet, then 2 single crochets in the next stitch and repeat around for 18 stitches
-
Round 4: Crochet 1 single crochet in the next 2 stitches, then 2 single crochets in the next stitch and repeat around for 24 stitches
-
Round 5: Crochet 1 single crochet in the next 3 stitches, then 2 single crochets in the next stitch and repeat around for 30 stitches
-
Round 6: Crochet 1 single crochet in the next 4 stitches, then 2 single crochets in the next stitch and repeat around for 36 stitches
-
Round 7: Crochet 1 single crochet in the next 5 stitches, then 2 single crochets in the next stitch and repeat around for 42 stitches
Middle Phase
-
Rounds 8 to 15: Crochet 1 single crochet in every stitch for 8 rounds
Decrease Phase
-
Round 16: Crochet 1 single crochet in the next 5 stitches, then decrease and repeat around for 36 stitches
-
Round 17: Crochet 1 single crochet in the next 4 stitches, then decrease and repeat around for 30 stitches
-
Round 18: Crochet 1 single crochet in the next 3 stitches, then decrease and repeat around for 24 stitches
-
Round 19: Crochet 1 single crochet in the next 2 stitches, then decrease and repeat around for 18 stitches
Stuffing and Closing
-
Stuff the ball firmly, shaping the sides first to maintain a round form
-
Round 20: Crochet 1 single crochet, then decrease and repeat around for 12 stitches
-
Round 21: Decrease in every stitch until 6 stitches remain
-
Cut yarn, weave through remaining stitches, pull tight, and fasten off securely
Assembly Guidance
-
Since this project is a single, self-contained sphere, no external limbs or parts need to be sewn onto the main body.
Eye and Facial Feature Placement
-
If you want to turn this sphere into a character, place safety eyes between rounds 11 and 12, leaving about seven stitches of space between them before you begin stuffing.
Stuffing Tips
-
Tear your fiberfill into small, fluffy tufts rather than pushing one large clump into the opening, which helps prevent internal lumps.
-
Push the stuffing outward toward the walls of the middle phase to emphasize the round curvature before filling the center core.
Finishing Notes
-
When weaving through the final six stitches, insert your needle only through the front loops of each stitch from the outside moving inward to create a clean, puckering-free closure.
Beginner Notes
-
If your work is curling into a cup early on, make sure the right side of the stitches faces outward; the yarn tail from your starter circle should be on the inside of the piece.
Troubleshooting
-
If you notice gaps forming during the decrease phase, try switching to the invisible decrease method, where you pick up only the front loops of the next two stitches before completing your single crochet.
Customization Ideas
-
You can easily transform this basic shape into an ornament by adding a loop of scrap yarn to the top magic circle before you finish weaving in your tail.