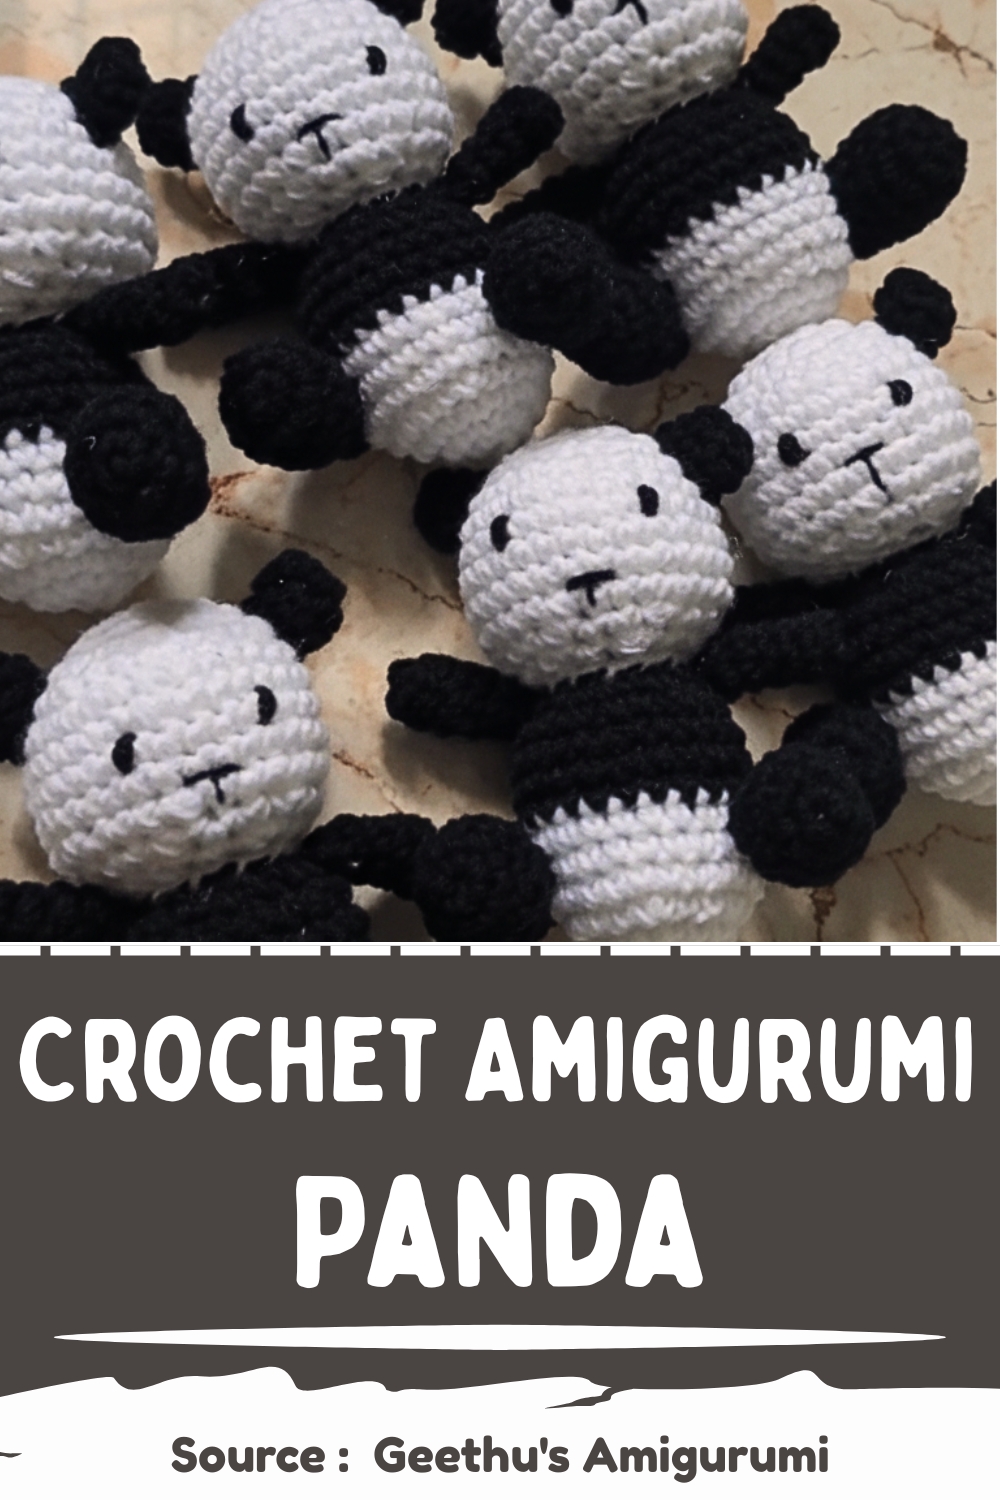
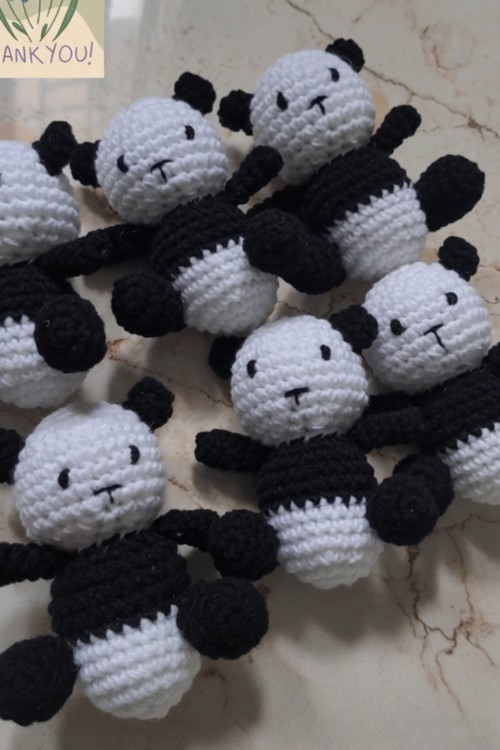
No Sew Cute Crochet Amigurumi Panda Pattern
Designing a Crochet Amigurumi Character pattern opens the door to creating expressive, personality filled figures that stand out through their shape, color contrast, and thoughtful detailing. These creations are often used as keepsakes, decorative accents, or playful companions, with each element from the rounded head to the carefully positioned limbs contributing to the overall look.
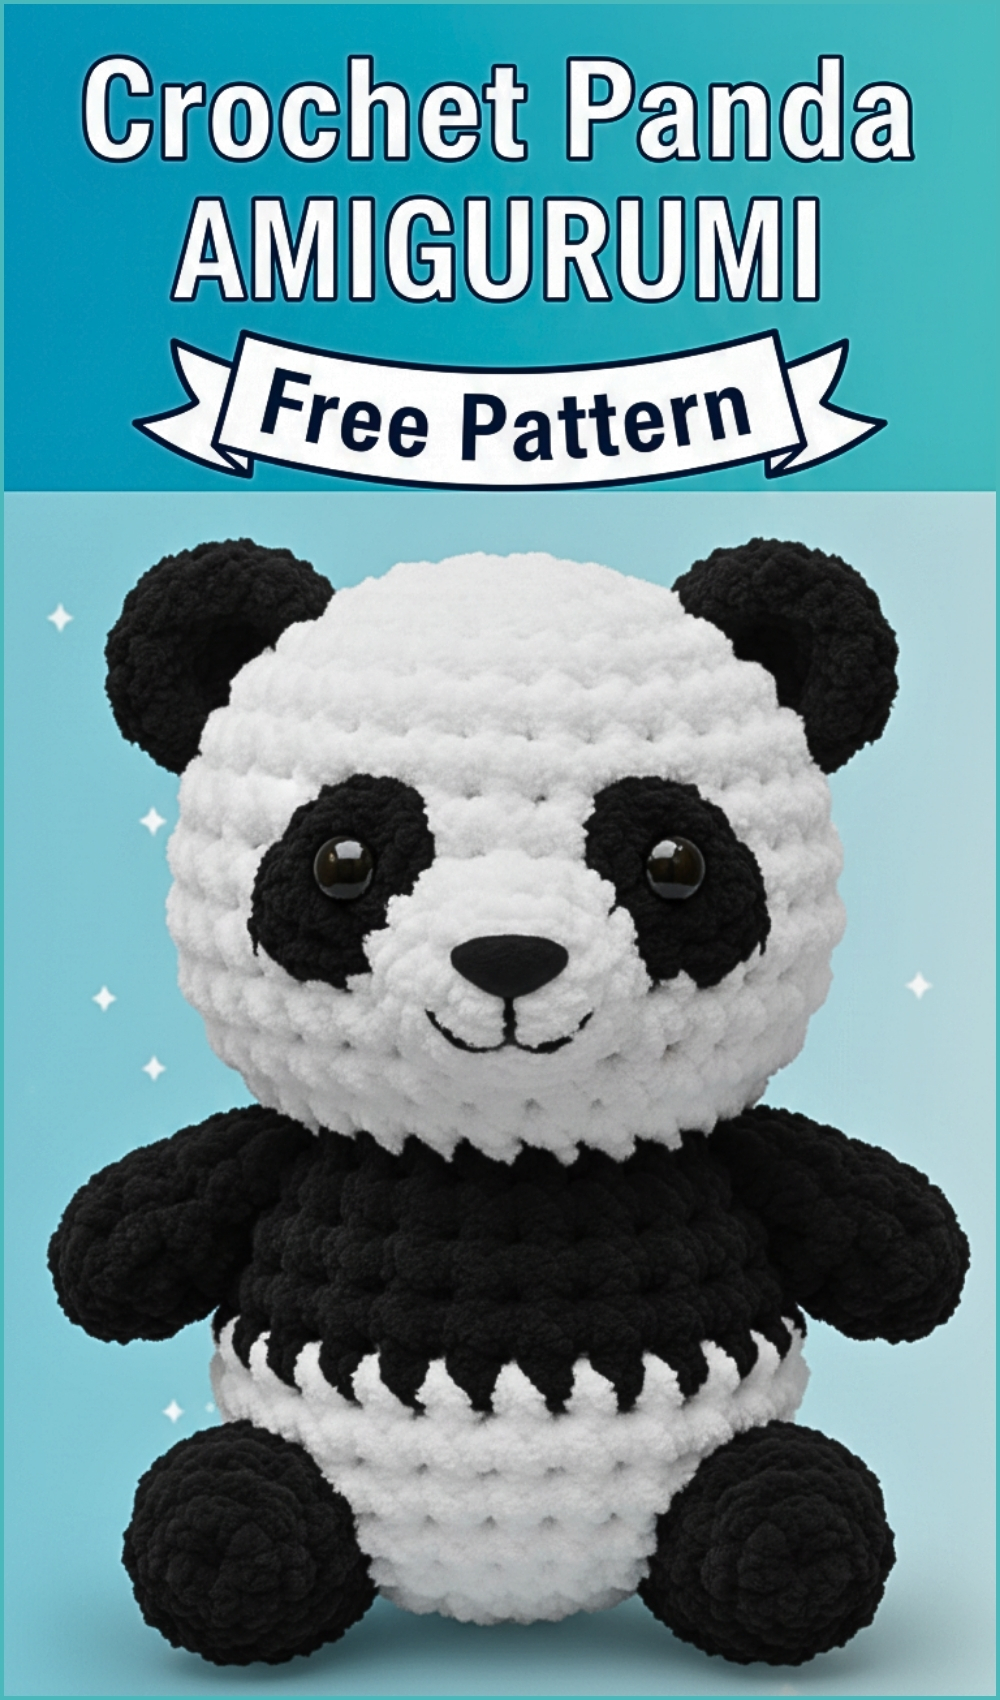
Crochet Amigurumi Panda
Through controlled increases, decreases, and assembly, the finished piece takes on a balanced and polished appearance, allowing crocheters to turn simple stitches into a character that feels complete and visually engaging.
Skill Level
Beginner to Intermediate
Comfort with magic circles, basic increases and decreases, and simple sewing is helpful.
Finished Size
Size will vary depending on your yarn and hook choice, but expect a compact, palm sized amigurumi.
Materials
- White yarn
- Black yarn
- Crochet hook suitable for your yarn
- Fiberfill stuffing
- Yarn needle (darning needle)
- Stitch marker
- Scissors
Abbreviations
- sc: single crochet
- inc: increase (2 sc in same stitch)
- dec: decrease (single crochet 2 stitches together)
- mc: magic circle
Helpful Notes Before Starting
- Work in continuous rounds unless otherwise specified.
- Use a stitch marker to track the beginning of each round.
- Keep your stitches tight to prevent stuffing from showing through.
- Stuff gradually as you go, especially for the head.
Construction Overview
This piece is made in separate parts and then assembled:
- Head: worked in white yarn, shaped into a smooth sphere
- Body: begins in white, transitions to black for contrast
- Hands and legs: small cylindrical shapes in black yarn
- Ears: simple rounded pieces
- Final assembly defines the character’s personality through placement
HEAD (WHITE YARN)
- R1: 6 sc in a magic circle (mc)
- R2: Increase (inc) in each stitch (12 sc)
- R3: Sc, inc * 6 times (18 sc)
- R4: Sc, sc, inc * 6 times (24 sc)
- R5: Sc, sc, sc, inc * 6 times (30 sc)
- R6-10: Sc in each stitch (30 sc)
- R11: Sc, sc, sc, decrease (dec) * 6 times (24 sc)
- R12: Sc, sc, dec * 6 times (18 sc)
- R13: Sc, dec * 6 times (12 sc)
Shaping Insight
- The gradual increase rounds (R2–R5) form a smooth dome, while rounds 6–10 create height. The decrease rounds mirror the increases, closing the shape evenly into a sphere.
- Tip: Start stuffing after round 10 and continue lightly as you decrease to avoid lumps.
BODY (START WITH WHITE YARN)
- R1: 6 sc in a mc
- R2: Inc in each st (12 sc)
- R3: Sc, inc * 6 times (18 sc)
- R4: Sc, sc, inc * 6 times (24 sc)
- R5-7: Sc in each stitch (24 sc)
- Change to black yarn
- R8-10: Sc in each stitch (24 sc)
- R11: Sc, sc, dec * 6 times (18 sc)
- R12: Sc, dec * 6 times (12 sc)
Construction Insight
- The body uses fewer rounds than the head, creating a slightly smaller base that supports the larger head. The color change visually separates the upper and lower body.
- Tip: When switching to black yarn, carry the yarn neatly or fasten off cleanly to avoid a visible jog.
HANDS (BLACK YARN, MAKE TWO)
- R1: 6 sc in a mc
- R2-7: Sc in each stitch (6 sc)
Shaping Insight
- These are narrow tubes with no increases, which keeps them slim and proportional.
- Tip: Stuff very lightly or leave unstuffed for a more flexible look.
LEGS (BLACK YARN, MAKE TWO)
- R1: 6 sc in a mc
- R2: Inc in each st (12 sc)
- R3-4: Sc in each stitch (12 sc)
- R5: Sc, dec * 4 times (9 sc)
- R6-8: Sc in each stitch (9 sc)
Shaping Insight
- The increase in round 2 creates a slightly wider base, while the decrease in round 5 tapers the leg, giving it a natural shape.
EARS (BLACK YARN, MAKE TWO)
- R1: 6 sc in a mc
- R2-3: Sc in each stitch (6 sc)
Shaping Insight
- Simple rounded pieces that sit flat or slightly domed depending on stuffing.
Assembly Instructions
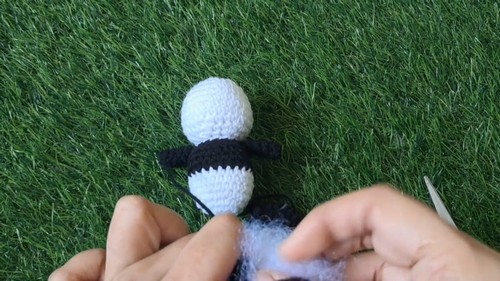
- Stuff the head and body with fiberfill.
- Sew the head and body together using a darning needle and white yarn.
- Stuff the hands and legs with fiberfill.
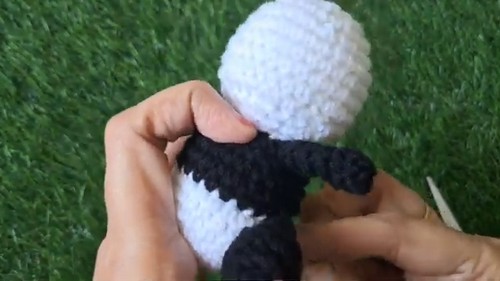
- Sew the hands to the body at the top of the black section.
- Sew the legs to the bottom of the body.
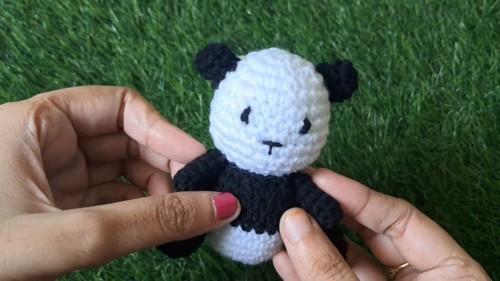
- Sew the ears to the head.
- Use black yarn and a needle to stitch the eyes and nose onto the face.
Assembly Guidance and Placement Tips
- Head to Body: Align the head so the decreases sit at the bottom for a smoother join. Sew evenly around to avoid wobbling.
- Hands: Attach slightly forward on the body for a more natural pose.
- Legs: Position symmetrically at the base to help the piece sit balanced.
- Ears: Place evenly on both sides of the head, slightly above the midpoint for a lively look.
Eye and Facial Feature Placement
- Stitch eyes evenly spaced across the face, typically between rounds 6–8 of the head.
- Keep the nose centered between the eyes.
- Use pins to test placement before stitching permanently.
Stuffing Tips
- Use small amounts of fiberfill at a time.
- Shape with your fingers as you go to maintain smooth curves.
- Avoid overstuffing the body so it remains stable and proportional.
Beginner Notes
- If your circle gaps at the start, tighten your magic ring firmly.
- Count stitches at the end of each round to stay on track.
- Use a smaller hook if your stitches look loose.
Troubleshooting
- Misshapen head: Uneven stuffing or missed increases. Recount stitches and adjust stuffing.
- Leaning head: Reinforce stitching or add extra stuffing at the neck.
- Uneven limbs: Check placement and spacing before sewing permanently.
Customization Ideas
- Add blush using pink yarn or fabric paint.
- Use safety eyes instead of stitched features for a different finish.
- Experiment with different yarn colors for unique character variations.