Cute Chunky Bat Crochet Pattern Free
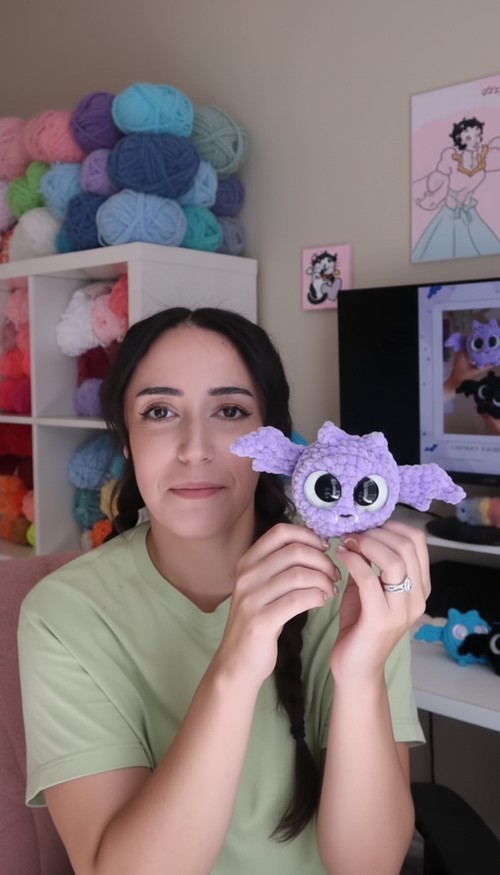
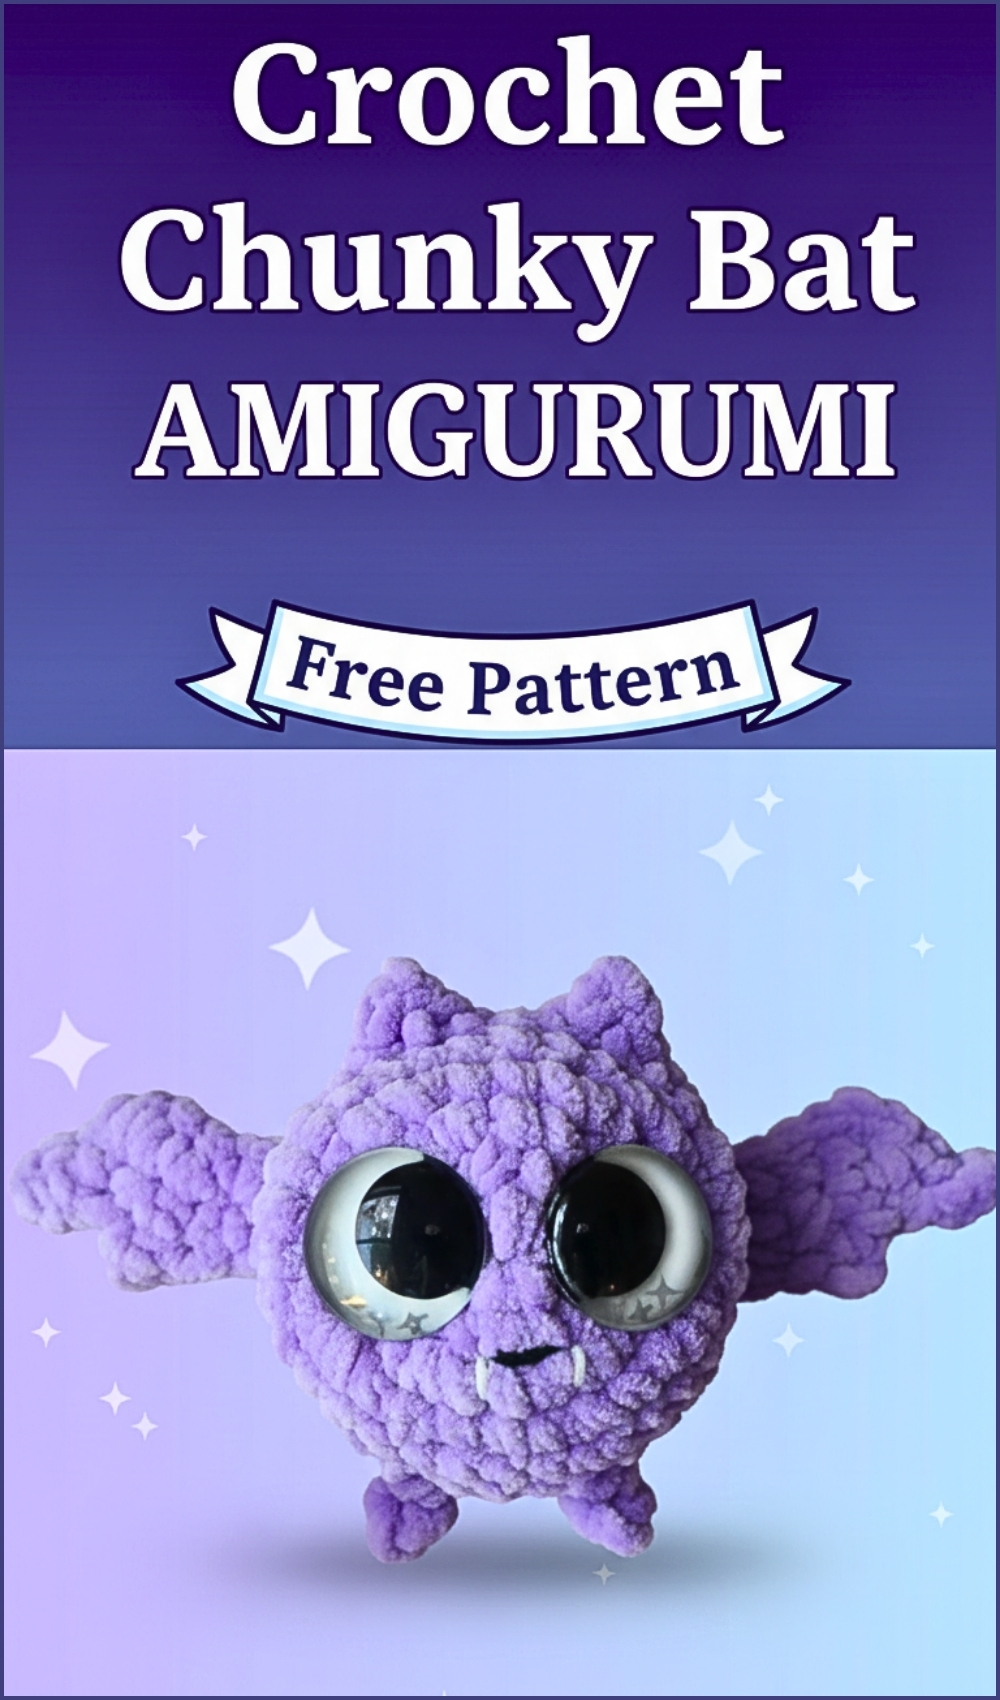
Balanced proportions and defined wing shapes give the Crochet Bat Amigurumi pattern a strong visual presence that works well for both display and practical use. This design can be adapted into ornaments, keychains, or soft toys depending on your yarn choice and sizing, while the rounded body keeps the structure neat and stable.
Crochet Chunky Bat
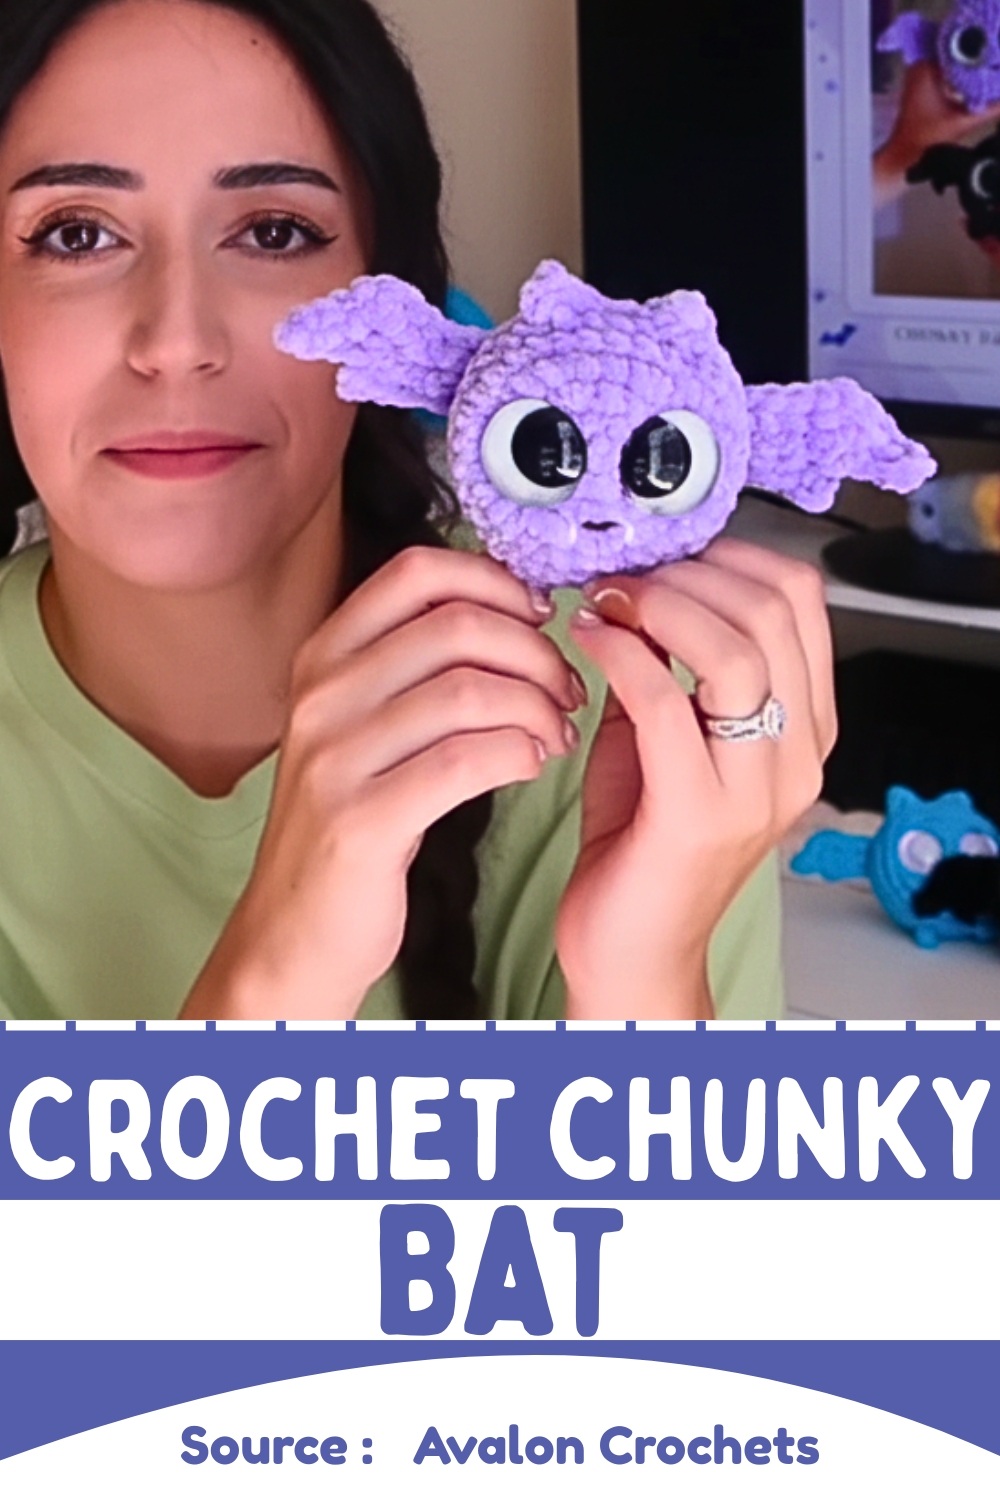
Details like ear angles, eye placement, and stitched features allow you to adjust the overall expression, making each finished bat feel slightly different while still following the same core pattern.
Skill Level
Beginner to confident beginner
Finished Size
Varies depending on yarn weight, hook size, and how many increase rounds you add to the body
Materials
- Yarn (Choose your preferred color for the bat's body, eyes, wings, etc.)
- Crochet hook (Appropriate size for your yarn)
- Safety eyes (Optional)
- Tapestry needle
- Stitch marker
- Scissors
- Fiberfill stuffing (Optional)
Abbreviations
- SC: Single Crochet
- INC: Increase (2 SC in the same stitch)
- DC: Double Crochet
Helpful Notes Before Starting
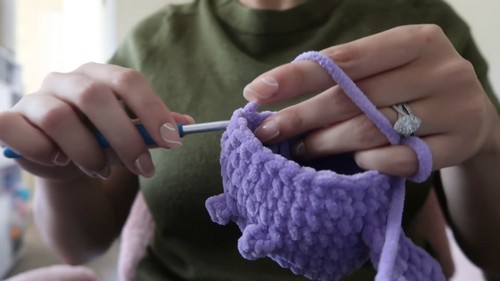
- This bat is worked in continuous rounds, so use a stitch marker to track the start of each round.
- The body and head are made as one piece, which helps avoid extra sewing.
- You can adjust the size easily by adding or stopping increase rounds earlier.
- Keep your stitches tight enough to prevent stuffing from showing through.
Construction Overview
The bat is built in a very logical order:
- Start with a round base that expands into the head and body
- Add eyes while the piece is still open
- Create flat pieces for wings
- Make small shapes for ears and feet
- Attach everything and finish with facial details
This structure keeps assembly simple and manageable.
Stitch and Shaping Clarity
The shaping relies on evenly spaced increases:
- Each round adds stitches in a predictable pattern
- This creates a smooth, rounded sphere rather than a pointed shape
- Stopping increases earlier gives a smaller bat, continuing gives a fuller body
If your piece starts to look slightly hexagonal, that’s normal during early rounds. It smooths out as you continue.
Pattern Instructions
HEAD BODY (START THE MAGIC RING)
- R1: 6 SC in Magic Ring.
- R2: 2 SC in each stitch around (12 SC).
- R3: (1 SC, 1 INC) repeat around (18 SC).
- R4: (2 SC, 1 INC) repeat around (24 SC).
- Continue increasing until the body reaches the desired size.
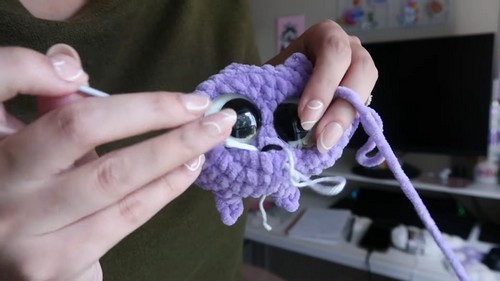
Eye Placement
EYES (IF USING SAFETY EYES)
- Attach the safety eyes at the appropriate point before finishing the head.
- Ensure they are positioned symmetrically to maintain the cute look.
Helpful guidance:
- Place eyes between two rounds, not directly on a stitch
- Step back and check alignment before securing
- Slightly wider spacing creates a softer expression
Wings
Make 2 wings using the following method:
- Row 1: Chain 6, turn, skip first stitch, DC into remaining stitches.
- Row 2: Continue to work in DC until the wing reaches the desired width.
- Repeat for the second wing.
What to watch for:
- Keep both wings the same size for balance
- If edges curl, your tension may be too tight
Feet and Ears
- Feet: Create small circles of 6 SC in a Magic Ring, then attach to the bottom of the body.
- Ears: Crochet two small triangles and attach them to the top of the head.
Placement tips:
- Feet should sit evenly so the bat doesn’t tilt
- Ears look best when slightly angled outward
Assembly Guidance
ASSEMBLING THE BAT
- After crocheting the wings, feet, and ears, position them on the body, adjusting placement for symmetry.
- Attach each part securely by crocheting directly into the rounds.
Key advice:
- Pin pieces in place before attaching
- Check from front and side angles
- Attach wings slightly behind the center line for a natural look
Stuffing Tips
- Stuff gradually as you crochet, not all at once
- Focus on keeping the shape round and firm, especially at the top
- Avoid overstuffing, which can stretch stitches
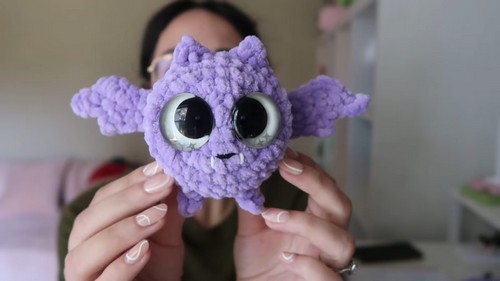
Final Touches
- Embroider the mouth and teeth with contrasting yarn.
- Optionally, add extra detailing like little claws or nose feature
Finishing insight:
- Simple embroidery can completely change expression
- Use thinner yarn or embroidery thread for cleaner details
Beginner Notes
- If your circle curls inward early, continue a few more rounds before adjusting
- Counting stitches each round helps maintain shape
- Working slowly during assembly gives the best results
Troubleshooting
- Body looks uneven: Check stitch count and spacing of increases
- Wings don’t match: Count stitches per row and measure length
- Face looks off-center: Always place eyes and features before final attachment
Customization Ideas
- Use darker yarn for a classic bat look or pastel for a softer style
- Add blush with pink yarn or fabric marker
- Make larger wings for a more dramatic silhouette
- Turn it into a keychain by adding a loop at the top