Mini Crochet Ice Cream Cone Keychain Pattern Everyone Loves
This mini ice cream keychain crochet pattern is a fun and beginner friendly project that creates a small yet eye catching accessory. Designed to be lightweight and durable, it works perfectly as a keychain, bag charm, or handmade gift.
Crochet Ice Cream Keychain


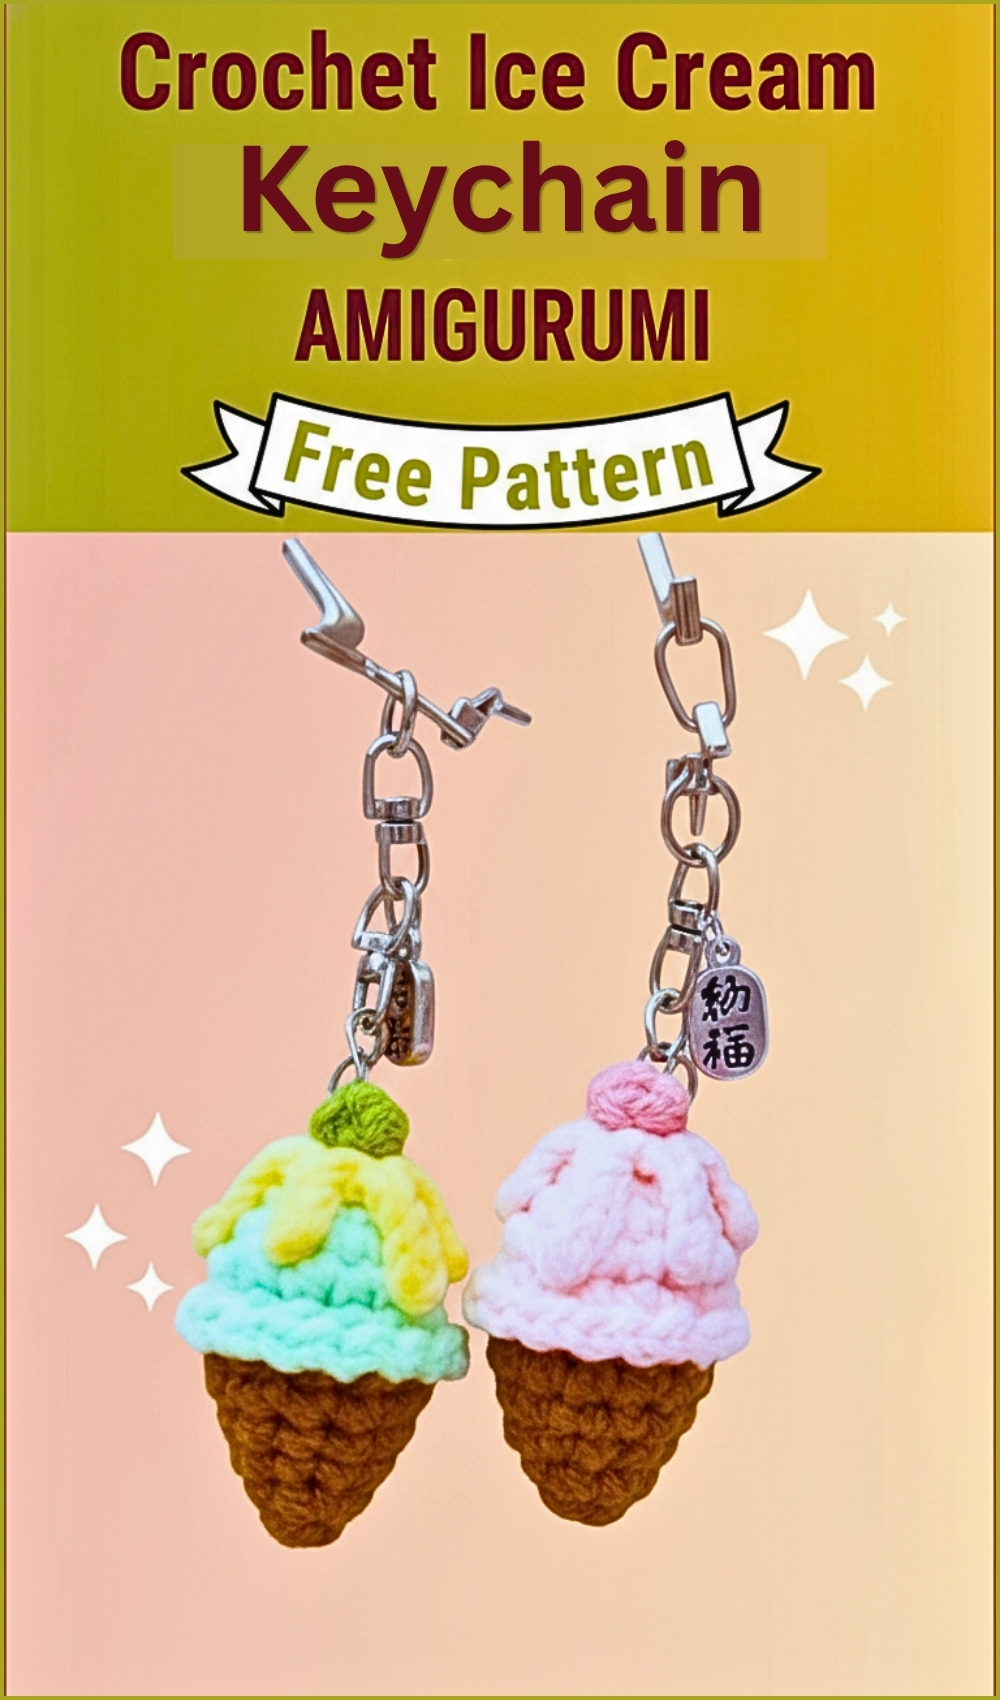

Sprucing up your everyday keyring becomes an instant delight when you follow a charming Crochet Ice Cream Keychain tutorial to craft your own sweet accessory. Boasting a swirl of vibrant yarn atop a neatly stitched waffle cone, this pocket-sized treat serves as a highly visible, lightweight bag identifier. It offers yarn lovers a fantastic canvas for playful color combos and quick, satisfying handmade gifting.
Skill Level
-
This project is ideal for an advanced beginner who knows the basics of working in the round.
-
It introduces the concept of shifting between the front loops and back loops to create texture and structural changes.
Finished Size
-
The completed keychain measures approximately two to three inches tall, depending heavily on your yarn weight and tension.
Materials
-
Ice cream scoop color yarn
-
Cone color yarn
-
Whipped cream color yarn
-
Cherry color yarn
-
Crochet hook suitable for your chosen yarn weight
-
Fiberfill stuffing
-
Keychain ring
-
Yarn needle or embroidery needle
-
Scissors
-
Fabric glue (optional for assembly)
Abbreviations
-
MR: Magic ring
-
Sc: Single crochet
-
Inc: Increase
-
Dec: Decrease
-
Ch: Chain
-
Sl st: Slip stitch
-
Flo: Front loop only
-
Blo: Back loop only
-
Hdc: Half double crochet
Helpful Notes Before Starting
-
Work in continuous spirals unless the pattern explicitly tells you to join with a slip stitch, and use a stitch marker to keep track of the first stitch of each round.
-
Choose a hook size that is slightly smaller than what the yarn label recommends to ensure your stitches are tight enough that the stuffing will not peek through.
Construction Overview
-
The main body of this toy is worked in one continuous piece from the top of the ice cream scoop down to the point of the cone.
-
A decorative decorative ridge is created mid-way through using the front loops to mimic the overhang of real ice cream.
-
The whipped cream and cherry toppings are crocheted completely separate from the body and attached during the final assembly phase.
Stitch and Shaping Clarity
-
The magic ring creates a tight center at the very top of your scoop so no stuffing escapes.
-
Round 4 introduces a unique shaping technique where you decrease your stitch count early on to give the ice cream scoop a slightly tucked-in, realistic dome shape.
-
The edging round utilizes only the front loops of your stitches, which leaves the back loops completely open and ready for the cone color yarn.
Step by Step Pattern Instructions
Ice Cream Scoop
-
Round 1: Make a magic ring and work 6 single crochets, pull tight and join with a slip stitch
-
Round 2: Increase in every stitch around for a total of 12 stitches
-
Round 3: Work 1 single crochet and 1 increase around for a total of 18 stitches
-
Round 4: Work 7 single crochets then 1 decrease, repeat once
-
Round 5: Work 16 single crochets evenly around
-
Edging: Chain 1 then slip stitch into the front loop of the next stitch, repeat around and fasten off
Cone
-
Round 6: Using cone color yarn and working into back loops only, work 3 single crochets, 1 decrease, 3 single crochets, repeat twice
-
Round 7: Work 5 single crochets and 1 decrease, repeat twice
-
Round 8: Work 2 single crochets, 1 decrease, 2 single crochets, repeat twice
-
Round 9: Work 3 single crochets and 1 decrease
Stuffing
-
Fill the piece with fiberfill
Final Round
-
Final Round: Work 1 single crochet, 1 decrease, 1 single crochet, repeat once, fasten off and sew closed
Toppings
-
Whipped Cream: Make a magic ring with 6 single crochets, then create drips by alternating chain 5 with 4 slip stitches back and chain 4 with 3 slip stitches back in each stitch
-
Mini Ball Cherry: Make a magic ring, chain 2, work 3 unfinished half double crochets, pull through all loops, chain 2, slip stitch into the ring, and pull tight
Assembly Guidance
-
Attach the whipped cream to the top of the scoop using glue or sewing
-
Place the mini ball on top as a cherry
-
Secure a keychain ring to finish the mini ice cream keychain
Eye and Facial Feature Placement
-
If you want to add a cute face, place small safety eyes between rounds 3 and 4 of the ice cream scoop, leaving about three stitches of space between them.
-
Use a strand of black embroidery floss to stitch a small smile centered right between the eyes before you start stuffing the piece.
Stuffing Tips
-
Use small pea-sized clumps of fiberfill instead of one large ball to avoid stretching out your stitches and creating lumps.
-
Use the back of your crochet hook or a chopstick to push the stuffing firmly into the body, making sure the scoop stays round and the cone stays pointed.
Finishing Notes
-
When sewing the cone closed, weave your yarn tail through the front loops only of the remaining stitches and pull tightly like a drawstring to get a clean point.
-
Knot your yarn tails securely inside the body of the ice cream cone and hide the ends by pulling them completely through the piece before trimming.
Beginner Notes
-
When working the drips for the whipped cream, make sure your slip stitches back down the chain are not too tight, or the drips will curl up excessively.
-
When working the cherry, the unfinished half double crochets mean you yarn over and pull up a loop, but do not complete the stitch until you have all three clustered together on your hook.
Troubleshooting
-
If your cone looks lumpy or asymmetrical, check your stitch count on Round 6 to ensure you did not accidentally skip any of the unworked back loops from the scoop.
-
If your edging flops downward instead of standing out like a scoop rim, ensure you are slipping into the front loop only and keeping an even tension.
Customization Ideas
-
Change the flavor of your scoop by using mint green yarn and embroidering small black lines for chocolate chips.
-
Swap out the cherry color for a tiny soft pink ball to turn the topping into a little strawberry accent.