Mini Crochet Bunny No Sew Free Pattern For Beginners
This no sew crochet bunny pattern is a perfect project for beginners who want to create a cute amigurumi without complicated assembly. The bunny is worked continuously from the legs up to the head, with the arms and ears crocheted directly into the body, making the process smooth and enjoyable.
Crochet Bunny
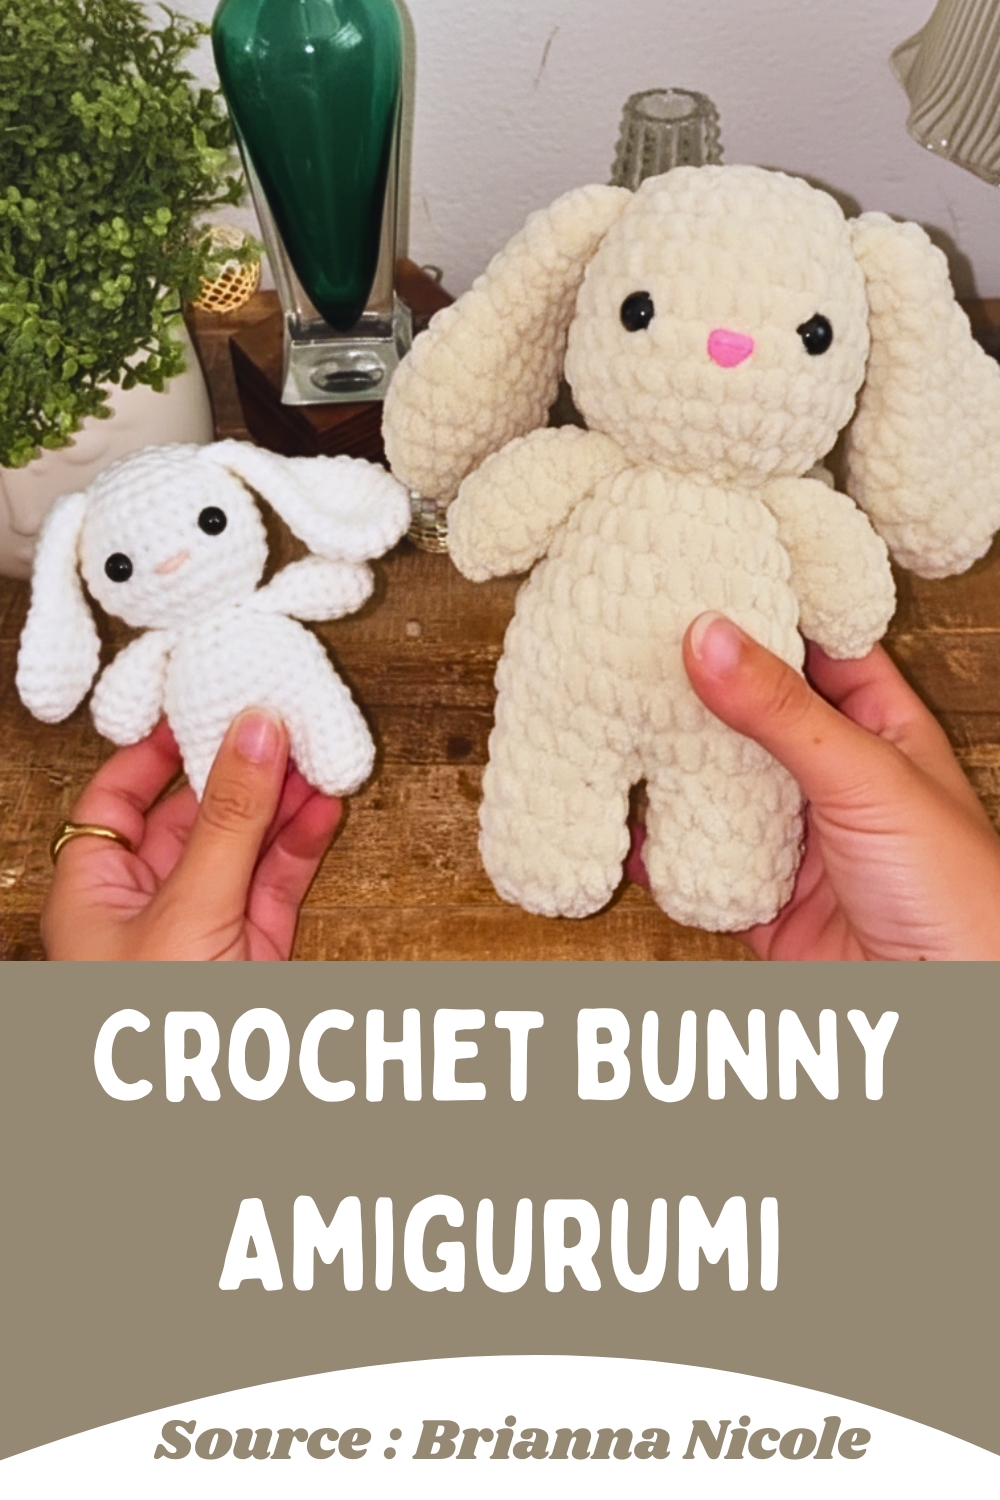
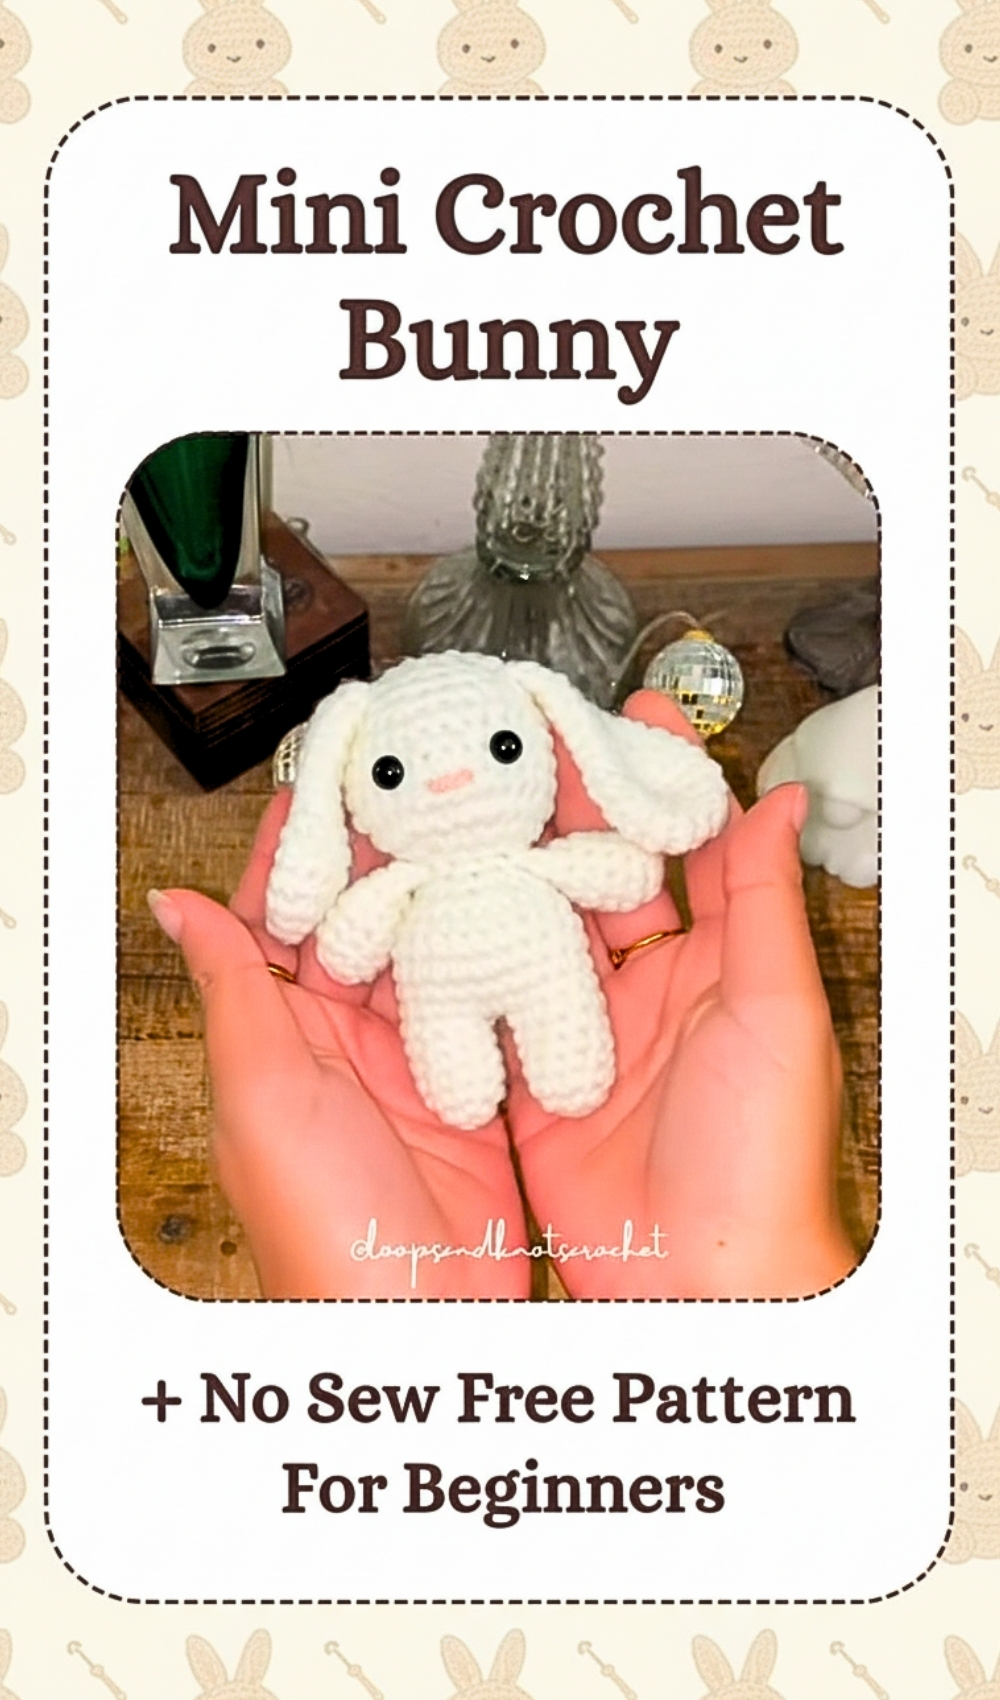
Every maker loves the magical moment of starting a new crochet bunny project to expand their handmade collection. Characterized by long, oversized ears and a soft, embroidered face, this endearing plushie serves brilliantly as a comforting sleep aid for infants or a whimsical desk decoration. Crafters embrace the artistic freedom of choosing vibrant yarn colors, ensuring an incredibly fun experience.
Skill Level
-
This project is ideal for advanced beginners who are comfortable with the magic ring, basic increases, and decreases, and are ready to practice joining limbs directly into the fabric.
Finished Size
-
The final size depends heavily on your choice of material, averaging around six to eight inches when using standard weight 4 yarn, or larger if you opt for a plush chenille variety.
Materials
-
Yarn: Weight 4 yarn or plush yarn
-
Hook: 3.0 mm crochet hook
-
Other: Safety eyes, stuffing, stitch marker, darning needle, scissors
Abbreviations
-
MR: Magic ring
-
Sc: Single crochet
-
Inc: Increase
-
Dec: Decrease
-
Ch: Chain
Helpful Notes Before Starting
-
Always place a stitch marker in the first stitch of every round because working in continuous spirals makes it easy to lose track of your progress.
-
Keep your tension firm and consistent throughout the project to ensure the stuffing does not peek through the stitches.
-
When working with plush yarn, be gentle when pulling your magic ring closed to prevent the fiber from snapping or shedding.
Construction Overview
-
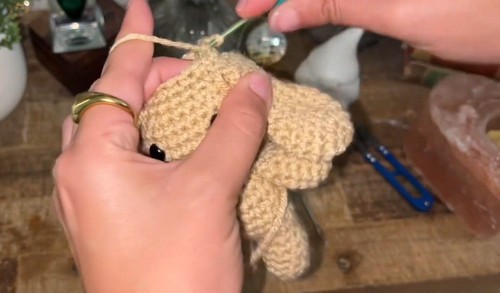
The project begins with making the individual limbs and ears, which are set aside to be attached later.
-
You will then create two separate legs and join them with a short chain, which establishes the foundation for the body.
-
The body travels upward, incorporating the arms directly into the stitches before transitioning smoothly into the neck and head.
-
Finally, the ears are crocheted directly onto the head structure, reducing the amount of post-project sewing and ensuring they stay securely attached.
Stitch and Shaping Clarity
-
The decreases used throughout this pattern should ideally be invisible decreases to keep the surface of your amigurumi smooth and seamless.
-
When instructed to crochet through both sides of a piece to close it, flatten the edge and insert your hook through both the front and back stitches simultaneously.
-
The limb attachment rounds require you to align the flat closed edge of the arm or ear with the working stitches of the body or head, driving your hook through both layers of the limb and the next stitch of the main body.
Step by Step Pattern Instructions
Arms Make 2
-
Round 1: Magic ring, 5 single crochet
-
Round 2: Increase in every stitch (10 stitches)
-
Rounds 3–5: Single crochet in each stitch (10 stitches)
-
Round 6: Repeat 3 single crochet, 1 decrease (8 stitches)
-
Round 7: Single crochet in each stitch (8 stitches)
-
Finish: Stuff lightly and crochet 3 single crochet through both sides to close
Ears Make 2
-
Round 1: Magic ring, 6 single crochet
-
Round 2: Increase in every stitch (12 stitches)
-
Round 3: Repeat 1 single crochet, 1 increase (18 stitches)
-
Rounds 4–6: Single crochet in each stitch (18 stitches)
-
Round 7: Repeat 1 single crochet, 1 decrease (12 stitches)
-
Round 8: Repeat 4 single crochet, 1 decrease (10 stitches)
-
Rounds 9–13: Single crochet in each stitch (10 stitches)
-
Finish: Crochet 4 single crochet through both sides to close
Legs and Body
Legs Make 2
-
Round 1: Magic ring, 5 single crochet
-
Round 2: Increase in every stitch (10 stitches)
-
Rounds 3–6: Single crochet in each stitch (10 stitches)
-
Note: Fasten off the first leg. Do not fasten off the second leg.
Connecting Legs Round 7
-
Chain 2 from the second leg
-
Single crochet 10 around the first leg
-
Single crochet 2 across the chain
-
Single crochet 10 around the second leg
-
Single crochet 2 across the other side of the chain (24 stitches)
-
Rounds 8–12: Single crochet in each stitch (24 stitches)
-
Round 13: Repeat 2 single crochet, 1 decrease (18 stitches)
-
Round 14: Repeat 1 single crochet, 1 decrease (12 stitches)
-
Round 15: Single crochet 2, single crochet 3 through arm and body, single crochet 3, single crochet 3 through second arm and body, single crochet 1 (12 stitches)
Head
-
Round 16: Repeat 1 single crochet, 1 increase (18 stitches)
-
Round 17: Repeat 2 single crochet, 1 increase (24 stitches)
-
Round 18: Repeat 3 single crochet, 1 increase (30 stitches)
-
Rounds 19–22: Single crochet in each stitch (30 stitches)
-
Place safety eyes between rounds 20 and 21, about 5 stitches apart
-
Round 23: Repeat 3 single crochet, 1 decrease (24 stitches)
-
Round 24: Single crochet 6, single crochet 4 through ear and head, single crochet 7, single crochet 4 through second ear and head, single crochet 3 (24 stitches)
-
Round 25: Repeat 2 single crochet, 1 decrease (18 stitches)
-
Round 26: Repeat 1 single crochet, 1 decrease (12 stitches)
-
Round 27: 6 decreases
-
Finish: Sew the top hole closed and weave in ends
Details
-
Nose: Use pink yarn to stitch a small nose one row below the eyes
Assembly Guidance
-
When connecting the legs, ensure both feet face forward before making your first single crochet into the first leg to avoid a twisted lower body.
-
For Round 15, position the arms so that their flat closed edges sit symmetrically on the sides of the body before crocheting through them.
-
For Round 24, check the alignment of the ears from the front view before completing the round to guarantee they are perfectly balanced relative to the eyes.
Eye and Facial Feature Placement
-
Insert the safety eyes securely between rounds 20 and 21, verifying there are exactly five unworked stitches visible between them.
-
Ensure you lock the plastic washers firmly onto the back of the safety eyes before the head cavity gets too narrow to access.
-
Center the pink embroidered nose exactly halfway between the two eyes, dropping down just one round below the eye placement line.
Stuffing Tips
-
Fill the feet firmly to give the toy a solid base, but keep the top of the legs lightly stuffed so the join remains neat.
-
Stuff the body generously as you work upward, paying close attention to the hip areas created by the leg connection chain.
-
Fill the neck area tightly to prevent the head from wobbling, and add stuffing to the head gradually before the final decrease rounds close the opening.
Finishing Notes
-
To close the top hole cleanly, thread your darning needle with the yarn tail and pass it through the front loops only of the final six stitches.
-
Pull the yarn tail firmly to draw the circle closed like a drawstring, then push the needle through the center of the closure to hide the tail inside the head.
-
Massage the stuffed head and body between your hands to distribute the fiberfill evenly and smooth out any lumps.
Beginner Notes
-
If your stitch count is off after connecting the legs, check that you worked exactly two stitches into both the front and back loops of the center chain.
-
When attaching the limbs directly into the rounds, the stitches should look uniform; if a limb looks twisted, undo the attachment stitches and adjust your alignment.
Troubleshooting
-
If you notice large gaps forming around your decreases, try tightening your tension specifically on those loops or switch to the invisible decrease method.
-
If the head seems to tilt sideways, your stitch marker placement might have drifted; adjust the starting point of Round 15 or Round 24 to re-center the limbs.
Customization Ideas
-
You can experiment with different color combinations, such as making contrasting stripes on the body rounds to simulate a small sweater.
-
Try changing the expressions by using black embroidery floss to add tiny sleepy eyelids or small smile lines next to the safety eyes.