Crochet Cat Keychain Free Pattern For Beginners
This amigurumi cat keychain crochet pattern is designed to help you create a small, adorable cat that is perfect for everyday use or gifting. The pattern is worked in simple rounds, making it beginner friendly while still producing a polished and cute result.
Crochet Cat Keychain


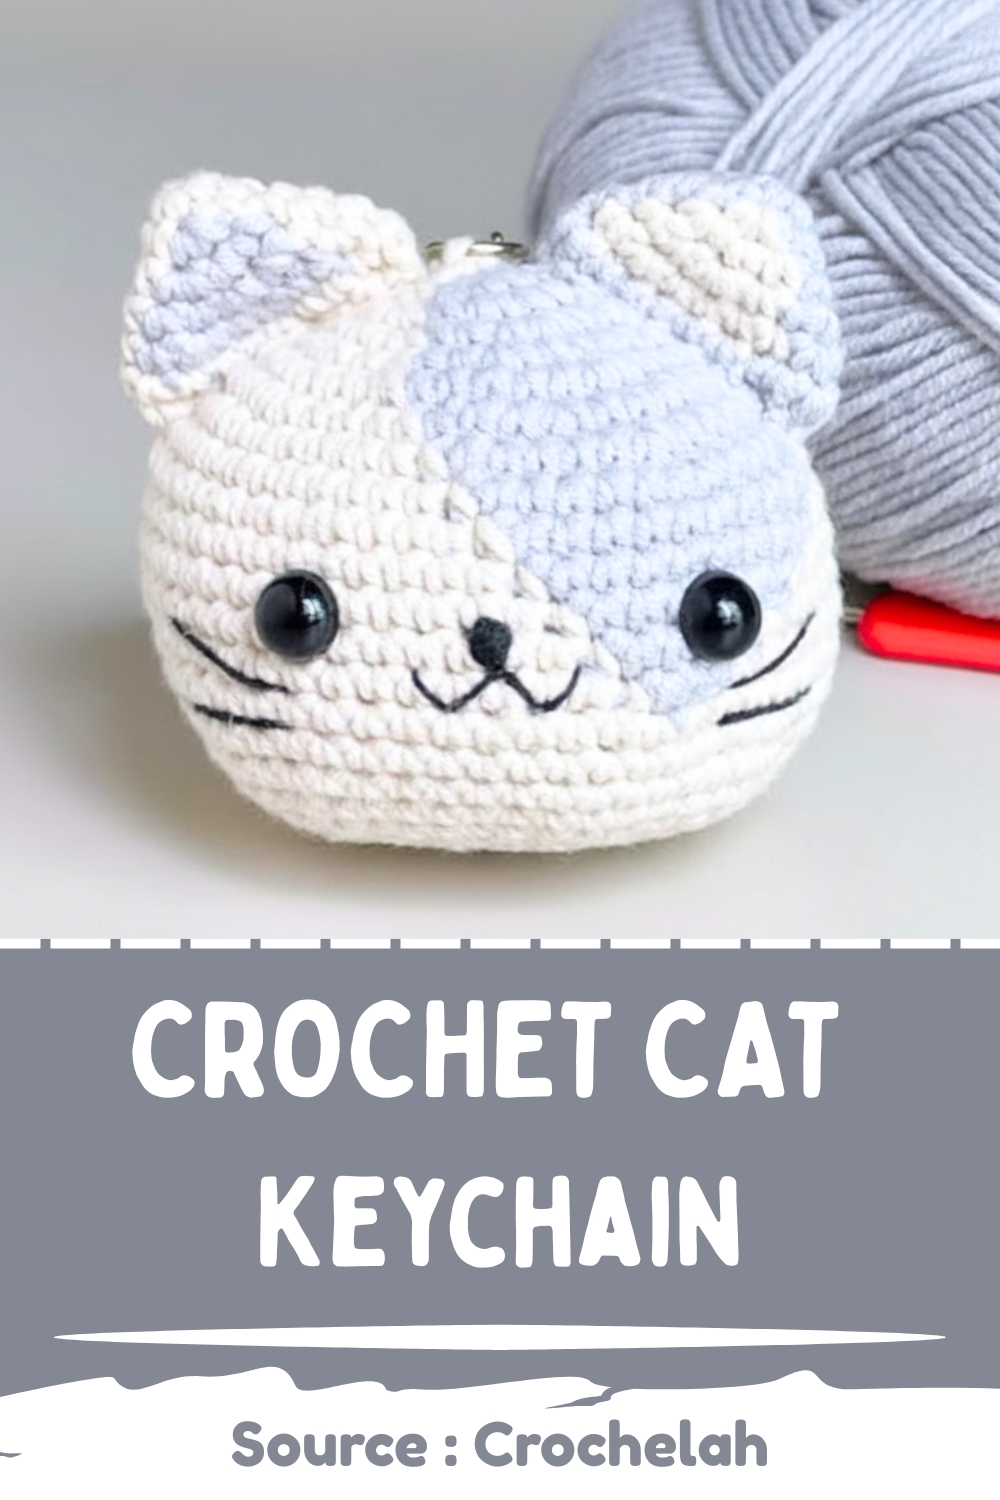

For any feline enthusiast looking to combine their love of crafting with practical design, a Crochet Cat Keychain makes for an absolutely irresistible project. This delightful accessory features charming embroidered whiskers, tiny pointed ears, and a lightweight, sturdy structure perfect for securing your keys. Portable yet highly functional, working through this quick design offers a wonderful burst of creative fulfillment.
Project Specifications
-
Skill level is determined to be advanced beginner due to the small, tight rounds required for the limbs and the single-piece body construction.
-
Finished size typically measures approximately three inches in height, depending on your yarn weight and tension consistency.
Required Materials
-
Medium weight yarn in your choice of color
-
Crochet hook appropriate for your yarn size to ensure tight stitches
-
Safety eyes
-
Fiberfill stuffing
-
Yarn needle
-
Black embroidery thread
-
Keychain ring
Abbreviations
-
MR: Magic Ring
-
Sc: Single Crochet
-
Inc: Increase
-
Dec: Decrease
-
Ch: Chain
-
Sl st: Slip Stitch
-
F.O.: Fasten Off
Helpful Notes Before Starting
-
Working in continuous spirals without joining each round with a slip stitch prevents a visible seam from running up the back of your work.
-
Placing a stitch marker in the very first stitch of every round helps you keep track of your progress and ensures your stitch counts match the pattern instructions exactly.
-
Pulling your magic ring completely closed eliminates any central gaps where stuffing could potentially peek through over time.
-
Choosing a hook size slightly smaller than recommended on your yarn label creates a dense fabric that keeps the interior fiberfill hidden securely inside.
Construction Overview
-
This project begins at the crown of the head and widens gradually before narrowing down to form a distinct neck area.
-
The texture then expands a second time to form the torso before closing entirely at the base of the body.
-
The smaller structural elements like ears, arms, and the tail are created as separate components that are attached at the very end to give the character its final personality.
Stitch and Shaping Clarity
-
The increases throughout the initial rounds distribute extra stitches evenly to create a flat, circular dome shape.
-
The middle rounds maintain a consistent stitch count to build the vertical walls of the head, giving the face its proper depth.
-
The decrease rounds work by pulling two stitches together, which creates an inward curve that defines the jawline and sets up the transition into the neck.
Step by Step Pattern Instructions
-
Round 1: MR, 6 sc into the ring (6 stitches)
-
Round 2: 6 inc (12 stitches)
-
Round 3: 1 sc, inc repeat around (18 stitches)
-
Round 4: 2 sc, inc repeat around (24 stitches)
-
Round 5: 3 sc, inc repeat around (30 stitches)
-
Rounds 6 to 10: Sc in each stitch around (30 stitches)
-
Round 11: 3 sc, dec repeat around (24 stitches)
-
Round 12: 2 sc, dec repeat around (18 stitches)
-
Insert safety eyes between rounds 8 and 9, about 5 stitches apart, and begin stuffing
-
Round 13: 1 sc, dec repeat around (12 stitches)
-
Round 14: 1 sc, inc repeat around (18 stitches)
-
Round 15: 2 sc, inc repeat around (24 stitches)
-
Rounds 16 to 18: Sc in each stitch around (24 stitches)
-
Round 19: 2 sc, dec repeat around (18 stitches)
-
Round 20: 1 sc, dec repeat around (12 stitches)
-
Finish stuffing firmly
-
Round 21: 6 dec (6 stitches)
-
F.O. and close the opening
Ears Make 2
-
Round 1: MR, 4 sc
-
Round 2: 1 sc, inc repeat around (6 stitches)
-
Round 3: 2 sc, inc repeat around (8 stitches)
-
F.O. leaving a long tail for sewing
Arms Make 2
-
Round 1: MR, 6 sc
-
Rounds 2 to 3: Sc in each stitch (6 stitches)
-
F.O. leaving a long tail for sewing
Tail
-
Round 1: MR, 5 sc
-
Rounds 2 to 6: Sc in each stitch (5 stitches)
-
F.O. leaving a tail for sewing
Assembly Guidance
-
Sew the ears onto the top of the head between rounds 3 and 6
-
Sew the arms to the sides of the body just below the neck
-
Sew the tail to the back of the body
-
Embroider a small V shape mouth and whiskers using black thread
-
Attach the keychain ring securely to the top of the head
Eye and Facial Feature Placement
-
Positioning the safety eyes precisely between rounds 8 and 9 gives the character a balanced facial proportion with enough forehead space above.
-
Counting exactly five stitches between the eyes leaves a perfect central canvas for the embroidered details.
-
Securing the backings of the safety eyes firmly before moving past round 12 is essential, as the neck opening becomes too narrow for your fingers after this point.
Stuffing Tips
-
Adding small clumps of fiberfill gradually prevents the stuffing from becoming lumpy or distorting the shape of the crochet stitches.
-
Pressing the stuffing outward against the interior walls of the head shapes a smooth, rounded face before the neck indentation is created.
-
Filling the lower torso section firmly right before working the final decreases ensures the completed toy maintains its structure when handled daily.
Finishing Notes
-
Threading your yarn tail through the front loops only of the final six stitches allows you to pull the bottom opening closed like a drawstring for a smooth finish.
-
Weaving the remaining yarn tails deeply into the center of the body creates enough internal friction to prevent the ends from slipping out over time.
Beginner Notes
-
Using the invisible decrease method instead of a standard decrease prevents small gaps and ridges from forming on the surface of your work.
-
Keeping your tension consistent across the tiny rounds of the arms and tail makes it much easier to insert your hook into each successive stitch.
Troubleshooting
-
If you notice your stuffing is visible between your stitches, switching to a smaller hook size will tighten your fabric density.
-
If your facial features look asymmetrical, use sewing pins to mark out all placements before committing to any permanent stitching.
Customization Ideas
-
Swapping the classic yarn colors allows you to transform this basic shape into a wide variety of different animal characters.
-
Adding a small touch of blush just beneath the eyes gives your finished creation a soft, animated expression.