Easy No Sew Crochet Witch Cauldron Pattern With Bubbling Brew
The Crochet Witch Cauldron pattern is a fun and creative Halloween project that brings a magical touch to your seasonal decor. Designed as a no sew amigurumi, this pattern cleverly joins the bubbling witch’s brew directly to the cauldron as you crochet, saving time while creating an eye catching spill effect.
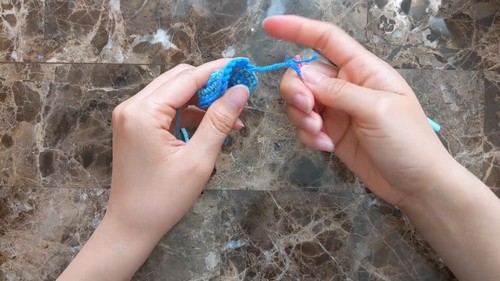
Crochet Witch Cauldron
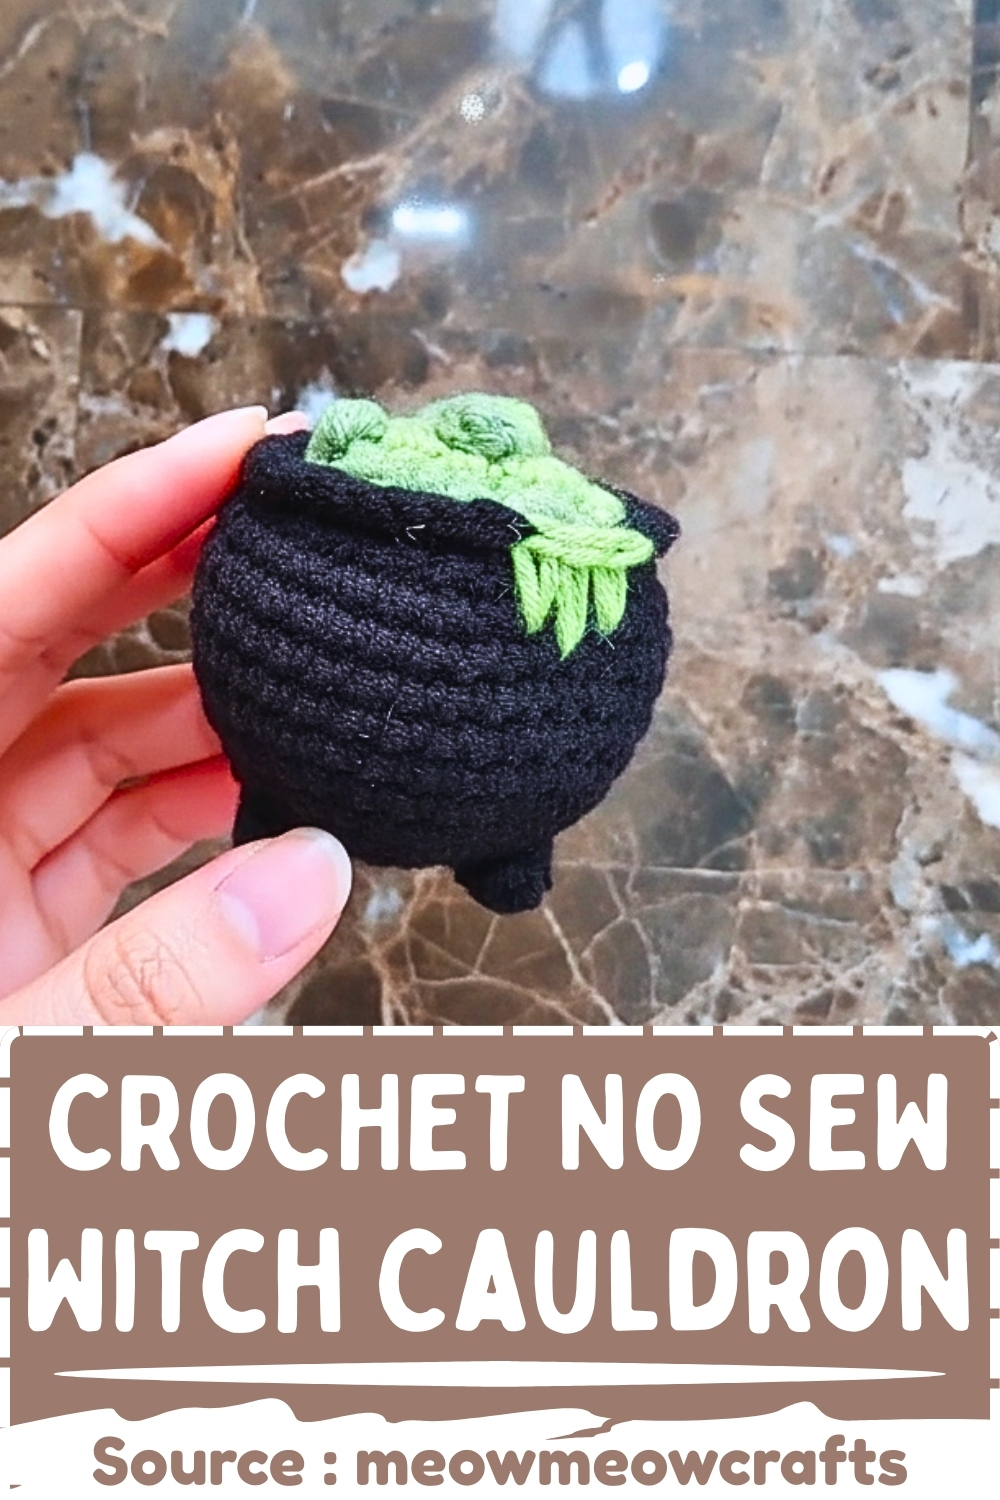
Whispering tales of autumn magic, fabricating a Crochet Witch Cauldron with a well-devised template offers a delightfully cozy project for chilly evenings. This pot features a glossy, potbellied silhouette and miniature side loops, serving as a handy container for lip balms or office desk supplies. Yarn lovers will thrive on its creative appeal, customizing it with embroidered potion ingredients.
Skill level
-
This pattern is ideal for intermediate crocheters or confident beginners who want to practice frequent color work and structural shaping.
-
Managing multiple yarn strands simultaneously and working into rows below the current round require steady tension and concentration.
Finished size
-
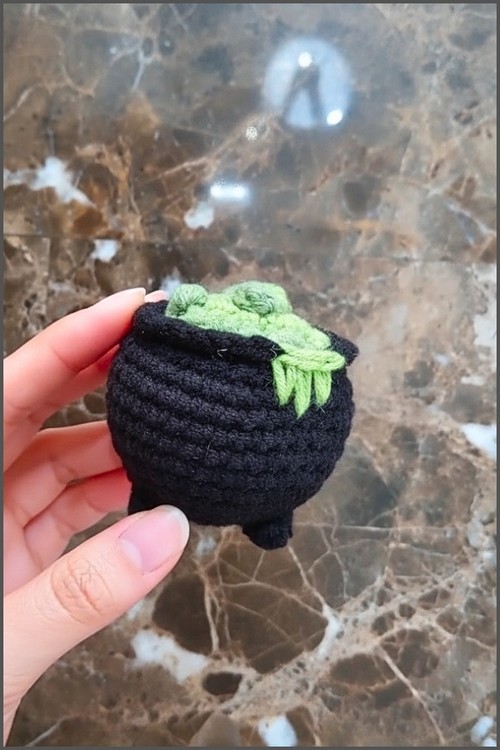
The final project results in a compact, pocket-sized miniature cauldron.
-
Exact dimensions will depend on your choice of yarn weight and individual tension, though a 3 mm hook typically yields a piece roughly three inches tall.
Materials
-
Black yarn for the cauldron
-
Two contrasting yarn colors for the witch’s brew
-
3 mm crochet hook
-
Stitch marker, stuffing, scissors, needle
Abbreviations
-
MR: Magic ring
-
sc: Single crochet
-
inc: Increase
-
dec: Decrease
-
st: Stitch
-
sl st: Slip stitch
-
ch: Chain
Helpful notes before starting
-
Keep your unused yarn strands floating loosely behind your work rather than pulling them too tight to prevent the fabric from puckering.
-
A stitch marker is essential for transitioning smoothly between the joined rounds of the lower cauldron and the continuous rounds of the upper body.
Construction overview
-
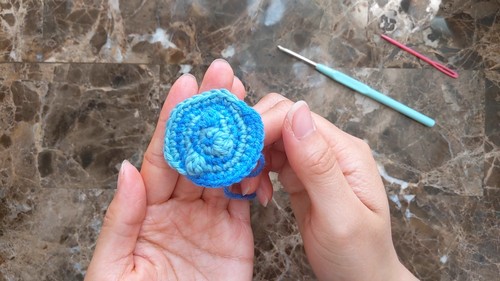
The project is created in two separate pieces, beginning with a multi-colored flat circle that represents the bubbling brew inside the pot.
-
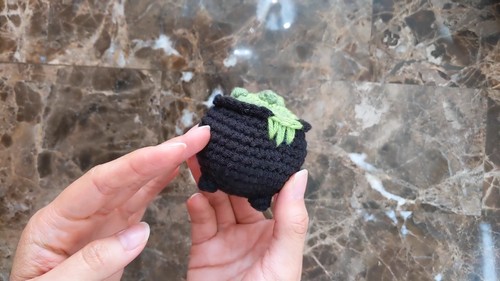
The black cauldron is worked from the bottom up, incorporating built-in bobble stitches to create functional feet so the pot can stand.
-
Both pieces are joined mechanically with a final round of single crochet, which simultaneously seals the stuffing inside and forms a decorative spilled liquid detail down the side.
Stitch and shaping clarity
-
The bobble stitches in the brew simulate large, boiling bubbles rising to the surface of the potion.
-
The bobble stitches in the cauldron base are structurally placed to act as tiny legs, keeping the base stable.
-
The spill effect uses elongated stitches worked into the lower fabric layers, creating a dimensional, dripping liquid look over the edge of the pot.
Step by step pattern instructions
Witch’s Brew
-
Round 1: Using Color A, make a magic ring and work 3 single crochet, Switch to Color B and work 3 single crochet for a total of 6 stitches
-
Round 2: With Color A, work 1 single crochet 1 bobble stitch in the first stitch, then increase in the next 2 stitches With Color B increase in the first stitch, work 1 single crochet and 1 bobble stitch in the next stitch, then increase in the last stitch for a total of 12 stitches
-
Round 3: With Color B work 1 single crochet and 1 increase repeated 3 times, with Color A work 1 single crochet and 1 increase repeated 3 times for a total of 18 stitches
-
Round 4: With Color A work 2 single crochet and 1 increase repeated 3 times. With Color B work 1 single crochet, 1 bobble stitch, 1 increase, then work 2 single crochet and 1 increase repeated twice for a total of 24 stitches
-
Round 5: With Color B work 3 single crochet and 1 increase repeated 3 times, with Color A work 3 single crochet and 1 increase repeated 3 times
-
Finish: Slip stitch in each color, fasten off, and weave in ends
Cauldron
-
Round 1: Make a magic ring with 6 single crochet, slip stitch to join, chain 1
-
Round 2: Increase in every stitch for a total of 12 stitches, slip stitch and chain 1
-
Round 3: Work 1 single crochet and 1 increase repeated 6 times for a total of 18 stitches, slip stitch and chain 1
-
Round 4: Work 2 single crochet, 1 increase, 1 single crochet, 1 bobble stitch, and 1 increase repeated 3 times to form the feet for a total of 24 stitches
-
Round 5: Switch to continuous rounds and work 3 single crochet and 1 increase repeated 6 times for a total of 30 stitches
-
Round 6: Work 4 single crochet and 1 increase repeated 6 times for a total of 36 stitches
-
Rounds 7 to 12: Work 1 single crochet in each stitch around for 36 stitches per round
-
Round 13: Work 4 single crochet and 1 decrease repeated 6 times for a total of 30 stitches
Joining and Spill Effect
-
Joining: Align the brew with the cauldron opening and single crochet through both layers for the next 7 stitches
-
Spill Effect: On the next stitch, change to the spill color and insert the hook three rows down on the cauldron body And through the brew to create a long drip, repeat by going one row lower on the next stitch, then return upward on the following stitch
-
Stuffing: Add stuffing before closing the final stitches
-
Finishing: Single crochet the remaining stitches through both layers, fasten off, and weave in all ends
Assembly guidance
-
Align the final round of the brew with the top edge of the cauldron, making sure the right sides of both pieces face outward.
-
Secure the pieces with pins before crocheting them together to keep the color panels of the brew perfectly centered with the cauldron feet below.
Eye and facial feature placement
-
If you want to give your cauldron a whimsical, living personality, safety eyes can be attached between rounds eight and nine.
-
Space the eyes roughly five stitches apart, ensuring they sit directly between two of the cauldron's feet for proper symmetry.
Stuffing tips
-
Push the fiberfill firmly into the bottom of the cauldron to expand the walls and make the base heavy enough to sit flat on its feet.
-
Avoid over-stuffing near the very top edge until you are halfway through the joining process, keeping the fiber clear of your hook.
Finishing notes
-
Pull your final yarn tail through the center of the piece and out the bottom to hide the knot cleanly inside the body.
-
Gently massage the stuffed cauldron to distribute the filling evenly and help the feet protrude properly.
Beginner notes
-
If changing colors mid-round feels overwhelming, try working the entire brew in a single solid color to master the shape first.
-
Always count your stitches at the end of round four on the cauldron to make sure you have exactly three feet spaced evenly around the circle.
Troubleshooting
-
If your cauldron wobbles or tilts, the feet might have uneven tension, which can be fixed by pulling gently on the flat stitches surrounding the bobbles.
-
If the cauldron rim ripples during the joining round, check to make sure you are capturing exactly one stitch from the brew and one stitch from the cauldron wall every time.
Customization ideas
-
Try using a glittery or metallic yarn for the brew section to give the potion an enchanting, magical shimmer.
-
You can extend rounds seven through twelve by two additional rows if you prefer a deeper, more elongated pot shape.