Osmanthus Flower Crochet Pot Free Pattern For Home Decor
The Mini Crochet Osmanthus Potted Plant pattern is a charming decorative project designed to add a soft handmade touch to shelves, desks, or gift displays. This pattern guides you through creating a textured flower pot, delicate osmanthus blooms, and shaped leaves with wired stems for flexible styling.
Crochet Mini Osmanthus Flower Pot
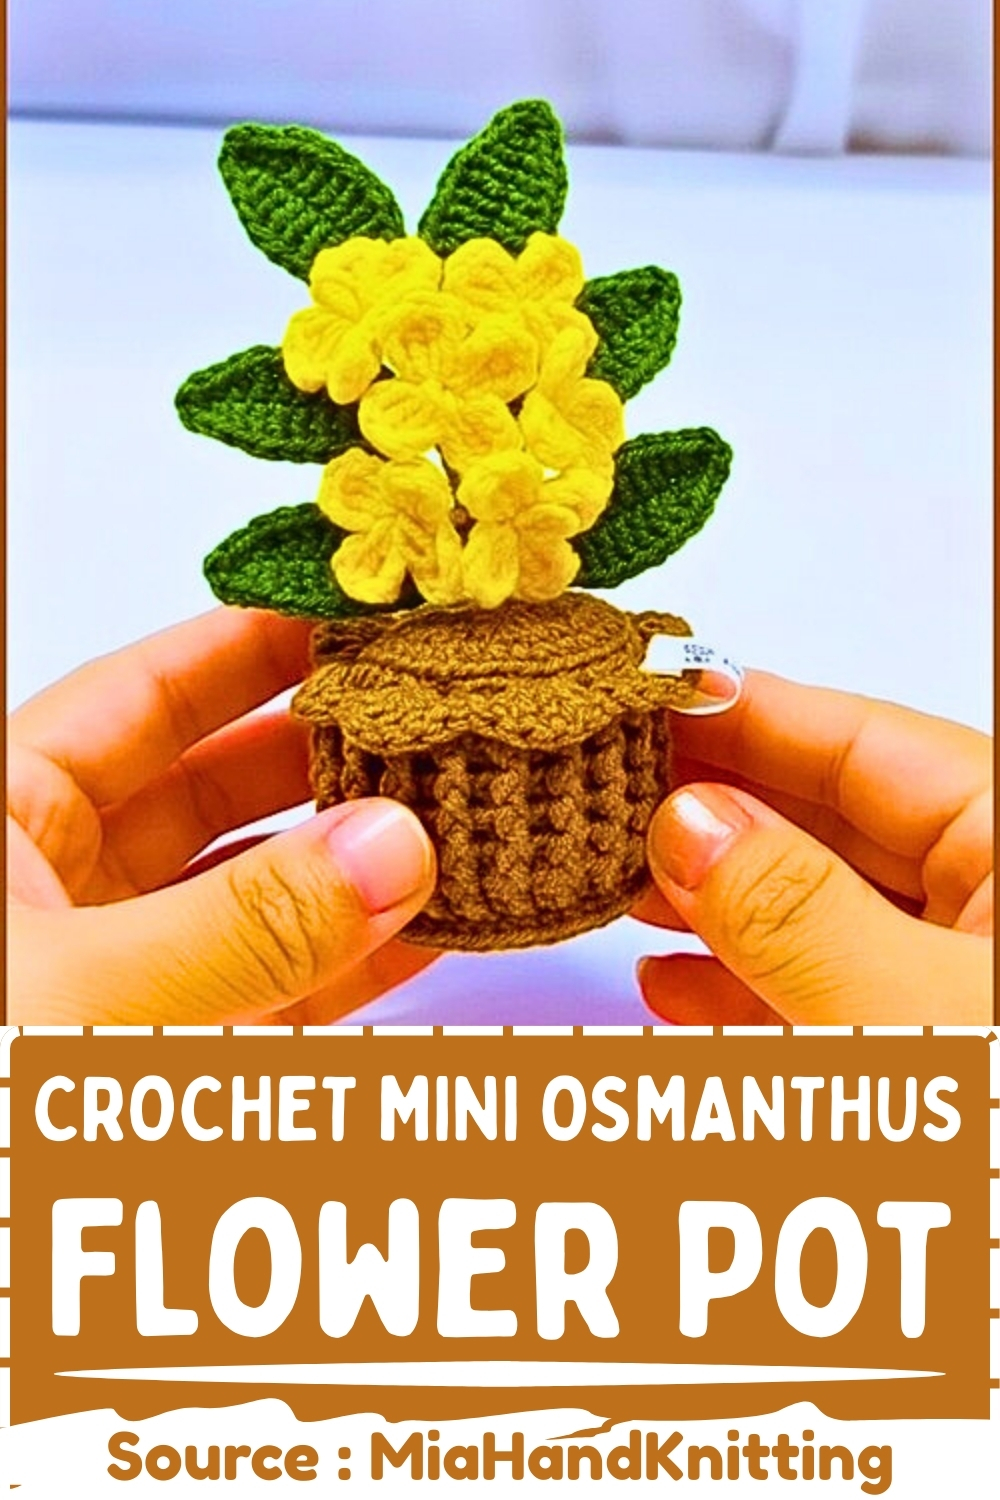

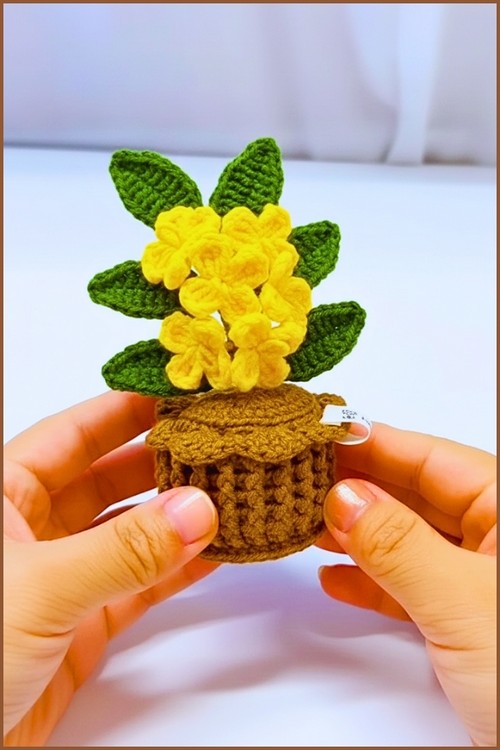

Unwind after a busy day by diving into the delightfully detailed Crochet Mini Osmanthus Flower Pot blueprint to fashion your own eternal indoor garden. Boasting tightly clustered, sunny blossoms bursting from a rustic stitched base, this compact accent piece effortlessly spruces up dull computer desks or floating shelves. It provides a therapeutic stitching experience, resulting in a lively, dust-resistant floral keepsake.
Skill level
-
Intermediate, due to the post stitches used for the pot texture and the structural wire assembly.
Finished size
-
Approximately four to five inches tall, depending on your tension and wire lengths.
Materials
-
Milk cotton yarn
-
2.5 mm crochet hook
-
Wire for stems and leaves
-
Stuffing or soil insert
Abbreviations
-
MR: Magic ring
-
SC: Single crochet
-
INC: Increase
-
DC: Double crochet
-
FPDC: Front post double crochet
-
BPDC: Back post double crochet
-
FLO: Front loops only
-
BLO: Back loops only
-
HDC: Half double crochet
Helpful notes before starting
-
Keep your tension firm on the pot base so it creates a flat, sturdy foundation that will not bulge when stuffed.
-
Use a strong florist wire or craft wire that can support the weight of the flowers without bending unintentionally.
-
Leave slightly longer yarn tails than usual on the flowers and leaves to make wrapping the wire stems easier during assembly.
Construction overview
-
You will work the flower pot from the bottom up, starting with a flat circle that transitions into textured walls using post stitches.
-
A separate flat circle acts as the soil insert, which gets nested inside the top rim later.
-
The flowers and leaves are crocheted individually, reinforced with wire cores, and then combined into a mini bouquet that anchors directly into the base.
Stitch and shaping clarity
-
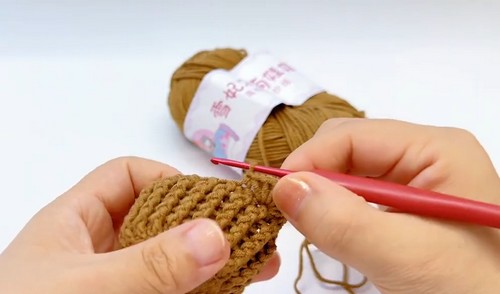
The pot walls use an alternating sequence of front post and back post double crochets, which creates a thick, ribbed basketweave texture that mimics a real ceramic or terracotta pot.
-
Working in the back loops only for the first round of the pot wall creates a crisp, 90-degree ridge that forces the crochet fabric to turn upward cleanly.
-
The leaves are worked symmetrically along both sides of a central foundation chain, requiring you to rotate your work to crochet into the unused loops of the chain.
Step by step pattern instructions
Flower Pot Base
-
Round 1: Make a magic ring, work 8 single crochet into the ring, pull tight and join with slip stitch
-
Round 2: Work 2 single crochet in each stitch, total stitches: 16, join with slip stitch
-
Round 3: Work 1 single crochet, 1 increase, repeat around, total stitches: 24, join with slip stitch
-
Round 4: Work 1 increase, 2 single crochet, repeat around, total stitches: 32, join with slip stitch
-
Round 5: Work 3 single crochet, 1 increase, repeat around, total stitches: 40, join with slip stitch
Pot Wall
-
Round 6: Chain 1, work in back loops only, crochet 40 double crochet, join with slip stitch
-
Rounds 7 to 11: Chain 2, alternate front post double crochet and back post double crochet, repeat pattern around for each round
Decorative Rim
-
Round 12: Work in front loops only, repeat the following around: 1 single crochet, skip 1 stitch, 5 double crochet in next stitch, skip 2 stitches, 1 single crochet
Pot Base Support
-
Turn pot upside down, join yarn to remaining loops from Round 6, work 40 single crochet evenly around
Soil Insert
-
Crochet the same rounds as the pot base, follow Rounds 1 to 5 only, leave the center slightly open to allow stem insertion
Osmanthus Flowers (Make 6)
-
Flower Center: Make a magic ring
-
Petals: Chain 3, work 2 double crochet into ring, chain 3, slip stitch into ring, repeat petal steps 4 times total
Flower Stem
-
Fold wire in half, wrap yarn around the center to form the flower core, insert wire through the flower center
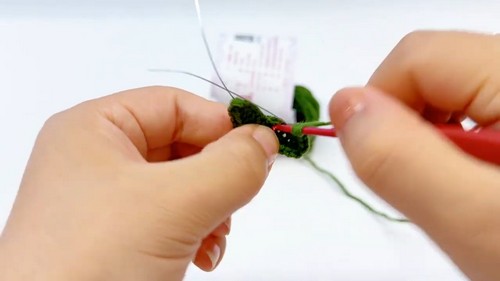
Leaves (Make 6)
-
Foundation Chain: Chain 12
-
First Side: Starting in second chain from hook: 1 single crochet, 1 half double crochet, 6 double crochet, 1 half double crochet, 1 single crochet, in last stitch: 1 single crochet, chain 1, 1 single crochet
-
Second Side: Work along opposite side of chain: 1 single crochet, 1 half double crochet, 6 double crochet, 1 half double crochet, 1 single crochet
-
Finishing: Slip stitch to first stitch, fasten off, wrap remaining yarn around wire stem
Eye and facial feature placement
-
If you want to turn this potted plant into a cheerful amigurumi character, place 6mm safety eyes between rounds 8 and 9 of the pot wall, leaving about 5 stitches between them.
-
Embroider a small, V-shaped smile directly centered between the eyes using black embroidery floss before assembling the soil insert.
Stuffing tips
-
Stuff the lower half of the pot firmly with fiberfill, ensuring it packs into the bottom corners to keep the base completely flat.
-
Avoid over-stuffing the very top before the soil insert is attached, otherwise the fiberfill will push the soil upward and create an unnatural dome shape.
Assembly guidance
-
Gather the six wired flowers and six wired leaves, placing them at staggered heights to create a natural, organic plant structure.
-
Twist the individual wire stems together tightly to form one thick, centralized main trunk.
-
Push the bottom of this twisted wire trunk down through the small opening left in the center of the soil insert.
-
Position the soil insert inside the top of the pot, aligning its outer edge with the remaining back loops of the pot rim.
Finishing notes
-
Use a tapestry needle to sew the soil insert to the interior loops of the pot rim, hiding your stitches within the texture of the decorative border.
-
Hide any remaining yarn tails by weaving them deep into the center stuffing of the pot.
-
Gently bend the wired leaves and flower stems outward to give the plant its final, bloomed appearance.
Beginner notes
-
If your post stitches are warping the shape of the pot, check your tension to ensure your double crochets are the same height as your chain stitches.
-
When working the leaves, be careful not to twist the foundation chain when transitioning to the second side.
-
Counting your stitches at the end of the flat base circles ensures your pot wall will have the correct multi-stitch alignment later.
Troubleshooting
-
If the pot refuses to stand upright, your base support round might be too loose; try pulling those stitches tighter to create a firmer bottom rim.
-
If the flowers feel floppy on their stems, wrap the wire tighter with yarn and add a small dot of fabric glue at the base of the blossom to secure it.
-
If the soil insert seems too large for the pot opening, work your final soil round with a slightly tighter tension than the pot base.
Customization ideas
-
Experiment with different shades of green for the leaves to mimic young growth versus mature foliage.
-
Change the pot color to a bright white or a traditional terracotta orange to match your personal home decor style.
-
Add small plastic pellets or clean pebbles at the very bottom of the pot before stuffing to give the amigurumi more weight and stability.