Easy Mini Crochet Ghost Amigurumi Free Pattern For Halloween Crafts
This mini crochet ghost pattern is a fun and beginner friendly project that helps you create a cute spooky character in a short amount of time. Designed with simple stitches and worked in continuous rounds, this pattern is perfect for Halloween decorations, desk decor, keychains, or small handmade gifts.
Crochet Ghost Perfect
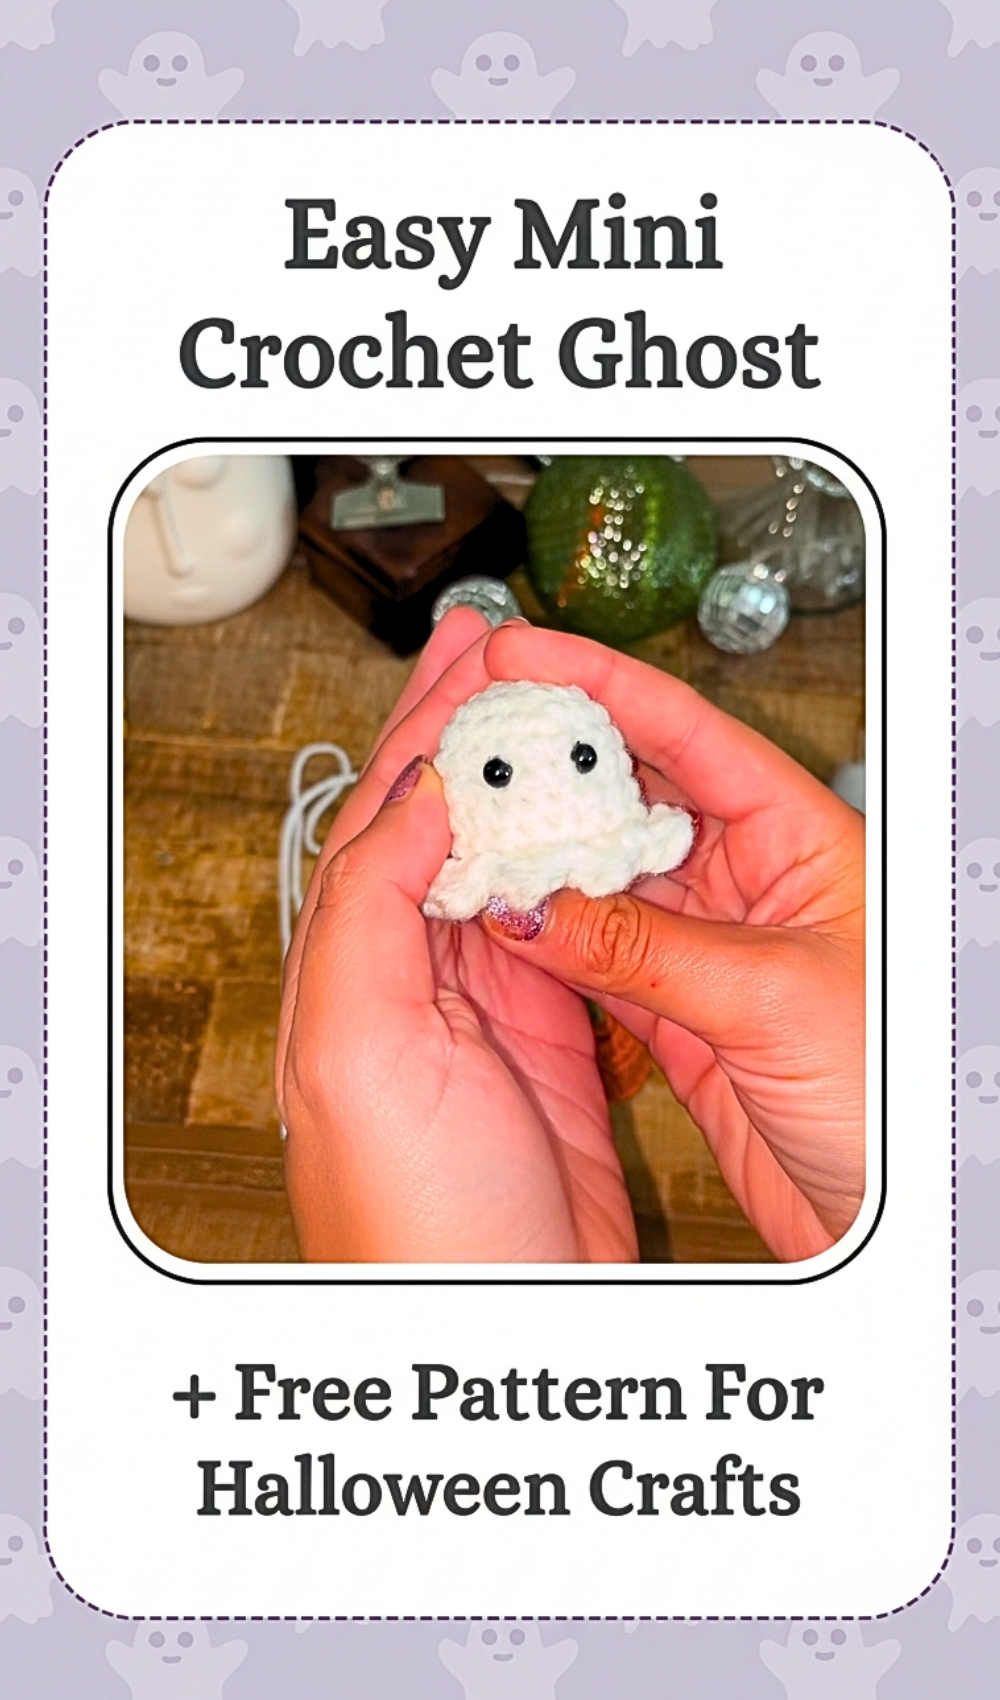


As autumn leaves begin to fall, crafting a crochet ghost serves as the perfect pattern choice for adding a touch of handmade charm to your seasonal decor. This adorable little spirit features a classic seamless, bell-shaped body that stands up beautifully on its own. Beyond its striking visual appeal, it functions perfectly as a festive keychain, a whimsical desk companion, or a spooky garland accent. Crafters will love how quickly this project comes together, offering an effortless yet highly rewarding creative outlet for Halloween enthusiasts.
Skill Level
-
Advanced Beginner
-
This project is ideal for crocheters who know basic stitches but want to practice working in specific loops and shaping three dimensional objects.
Finished Size
-
Approximately three inches tall
-
Final dimensions will vary slightly depending on your individual tension and the specific brand of weight four yarn used.
Materials
-
Weight 4 white acrylic yarn
-
3 mm crochet hook
-
Safety eyes
-
Stuffing
-
Stitch marker
-
Scissors
-
Darning needle
Abbreviations
-
MR magic ring
-
sc single crochet
-
inc increase
-
dec decrease
-
hdc half double crochet
-
dc double crochet
-
sl st slip stitch
-
FLO front loop only
Helpful Notes Before Starting
-
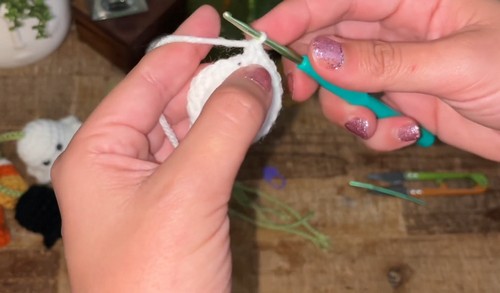
Work in continuous spiral rounds without joining at the end of each round unless the pattern explicitly tells you to do so.
-
Use your stitch marker to mark the very first stitch of every round and move it up as you progress to keep your place.
-
Count your stitches at the end of every round to ensure the shaping stays perfectly symmetrical.
Construction Overview
-
This ghost is worked from the top down in one piece to minimize sewing.
-
The head and main body are created first, followed by a decorative textured ruffle that creates the classic floating ghost look.
-
The piece is then finished by working behind the ruffle to decrease and close the bottom smoothly.
Stitch and Shaping Clarity
-
The increases in the first four rounds create a smooth, rounded dome for the top of the head.
-
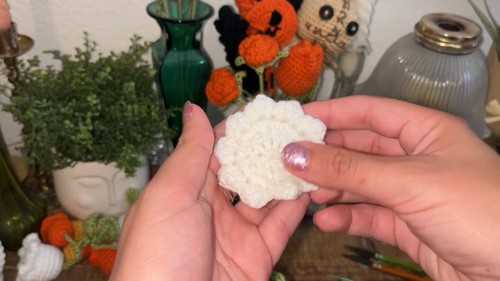
Round nine uses a combination of half double, double, and slip stitches in the front loops to create a wavy, decorative skirt edge while leaving the back loops intact for structural closing.
-
Round ten shifts back to the remaining unworked back loops to pull the fabric inward, creating a flat base so the ghost can sit upright.
Step by Step Pattern Instructions
Body
-
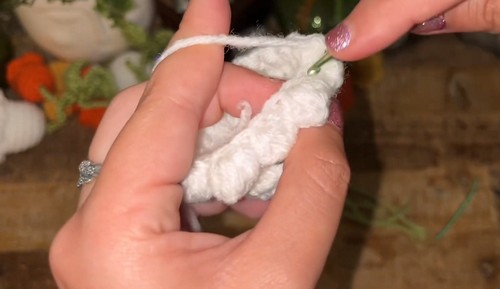
Round 1: Make a magic ring and crochet 6 sc into the ring (6 stitches)
-
Pull the yarn tail firmly to close the center hole completely so no stuffing leaks out later.
-
Round 2: Make 1 inc in each stitch around (12 stitches)
-
This doubles your stitch count and establishes a flat, circular foundation for the top of the head.
-
Round 3: Repeat 1 sc, 1 inc around (18 stitches)
-
Spacing the increases evenly prevents the circle from warping or becoming ruffed.
-
Round 4: Repeat 8 sc, 1 inc around (20 stitches)
-
This slight increase creates a gentle slope that transitions smoothly into the main body walls.
-
Rounds 5 to 8: Crochet 1 sc in each stitch for every round (20 stitches per round)
-
These rounds build the height of the ghost and form the face area where features will be placed.
-
Attach safety eyes between rounds 5 and 6 with two stitches between them
-
Push the plastic posts between the specified rounds, check that they are level and centered, and press the washers firmly onto the back until they click securely into place.
-
Round 9: Working in FLO, crochet 1 hdc, 1 dc, 1 hdc in the first stitch, then sl st in the next stitch, repeat this sequence around
-
Ensure you only insert your hook under the loops closest to you to form the decorative skirt, leaving the inner back loops pristine for the next round.
-
Round 10: Chain 2, working in the back loops left from the previous round, repeat 3 sc, 1 dec around (16 stitches)
-
Push the skirt forward with your fingers to easily locate the unworked loops on the inside of the piece and pull your stitches tightly to begin narrowing the base.
-
Stuff the ghost firmly before closing
-
Tear your fiberfill into small clumps and push them into the head first, filling the sides evenly to smooth out any wrinkles without overstretching the stitches.
-
Round 11: Make 8 dec around (8 stitches)
-
Keep your tension snug during these final decreases to ensure a tight, secure closure that holds the stuffing inside.
Finishing
-
Slip stitch into the next stitch
-
Fasten off and leave a long tail
-
Sew the bottom opening closed securely
-
Thread the yarn tail onto your darning needle, weave it through the front loops of the remaining eight stitches, and pull firmly to close the gap like a drawstring before weaving in the end.
Stuffing Tips
-
Avoid adding all your stuffing in one large lump, as this can create a lumpy texture and stretch out the stitches.
-
Pay special attention to the area around the safety eyes, packing stuffing gently behind them to keep the face plump and symmetric.
Troubleshooting
-
If your skirt ruffle in round nine looks distorted, verify that you are placing the half double, double, and half double crochet all into a single front loop, followed by a slip stitch in the very next loop.
-
If gaps appear during the decreases in round eleven, try using the invisible decrease method by inserting your hook into the front loops only of the next two stitches before completing the single crochet.
Customization Ideas
-
You can easily create a family of ghosts by changing your yarn weight and hook size, using blanket yarn for a giant plush version or embroidery floss for a tiny keychain.
-
Use black embroidery floss and your darning needle to stitch a small, expressive mouth or rosy cheeks right below the safety eyes for added personality.