
Easy Amigurumi Carrot Crochet Free Pattern Perfect For Gifts
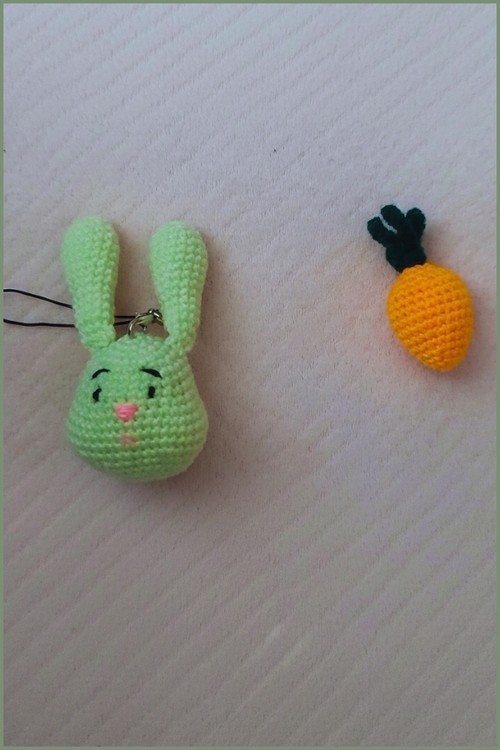
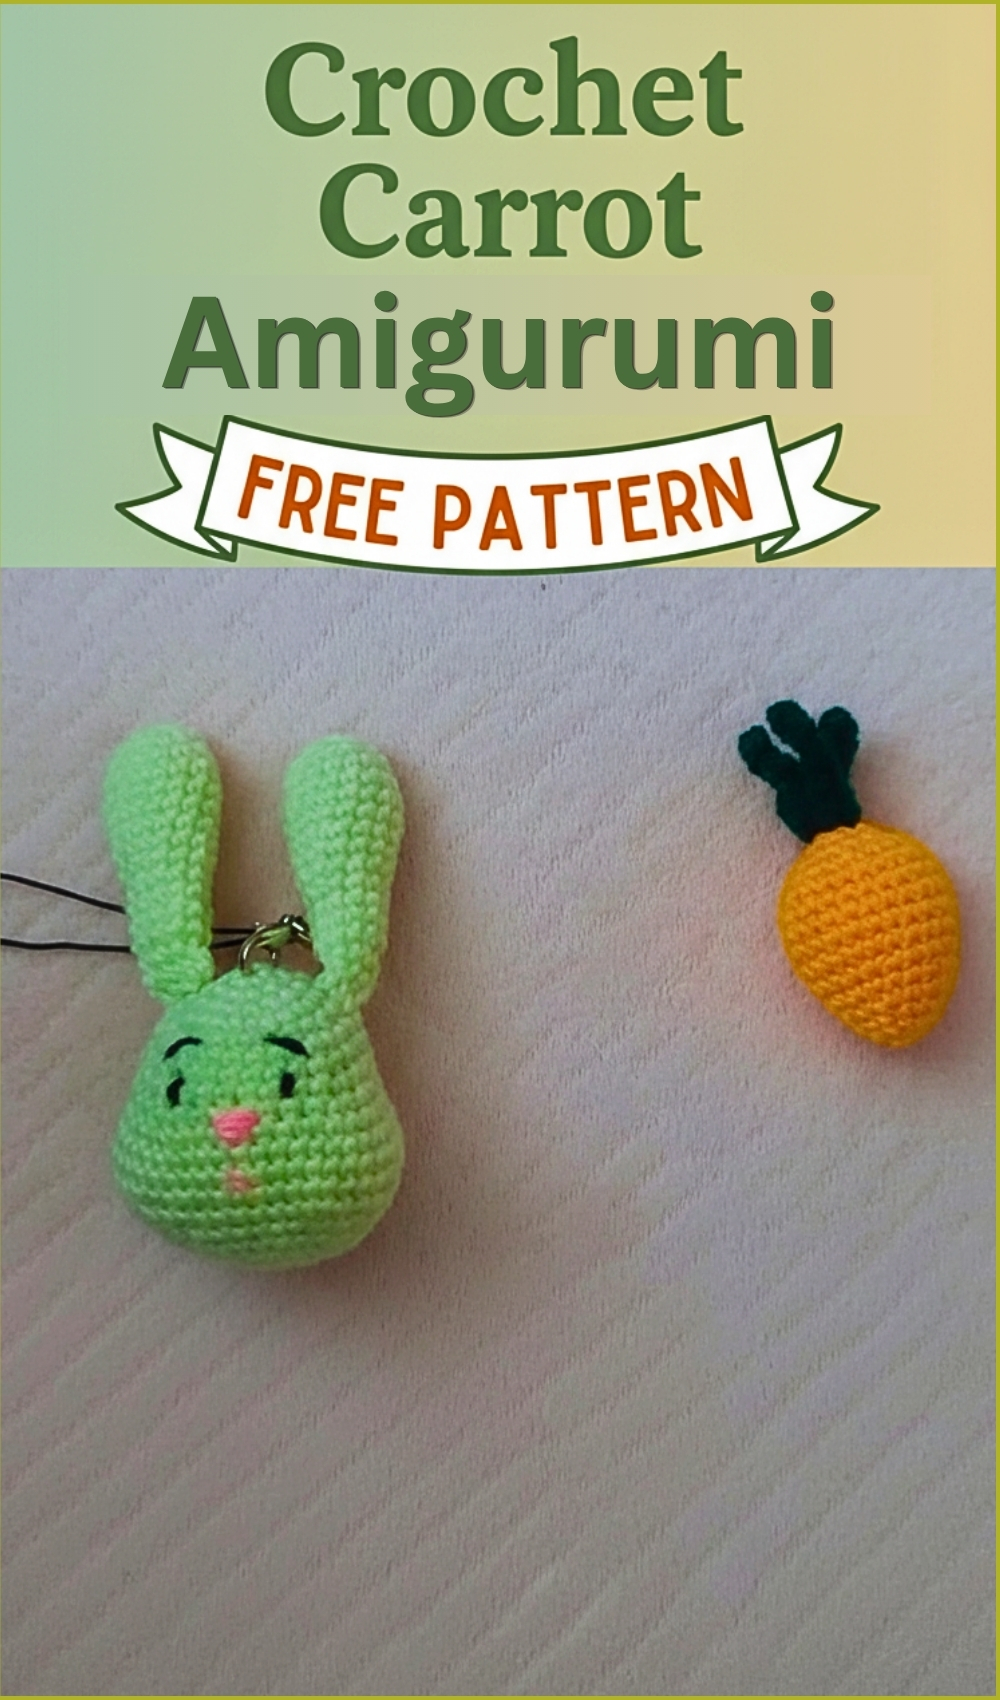
Ready to add a pop of garden-fresh color to your handmade collection? Working up a Crochet Carrot Amigurumi is the perfect way to practice seamless shaping while creating a vibrant, textured vegetable that looks good enough to eat. Featuring a realistic tapered body and a burst of leafy green tops, this plush veggie captures the rustic charm of a backyard harvest.
Crochet Carrot Amigurumi

It serves as a fantastic prop for play kitchens, a festive addition to springtime decor, or even a whimsical teething toy when crafted with the right materials. Whether you're filling a basket for a photoshoot or gifting a bunch to a little one, the bright orange stitches and leafy details make this project a joyful, quick win for any maker.
Skill level
-
Advanced beginner
Finished size
-
Approximately 4 to 5 inches including leaves, depending on yarn weight and tension
Materials
-
Orange yarn for the body
-
Green yarn for the leaves
-
Crochet hook appropriate for yarn size
-
Fiberfill stuffing
-
Safety eyes
-
Yarn needle
-
Scissors
Abbreviations
-
MR: Magic ring
-
Sc: Single crochet
-
Inc: Increase
-
Dec: Decrease
-
Ch: Chain
-
Sl st: Slip stitch
Helpful notes before starting
-
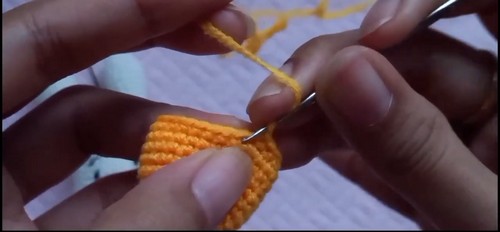
Work in continuous rounds rather than joining each round with a slip stitch to avoid a visible seam.
-
Use a stitch marker in the first stitch of every round so you can easily track your progress.
-
Keep your tension firm to ensure the stuffing does not peek through the stitches.
Construction overview
-
This project is worked from the wide top down to the narrow point of the carrot.
-
The leaves are joined directly to the top center at the end, eliminating the need for complex sewing.
-
The shaping is achieved through a slow, steady decrease sequence after a long section of even rounds that forms the main height of the body.
Stitch and shaping clarity
-
Increases are used at the start to create a flat, circular top before moving into the length of the carrot.
-
The eight rounds of even single crochet are essential for giving the toy its iconic elongated look.
-
Decreases should be done using the invisible decrease method to keep the bottom of the carrot looking smooth and professional.
Step by step pattern instructions
-
Carrot Body
-
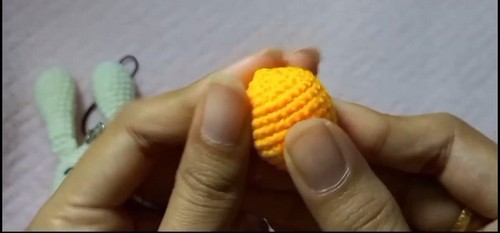
Start with a magic ring and crochet 6 single crochet stitches
-
Work 1 single crochet and 1 increase around for a total of 9 stitches
-
Work 2 single crochet and 1 increase around for a total of 12 stitches
-
Work 3 single crochet and 1 increase around for a total of 15 stitches
-
Crochet 1 single crochet in each stitch around for 8 rounds
-
Insert safety eyes if desired near the upper section of the body
-
Work 3 single crochet and 1 decrease around for a total of 12 stitches
-
Begin stuffing the carrot firmly with fiberfill
-
Work 2 single crochet and 1 decrease around for a total of 9 stitches
-
Work 1 single crochet and 1 decrease around for a total of 6 stitches
-
Cut yarn, weave through the remaining stitches, pull tight, and fasten off
-
Leaves
-
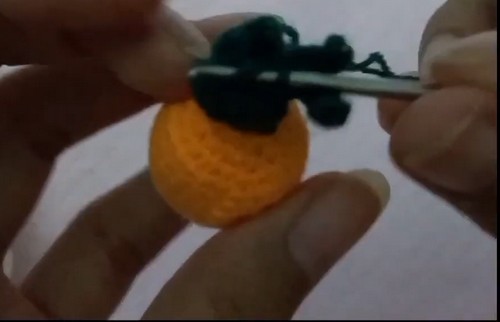
Join green yarn at the top center of the carrot
-
Chain 6 stitches
-
Slip stitch back down the chain starting from the second chain from the hook
-
Slip stitch into the carrot top to secure the leaf
-
Repeat the chain and slip stitch process until three leaves are formed
-
Fasten off and weave in all loose ends
Assembly guidance
-
Since the body is crocheted in one piece, the only assembly required is joining the green yarn for the leaves.
-
Ensure you join the green yarn exactly in the center of the magic ring you created at the beginning.
-
When slip stitching the leaves to the body, make sure they are anchored securely so they stand up or drape naturally.
Eye and facial feature placement
-
Place the safety eyes between rounds 3 and 4 of the body to give the carrot a "high-forehead" cute appearance.
-
Space the eyes about 3 or 4 stitches apart to maintain symmetry.
-
If you choose to embroider a mouth, a simple "V" shape in black thread placed centered between the eyes works best.
Stuffing tips
-
Stuff the top section firmly before the opening becomes too narrow.
-
As you reach the final decrease rounds, use the back of your crochet hook to push small amounts of stuffing into the tip.
-
Avoid overstuffing at the very bottom, as this can stretch the stitches and make the decreases look bulky.
Finishing notes
-
When fastening off the body, use a tapestry needle to pick up only the front loops of the remaining 6 stitches.
-
Pull the yarn tail firmly to close the hole completely before hiding the end inside the body.
-
Gently roll the finished carrot between your palms to distribute the stuffing evenly and smooth out the shape.
Beginner notes
-
If the magic ring feels difficult, you can chain 2 and work 6 single crochet into the second chain from the hook.
-
Take your time with the leaves; slip stitching into a chain can be tight, so try to keep your chains slightly loose.
Troubleshooting
-
If your carrot looks too short, double-check that you completed all 8 rounds of even single crochet.
-
If the tip looks blunt rather than pointed, ensure you are pulling the final yarn tail tight enough during the fasten-off step.
Customization ideas
-
Experiment with different shades of orange or even purple for a heritage carrot look.
-
Add more leaves by repeating the chain process five or six times instead of three.
-
Use a variegated green yarn for the leaves to add more texture and visual interest.