
Free Crochet Santa Ornament Pattern for Beginners
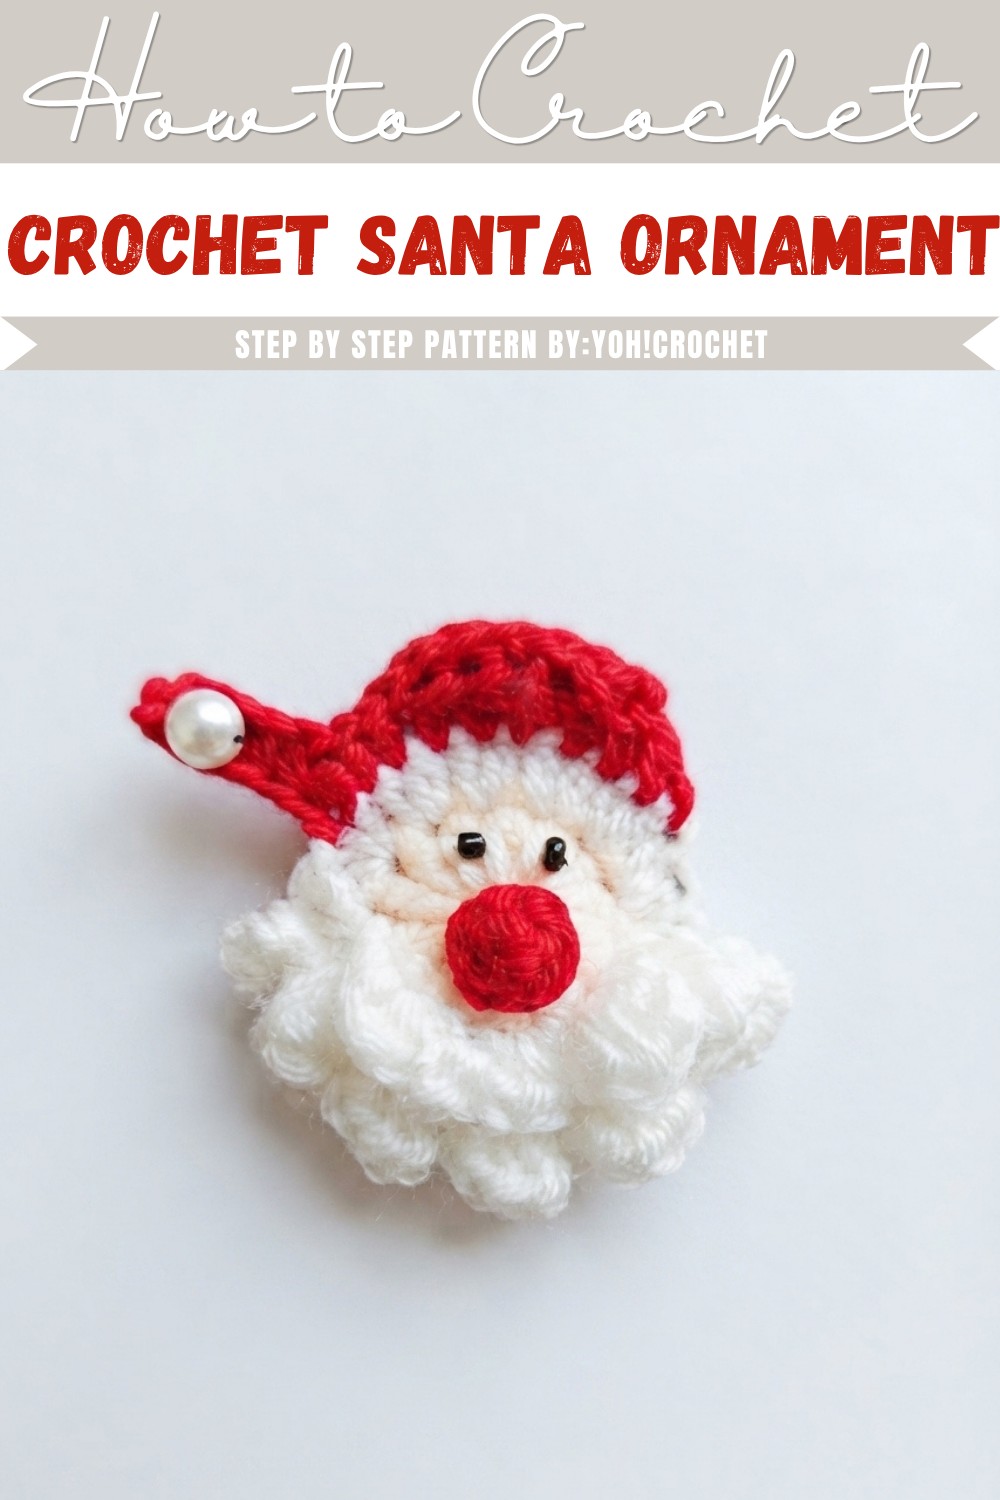
Hanging loop attaches at the top of the hat. Construction is simple throughout. Keeping the proportions balanced so the hat does not overwhelm the face is the one thing worth slowing down for.
Skill level
-
This project is ideal for an intermediate beginner who is comfortable with the magic ring and working into different parts of a stitch, such as the posts or skipped stitches.
Finished size
-
Depending on your yarn weight and hook size, this ornament typically measures between 2 to 3 inches in height, making it perfect for holiday decor.
Materials
-
Yarn colors beige for face, white for beard, red for hat
-
Crochet hook suitable for your yarn
-
Beads for eyes
-
Yarn needle for assembly
Abbreviations
-
MR: Magic Ring
-
CH: Chain
-
ST: Stitch
-
SL ST: Slip Stitch
-
SC: Single Crochet
-
HDC: Half Double Crochet
-
DC: Double Crochet
Helpful notes before starting
-
When working the beard, keep your tension moderate; if the loops are too tight, it will be difficult to work the stitches into them in the following steps.
-
The face is worked in a single round of half double crochets, which provides a sturdy base for the multiple layers of white yarn that follow.
-
Ensure your magic ring is pulled very tight at the start to prevent a hole in the center of the face where the nose will eventually sit.
Construction overview
-
The project begins with a circular face base, followed by a three-tiered beard that builds outward and then upward toward the center.
-
The hat is worked directly onto the remaining open stitches of the face, creating a seamless transition.
-
The nose is a small 3D element worked separately and sewn on last to add dimension.
Stitch and shaping clarity
-
The beard uses a "loop and fill" method where you first create a framework of chains and then go back to fill them with stitches to create the ruffles.
-
Post stitches are used for the inner layer of the beard, meaning you will wrap your yarn around the vertical body of the beige stitches rather than the top loops.
-
The hat uses decreasing stitch heights (from double crochet down to single crochet) to create the natural slope of Santa’s cap.
Face
-
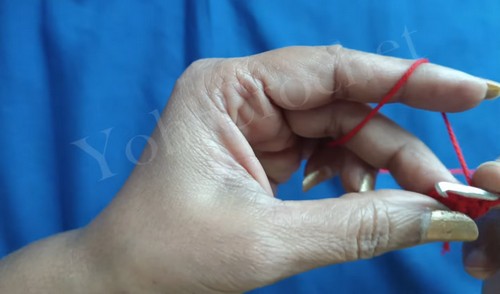
Create a magic ring
-
Chain 2 and work 12 half double crochets into the ring
-
Slip stitch into the first half double crochet, chain 1, cut yarn, and tighten the ring
Beard
-
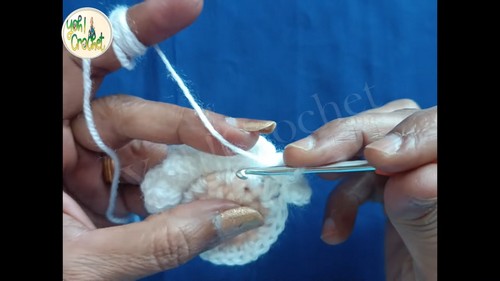
Attach white yarn to any stitch with a slip stitch
-
Chain 2 and work 2 half double crochets into each stitch around for a total of 24 stitches
-
Slip stitch to join the round
-
Chain 2, skip one stitch, slip stitch into the next stitch and repeat to create 6 loops
-
Turn work and crochet 1 single crochet, 3 double crochets, and 1 single crochet into each loop
-
Turn work and slip stitch into a skipped stitch from the previous round
-
Chain 2, slip stitch into the next skipped stitch and repeat to form 5 loops
-
Crochet 1 single crochet, 3 double crochets, and 1 single crochet into each loop
-
Create 4 loops around the posts of the beige center round
-
Crochet 1 single crochet and 3 half double crochets into each loop
Hat
-
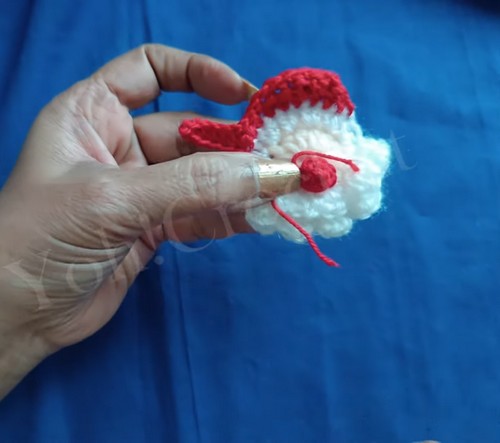
Skip the first stitch after the beard and attach red yarn
-
Chain 2 and work 4 double crochets in the next stitches
-
Work 3 half double crochets in the next stitches
-
Work 2 single crochets, slip stitch, and turn
-
Crochet 3 single crochets, 2 half double crochets, 2 double crochets, and 1 single crochet in the last stitch
-
Slip stitch to the first double crochet of the previous row and turn
-
Skip the first stitch, crochet 5 single crochets, then slip stitch into the next two stitches
-
Chain 6, work 1 single crochet in the second chain from the hook, then half double crochets in the remaining chains and on top of the slip stitch
-
Fasten off
Nose and Assembly
-
Create a magic circle with beige yarn
-
Work 6 single crochets into the ring
-
Crochet 1 single crochet in each stitch for the second round
-
Fasten off and attach the nose above the beard
-
Secure beads for the eyes
Assembly guidance
-
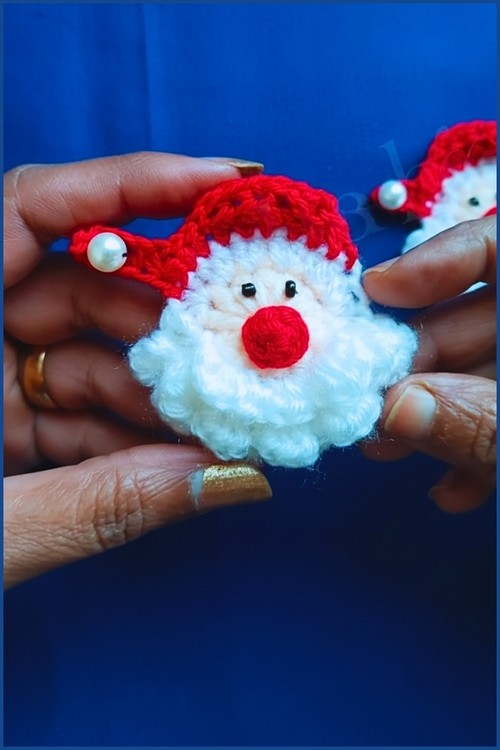
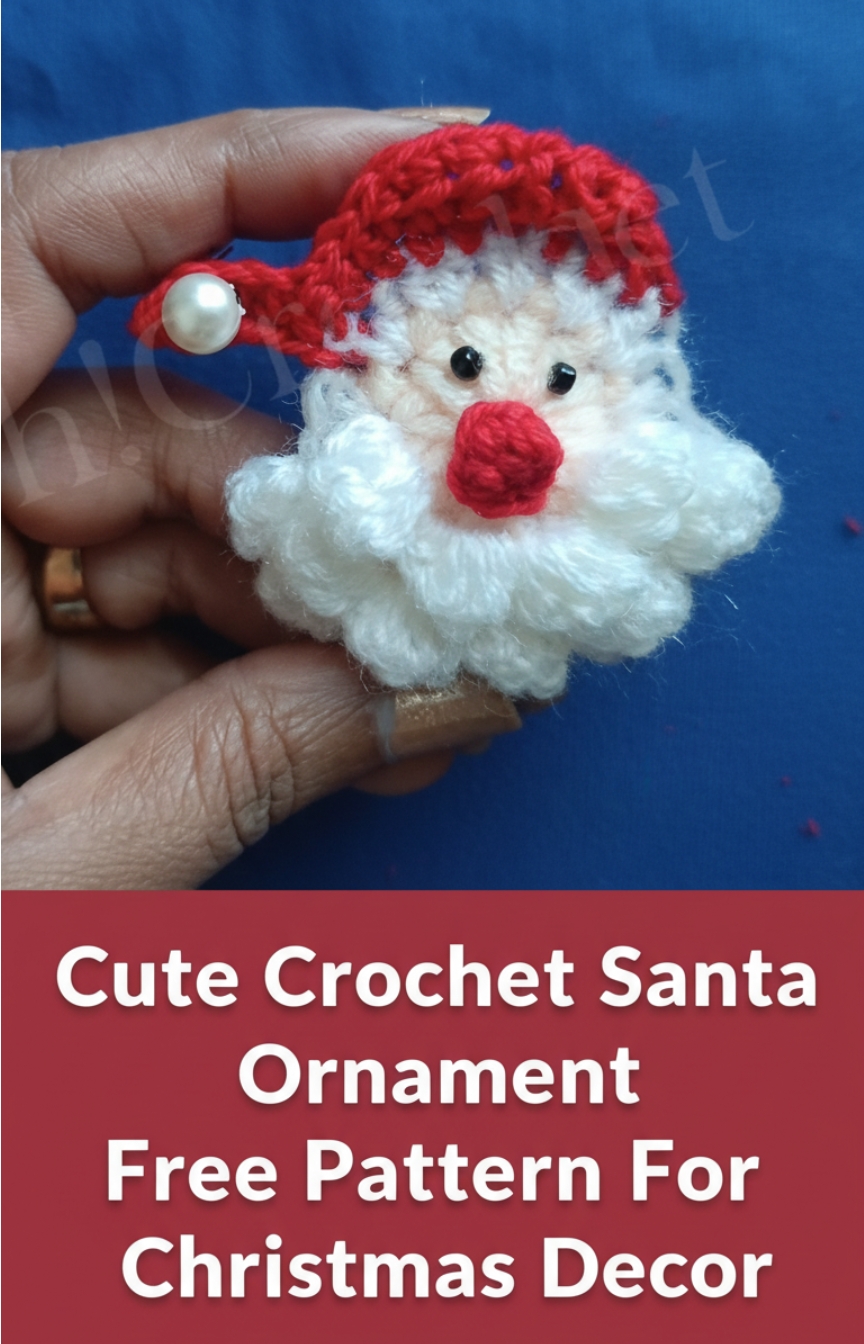
When attaching the nose, center it directly above the top tier of the beard ruffles to give the face a balanced look.
-
Use the tail from the nose to sew it onto the face, catching only the top loops of the beige circle so the stitches don't show on the back.
-
The hat's final chain extension creates the pointed tip; you can tack this down toward the side of the face with a single stitch if you prefer a "floppy" hat look.
Eye and facial feature placement
-
Place the beads for the eyes just above the nose, spaced about two stitches apart.
-
If you want a more expressive Santa, place the eyes slightly lower, closer to the nose, which creates a "kawaii" or cute aesthetic.
-
Ensure the eyes are symmetrical relative to the peak of the hat for a professional finish.
Stuffing tips
-
Since this is a flat-back ornament, only the nose requires a tiny amount of stuffing or yarn scraps to maintain its round shape.
-
If the beard feels too flat, you can gently use your fingers to fluff the double crochet shells forward.
Finishing notes
-
Weave in all ends on the back of the piece, ensuring the red yarn stays within the red section and white within the white to keep the back looking tidy.
-
If you plan to hang this, add a loop of gold thread or a scrap of red yarn through the top of the hat.
Beginner notes
-
If you find the post stitches for the inner beard difficult, you can alternatively work those stitches into the front loops of the beige round.
-
The "turn work" instructions are vital here as they allow the ruffles to stack correctly on top of each other.
Troubleshooting
-
If your beard is curling inward too much, your chains in the loop rows might be too tight; try loosening your tension for the chain-2 sections.
-
If the hat looks lopsided, check to ensure you skipped exactly one stitch after the beard before attaching the red yarn.
Customization ideas
-
Use a sparkly white yarn for the beard to give Santa a magical, snowy appearance.
-
Change the hat color to green or blue to create a set of festive gnomes using the same pattern structure.
- Add a small white pom-pom to the end of the hat chain for a classic finishing touch.
- Add a bead or pom pom to the tip of the hat