
Free Cute Magpie Crochet Pattern Amigurumi
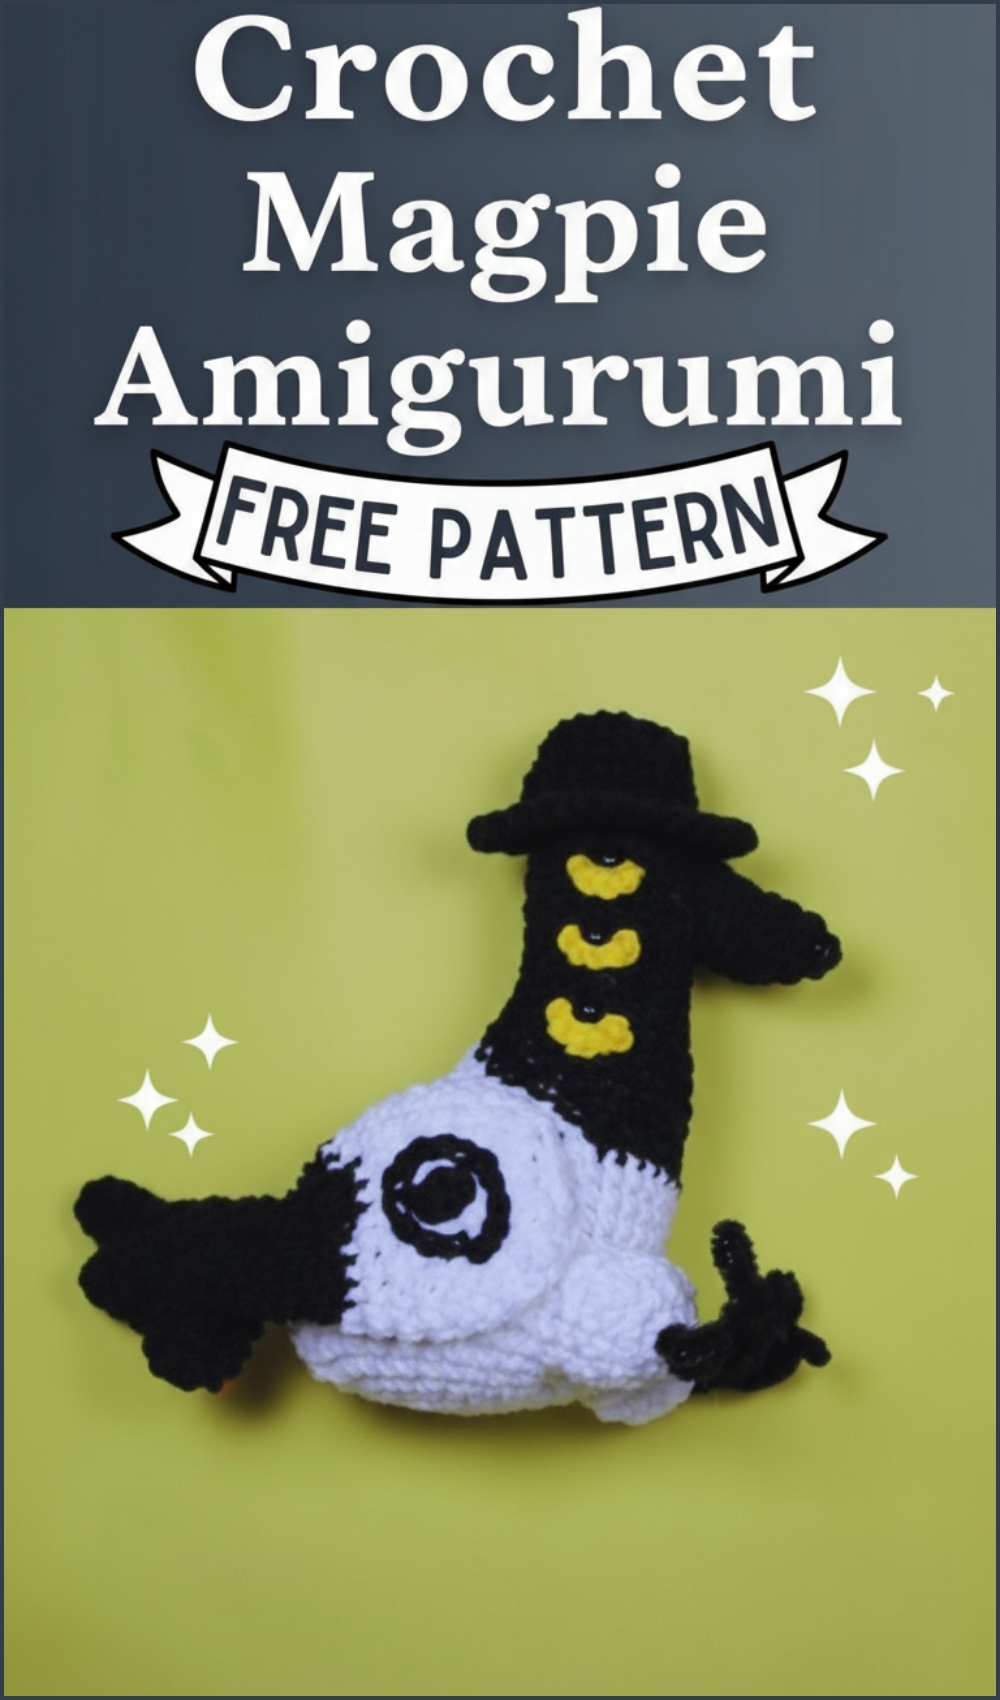
Crochet Magpie Amigurumi

The flat feather construction requires some shaping work. More involved than a basic round bird, but well within reach for makers with a few amigurumi finished.
Skill level
-
This pattern is best suited for intermediate crocheters who are comfortable managing multiple yarn strands and working with internal supports like pipe cleaners.
Finished size
-
Depending on your tension and yarn choice, this figure typically stands between 8 and 10 inches tall.
Materials
-
Medium weight yarn in white, black, and a highlight color for the beak and hat.
-
Crochet hook appropriate for your yarn (usually 3.5mm or 4.0mm for amigurumi).
-
Fiberfill stuffing.
-
Pipe cleaners for leg stability.
-
Tapestry needle for assembly.
-
Stitch markers.
Abbreviations
-
MR: Magic Ring
-
SC: Single Crochet
-
INC: Increase
-
DEC: Decrease
Helpful notes before starting
-
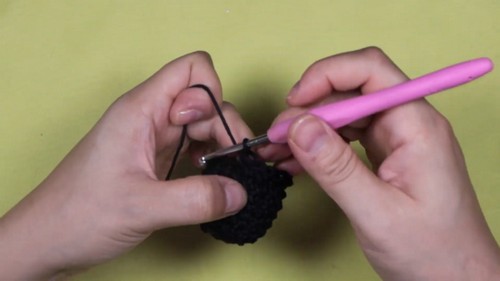
Use a stitch marker to keep track of the start of your rounds, as the color changes in the body require precise stitch counts.
-
When changing colors, pull the new color through the last two loops of the previous stitch to create a clean transition.
-
Keep your tension consistent so the white yarn doesn't "bleed" through the black sections or vice versa.
Construction overview
-
The body and head are worked as one continuous piece, utilizing specific decreases to cinch the fabric at the neck before expanding again for the head.
-
The wings and tail are composed of multiple parts to create a layered, realistic depth.
-
The legs are reinforced with pipe cleaners, allowing the finished piece to stand or be posed more effectively.
Stitch and shaping clarity
-
Increases in Rows 1, 3, and 5 expand the base rapidly to create a rounded, stable bottom.
-
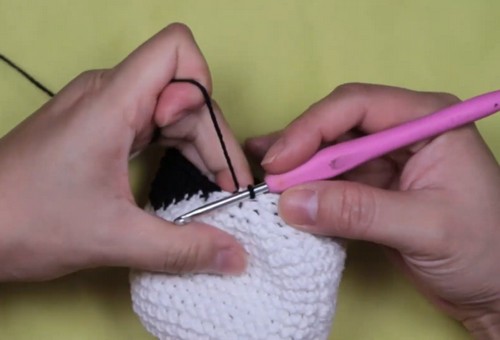
Rows 15 and 16 introduce the black color block; ensure you carry the yarn or join neatly to keep the interior tidy.
-
Decreasing only in the white sections during the neck transition (Rows 17 to 21) forces the fabric to pull inward at the sides while keeping the black "chest" or "face" area flat and prominent.
Step by step pattern instructions
-
Body and Head
-
Row 0: Magic ring with 8 single crochet
-
Row 1: Increase in each stitch around for 16 stitches
-
Row 2: Single crochet in each stitch around
-
Row 3: Increase in each stitch around for 32 stitches
-
Row 4: Single crochet in each stitch around
-
Row 5: Repeat one increase followed by two single crochet around for 48 stitches
-
Rows 6 to 14: Single crochet in each stitch around
-
Row 15: Work 18 single crochet in white, 12 single crochet in black, then 18 single crochet in white
-
Row 16: Work 17 single crochet in white, 14 single crochet in black, then 17 single crochet in white
-
Row 17: In the white sections repeat two single crochet and one decrease, work single crochet across the black section for a total of 38 stitches
-
Rows 18 to 21: Continue decreasing only in the white sections while maintaining the black stitches to form the neck area
-
Rows 23 to 29: Single crochet in black only to form the head
-
Row 30: Repeat six single crochet and one decrease around
-
Rows 31 to 33: Continue decreasing evenly until the opening is closed
-
Beak
-
Row 0: Magic ring with 6 single crochet
-
Row 1: Single crochet in each stitch around
-
Row 2: Repeat one single crochet and one increase around for 10 stitches
-
Rows 3 to 4: Single crochet in each stitch around
-
Tail
-
Large tail section: Start with a magic ring of 10 single crochet, increase evenly to 14 stitches, work several rows even, then decrease gradually back down to 8 stitches and finish off
-
Small tail section: Start with a magic ring of 8 single crochet, increase to 10 stitches, work a few rows even, then decrease to 7 stitches and finish off
-
Wings
-
Row 0: Magic ring with 10 single crochet
-
Row 1: Increase in each stitch around for 20 stitches
-
Row 2: Single crochet in each stitch around
-
Row 3: Work one increase, nine single crochet, one increase, nine single crochet for 22 stitches
-
Rows 4 to 8: Single crochet in each stitch around
-
Row 9: Repeat four single crochet and one decrease around for 18 stitches
-
Row 10: Add black color details by working sections of black stitches between white stitches
-
Rows 11 to 17: Continue decreasing using black yarn until the wing is closed
-
Chain 15 to form the wing ring detail and sew a small magic ring of 6 single crochet at the center
-
Legs and Hat
-
Legs: Magic ring with 8 single crochet, increase to 16 stitches, then work three rows of single crochet, inserting a pipe cleaner inside for support
-
Hat: Magic ring with 8 single crochet, increase to 12 stitches, then to 18 stitches, work several rows even, increase to 24 stitches, then increase again to 36 stitches to form the brim
Assembly guidance
-
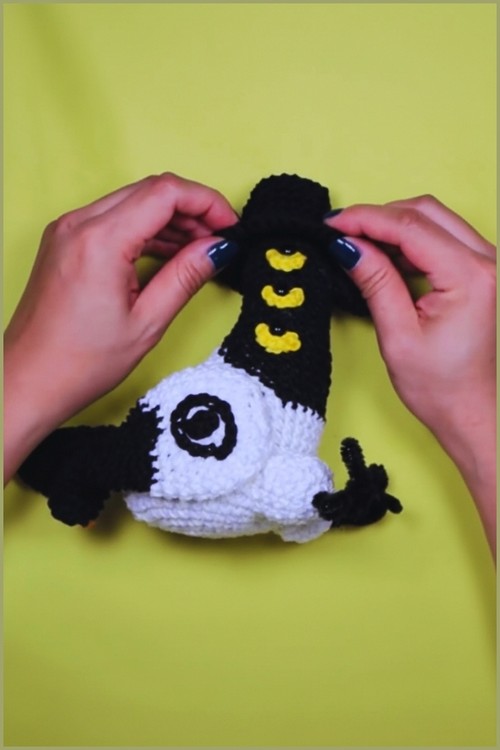
Begin by stuffing the body firmly, paying extra attention to the neck area to ensure the head doesn't wobble.
-
Pin the wings to the sides of the body at Row 15 to check for symmetry before sewing.
-
The tail pieces should be stacked, with the smaller section on top, and attached to the lower back of the body to act as a tripod leg for balance.
Eye and facial feature placement
-
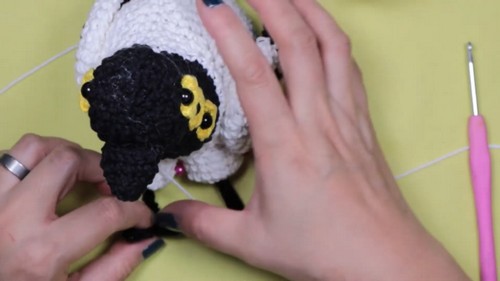
Place safety eyes or embroidery between Rows 25 and 26 of the head, roughly 6 to 8 stitches apart.
-
Center the beak directly between the eyes; the top of the beak should align with the bottom of the eyes.
-
Ensure the beak is flattened slightly before sewing to give it a more natural, tapered appearance.
Stuffing tips
-
-
Stuff the legs lightly around the pipe cleaner so the wire remains centered and doesn't poke through the stitches.
-
Use small pinches of stuffing for the beak to avoid over-stretching the stitches, which can cause the filler to show through.
-
Firmly stuff the bottom of the body to create a flat, weighted base.
-
Finishing notes
-
Weave in all ends deeply into the body to prevent them from popping out during play or display.
-
Use a damp cloth to lightly block the hat brim if it curls upward more than desired.
Beginner notes
-
If you find the color changes difficult, try carrying the unused yarn inside the stitches (tapestry crochet style) to avoid a mess of tangles inside the toy.
-
Don't worry if your neck decreases look slightly asymmetrical at first; the stuffing will help round out the shape.
Troubleshooting
-
If the legs are too weak to hold the weight, double up the pipe cleaners or twist two together for added strength.
-
If the head tilts, add a few extra hidden stitches during assembly between the back of the neck and the base of the head.
Customization ideas
-
Change the hat and beak colors to match seasonal themes, such as red and green for the holidays.
-
Add a small "ring" of surface crochet around the neck to further define the transition between the body and the head.