
Cute Holiday Penguin Amigurumi Crochet Free Pattern
This Christmas Penguin Amigurumi crochet pattern is perfect for creating a charming handmade decoration or gift for the holiday season. Designed with festive details like a cozy scarf and classic winter colors, this pattern guides you step by step to crochet a cute penguin with a polished finish.
Crochet Holiday Penguin Amigurumi
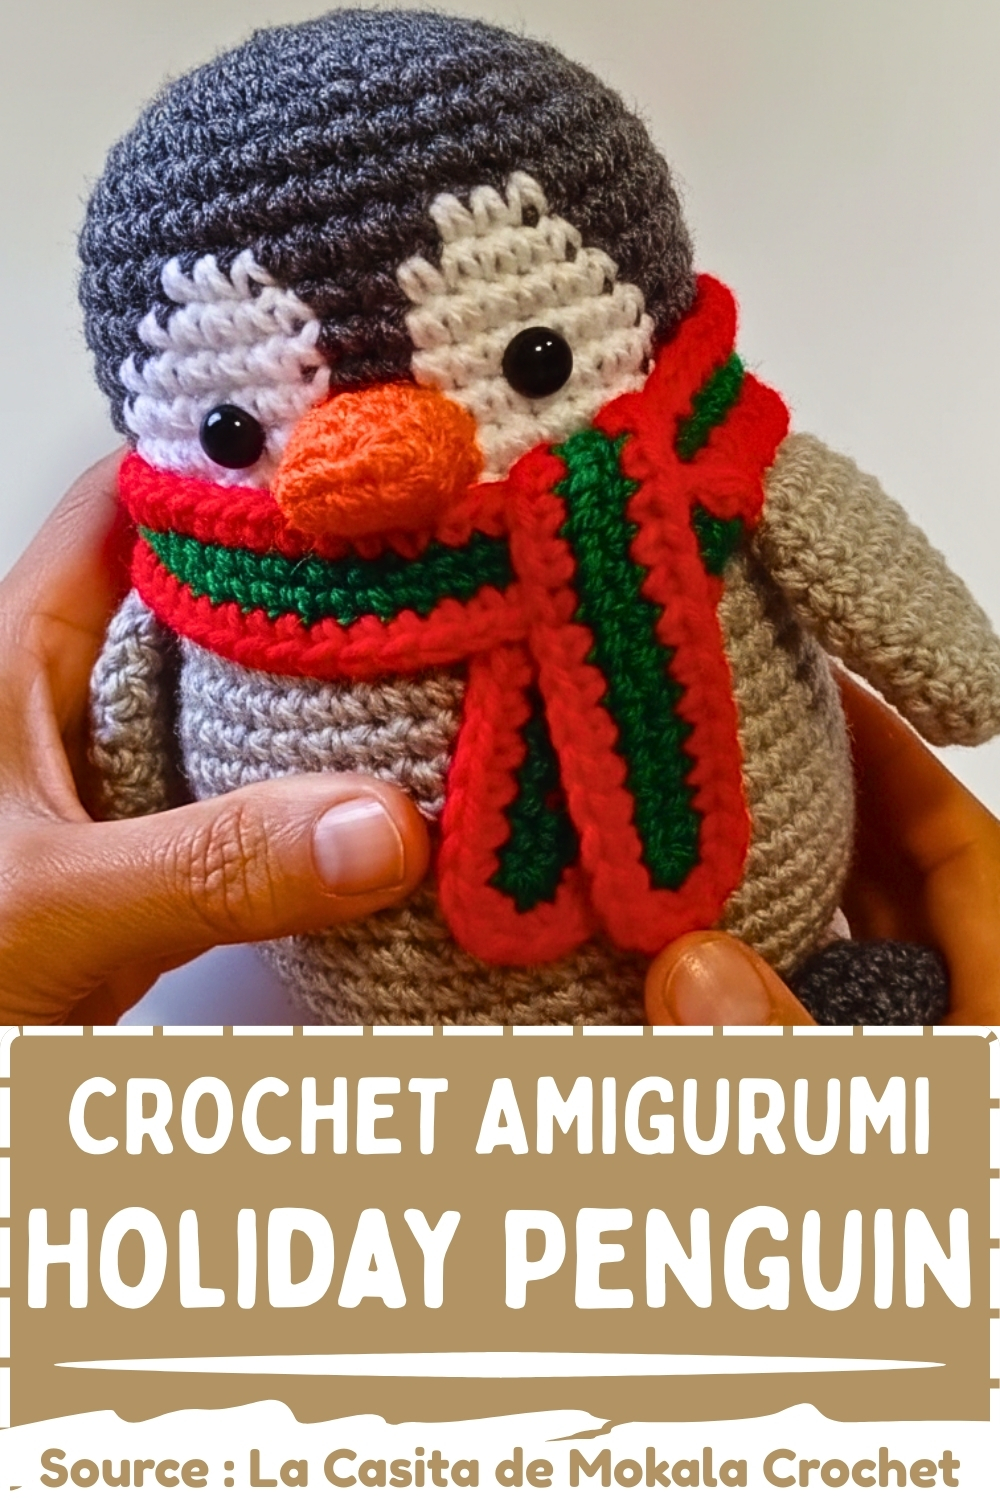
Handcrafted winter characters often stand out in amigurumi collections when working with Crochet Penguin Amigurumi pattern because the final piece combines soft curves, balanced proportions, and a clean color layout that brings the penguin’s personality to life. Its design is especially valued for decorative displays, handmade gifting, and themed nursery decor, where the rounded body and contrasting face area create a calm but expressive appearance. Beyond its visual charm, the structure also teaches useful shaping techniques through gradual increases and decreases, helping crocheters understand how a stable sitting figure is formed while maintaining symmetry and smooth transitions between color sections.
Skill Level
Intermediate
This pattern includes:
- Tapestry crochet colorwork
- Even and uneven increases
- Shaping with decreases
- Small part assembly
Finished Size
Final size will depend on yarn thickness, tension, and hook size.
Materials
- MATERIALS
- Yarn colors: dark gray or black, light gray, white, red, green, orange
- 3 mm crochet hook
- 10 mm safety eyes
- Fiberfill stuffing
- Yarn needle
- Scissors
Abbreviations
- sc = single crochet
- inc = increase
- dec = decrease
- ch = chain
- MR = magic ring
Construction Overview
This penguin is built in a structured way:
- Head and body are worked as a single piece from top down
- White yarn is introduced early to form the facial area using tapestry crochet
- Light gray yarn builds the body volume
- Gradual shaping forms the belly and taper toward the base
- Wings, feet, and beak are made separately and attached afterward
- A scarf is added as a final decorative accessory
The key to success is maintaining consistent tension during color changes so the face stays clean and symmetrical.
HEAD AND BODY ONE PIECE
- Round 1: Magic ring with 6 single crochet
- Round 2: Increase in all stitches for a total of 12 single crochet
- Round 3: Repeat 1 single crochet and 1 increase around for 18 stitches
- Round 4: Repeat 2 single crochet and 1 increase around for 24 stitches
- Round 5: Repeat 3 single crochet and 1 increase around for 30 stitches
- Round 6: Repeat 4 single crochet and 1 increase around for 36 stitches
- Round 7: Repeat 5 single crochet and 1 increase around for 42 stitches
- Round 8: Single crochet in all 42 stitches
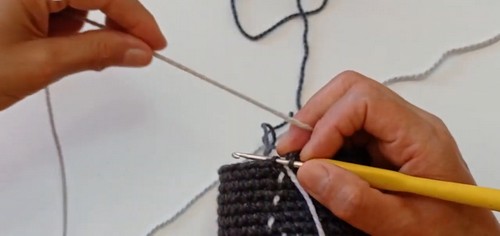
- Round 9 to 16: Introduce white yarn to form the face using tapestry crochet following the facial chart until round 16
- Round 17: Change to light gray yarn and repeat 6 single crochet and 1 increase around for 48 stitches
- Round 18 to 23: Single crochet 48 stitches for each round
- Round 24: Repeat 15 single crochet and 1 increase around for 51 stitches
- Round 26: Repeat 16 single crochet and 1 increase around for 54 stitches
- Round 27 to 29: Single crochet 54 stitches each round
- Round 30: Repeat 7 single crochet and 1 decrease around for 48 stitches
- Round 32 to 36: Continue decreasing evenly until 8 stitches remain
- Finish by closing the opening and fastening off
Important shaping notes
- The early increase rounds build a dome shape for the head. Once the stitch count stabilizes, the body begins to extend downward. The white section is not just decorative; it visually defines the penguin’s face, so alignment during tapestry crochet is very important.
- A helpful tip here is to keep your color transitions tight. Loose floats inside the body can distort the surface once stuffed.
WINGS MAKE TWO
- WINGS MAKE TWO
- Round 1: Magic ring with 6 single crochet
- Round 2: Repeat 1 single crochet and 1 increase around for 9 stitches
- Round 3: Repeat 2 single crochet and 1 increase around for 12 stitches
- Round 4 to 5: Single crochet 12 stitches each round
- Round 6: Repeat 3 single crochet and 1 increase around for 15 stitches
- Round 7 to 9: Single crochet 15 stitches each round
- Round 10: Repeat 3 single crochet and 1 decrease around for 12 stitches
- Round 11: Single crochet 12 stitches then flatten and close with 5 single crochet
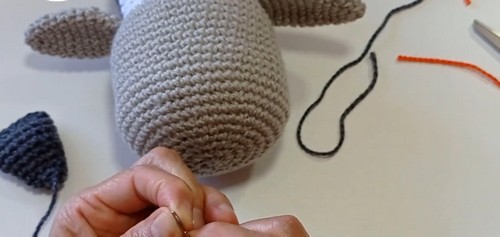
- Fasten off
Wing shaping insight
The wings are slightly curved due to the increase and decrease placement. Flattening at the end helps them sit neatly against the body rather than sticking out stiffly.
FEET MAKE TWO
- FEET MAKE TWO
- Round 1: Magic ring with 6 single crochet
- Round 2: Repeat 1 single crochet and 1 increase around for 9 stitches
- Round 3 to 4: Single crochet 9 stitches each round
- Round 5: Repeat 2 single crochet and 1 increase around for 12 stitches
- Round 6: Single crochet 12 stitches
- Round 7: Repeat 3 single crochet and 1 increase around for 15 stitches
- Round 8 to 9: Single crochet 15 stitches, lightly stuff, flatten, and close with 7 single crochet
- Fasten off
Foot construction notes
The feet are intentionally flattened, which helps stabilize the penguin when sitting. Light stuffing only is important here; overstuffing will prevent proper balance.
BEAK
- BEAK
- Row 1: Chain 5, single crochet in the next 3 chains, work 2 single crochet in the last chain, continue on the opposite side with 3 single crochet for a total of 8 stitches
- Round 2: Single crochet 8 stitches
- Round 3: Repeat 1 increase and 3 single crochet twice for 10 stitches
- Round 4: Single crochet 10 stitches and fasten off
Beak shaping explanation
This small oval shape is created by working around a foundation chain. The increases at the tip create a natural pointed front that helps define the penguin’s expression.
ASSEMBLY
- ASSEMBLY
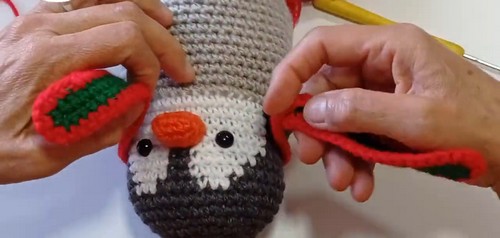
- Attach safety eyes on the white facial area
- Sew the beak centered between the eyes
- Attach the wings to the sides between the head and body color change
- Sew the feet to the base aligned with the beak
- Add a small tail at the back to help the penguin sit upright
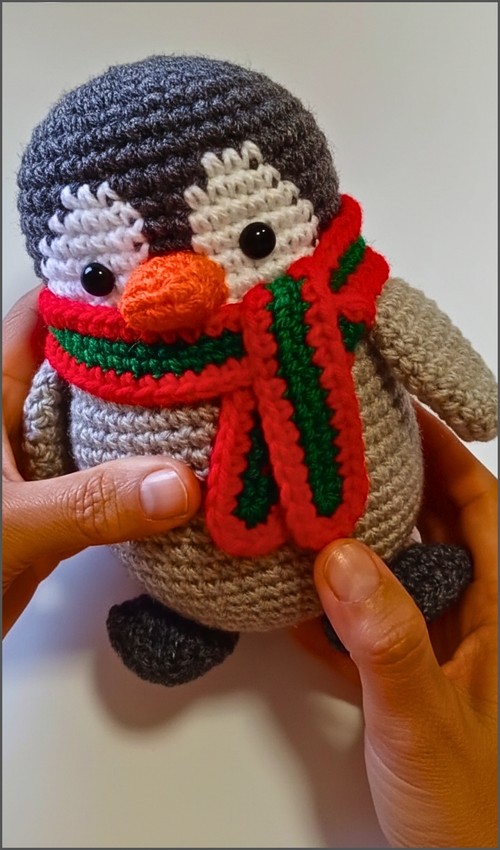
Assembly guidance
- Eye placement is the most important step for expression. Even a small shift can change the character’s personality, so it helps to pin the eyes before securing them.
- When attaching wings, placing them slightly forward rather than directly on the side gives a more natural resting posture.
- The tail is not just decorative; it acts as a counterbalance so the penguin does not tip backward.
SCARF
- SCARF
- With green yarn, chain 80
- Single crochet across the chain
- Work 3 single crochet in the corners to turn
- With red yarn, single crochet evenly around the edge for decoration
Scarf notes
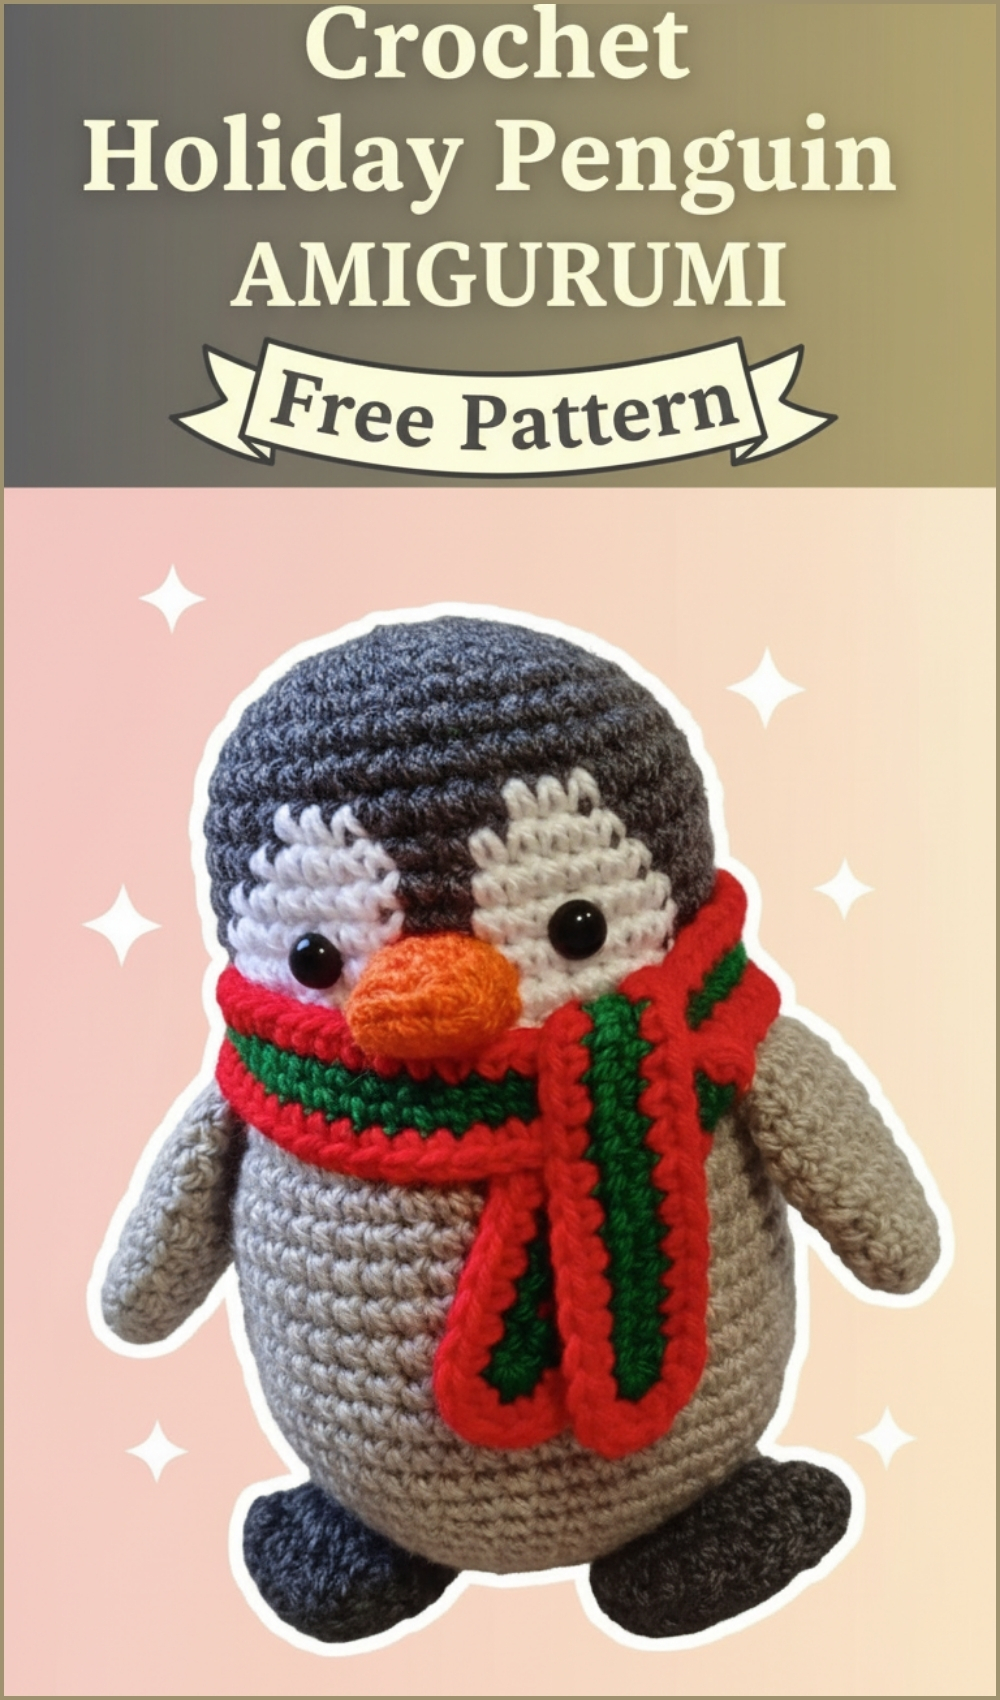
This accessory adds both color contrast and personality. The long chain allows it to wrap around the neck or hang loosely depending on styling preference.
Helpful Notes Before Starting
- Tapestry crochet requires consistent tension for clean color transitions
- Use stitch markers during the body rounds to maintain alignment
- Stuff gradually as you close the body to avoid uneven shaping
- Keep symmetry in mind when placing facial features
Troubleshooting
- Uneven face shape: This usually happens when tapestry crochet tension is inconsistent. Try tightening floats slightly and checking stitch alignment each round.
- Penguin not sitting upright: Check foot stuffing and tail placement. A small tail adjustment often solves balance issues.
- Wings look stiff: Make sure they are fully flattened before sewing and not overstuffed.
Customization Ideas
- Swap scarf colors for seasonal themes
- Use embroidered details for eyebrows or blush
- Adjust wing size by adding one extra increase round
- Add a small hat or earmuffs for variation