
Crochet Santa Ornament Free Pattern - Ruffled Beard Santa Face
Tie this crochet Santa ornament onto the ribbon of a Secret Santa gift, and the present arrives with a tag the recipient can hang year after year. Front door wreaths and stair garlands can each carry a ruffled beard Santa face, with its floppy red hat tipping to one side.
Grandparents tend to keep the Crochet Santa Ornament with the pearl tipped hat on the tree after the rest comes down. Teachers can find one tucked into a holiday card. Kids who hang their own decorations get something that will not shatter. Make a Crochet Santa Ornament for each name on your gift list.
Crochet Santa Ornament
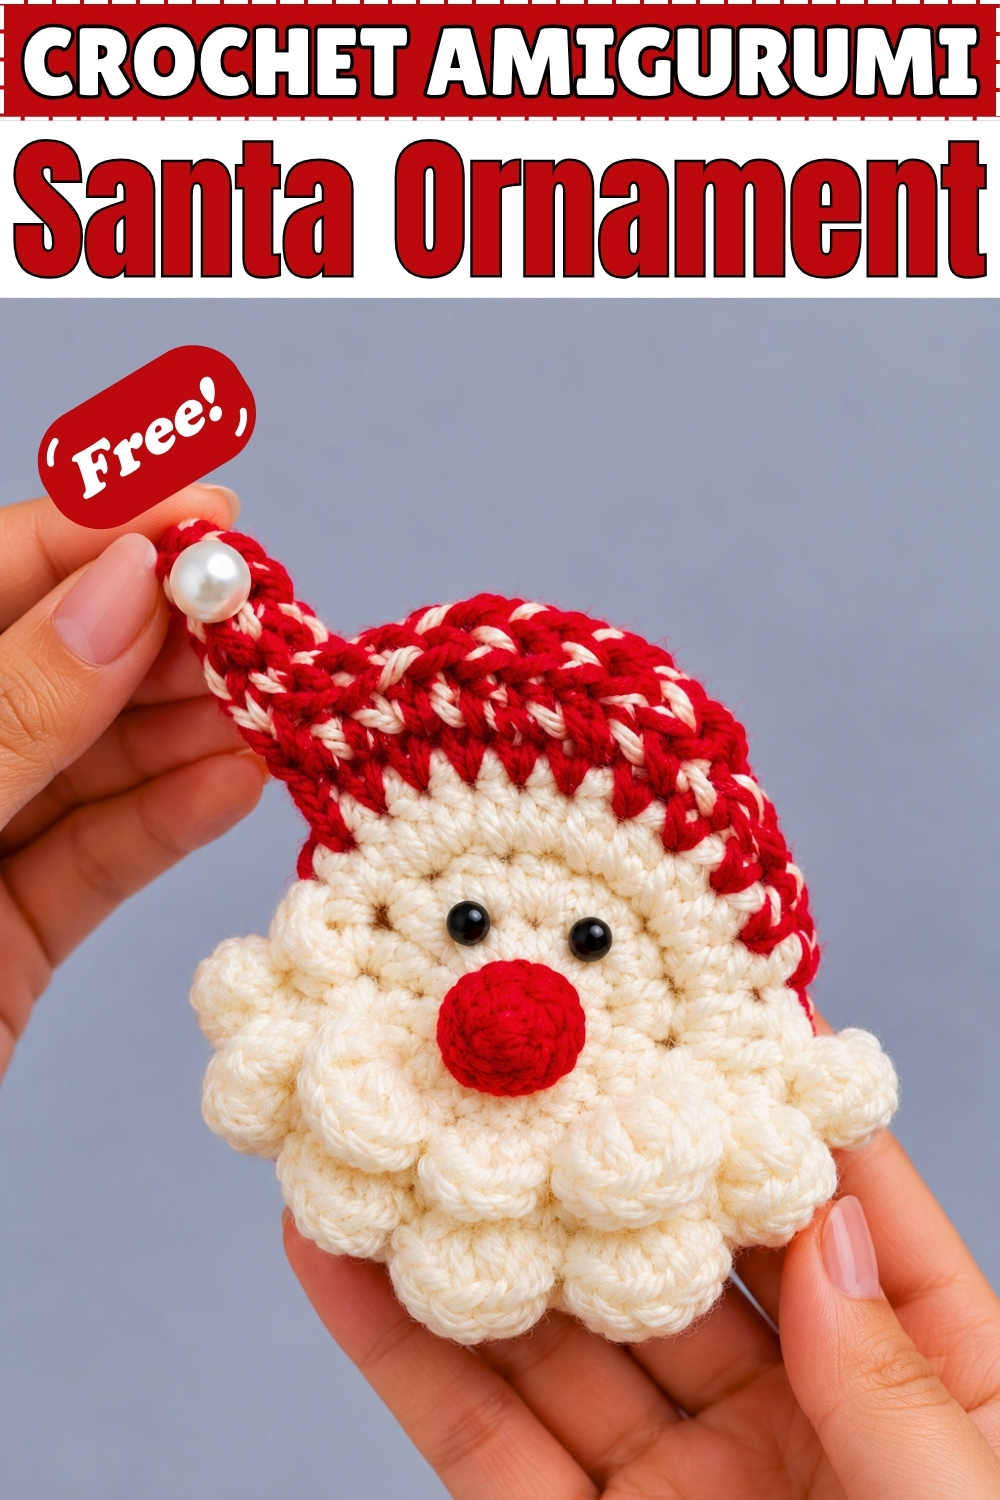
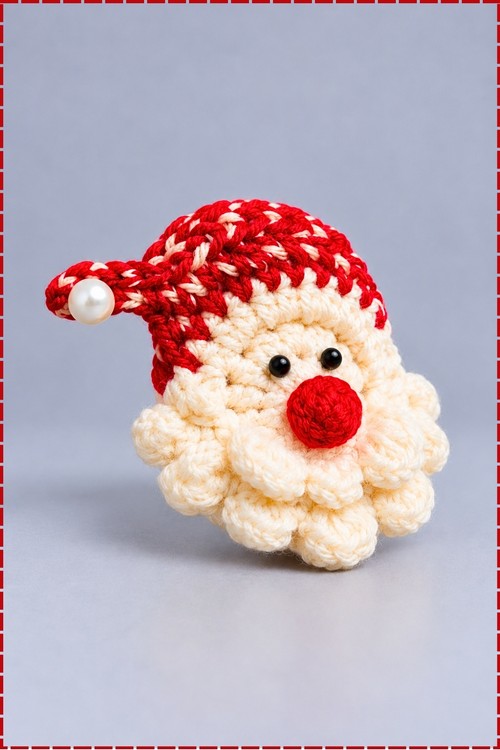
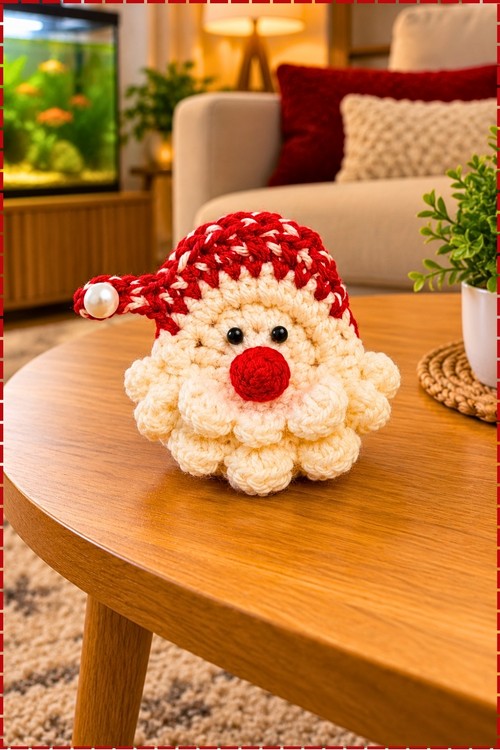
Three stacked layers of looped ruffles build the thick beard on this crochet Santa ornament, all worked straight off a small round face. My version swaps the beige face for a soft cream, so the face and beard blend into one warm block of texture. Instead of a skin tone nose, I stitched the nose in bright red to tie it to the hat. For the hat itself, I used a red and cream marled yarn that gives a candy cane fleck. Two black bead eyes and a glossy pearl on the floppy tip finish the face in minutes.
Materials and Tools
- Medium or DK weight yarn in cream (face and beard), bright red (nose), and a red and cream marled or twisted yarn (hat)
- Crochet hook to suit your yarn, usually between 3.0 mm and 4.0 mm
- Two small round black beads for the eyes
- One small white pearl bead for the hat tip (a mini white pom pom works too)
- Yarn needle, scissors, and black thread or craft glue for the eyes
Abbreviations (US Terms)
- MR: magic ring
- ch: chain
- sl st: slip stitch
- sc: single crochet
- hdc: half double crochet
- dc: double crochet
- st(s): stitch(es)
Difficulty and Time
This is an easy to intermediate make. The beard layers and working around posts take a bit of attention. In my experience one crochet Santa ornament takes around 30 to 45 minutes, and the finished face sits comfortably in the palm of your hand, though size will vary with your yarn and hook.
Technique Notes
The beard works best when you keep the ch 2 loops loose enough to fit five stitches inside. Tight loops make the ruffles cup and pucker instead of fanning out.
Layer 2 uses the stitches you skipped in Layer 1, so count your skips carefully. If you lose track, the second layer sits crooked.
Layer 3 is worked around the posts of the face round, not into the tops. Tilt the work forward and slide your hook behind the hdc post from the back. This is what lifts the top ruffles up close to the nose.
The red nose sits partly over the top beard ruffle, so sew it on after the beard is finished and before you add the eyes. That way you can space the eyes evenly above it.
A twisted or marled hat yarn hides small tension slips well. If you only have plain red, the hat works just the same.
The Pattern
Face (Cream Yarn)
- Make a MR with cream yarn.
- Ch 2 (does not count as a stitch).
- Work 12 hdc into the ring [12 hdc].
- Pull the ring tight to close the centre.
- Join with a sl st into the first hdc, not into the ch 2 [12 sts].
- Ch 1, cut the yarn, and fasten off; you should have a small flat cream circle.
Beard Base (Cream Yarn)
- Join cream yarn with a sl st into the top of any hdc from Round 1.
- Ch 2 (does not count as a stitch).
- Work 2 hdc into each st around [24 hdc].
- Join with a sl st into the first hdc; the circle should now lie flat and be roughly double the width of the face.
Ruffled Beard (Cream Yarn)
- Layer 1: ch 2, skip the next st, sl st into the following st; repeat until you have 6 loops [6 ch 2 loops].
- Ch 1 and turn.
- Into each of the 6 ch 2 spaces, work (1 sc, 3 dc, 1 sc) [6 ruffles].
- Turn to face the back and sl st into the first skipped st from the loop round; the lower half of the circle should now carry a scalloped fringe.
- Layer 2: ch 2, sl st into the next skipped st from the base round; repeat until you have 5 loops sitting just above the first layer [5 ch 2 loops].
- Into each of the 5 ch 2 spaces, work (1 sc, 3 dc, 1 sc) [5 ruffles].
- Layer 3: insert your hook behind the post of a face hdc from Round 1, pull up a loop, and sl st.
- Ch 2 and repeat around the next posts until you have 4 loops [4 ch 2 loops].
- Into each of the 4 ch 2 spaces, work (1 sc, 3 hdc) [4 ruffles].
- Ch 1, cut the yarn, and fasten off; on mine, all three layers frame the bottom and sides of the face with thick bobbly curls.
Santa Hat (Red and Cream Marled Yarn)
- Row 1: skip the first open st next to the beard and join the hat yarn in the next st.
- Ch 2, then 1 dc in each of the next 3 sts [4 dc counting the ch 2].
- 1 hdc in each of the next 3 sts [3 hdc].
- 1 sc in each of the next 2 sts [2 sc].
- Sl st into the next st, ch 1, and turn [1 sl st].
- Row 2: 1 sc in the same st and 1 sc in each of the next 2 sts [3 sc].
- 1 hdc in each of the next 2 sts [2 hdc].
- 1 dc in each of the next 2 sts [2 dc].
- 1 sc in the last st, then sl st into the top of the first dc from Row 1; ch 1 and turn [1 sc, 1 sl st].
- Row 3: skip the first st, then 1 sc in each of the next 5 sts [5 sc].
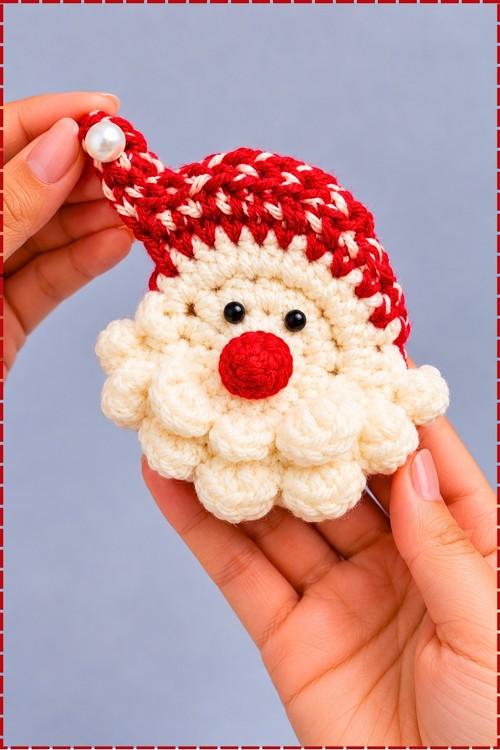
- Sl st in each of the next 2 sts, then sl st in the last st [3 sl st]; the hat should now cap the top of the face with a slight slope to one side.
- Floppy tip: ch 6 [6 ch].
- Skip the first ch from the hook and sc in the next ch [1 sc].
- Hdc in each remaining ch [4 hdc].
- Hdc into the top of the sl st on the main hat [1 hdc].
- Sl st into the next space on the hat to anchor the tip.
- Ch 1, turn, and sl st into the last ch you worked; ch 1, cut the yarn, and fasten off. On my Santa the tip sticks out sideways from the hat.
Nose (Bright Red Yarn)
- Round 1: make a MR and work 6 sc into it; do not join [6 sc].
- Round 2: 1 sc in each st around [6 sc].
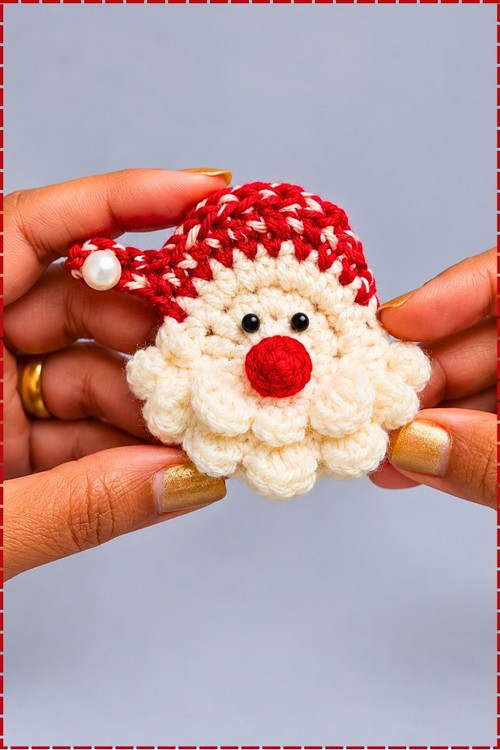
- Sl st into the next st, ch 1, cut the yarn leaving a long tail, and pull the ring fully closed; you should have a tiny round red bobble.
Assembly and Finishing
- Sew the red nose to the centre of the face, resting slightly over the top beard ruffle, and knot the tail at the back.
- Attach the two black bead eyes just above and slightly to each side of the nose with black thread or glue; mine sit close together, giving a bright cheerful look.
- Sew the pearl bead to the very end of the floppy hat tip; a mini white pom pom works if you prefer.
- Optional: chain a loop to your preferred length in hat or cream yarn and sew it to the back of the hat for hanging (my photo shows the Santa without a loop).
- Weave in all remaining ends at the back.
Yarn Substitution
Any smooth cotton or cotton blend in DK or light worsted gives the clearest ruffles, which is what I used for crisp curls. Acrylic is softer and fuzzier, so the beard reads more fluffy than bobbly. For the hat, plain red works fine, or you can hold a strand of red and a strand of thin cream together to fake the marled look.
FAQ
Can I make the nose skin tone like the original? Yes. Work Part 5 in the face colour instead of red. Everything else stays the same.
My beard ruffles are cupping. What went wrong? The ch 2 loops are too tight. Loosen them so each loop easily holds the full ruffle.
Is this safe for small children? The beads are a choking hazard. Embroider the eyes with black yarn and skip the pearl for anything going to a toddler.