
Crochet Sea Turtle Amigurumi Pattern Free - Mini Turtle Keychain
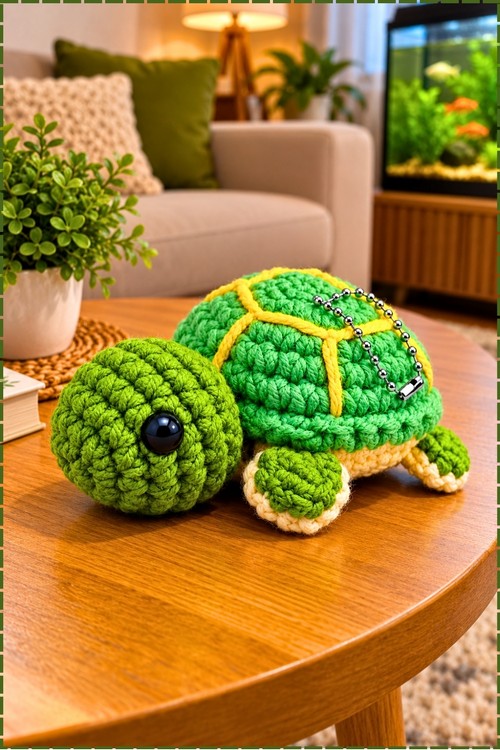
Spring break packing lists make room for this crochet sea turtle keychain, which clips onto a water bottle loop or a lanyard without adding bulk. Four cream edged flippers let the mini sea turtle amigurumi sit steady on a desk or bedside shelf when it is off the keyring.
Swinging from a set of car keys, this Crochet Sea Turtle Amigurumi rides along on its ball chain. Ocean lovers hang it from a bag, swim coaches hand them out after lessons, and kids who collect charms want one too. Beach travelers keep a Crochet Sea Turtle Amigurumi on the keyring all summer.
Crochet Sea Turtle Amigurumi
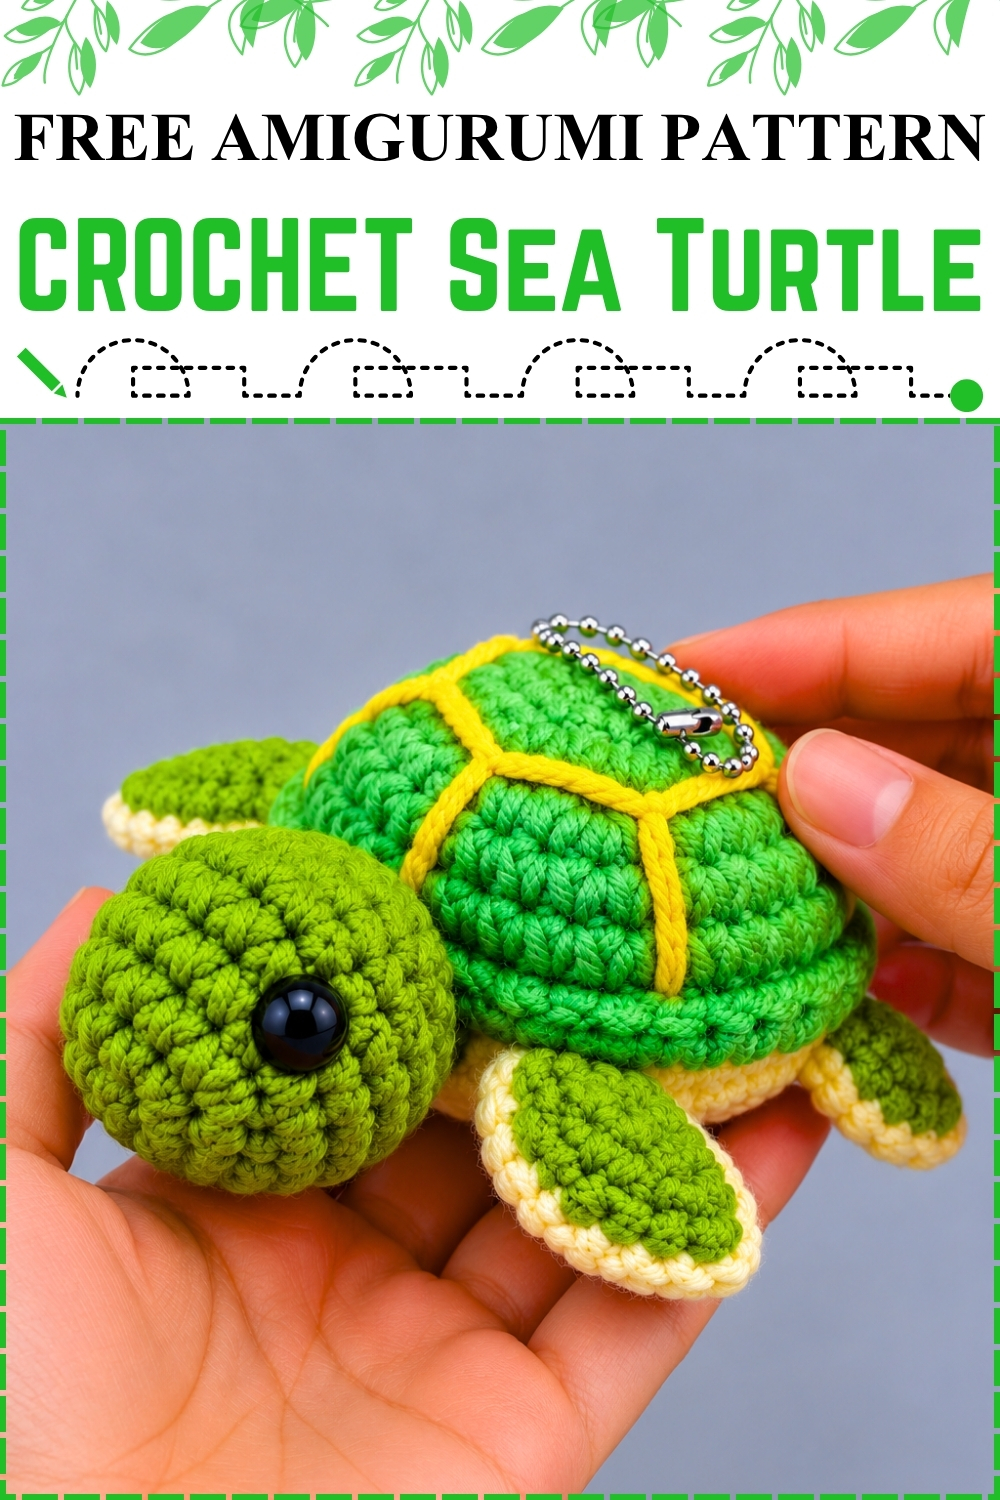
Once you join the flat belly to the domed shell, you sew the four fins right into the seam between them. I used bright green for the shell and stitched yellow lines across the top to mark out the scutes. Olive green covers the head and the top of each fin, while pale cream lines the fin undersides and belly. Small black safety eyes sit on the sides of the head. My crochet sea turtle amigurumi needs only a handful of rounds per piece, so the whole turtle comes together fast. Firm stuffing inside the shell keeps the dome round.
Materials and Tools
- Olive green yarn for the head and the top layer of the fins
- Bright green yarn for the shell and the joining round
- Light yellow (cream) yarn for the belly and the bottom layer of the fins
- Yellow yarn for the shell scute lines
- 3 mm crochet hook
- Two 10 mm black safety eyes (or black embroidery floss if you prefer sewn eyes)
- Polyester fiberfill stuffing
- Silver ball chain keychain
- Yarn needle and scissors
Abbreviations (US Terms)
- MR: magic ring
- sc: single crochet
- inc: increase, 2 sc in the same stitch
- ch: chain
- sl st: slip stitch
- FL: front loop
Technique Notes
- Spiral rounds: the head, shell, and belly are all worked in continuous rounds. Use a stitch marker in the first stitch of each round so the short rounds do not run together.
- Front loop join: when joining the shell and belly, go through only the front loop of the shell but both loops of the belly. This leaves the shell's back loop as a raised ridge, which gives the shell its visible rim above the belly. Hold both pieces with the shell facing you so you always grab the correct loop.
- Stuffing small pieces: the shell needs firm stuffing to stay domed, but push it in a little at a time. Too much at once stretches the stitches and lets stuffing show through.
- Scute embroidery: keep the yellow lines snug against the fabric. Loose lines sag and look messy once the shell is stuffed.
- Double sided fins: line up the two fin layers stitch for stitch before sewing. If they shift, the fin twists and will not lie flat against the body.
- Sewing the head: the head is left open, so sew around its whole edge to the shell front. Add a little more stuffing just before the last stitches so the head stays firm and does not droop.
The Pattern
1. Head
- Use olive green yarn.
- Round 1: work 6 sc in a MR (6 stitches).
- Round 2: inc all around (12 stitches).
- Round 3: [1 sc, 1 inc] repeat all around (18 stitches). The base of the head is now its full width.
- Rounds 4 to 6: sc in each stitch all around (18 stitches). The head forms a short, rounded cup.
- Eye placement: insert the safety eyes between Rounds 4 and 5, about 7 stitches apart. On mine they sit on the sides of the head, so each eye is visible from the side view rather than both facing forward.
- Finishing: stuff the head firmly, cut the yarn leaving a tail for sewing, and fasten off. The edge stays open for sewing to the shell.
2. Shell
- Use bright green yarn.
- Round 1: work 6 sc in a MR (6 stitches). This becomes the top center of the shell.
- Round 2: inc all around (12 stitches).
- Round 3: [1 sc, 1 inc] repeat all around (18 stitches).
- Round 4: [2 sc, 1 inc] repeat all around (24 stitches).
- Round 5: [3 sc, 1 inc] repeat all around (30 stitches).
- Round 6: sc in each stitch all around (30 stitches). The shell curves down into a shallow dome.
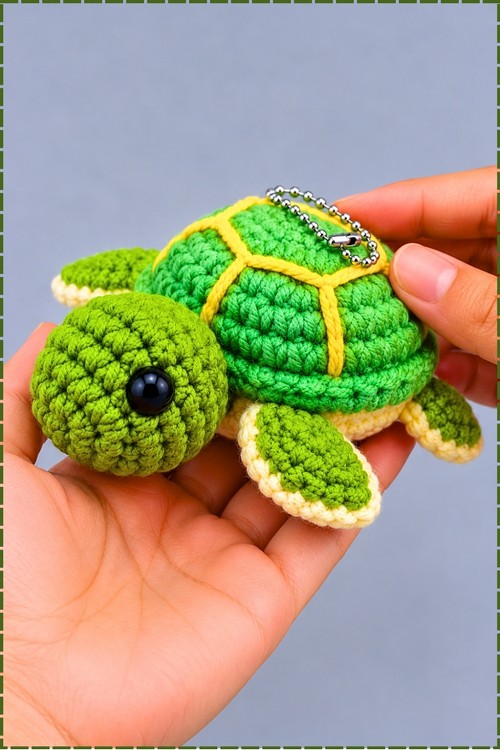
- Shell scutes: using yellow yarn and a yarn needle, start at Round 3, find the first increase, and sew lines across and around the shell to mimic turtle scutes, following the 6 increases around. On mine this makes one center shape on top with lines running out to the edge. Secure and trim the ends.
3. Belly
- Use light yellow yarn.
- Repeat Rounds 1 to 5 of the shell to make a flat circle (30 stitches). It should lie flat, unlike the domed shell.
4. Joining Belly and Shell
- Place the belly and shell together with wrong sides facing.
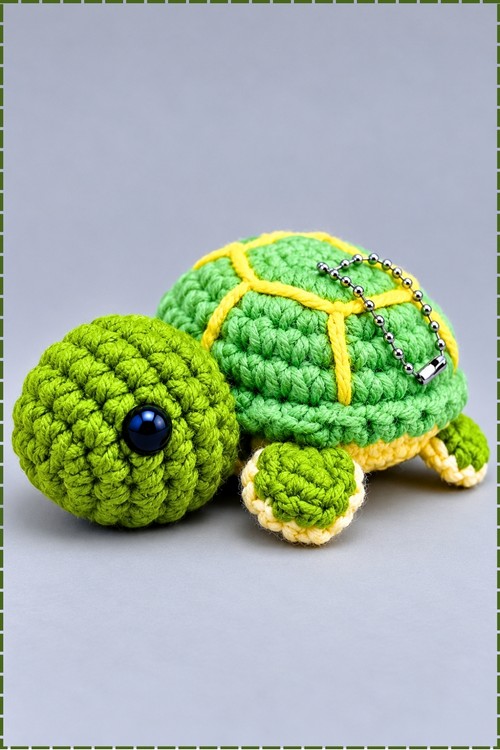
- Join with bright green yarn and sc through the FL of the shell and both loops of the belly all around the edge. The green round forms a rim just above the cream belly.
- Stuff the shell firmly before you close it.
- Closing: leave the last 4 stitches unworked, sl st in those last 4 stitches, then sl st into the 1st stitch to finish. These 4 slip stitches mark the front of the turtle, where the head goes.
- Fasten off and weave in the ends.
5. Fins (Make 4 in Olive Green and 4 in Light Yellow)
- Make a slip knot and ch 4.
- Sc in the 2nd ch from the hook, sc in the 3rd ch, and work 3 sc in the last ch.
- Working down the other side of the chain, work 2 sc, then sl st in the last ch. You should have a small oval fin shape.
- Assembly: sew one olive green piece and one light yellow piece together for each fin so they are double sided, making 4 finished fins. On mine the cream layer peeks out as a thin border around the green top.
6. Tail (Optional)
- Use olive green yarn. My turtle is shown without a visible tail, so add it only if you want one.
- Sl st into the belly near the back end.
- Ch 3, then starting in the 2nd ch, work 1 sl st and 1 sc, and sl st into the next stitch on the belly.
- Fasten off and weave in the ends.
7. Final Assembly
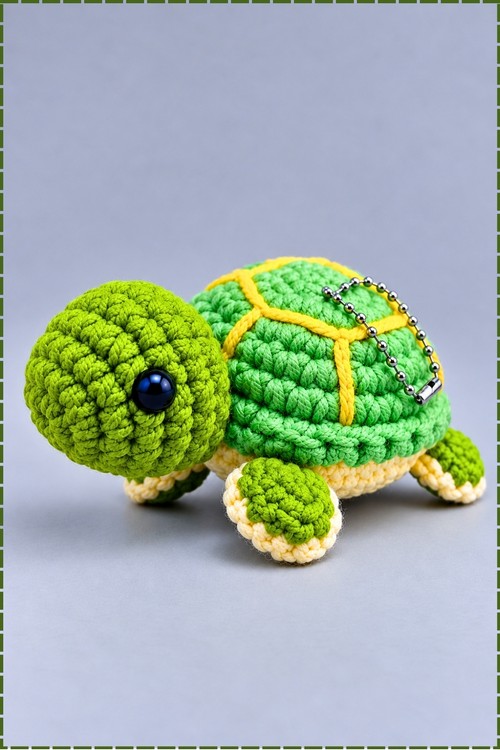
- Attach the head: line the head up with the front of the shell over the 4 slip stitched closing stitches and sew it securely in place. On mine the head sits low and forward, almost as wide as the front of the shell.
- Attach the fins: sew the 4 fins onto the sides of the turtle between the shell and the belly, green side up. On mine the front pair angles forward beside the head and the back pair angles out toward the rear.
- Finishing touches: sew in any remaining yarn ends and trim.
- Keychain: thread a silver ball chain through a stitch near the top back of the shell and close the clasp. On mine the chain sits toward the rear of the shell so the turtle hangs head down slightly when clipped on.
Customization Ideas
- Use one darker green for the shell and a lighter one for the scute lines for a softer look.
- Skip the keychain and add a few extra rounds to the shell for a desk plush.
- Embroider a small smile under each eye..
FAQ
Why does my shell look flat instead of domed?
The shell only domes if it is stuffed firmly before the joining round closes. Add stuffing in small pieces until it holds a round shape.
Is it safe for kids?
The safety eyes and ball chain are small part risks for young children. For kids under three, embroider the eyes and leave off the keychain.
Can I sew the fins on after closing the body?
Yes. Sew them along the green joining round, between the shell and belly, so they sit level on both sides.