
Free Winnie the Pooh Crochet Keychain Pattern for Beginners
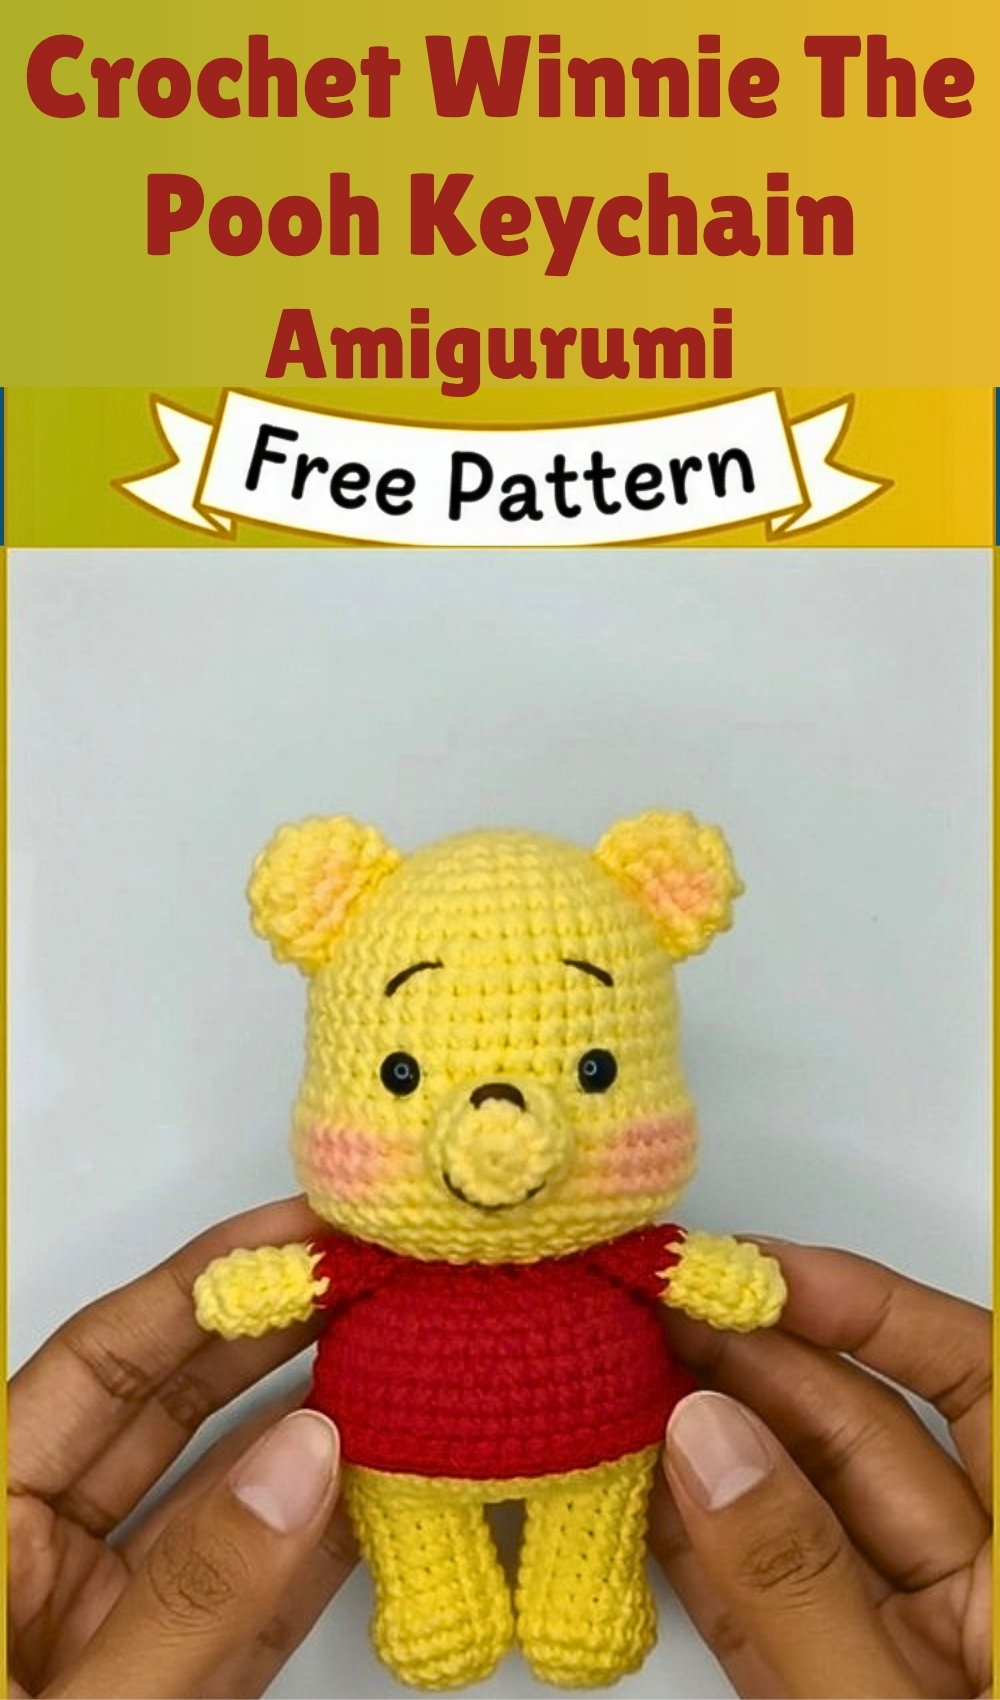
Crochet Winnie The Pooh Keychain — a mini crocheted Pooh Bear designed to go everywhere its owner does. Great for kids and nostalgic adults alike. Grab the pattern to make one.
Kids who rewatch the same episode on repeat until everyone else in the house has it memorized they're the ones this is for. A Crochet Winnie The Pooh Keychain is the kind of thing a Pooh fan clips to a backpack and genuinely notices every day.
Crochet Winnie The Pooh Keychain

Small enough to carry everywhere, recognizable enough that other fans clock it immediately. The honey-pot belly is the detail that tends to get the loudest reaction from people who grew up with him.
Skill Level
Beginner to intermediate
Suitable for crocheters who understand basic single crochet, increases, and decreases.
Finished Size
Size will vary depending on yarn and hook used, but this design typically creates a small handheld amigurumi doll.
Materials
- Yellow yarn for the body
- Red yarn for the shirt
- 2.5 mm crochet hook or suitable size for yarn
- Small black safety eyes or beads
- Black embroidery thread
- Fiberfill stuffing
Construction Overview
This doll is built in modular parts:
- The head is shaped using gradual increases and decreases for a rounded form
- Ears are small flat circles sewn onto the head
- The body is worked from bottom to top with a color change to form the shirt
- Arms and legs are simple tube shapes for easy attachment
- Final facial details are embroidered for expression control
Understanding this structure helps you keep proportions consistent and placement accurate during assembly.
HEAD
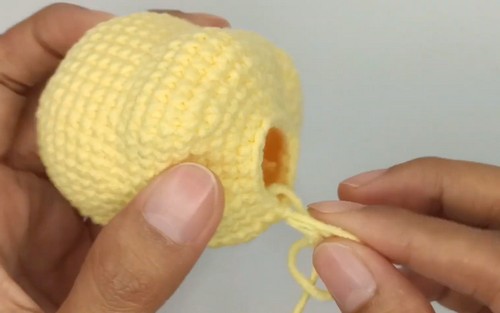
- R1: Magic ring with 6 single crochet
- R2: Increase in every stitch around 12 stitches
- R3: 1 single crochet, 1 increase repeated 6 times 18 stitches
- R4: 2 single crochet, 1 increase repeated 6 times 24 stitches
- R5: 3 single crochet, 1 increase repeated 6 times 30 stitches
- R6 to R10: Single crochet in each stitch around 30 stitches
- R11: 3 single crochet, 1 decrease repeated 6 times 24 stitches
- R12: 2 single crochet, 1 decrease repeated 6 times 18 stitches
- R13: 1 single crochet, 1 decrease repeated 6 times 12 stitches
- R14: Decrease around 6 stitches, fasten off and close
- Insert safety eyes between rounds 7 and 8 and stuff the head firmly
Shaping Note
The increase rounds form the head’s curve, while the straight rounds (R6 to R10) stabilize the shape before tapering down. Stuffing firmly here is important to prevent a floppy or uneven head.
EARS MAKE 2
- R1: Magic ring with 6 single crochet
- R2: Single crochet in each stitch around 6 stitches
- Fasten off and sew onto the head between rounds 3 and 5
Placement Note
Attaching the ears between rounds 3 and 5 helps them sit naturally on the upper side of the head rather than drooping too low or appearing too flat.
BODY AND SHIRT
- R1: Yellow yarn magic ring with 6 single crochet
- R2: Increase in every stitch around 12 stitches
- R3: 1 single crochet, 1 increase repeated 6 times 18 stitches
- R4 to R5: Single crochet in each stitch around 18 stitches
- R6: Switch to red yarn and single crochet in each stitch around 18 stitches
- R7 to R8: Single crochet in each stitch around 18 stitches
- R9: 1 single crochet, 1 decrease repeated 6 times 12 stitches
Fasten off and leave a tail for sewing
Construction Note
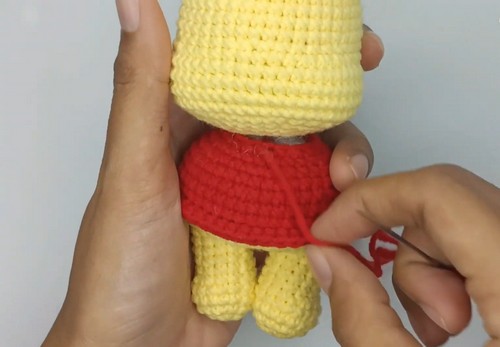
- The yellow section forms the lower torso, while the red section creates a visual shirt layer. The decrease at the end helps the body narrow slightly so it connects smoothly to the head.
ARMS MAKE 2
- R1: Yellow yarn magic ring with 5 single crochet
- R2 to R3: Single crochet in each stitch around 5 stitches
- R4: Switch to red yarn and single crochet in each stitch around 5 stitches
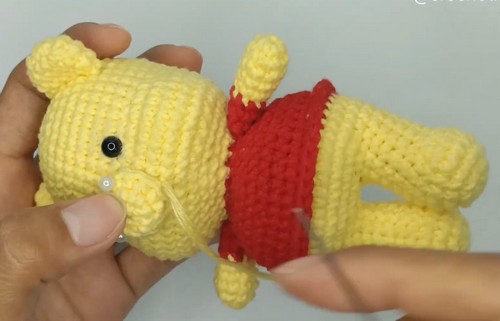
- Fasten off and sew to the sides of the shirt
Placement Note
- Attaching the arms at the shirt level keeps the proportions balanced and ensures they align naturally with the body rather than sitting too high on the head or too low near the legs.
LEGS MAKE 2
- R1: Magic ring with 6 single crochet
- R2 to R4: Single crochet in each stitch around 6 stitches
- Fasten off and sew to the bottom of the body
Stability Note
- Even stuffing in the legs helps the doll sit upright properly. Make sure both legs are attached at the same height for balance.

FINISHING TOUCHES
- Embroider a small triangular nose using black thread
- Add two small slanted eyebrow stitches above the eyes
- Attach head to body securely and ensure all limbs are centered
Facial Expression Note
- The angled eyebrows are what give this doll personality. Even small adjustments in their tilt can completely change the expression from neutral to cheerful or curious.
Stuffing and Assembly Tips
- Stuff the head firmly before closing completely to avoid sagging
- Keep stuffing consistent in arms and legs for symmetry
- When sewing pieces, pin everything first to check alignment
- Always attach the head last for better control over positioning
Beginner Notes
If this is your first structured amigurumi, focus on:
- Counting stitches carefully in every round
- Keeping tension consistent during increases and decreases
- Checking symmetry before sewing pieces permanently
Troubleshooting
- If the head looks uneven: check increase spacing in early rounds
- If the body tilts: adjust stuffing distribution or leg placement
- If limbs look uneven: measure attachment points before sewing
Customization Ideas
Once the base doll is complete, you can easily modify:
- Shirt colors for different outfits
- Facial expressions using eyebrow shape changes
- Yarn texture for a softer or more defined look
- Add small accessories like hats or scarves