
Free Black Chococat Amigurumi Crochet Pattern
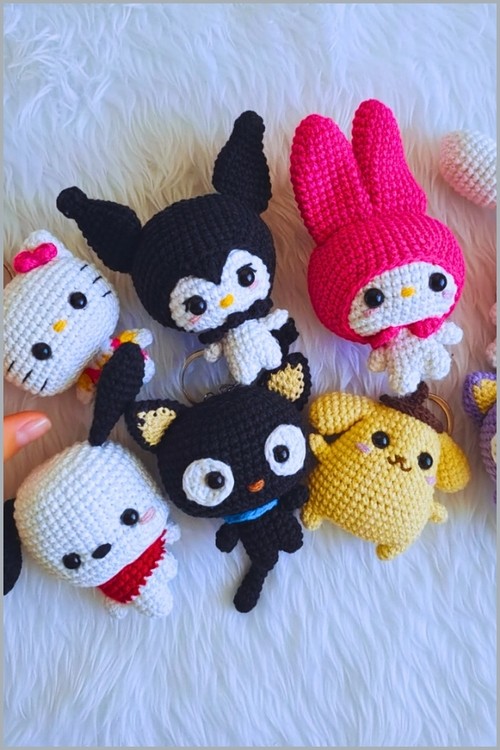
Detailed stitching and layered shaping bring life and personality into every detail in this Crochet Character Amigurumi pattern, where facial structure, color transitions, and assembled parts work together to create a fully expressive handmade figure. The finished character is designed to be both visually engaging and structurally balanced, making it suitable as a display piece, a thoughtful handmade gift, or a collectible item for amigurumi lovers. Its appearance comes from carefully placed features like defined eyes, shaped ears, and proportioned limbs, giving it a recognizable character identity rather than just a simple stuffed figure.
Crochet Chococat Amigurumi
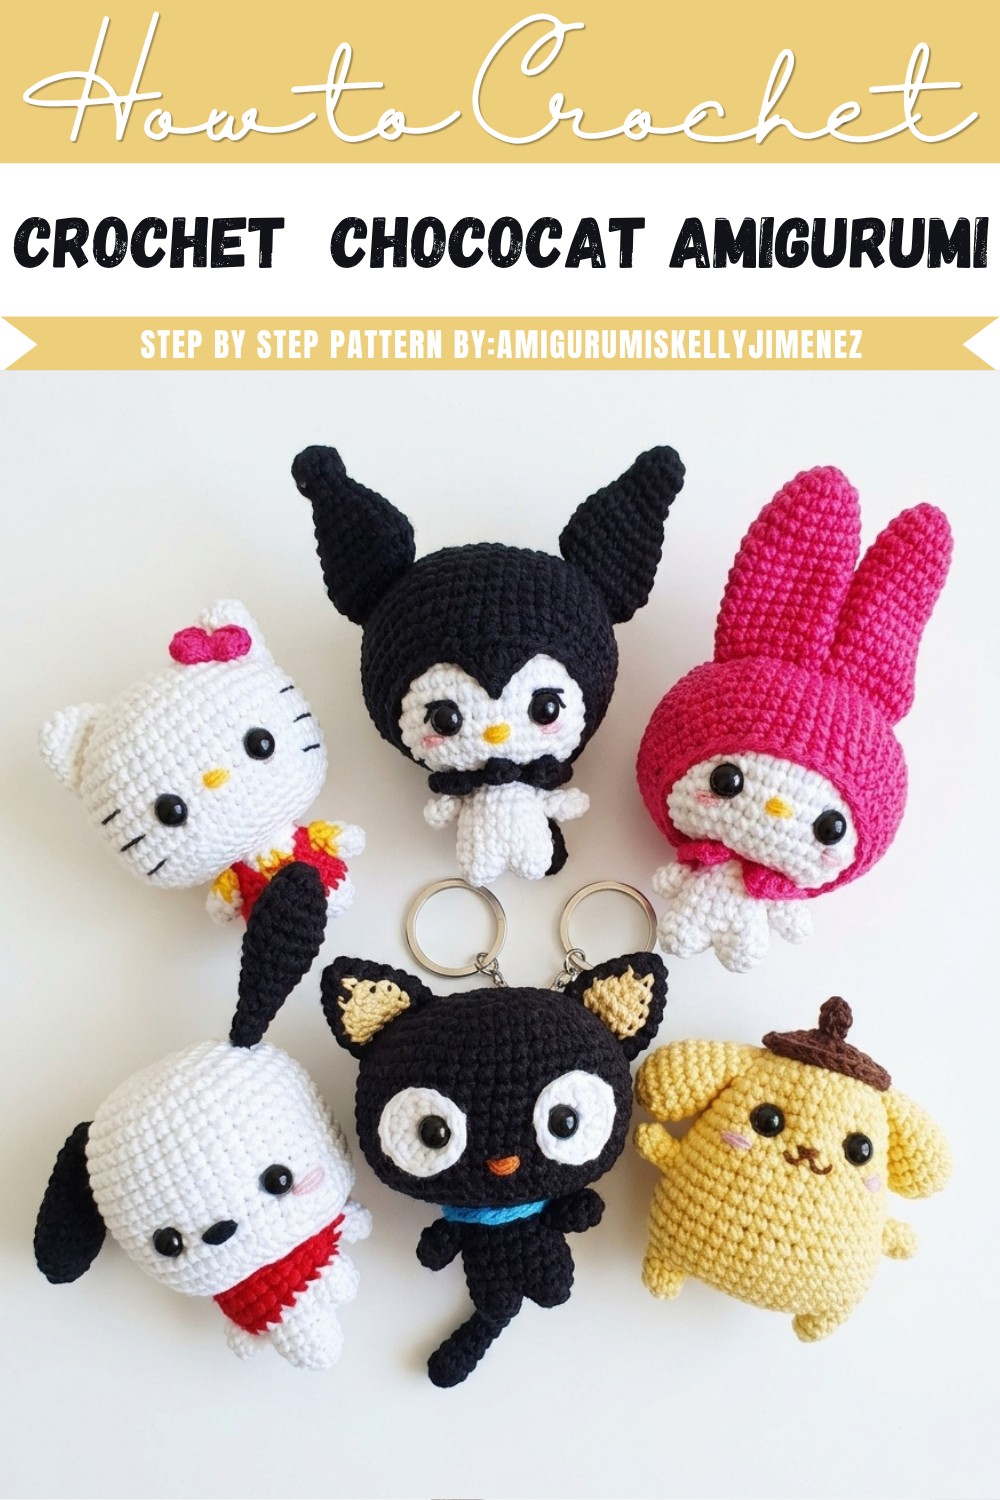
Beyond looks, the construction also highlights practical crochet skills such as controlled increases for shaping the head, joined-leg body construction for stability, and secure attachment points that ensure durability over time.
Skill Level
Intermediate (due to multiple parts, color changes, and assembly requirements)
Finished Size
Not specified in the pattern (size will depend on yarn weight and hook size used)
Materials
Typical amigurumi materials may include:
- Yarn in multiple colors (black, cream, white)
- 7 mm safety eyes
- Crochet hook suitable for yarn used
- Polyester fiberfill stuffing
- Yarn needle
- Stitch marker
Abbreviations
- MR = Magic Ring
- sc = Single Crochet
- hdc = Half Double Crochet
- inc = Increase
- dec = Decrease
- slst = Slip Stitch
Helpful Notes Before Starting
This project is constructed in separate parts:
- Head (largest shaping section)
- Body with integrated legs and arms
- Ears, tail, hands, and eye whites as attached components
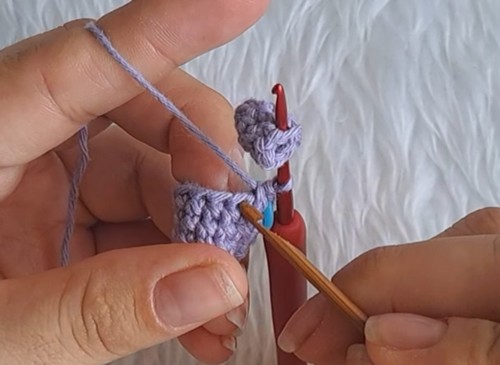
Most shaping comes from gradual increases in the head and controlled decreases later. The body remains mostly cylindrical for stability, which helps the character sit and stand properly once assembled.
Pay special attention to:
- Eye placement (defines expression)
- Ear positioning (affects symmetry)
- Arm attachment during body rounds (not sewn later)
Construction Overview
The toy is built in this order:
- Small parts (hands, eyes, tail, ears)
- Legs and body (joined into one structure)
- Head (worked separately and attached last)
- Assembly and facial detailing
Working small components first helps maintain consistency in sizing and tension before moving into larger shaping sections.
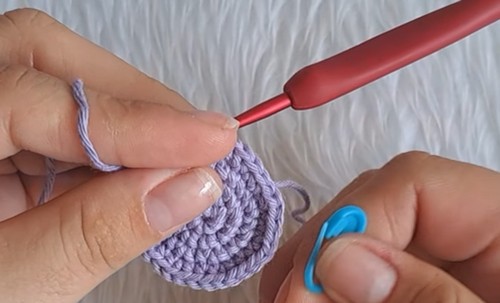
PATTERN (EXACTLY AS PROVIDED)
HANDS MAKE 2
- Round 1 Magic ring with 6 single crochet
- Round 2 6 single crochet
- Round 3 6 single crochet
- Finish with slip stitch, cut yarn, and hide ends
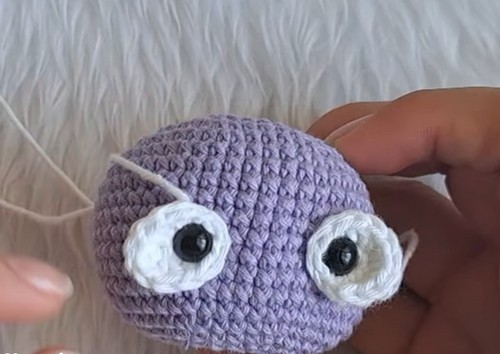
EYES WHITE PART MAKE 2
- Round 1 Magic ring with 6 single crochet
- Round 2 Increase in every stitch using half double crochet for a total of 12 stitches
- Insert a 7 mm safety eye in the last increase made
- Leave a long tail for sewing
TAIL
- Round 1 Magic ring with 5 single crochet
- Rounds 2 to 15 5 single crochet in each round
- Finish with slip stitch and leave a long tail for sewing
EARS MAKE 2
- Round 1 Black yarn magic ring with 6 single crochet
- Round 2 Work 1 single crochet and 1 increase three times switching colors as follows black cream black for 9 stitches
- Round 3 Work 2 single crochet and 1 increase three times using black cream black for 12 stitches
- Round 4 Work 3 single crochet and 1 increase three times using black cream black for 15 stitches
- Rounds 5 and 6 Crochet 5 black single crochet 5 cream single crochet 5 black single crochet
- Round 7 15 single crochet in black only
- Round 8 Work 4 single crochet then 1 slip stitch
- Leave yarn tail for sewing
BODY AND LEGS
Legs Make 2
- Round 1 Magic ring with 8 single crochet
- Round 2 8 single crochet
- Do not cut yarn on second leg
- Joining Round Crochet 8 single crochet on first leg and 8 single crochet on second leg for 16 stitches
- Rounds 4 and 5 16 single crochet
- Round 6 Crochet 2 single crochet join first arm with 2 single crochet through both layers crochet 7 single crochet join second arm with 2 single crochet then crochet 3 single crochet
- Round 7 Work 2 single crochet and 1 decrease four times for 12 stitches
- Rounds 8 to 13 12 single crochet
- Stuff firmly and close by pulling through front loops of final round
HEAD
- Round 1 Magic ring with 8 single crochet
- Round 2 Increase in every stitch for 16 stitches
- Round 3 Work 1 single crochet and 1 increase eight times for 24 stitches
- Round 4 Work 2 single crochet and 1 increase eight times for 32 stitches
- Round 5 Work 3 single crochet and 1 increase eight times for 40 stitches
- Round 6 Work 4 single crochet and 1 increase eight times for 48 stitches
- Rounds 7 to 16 48 single crochet
- Round 17 Work 4 single crochet and 1 decrease eight times for 40 stitches
- Round 18 Work 3 single crochet and 1 decrease eight times for 32 stitches
- Place eyes between rounds 12 and 13 leaving 8 stitches between them
- Round 19 Work 2 single crochet and 1 decrease six times for 24 stitches
- Round 20 Work 1 single crochet and 1 decrease eight times for 16 stitches
- Rounds 21 to 26 16 single crochet
- Stuff firmly finish with slip stitch and close
ASSEMBLY AND DETAILS
- Collar Chain 16 skip last chain crochet 7 single crochet then work 1 half double crochet 2 chains and 1 half double crochet in the next stitch followed by 7 single crochet
- Sew ears between rounds 4 and 5 of the head
- Embroider nose centered between rounds 14 and 15
- Sew head securely to body
Stitch and Shaping Clarity Notes
- The head shaping is the most structurally important part of this pattern. Early rounds expand the sphere evenly, while later rounds reduce stitch counts to form a smooth taper for the chin area. This creates a stable base for facial placement.
- The body remains intentionally simple and cylindrical. This keeps weight distribution balanced, especially since the head is larger and more detailed.
- The arms are attached during Round 6 of the body, which means they become structurally anchored rather than loosely sewn on later. This improves durability and reduces shifting.
Assembly Guidance
- Head Placement: The head should sit centered on the body with minimal tilt. Secure stitching is important because the head carries most of the visual expression.
- Eye Placement: Eyes are positioned between rounds 12 and 13 with 8 stitches between them. This spacing creates a symmetrical face and ensures a balanced expression.
- Ear Positioning: Ears are sewn between rounds 4 and 5 of the head. This placement keeps them slightly above eye level, which helps maintain proportion.
- Nose Embroidery: The nose is centered between rounds 14 and 15, slightly below the eyes to support a natural facial structure.
Stuffing Tips
- Head should be firmly stuffed to maintain round shape
- Body should be moderately firm to allow stability
- Avoid overstuffing limbs to prevent distortion
Beginner Notes
- The most challenging section is the head decrease rounds; work slowly to maintain symmetry
- Color changes in ears should be planned in advance to avoid tension inconsistencies
- Keep stitch markers in every major round, especially during head shaping
Troubleshooting
- Uneven head shape: Usually caused by inconsistent increases or missed stitches in early rounds.
- Eyes look uneven: Recheck placement before securing washers; slight shifting before tightening can fix alignment.
- Ears not matching: Ensure both ears follow the same color sequence and tension throughout rounds.
Finishing Notes
Once assembled, gently shape the head with your hands to smooth stuffing distribution. Check symmetry from multiple angles before final tightening of any remaining yarn tails.