
Crochet Pikachu Tail Keychain Pattern Free
Sharp angles and bold color contrast make Crochet Pikachu Tail Amigurumi pattern stand out as one of the most recognizable character details you can create with yarn. Crochet Pikachu Tail Amigurumi pattern allows crocheters to build a structured, zigzag tail that instantly adds personality and identity to any Pikachu project, whether used for toys, keychains, or decorative pieces.
Crochet Pikachu Tail
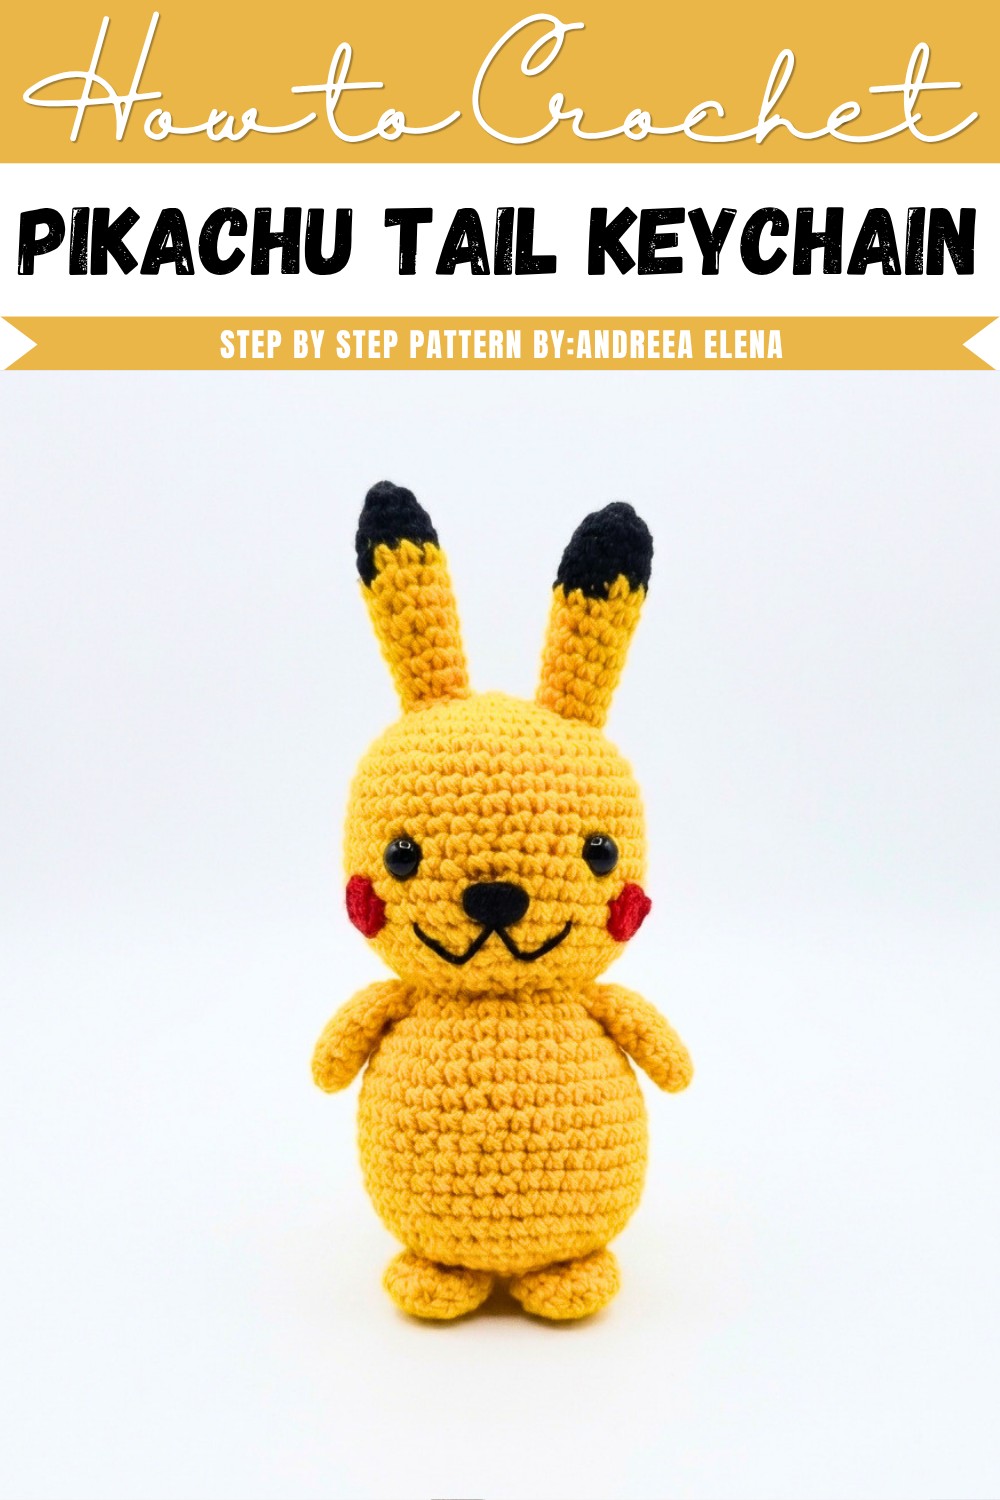
The combination of clean shaping, defined edges, and the striking yellow and black sections gives the finished tail a crisp, animated look that feels lively and true to the original design while remaining practical to attach and durable for everyday use.
Skill Level
Beginner to intermediate
This project uses only single crochet and chains, but shaping through partial rows and color changes requires attention and careful counting.
Finished Size
Depends on your yarn weight and hook size, but expect a tail that is proportionate for a medium amigurumi toy.
Materials
- MATERIALS
- Yarn in yellow and black
- Crochet hook suitable for your yarn
- Fiberfill stuffing
Abbreviations
- sc – single crochet
- ch – chain
Helpful Notes Before Starting
- This tail is worked flat in rows, not in rounds.
- You will create two identical pieces, then join them together.
- Pay close attention to stitch counts after shaping rows.
- Color changes are essential for the recognizable look, so keep transitions neat.
Construction Overview
The tail is built in three stages:
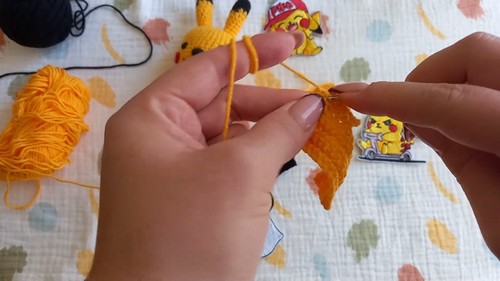
- Main yellow section – forms the base zigzag shape using partial rows and extensions
- Black tip section – adds the signature color block with a smaller extension
- Assembly – two pieces are joined together and lightly stuffed for structure
The shaping works by shortening rows and then extending them again with chains, which creates the angular tail form.
Stitch and Shaping Clarity
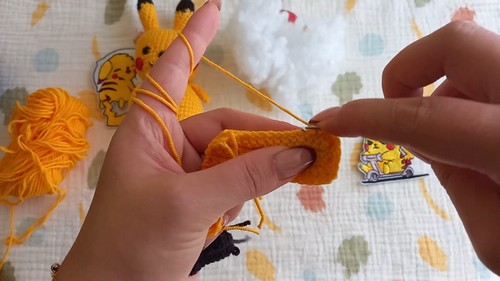
- When you work only part of a row (like 6 stitches instead of 15), you are creating a step or corner in the shape.
- When you chain and work back along the chain, you are extending the fabric outward to form the next section of the tail.
- This combination creates the zigzag silhouette without increasing or decreasing in the traditional round-based way.
Step by Step Pattern Instructions
MAIN YELLOW SECTION
- Chain 16
- Single crochet in the second chain from the hook and in each chain across for a total of 15 stitches
- Chain 1, turn, and work 15 single crochets across for four more rows
- Chain 1, turn, and work 6 single crochets only
- Chain 1, turn, and work 6 single crochets for three rows
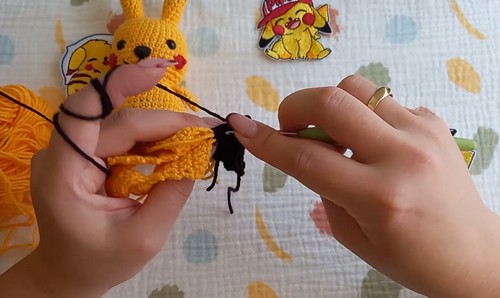
- Chain 1, turn, work 6 single crochets, then chain 6
- Single crochet in the second chain from the hook, work 5 single crochets on the chain, then 6 single crochets on the previous row for a total of 11 stitches
- Chain 1, turn, and work 11 single crochets for two rows
COLOR CHANGE SECTION
- Chain 1, turn, work 6 single crochets in yellow, then change to black and work 5 single crochets
- Chain 1, turn, and work 5 single crochets in black
- Chain 1, turn, work 5 single crochets in black, then chain 4
- Single crochet in the second chain from the hook, work 3 single crochets on the chain, then 5 single crochets on the previous row for a total of 8 stitches
- Chain 1, turn, and work 8 single crochets in black
Assembly Guidance
- Make two identical pieces before starting assembly.
- Place them wrong sides together so the outer edges look clean.
- Begin single crocheting around the edges to join.
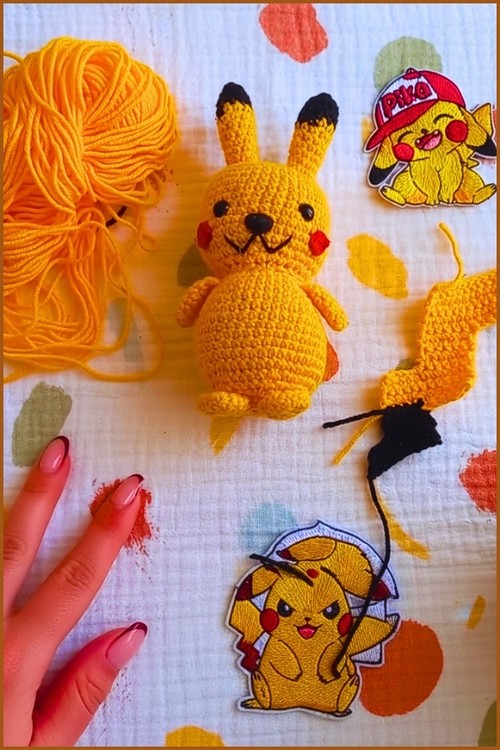
Important Tip
Match yarn colors while joining:
- Use yellow yarn along yellow edges
- Switch to black yarn along black edges
This keeps the tail looking clean and professionally finished.
Stuffing Tips
- Add light stuffing only as you join the final edges.
- Avoid overstuffing, or the tail will lose its flat shape.
- Focus stuffing more toward the center for a slight structure.
Finishing Notes
- Leave a long black yarn tail at the end.
- This will be used to attach the tail securely to the body.

Attachment and Placement
Sew the black base of the tail onto Pikachu’s back, securing the bottom and one side for flexibility
Placement Guidance
- Attach the tail slightly above the center of the back
- Secure firmly at the base so it holds its position
- Leave one side slightly free so the tail can tilt or move naturally
Beginner Notes
- Count stitches at the end of each row to avoid shape distortion
- When chaining extensions, keep tension even so edges stay straight
- Take your time with color changes to avoid visible gaps
Troubleshooting
- Tail shape looks uneven: Check that partial rows (6 stitches sections) are consistent
- Edges look jagged when joining: Make sure you are placing one single crochet per row edge evenly
- Color change looks messy: Always complete the last yarn-over of the stitch with the new color
Customization Ideas
- Use different shades of yellow for a softer or brighter look
- Add a thin surface slip stitch along edges for extra definition
- Adjust size by changing yarn weight and hook size