
Cute Chaengvely Crochet Amigurumi Free Pattern
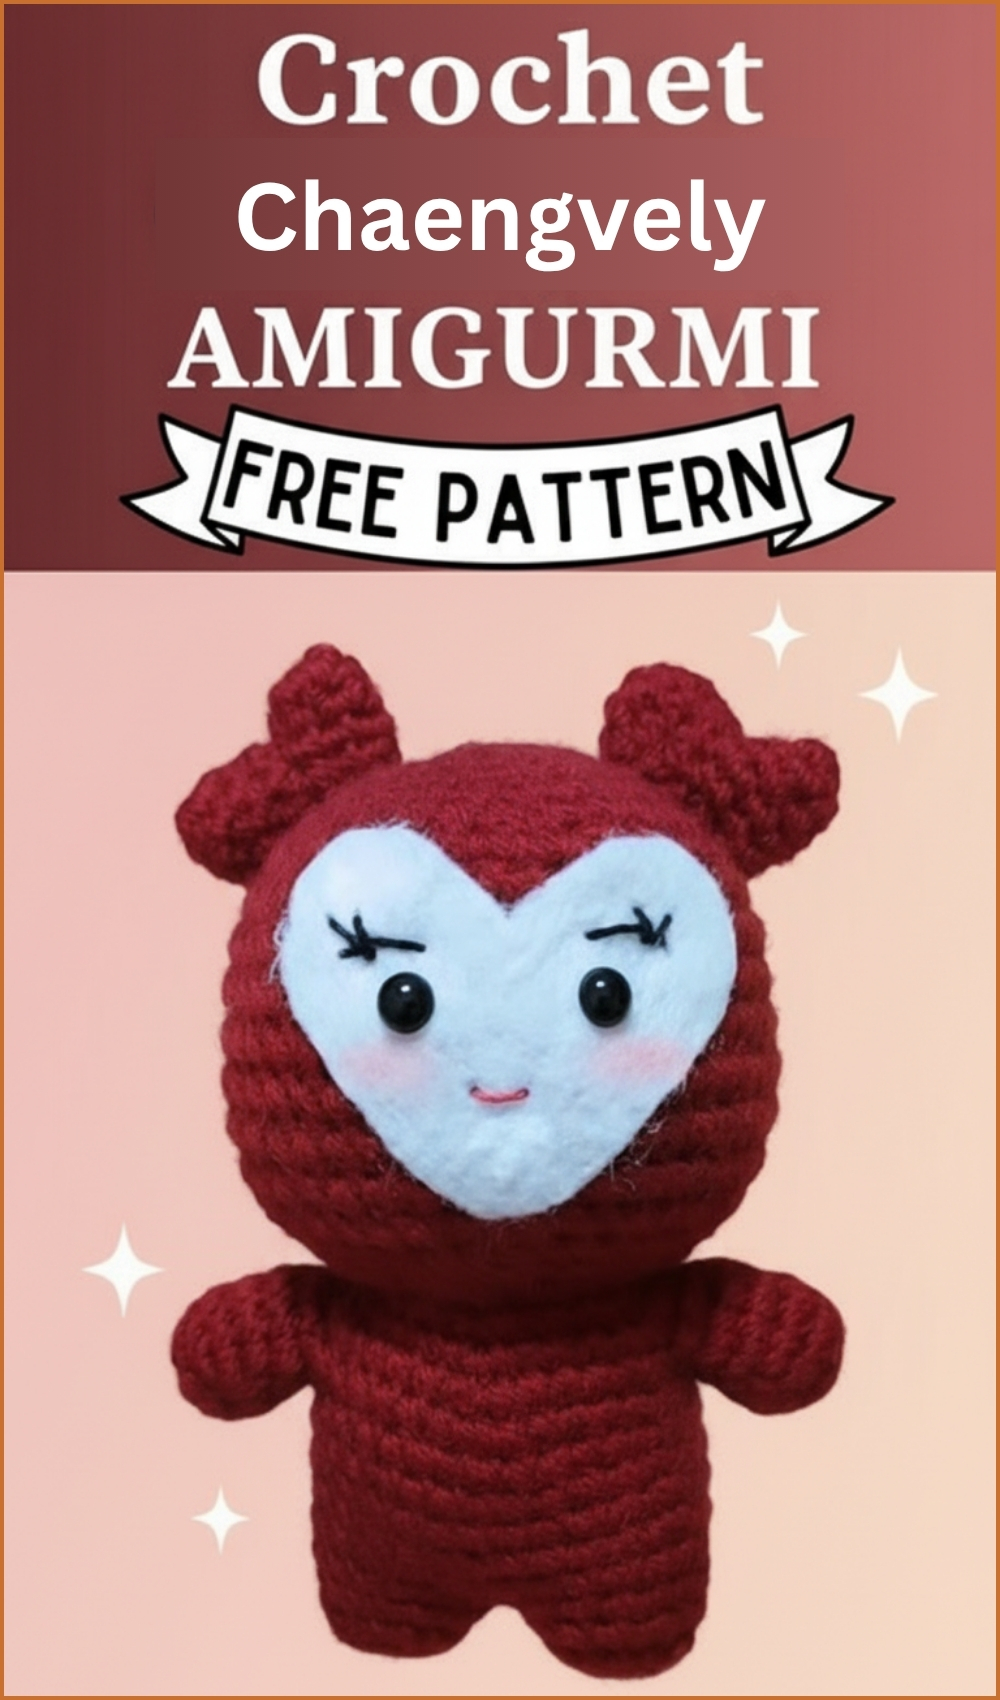
Softly sculpted plush figures like the Crochet Chaengvely Amigurumi bring a bright, expressive charm to handmade toy collections with their soft curves and character driven details. Designed to sit beautifully on display shelves, be gifted to loved ones, or accompany playful storytelling, the Crochet Chaengvely Amigurumi stands out through its balanced proportions, smooth shaping, and personality filled appearance that feels both decorative and comforting in hand.
Crochet Chaengvely Amigurumi
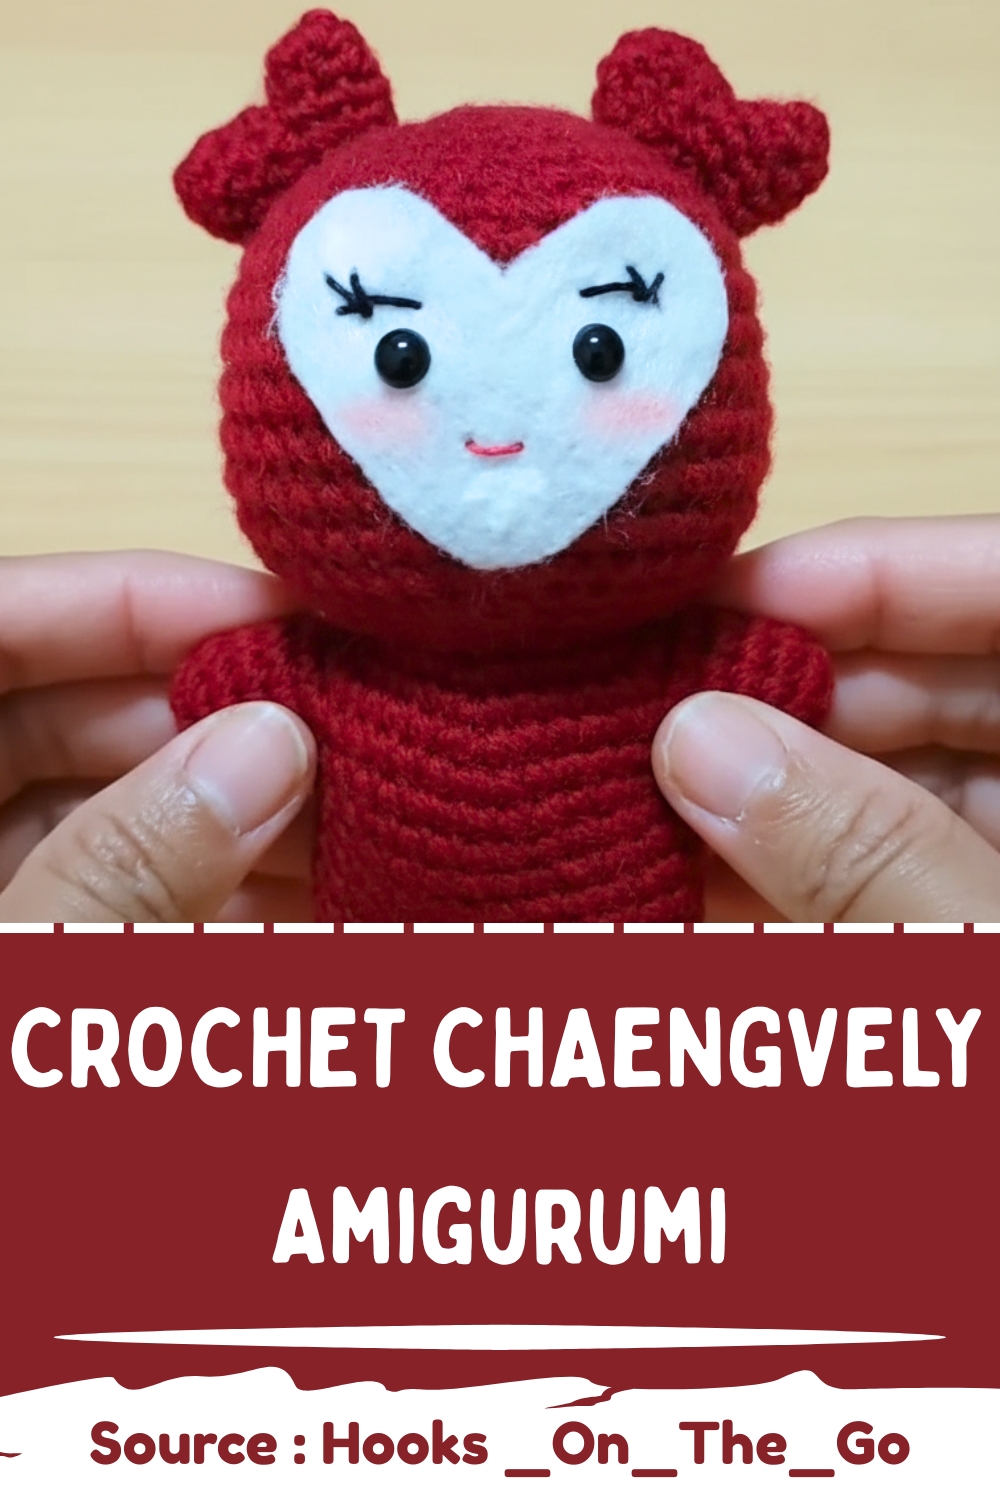
Its rounded structure and carefully formed facial features make it an engaging project for crocheters who enjoy building expressive amigurumi with clear shaping and thoughtful construction from start to finish.
Skill Level
Beginner to intermediate
You should be comfortable with:
- Magic ring
- Single crochet
- Increases and decreases
- Basic shaping and stuffing
Finished Size
Size will vary depending on yarn and tension, but typically this type of construction produces a medium plush toy suitable for display or gifting.
Materials
- Yarn in red and white acrylic or cotton
- 3.0 mm crochet hook
- Toy stuffing
- White and red felt cloth
- Safety eyes
- Fabric glue
- Scissors
- Yarn needles and black, red, and white thread
Abbreviations
- sc = single crochet
- inc = increase (2 sc in one stitch)
- dec = decrease
- mr = magic ring
Helpful Notes Before Starting
This project is worked in continuous rounds, meaning you will not join at the end of each round unless stated. Using a stitch marker is highly recommended.
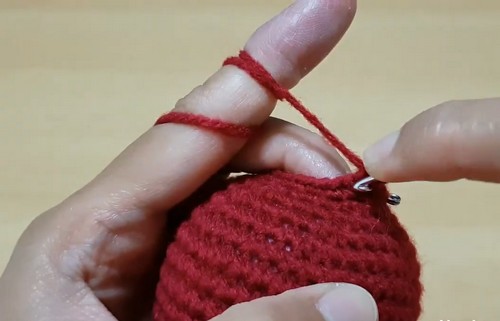
The shaping is very important here:
- The head increases create a smooth dome
- The decreases shape the neck and jaw transition
- The body widening helps create stability and proportion
- The leg and arm sections are formed by dividing stitches, not separate pieces
Take your time during the transition from head to body, as this is where structure matters most.
Head
- Round 1: Make a magic ring and crochet 6 single crochet
- Round 2: Increase in every stitch to make 12 single crochet
- Round 3: Repeat 1 single crochet and 1 increase around to make 18 stitches
- Round 4: Repeat 2 single crochet and 1 increase around to make 24 stitches
- Round 5: Repeat 3 single crochet and 1 increase around to make 30 stitches
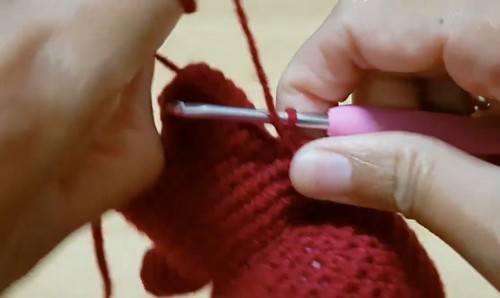
- Round 6: Repeat 4 single crochet and 1 increase around to make 36 stitches
- Round 7: Repeat 5 single crochet and 1 increase around to make 42 stitches
- Rounds 8 to 14: Single crochet in each stitch for 7 rounds with 42 stitches
- Round 15: Repeat 5 single crochet and 1 invisible decrease around to make 36 stitches
- Round 16: Repeat 4 single crochet and 1 decrease around to make 30 stitches
- Round 17: Repeat 3 single crochet and 1 decrease around to make 24 stitches and stuff the head
- Round 18: Repeat 2 single crochet and 1 decrease around to make 18 stitches
Construction insight
- The head grows into a rounded dome and then gently tapers. The decreases begin shaping a natural neck area, which helps the head transition smoothly into the body without sharp angles.
- Stuff firmly at Round 17 so the head keeps its shape before closing further.
Body
- Round 19: Repeat 2 single crochet and 1 increase around to make 24 stitches
- Round 20: Repeat 3 single crochet and 1 increase around to make 30 stitches
- Round 21: Repeat 4 single crochet and 1 increase around to make 36 stitches
- Round 22: Repeat 5 single crochet and 1 increase around to make 42 stitches
- Round 23: Repeat 6 single crochet and 1 increase around to make 48 stitches
Construction insight
The body expands outward to create volume and stability. This widening supports the internal structure where legs and arms will later be formed. Keep tension even so the shape stays symmetrical.
Arm and Leg Partitions
- Fold the piece in half and mark 10 stitches on each side for the arms
- Work 5 rounds of single crochet over the center section only with 28 stitches and stuff the body
- Divide the remaining 28 stitches into two sections of 14 for the legs
- Crochet 3 rounds of 14 single crochet for each leg
- Close each leg opening by sewing through the back loops only
Construction insight
This is the most important structural section of the entire project.
Instead of attaching limbs separately, the body is “divided” into working zones:
- The center becomes the torso
- Side openings become arms
- Lower split becomes legs
This method creates a stronger, more unified plush toy because everything is anchored into the same base structure.
Make sure stuffing is firm before fully closing the body section, as this will determine posture.

Arms and Ears
- Attach red yarn to each arm opening and crochet 3 rounds of 10 single crochet
- Lightly stuff the arms and sew them closed
- Make two ear bumps using magic rings and single crochet
- Join the two bumps together and crochet single crochet evenly around to form each ear
Construction insight
- The arms are kept slightly softer than the body so they remain flexible. Light stuffing is enough to prevent collapse without making them stiff.
- The ears are built from small rounded bumps joined together, which gives them a layered, dimensional look rather than flat circles. This adds personality and softness to the face shape.
Finishing Touches
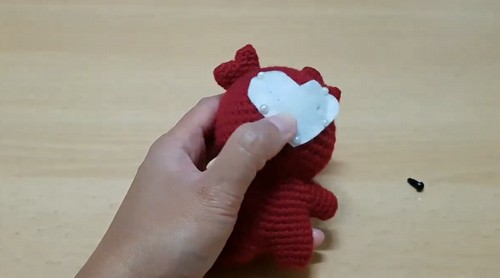
- Cut a heart shape from white felt and attach it to the face
- Insert safety eyes and embroider the mouth with black thread
- Sew the ears securely onto the top of the head
Facial Placement Tips
- Place safety eyes before fully closing the head for best positioning
- The felt heart should sit centered and slightly below the eyes for balance
- The mouth embroidery works best when lightly curved to match the rounded face
- Ears should be sewn symmetrically by checking alignment from the front and side
Stuffing Guidance
- Head: firm stuffing for shape retention
- Body: medium-firm for stability
- Arms: light stuffing for flexibility
- Legs: medium stuffing to support sitting posture
Avoid overstuffing joints, as this can distort the leg separation.
Troubleshooting
If your shape looks uneven:
- Recheck stitch counts in increase rounds
- Use stitch markers at arm and leg division points
- Adjust stuffing gradually instead of all at once
If the body leans:
- Increase stuffing at the base of the torso
- Reinforce leg separation stitches
Beginner Notes
This pattern looks complex because of the body division, but the key idea is simple: you are still working one continuous piece. The “arms and legs” are created by selective stitching, not separate attachments, which actually reduces sewing work later.
Customization Ideas
- Change red to pastel colors for a softer aesthetic
- Add embroidery blush on cheeks for extra expression
- Use fuzzy yarn for a plush texture variation
- Adjust ear shape for different character styles