Cute Crochet Matcha Mooncake Amigurumi Free Pattern
Create your own deliciously cute Matcha Snow Skin Mooncake with this easy amigurumi pattern. This project combines cozy crochet craftsmanship with the charm of sweet dessert aesthetics.
Crochet Matcha Mooncake Amigurumi
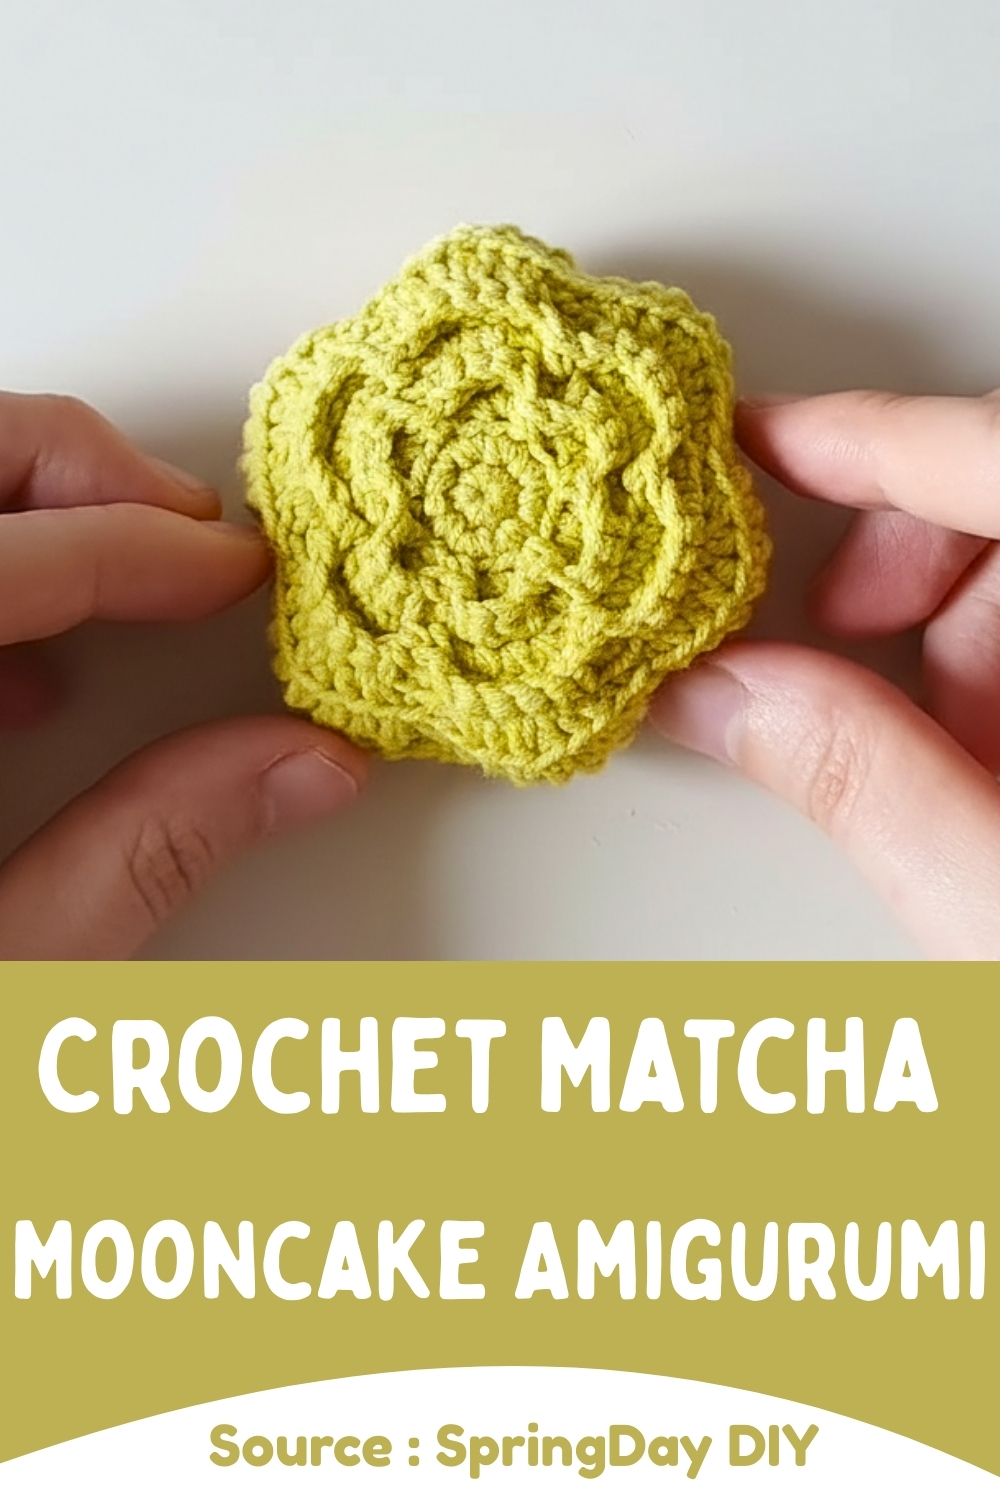
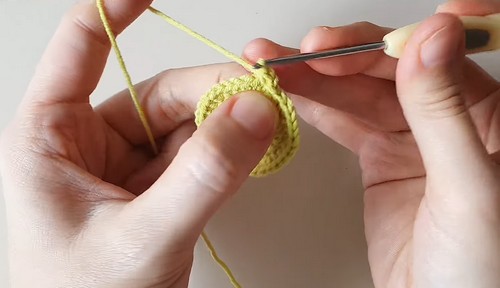

Immerse yourself in the delightful world of fiber arts by crafting this exquisite Crochet Matcha Mooncake Amigurumi, a design that captures the serene aesthetic of traditional East Asian treats. This charming project features intricate textured ridges and a vibrant green hue, making it a stunning decorative piece or a unique gift. Its compact size ensures it serves perfectly as a tactile desk accessory or a whimsical keychain for tea lovers everywhere.
Skill level
-
This project is perfect for an advanced beginner who is comfortable working in rounds and looking to practice clean assembly and structural shaping.
Finished size
-
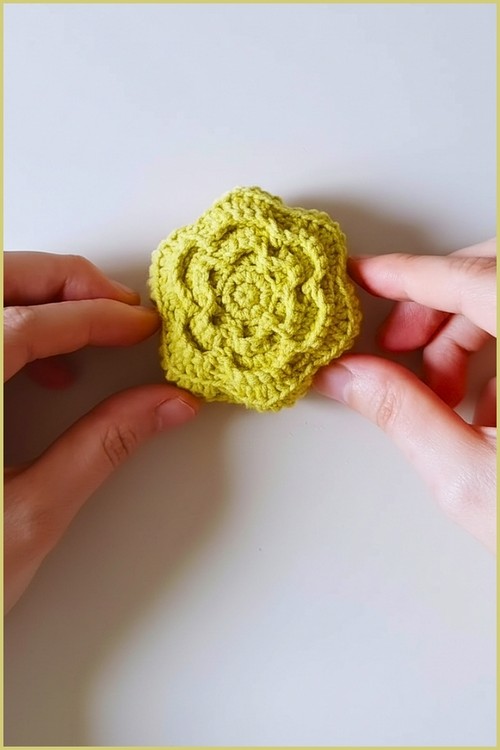
Your completed mooncake will measure approximately 5.5 cm in diameter and 1.5 cm in height, making it a perfect palm-sized treat.
Materials
-
Milk Cotton Yarn (4 ply) in Yellow Green
-
2.0 mm crochet hook
-
Fiber stuffing
-
Hard plastic sheet or thick paper
-
Sewing needle and scissors
Abbreviations
-
R – Round / Row
-
MR – Magic Ring
-
X – Single Crochet (sc)
-
V – Increase (2 sc in same stitch)
-
W – Increase 3 (3 sc in same stitch)
Helpful notes before starting
-
Using a 2.0 mm hook with 4 ply yarn creates a tight, dense fabric which prevents the fiberfill from peeking through the stitches.
-
Keep your tension consistent across both the top and bottom covers to ensure they are identical in size for a symmetrical finish.
-
The "W" stitch (3 single crochets in one stitch) provides a more rapid expansion than a standard increase, which helps maintain a crisp, flat surface.
Construction overview
-
This amigurumi is built using three distinct pieces: two flat circular discs and one rectangular side strip.
-
Unlike spherical toys, this construction relies on a hidden internal support to maintain its characteristic puck-like shape.
-
You will be transitioning from circular crochet to flat joinery during the final assembly phase.
Stitch and shaping clarity
-
The magic ring is essential here to ensure there is no hole in the center of your mooncake covers.
-
When working the increases, ensure you are placing them accurately to keep the circle expanding evenly without ruffling at the edges.
-
The side wall acts as a bridge between the two covers, providing the vertical height necessary for the mooncake profile.
Top & Bottom Covers
-
Start with MR, work increasing rounds using X, V, and W to form a flat circle.
-
Crochet until the piece measures about 5.5 cm in diameter.
-
Make two identical pieces.
Side Wall
-
Chain enough stitches to wrap around the circle’s edge.
-
Join to form a ring.
-
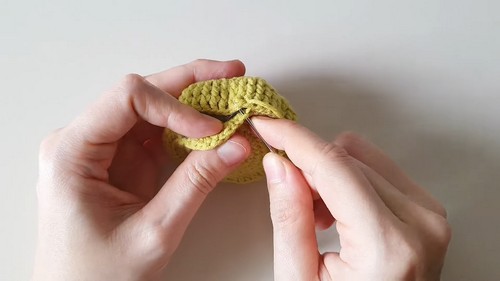
Work several rows of X (sc) to build the mooncake’s height (about 1.5 cm).
-
Insert the hard plastic sheet or paper inside for support.
Assembly guidance
-
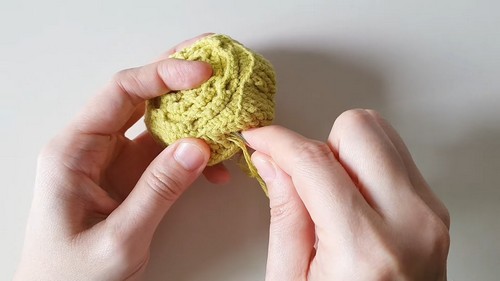
Align the stitches of the side wall with the outer edge of the first cover and use a whip stitch or mattress stitch for a clean join.
-
Before closing the second side, ensure your plastic or paper insert is trimmed precisely to fit the inner diameter so it doesn't distort the fabric.
-
The internal support is what keeps the top and bottom flat rather than bulging into a ball shape.
Stuffing tips
-
Add fiberfill sparingly; the goal is to provide soft volume, but the plastic insert does the heavy lifting for the shape.
-
Focus the stuffing around the edges of the side wall to ensure the mooncake looks plump and firm from every angle.
Finishing notes
-
Weave in all yarn ends neatly.
-
Lightly flatten the top and bottom to resemble real snow skin mooncake layers.
-
Optional: Add embroidered lines or texture for decoration.
Troubleshooting
-
If your covers are curling upward like a bowl, your tension might be too tight or you may have missed an increase round.
-
If the side wall feels too loose, count the stitches on the outer edge of your circle and ensure your initial chain for the side wall matches that number exactly.
Customization ideas
-
Experiment with different "flavors" by changing yarn colors to soft pink for strawberry or deep brown for traditional lotus paste.
-
Use a slightly larger hook and thicker yarn to create a mooncake plushie or a smaller set for a decorative keychain.