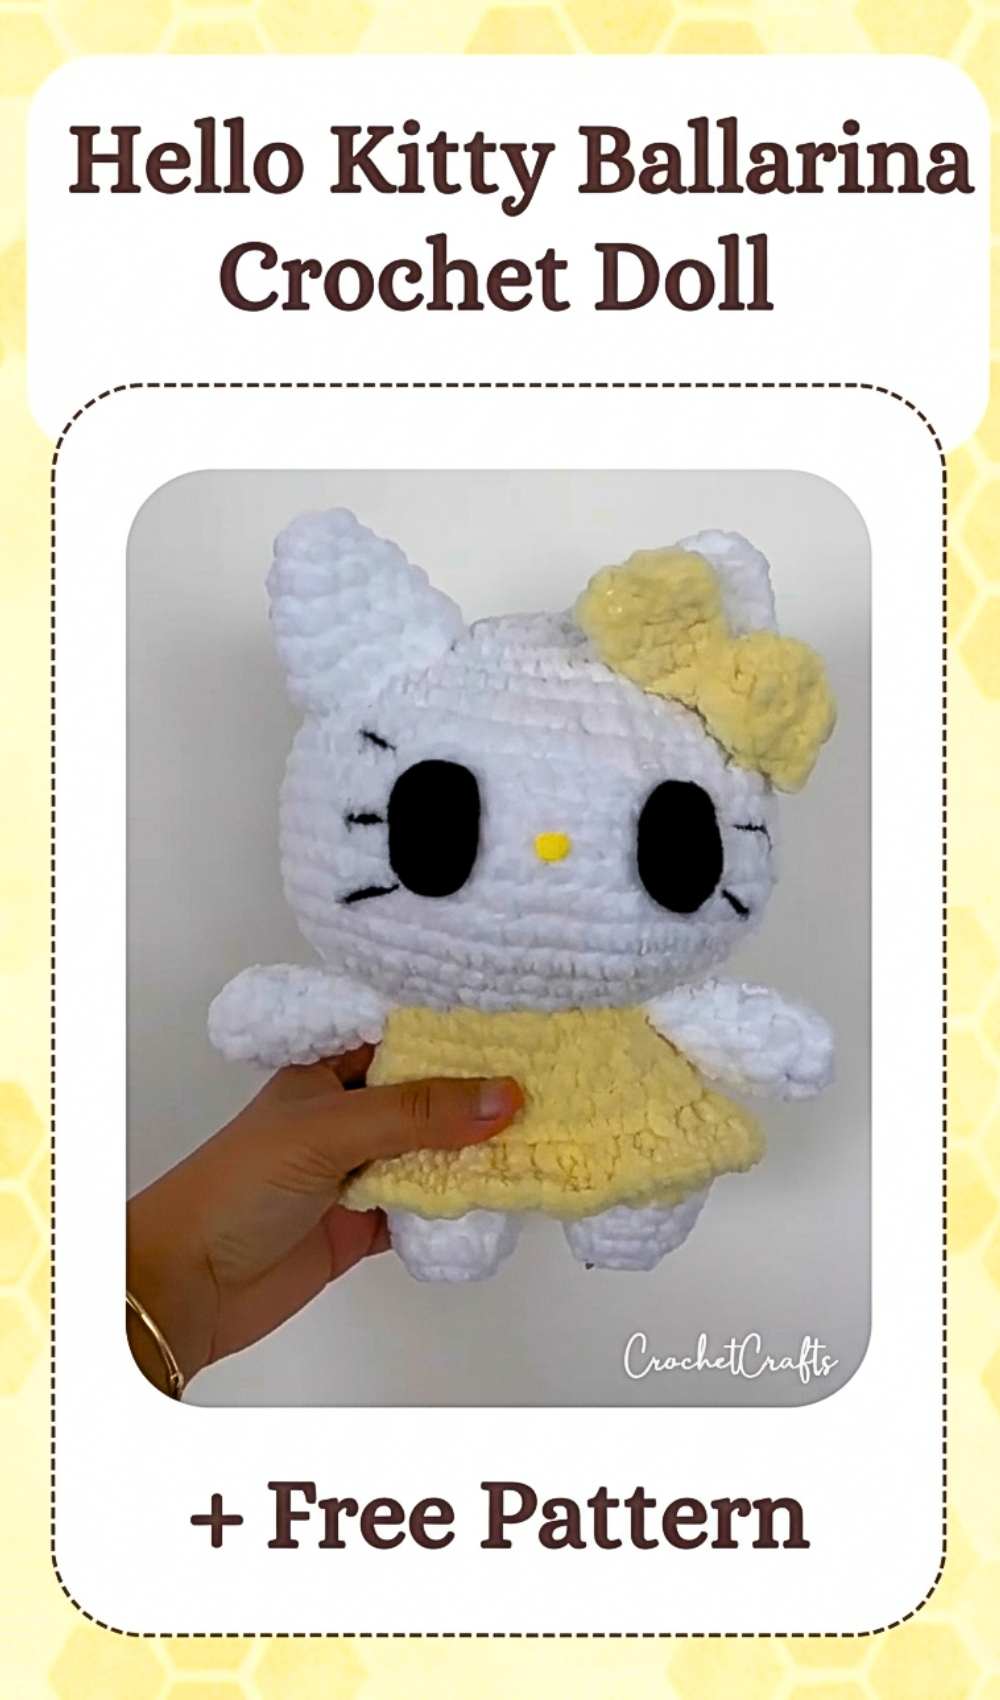
Hello Kitty Ballerina Crochet Doll Free Pattern
The Huge Hello Kitty Ballerina crochet pattern is designed for crocheters who love making statement amigurumi pieces with charming details. This pattern guides you through creating a large Hello Kitty character complete with a sweet ballerina dress, ruffled tutu, and classic facial features.
Crochet Kitty Ballerina Doll


Inside every ball of yarn lies the potential for a Crochet Kitty Ballerina Doll creation, blending feline sweetness with stage-ready elegance. This instructional pattern delivers a stunning result featuring a ruffled tutu and dainty pointed paws. Ideal for stimulating a child's imagination or brightening a bedroom shelf, the project invites makers to customize colors for a truly one-of-a-kind handmade treasure.
Skill Level
-
This project is rated as intermediate due to the leg join and the color transitions required for the dress.
Finished Size
-
Depending on your tension and yarn choice, this figure typically stands between 8 to 10 inches tall.
Materials
-
Worsted weight yarn in a skin tone or main body color
-
Contrast yarn for the ballerina dress and bow
-
Crochet hook appropriate for your yarn (usually 3.25mm or 3.5mm for amigurumi)
-
Fiberfill stuffing
-
Felt pieces for eyes and nose
-
Embroidery thread for whiskers
-
Yarn needle and scissors
Abbreviations
-
sc: single crochet
-
inc: increase (two stitches in one stitch)
-
dec: decrease (two stitches worked together)
-
dc: double crochet
-
st: stitch
-
ch: chain
Helpful Notes Before Starting
-
Use a stitch marker to keep track of the beginning of your rounds as this pattern is worked in a continuous spiral.
-
Keep your tension firm to ensure the stuffing does not show through the stitches.
-
When working the tutu ruffles, ensure you are working into the front loops or the designated row to allow the fabric to flare outward.
Construction Overview
-
The head, arms, and ears are worked as separate pieces and sewn together later.
-
The legs are joined together with a chain to create a seamless transition into the body.
-
The dress is built directly onto the body with a surface-crochet technique used to create the volume of the tutu.
Stitch and Shaping Clarity
-
The head uses standard circular increases to create a rounded, slightly flat-topped sphere.
-
The leg join creates the width of the hips; ensure your chain stitches are not too tight or the body will lean.
-
Decreases in the body should be aligned on the sides to maintain a natural silhouette for the doll.
Head
-
Round 1: Make a magic ring and crochet 8 single crochet
-
Round 2: Increase in every stitch around for 16 stitches
-
Round 3: Work 1 single crochet, then increase around
-
Round 4: Work 2 single crochet, then increase around
-
Round 5: Work 3 single crochet, then increase around
-
Round 6: Work 4 single crochet, then increase around
-
Round 7: Work 5 single crochet, then increase around
-
Rounds 8–15: Single crochet in each stitch
-
Round 16: Work 5 single crochet, then decrease around
-
Round 17: Work 4 single crochet, then decrease around
-
Round 18: Work 3 single crochet, then decrease around
-
Round 19: Work 2 single crochet, then decrease around
-
Round 20: Work 1 single crochet, then decrease around
-
Finish: Fasten off and leave a long tail for sewing
Legs and Body Connection
-
Leg 1: Round 1: 6 single crochet in a magic ring
-
Round 2: Increase in every stitch
-
Rounds 3–4: Single crochet in each stitch
-
Fasten off
-
Leg 2: Repeat the same steps as Leg 1 but do not fasten off
-
Connection and Body Base: Chain 2 from the second leg
-
Single crochet around the first leg
-
Single crochet into each chain stitch
-
Single crochet around the second leg
-
Single crochet into the remaining chain stitches
Ballerina Dress and Body
-
Change to dress color
-
Round 1: Work 3 single crochet, then increase around
-
Rounds 2–5: Single crochet in each stitch
-
Shaping Round: Work single crochet stitches with two decreases evenly spaced
-
Next Rounds: Single crochet evenly and fasten off
-
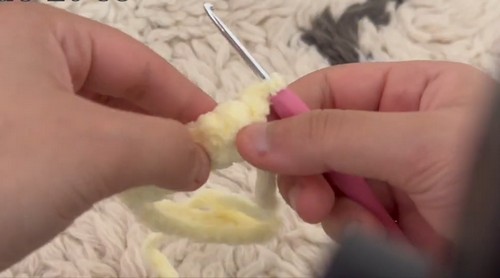
Ruffles: Attach yarn to the second row of the dress and work double crochet increases all around to form the tutu
Arms
-
Round 1: 8 single crochet in a magic ring
-
Rounds 2–8: Single crochet in each stitch
-
Fasten off and leave yarn for sewing
Ears
-
Round 1: 4 single crochet in a magic ring
-
Round 2: Work 1 single crochet, then increase around
-
Round 3: Repeat 1 single crochet, then increase evenly
-
Round 4: Work 2 single crochet, then increase around
-
Round 5: Work 3 single crochet, then increase around
-
Round 6: Work 4 single crochet, then increase around
-
Fasten off and leave yarn for sewing
Bow
-
Chain 21
-
Crochet 3 rows of single crochet across
-
Fold the rectangle
-
Slip stitch the ends together
-
Wrap yarn tightly around the center to shape the bow
Assembly and Details
-
Attach felt eyes and nose securely to the face
-
Embroider whiskers on both sides of the face
-
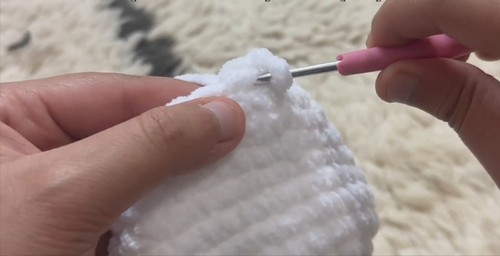
Sew ears onto the top corners of the head
-
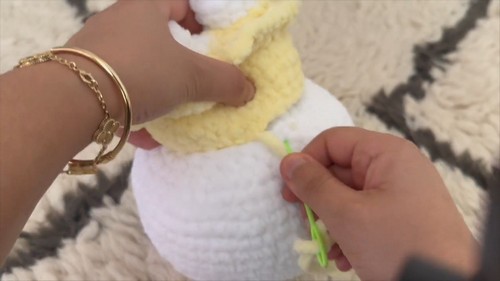
Attach the head firmly to the body, making sure it faces forward
Eye and Facial Feature Placement
-
Position the eyes between Rounds 11 and 12 of the head, leaving roughly 6 to 8 stitches between them.
-
Place the nose centered slightly below the eyes to create a sweet, balanced expression.
Stuffing Tips
-
Stuff the head firmly, paying close attention to the bottom rounds to prevent a "wobbly neck."
-
Do not overstuff the arms near the top; this allows them to hang naturally at the sides of the body.
Finishing Notes
-
Weave in all ends deeply into the body of the toy to prevent them from popping out during play.
-
Double-check the security of the felt features if the toy is intended for a small child.
Beginner Notes
-
If the leg join feels confusing, think of it as creating a bridge with the chain; you are simply crocheting in a large circle around both legs and across both sides of the bridge.
Troubleshooting
-
If the tutu looks too flat, check that you are working at least two double crochets into every single stitch of the dress row.
-
If the head leans back, add a few extra hidden stitches during the sewing process at the back of the neck for support.
Customization Ideas
-
Try using a sparkly or metallic yarn for the tutu ruffles to give the ballerina a stage-ready look.
-
Add tiny beads or pearls to the bow for an extra touch of elegance.