
Crochet Rocket Ship Keychain Amigurumi Pattern Free
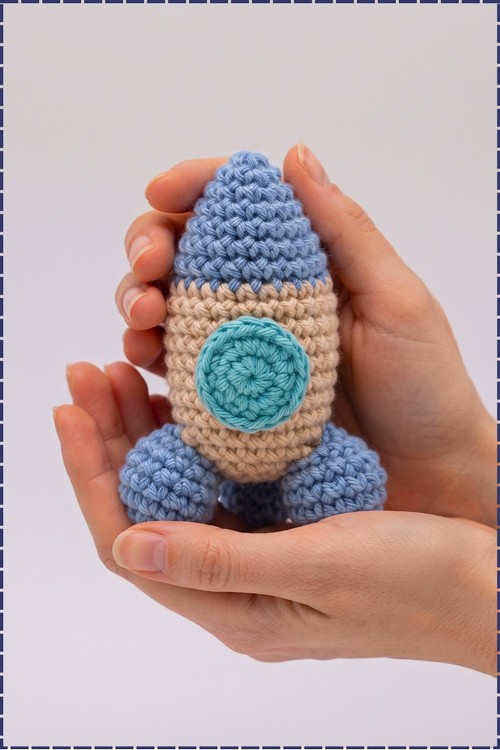
Fill space themed party bags with a crochet rocket keychain amigurumi that fits snugly inside one cupped palm. Bedtime stories about the moon land better with a soft rocket ship toy in hand, and its rounded nose cone gives little fingers an easy grip.
Backpack zips get company when a crochet rocket keychain amigurumi swings from them, porthole facing out. Children who name every planet will claim one first. Teachers pass rockets to students who finish a space unit. Adults on a stargazing kick hang the crochet rocket keychain amigurumi beside their car keys.
Crochet Rocket Keychain Amigurumi
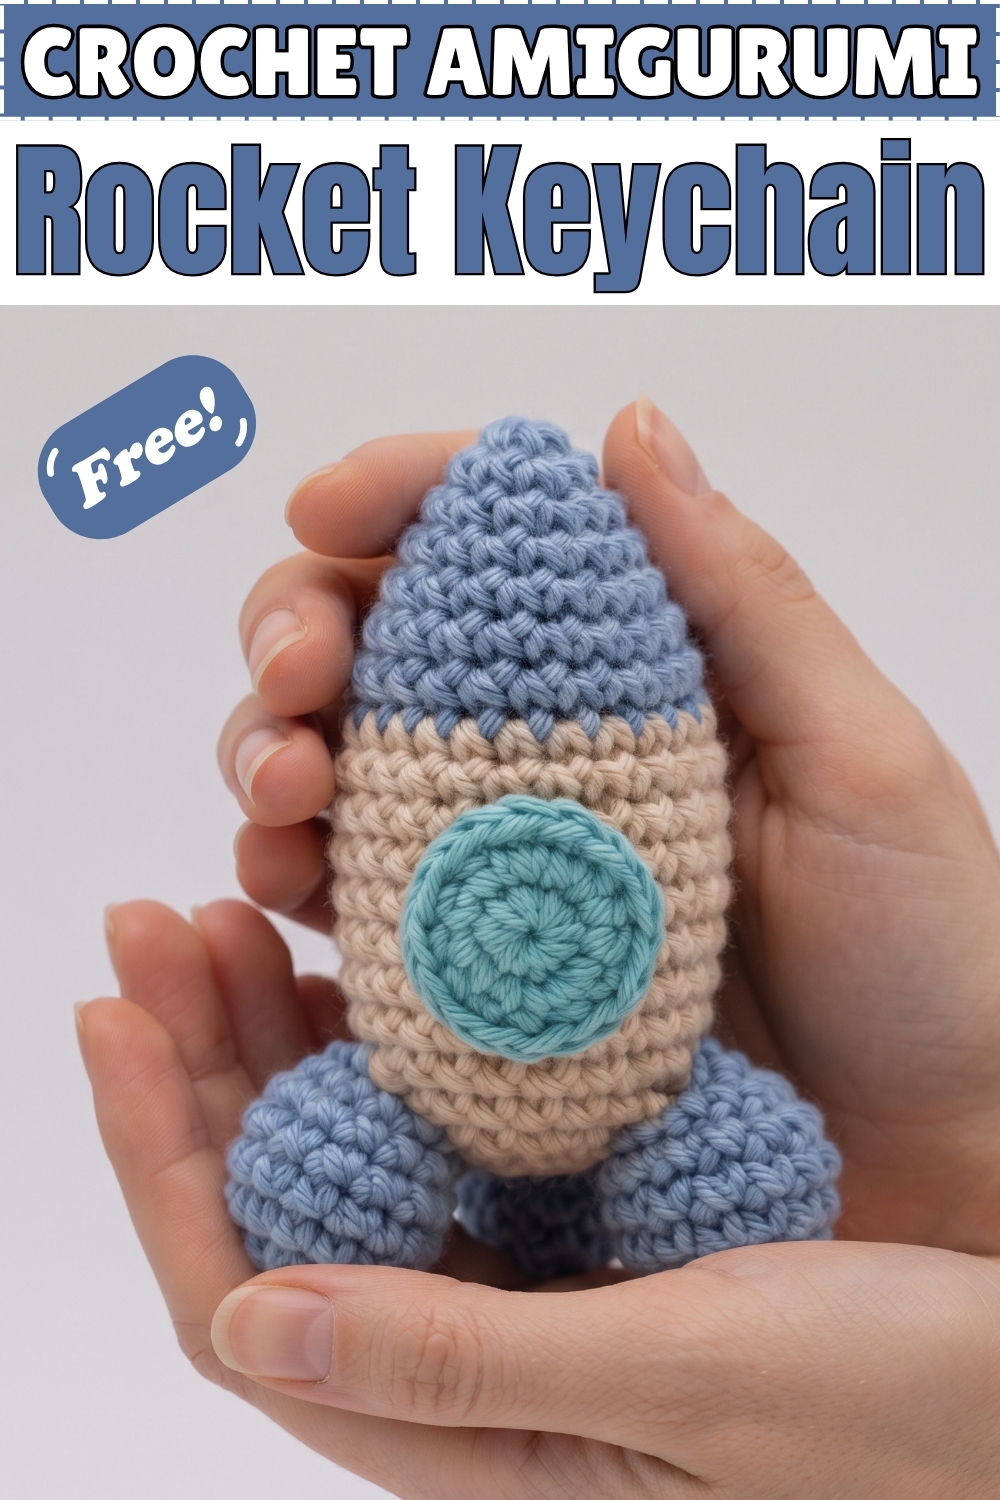
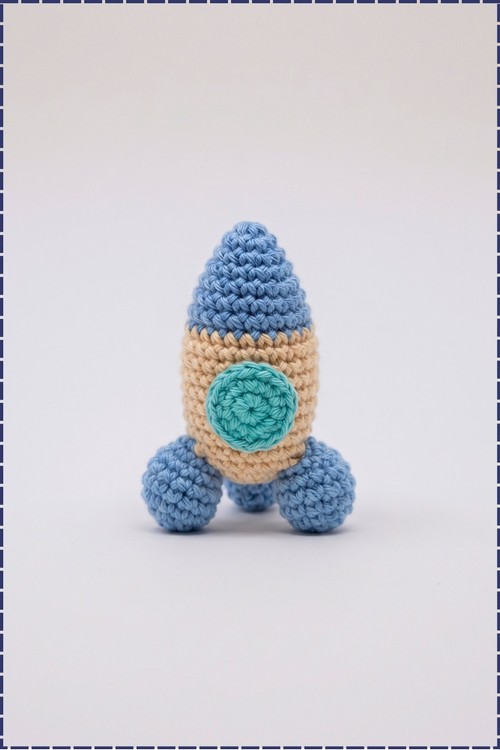
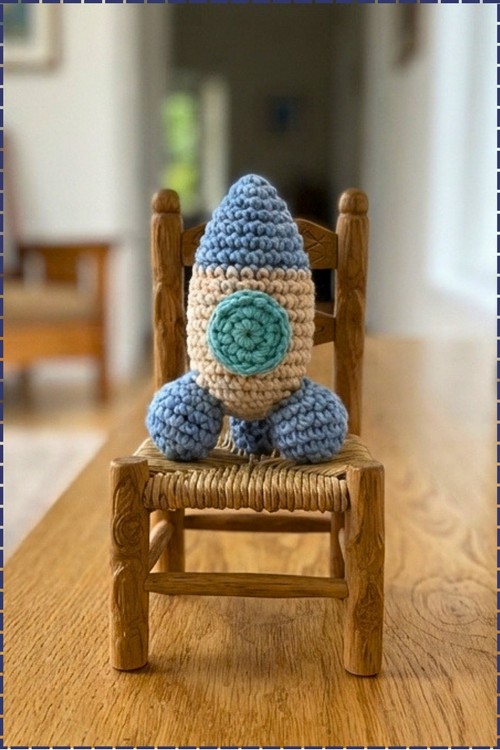
Seven straight rounds of single crochet form the long middle section, which is what stretches this little make into a proper rocket shape. My crochet rocket keychain pairs a dusty blue nose cone and fins with a soft beige body. Instead of red, I gave the window an aqua shade that stands out nicely against the beige. Three plump fins sit low around the base and hold it upright on a shelf. Each part works up from a magic ring, so there is barely any sewing. Kids usually ask to hold it before the last fin goes on.
Why I love this one: it was finished between afternoon tea and dinner, and it already looked ready for launch.
How This Rocket Came Together
I started this one on a rainy afternoon with three leftover cotton balls sitting in my basket. The nose cone grew first, then the beige body stretched out round after round, and by the time the aqua window went on, the little rocket had a face of sorts. The fins were last, and once they were sewn on it stood on the table by itself, which surprised me more than it should have.
Materials and Tools
- Light worsted or sport weight cotton yarn in dusty blue, beige and aqua
- Crochet hook in the right size for your yarn (usually 2.5 mm or 3.0 mm)
- Polyfill or fiberfill stuffing
- Stitch marker, tapestry needle and scissors
- Fabric glue (optional, for the window)
- Keychain ring (optional, my rocket in the photo is shown without one)
Difficulty and Time
Easy. Every piece uses only single crochet, increases and decreases. In my experience the whole rocket takes around two to three hours.
Abbreviations used: magic ring (MR), single crochet (sc), increase (inc, 2 sc in the same stitch), decrease (dec, 2 stitches crocheted together), slip stitch (sl st), chain (ch).
The Pattern
1. Rocket Body
- Start with dusty blue yarn for the nose cone.
- Round 1: Make a magic ring and work 6 sc into it [6].
- Round 2: (1 sc, inc) repeat 3 times [9].
- Round 3: 1 sc in each stitch around [9]; the tip should already look like a small pointed cap.
- Round 4: (2 sc, inc) repeat 3 times [12].
- Round 5: (3 sc, inc) repeat 3 times [15].
- Round 6: (4 sc, inc) repeat 3 times [18].
- Round 7: (5 sc, inc) repeat 3 times [21]; you now have the full blue cone, and on my rocket it covers roughly the top third.
- Change to beige yarn, pulling it through the last two loops of the final blue stitch.
- Rounds 8 to 14: 1 sc in each stitch around [21]; these seven rounds make the straight beige middle where the window goes.
- Round 15: (5 sc, dec) repeat 3 times [18].
- Round 16: 1 sc in each stitch around [18].
- Round 17: (4 sc, dec) repeat 3 times [15].
- Round 18: (3 sc, dec) repeat 3 times [12]; the bottom now rounds inward like the base of an egg.
- Stuff the rocket firmly, packing the nose cone well so the point holds its shape.
- Round 19: (2 sc, dec) repeat 3 times [9].
- Round 20: (1 sc, dec) repeat 3 times [6].
- Sl st into the next stitch, ch 1 and cut the yarn, weave the tail through the front loops of the last 6 stitches, pull tight and hide the end inside; the body is now a smooth, firm rocket with a blue tip and beige base.
2. Rocket Fins (make 3 in dusty blue)
- Round 1: Make a magic ring and work 6 sc into it [6].
- Round 2: 6 inc [12].
- Round 3: (1 sc, inc) repeat 6 times [18].
- Ch 1 and cut the yarn, leaving a long tail for sewing; you have a flat blue circle.
- Fold the circle in half into a semi circle and sew the folded edges closed with the tail; I tucked a pinch of stuffing inside before closing, which gives my fins their plump, rounded look.
3. Window (aqua)
- Round 1: Make a magic ring and work 6 sc into it [6].
- Round 2: 6 inc [12].
- Sl st into the next stitch, ch 1 and cut the yarn, leaving a long tail if you plan to sew; you get a flat aqua disc with a clear spiral in the middle.
4. Keychain Ring (optional)
- If you want to clip it to keys or a bag, sew a small yarn loop or the keyring itself to the very tip of the nose cone, stitching through several stitches so it holds under pulling.
Assembly
- Attach the window: Sew or glue the aqua disc onto the front of the beige section, centered side to side and sitting slightly below the middle, as on my rocket.
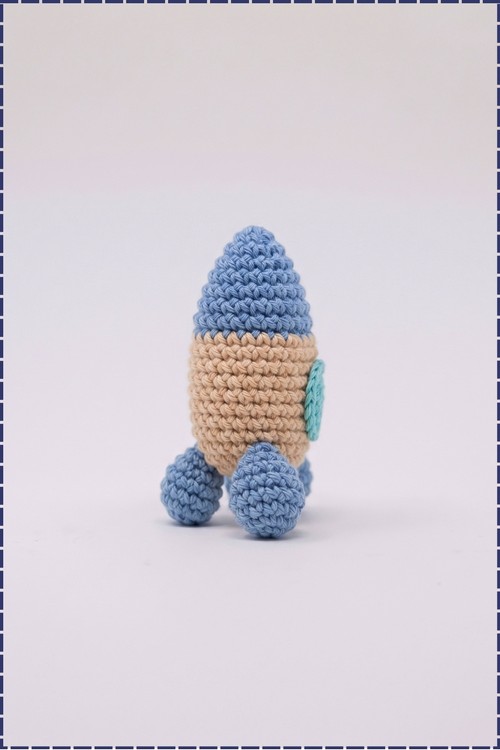
- Attach the fins: Space the 3 fins evenly around the lower beige section and sew the folded edge of each onto the body, letting the rounded part hang a little below the base so the rocket stands on its fins.
- Check balance: Stand the rocket on a flat surface and nudge any fin up or down before your last stitches if it tips.
Tips and Troubleshooting
- Keep the colour change neat by switching on the last stitch of Round 7 and keeping the carried strand on the inside.
- Use a stitch marker on every round; with seven plain rounds in a row it is easy to lose count.
- Pin all three fins first, look from above, and only sew once they are evenly spaced.
- If the window curls, block it flat with a little steam before attaching.
Yarn Substitution
Any smooth cotton or cotton blend works well. Acrylic is fine too, though cotton gives the crisp stitch definition you see in my photo. A thicker yarn with a bigger hook makes a larger rocket; the counts stay the same.
Customization Ideas
- Swap the window for white with a tiny embroidered astronaut face.
- Stitch a small flame from red and orange yarn under the base.
- Make a set in rainbow colours for a space themed mobile.
- Use bright red for the window, as in the original version.
FAQ
How big is the finished rocket? Mine fits in a cupped hand, around 4 inches tall, though your size depends on yarn and tension.
Do the fins need stuffing? The original folds them flat. I added a small pinch for rounder fins, and either way works.
Can I glue the window instead of sewing it? Yes. Fabric glue works well, but sewing holds up better on a keychain that gets handled a lot.
Why won't my rocket stand up? Usually the fins sit at uneven heights. Lower them so all three touch the table at the same time.