Crochet Pumpkin Spice Free Pattern Fall Favorite Latte Charm
This Crochet Pumpkin Spice Latte Charm pattern is a fun and cozy fall-inspired project that brings everyone’s favorite seasonal drink into an adorable handmade charm. Designed to be lightweight and detailed, this pattern walks you through creating a textured pumpkin, leafy accents, and a mini latte cup with charming finishing details.
Crochet Pumpkin Spice Latte Charm
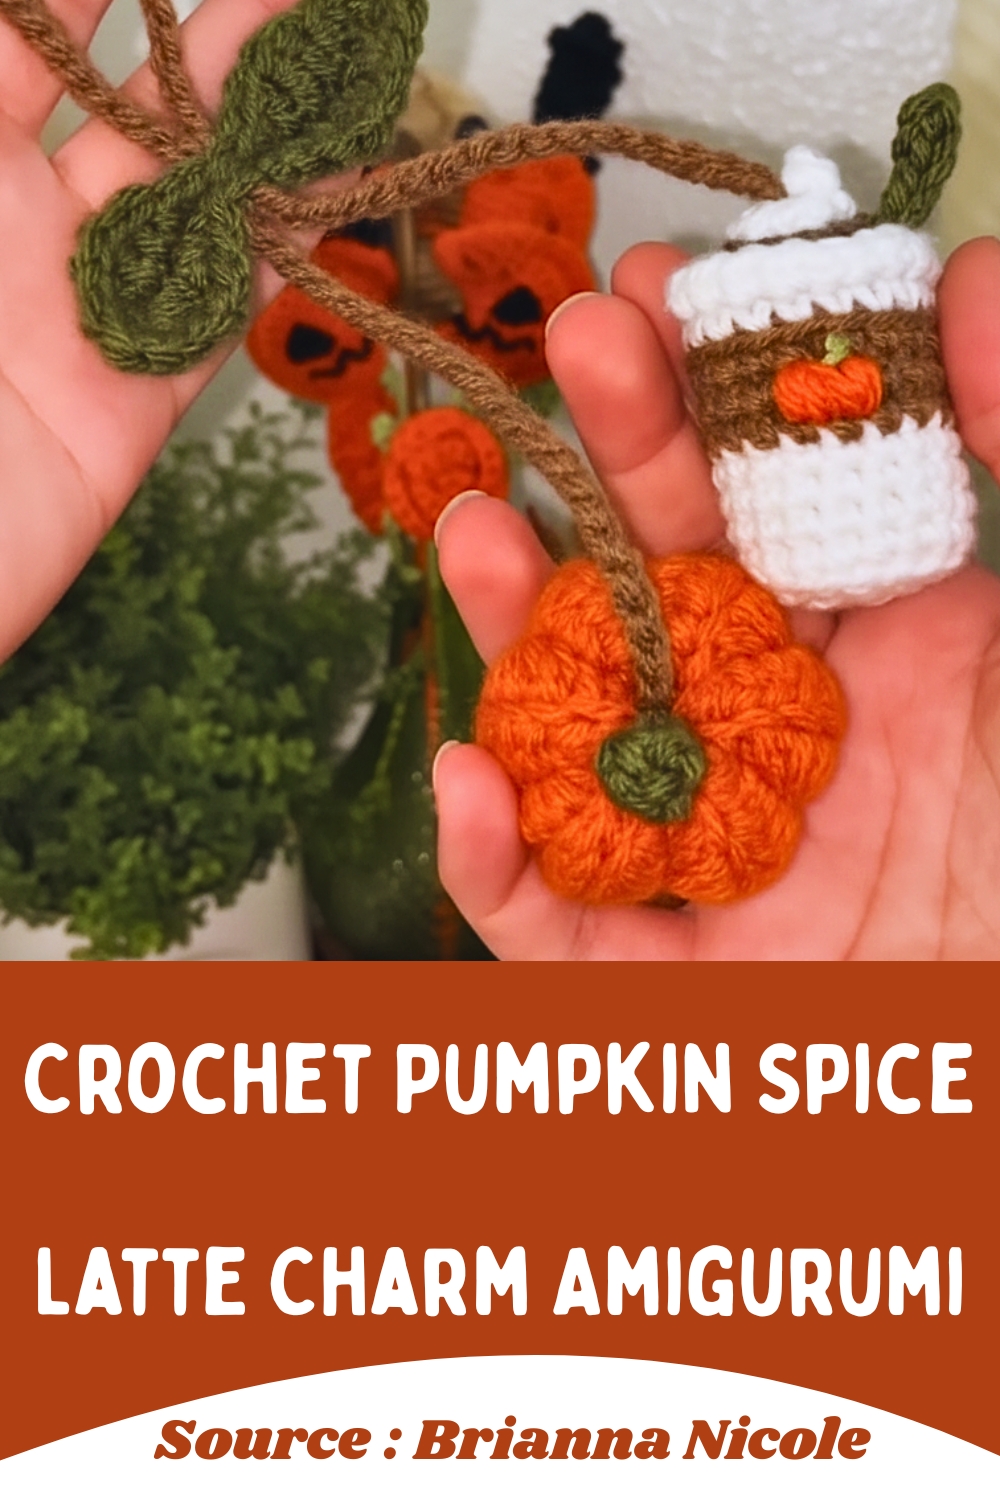


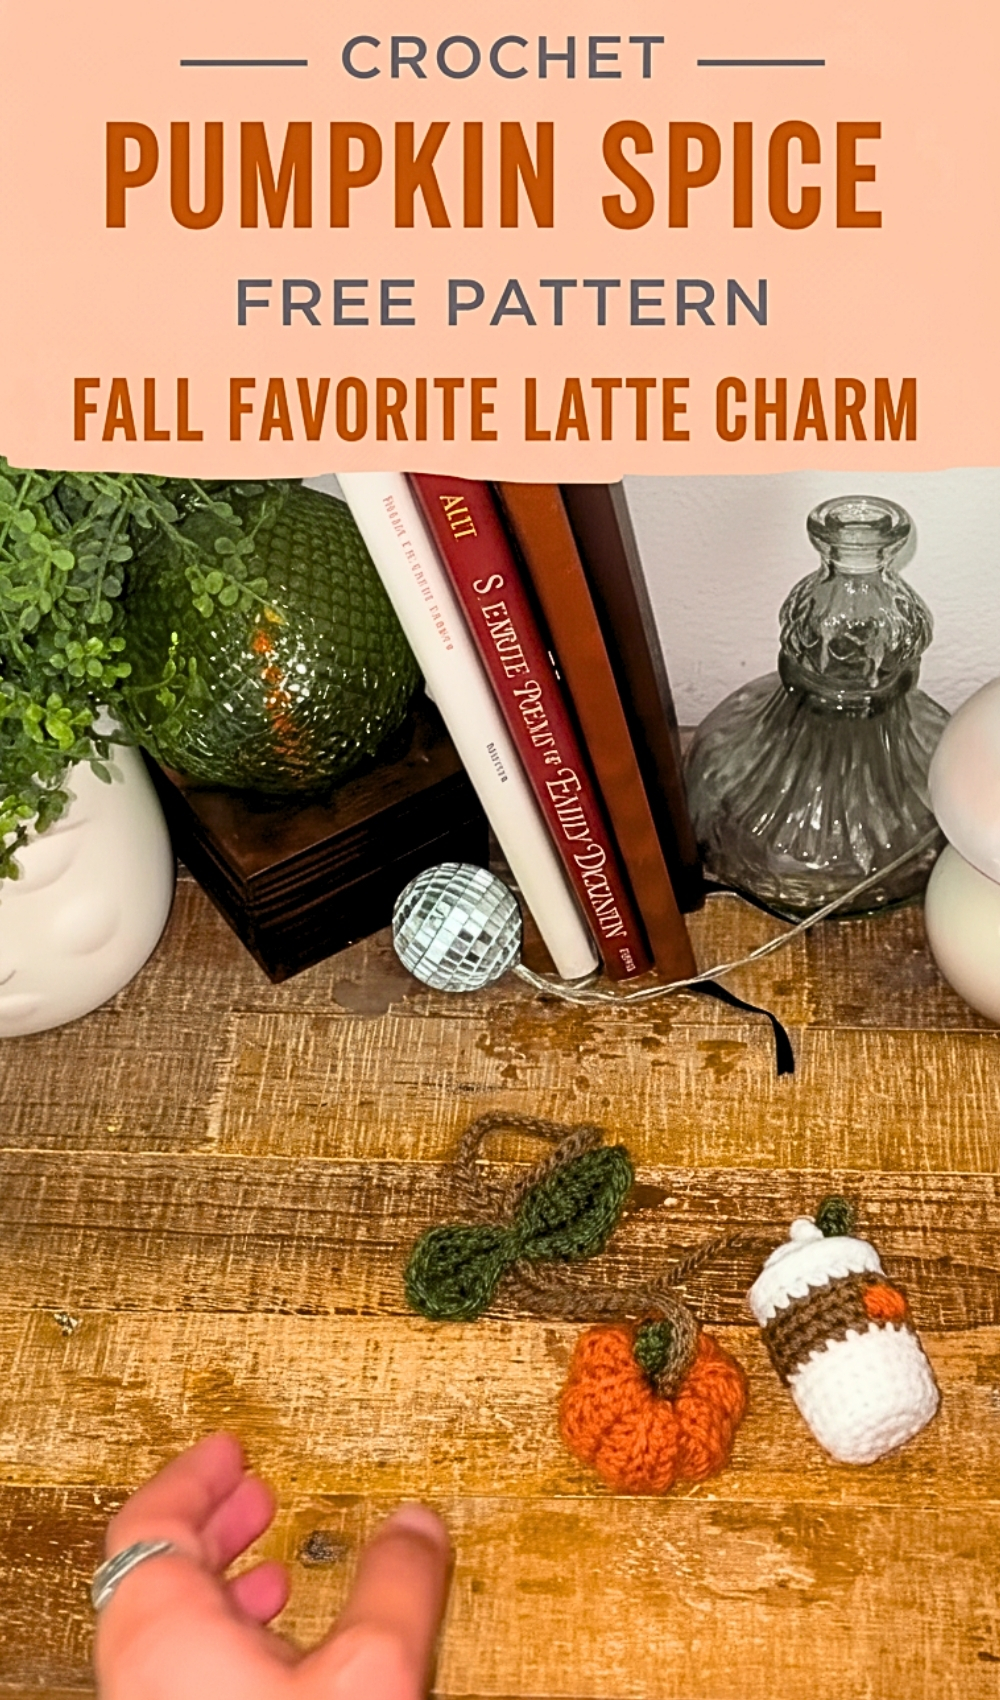
As the crisp autumn air settles in, crafting your own cozy morning vibe becomes a delightful reality with the Crochet Pumpkin Spice Latte Charm pattern. This adorable miniature project mimics a steaming coffee cup complete with a dollop of whipped cream and a sprinkle of orange spice. Perfect as a festive keychain or bag accessory, this quick and creative design captures everyone's favorite seasonal treat in a handful of yarn.
Skill Level
-
This project is ideal for an advanced beginner who has mastered basic stitches and is ready to learn about row texturing, back loop manipulation, and multi part assembly.
Finished Size
-
The final dimensions will vary based on your individual tension and your chosen length for the connecting stem, but the individual motifs create a compact, palm sized festive decoration.
Materials
-
3 mm crochet hook
-
Weight 4 acrylic yarn in light brown, dark brown, white, orange, dark green, and light green
-
Darning needle
-
Stuffing
-
Stitch marker
-
Scissors
Abbreviations
-
ch: Chain
-
sc: Single crochet
-
hdc: Half double crochet
-
dc: Double crochet
-
tr: Treble crochet
-
sl st: Slip stitch
-
blo: Back loops only
-
flo: Front loops only
-
inc: Increase
-
dec: Decrease
Helpful Notes Before Starting
-
Using a stitch marker is essential for tracking the rounds of your latte cup, especially when transitioning between the different yarn colors.
-
When working the pumpkin section, maintain a consistent row gauge so your finished rectangle forms a neat, symmetrical square before seaming.
-
Leave exceptionally long yarn tails when fastening off each piece, as these are vital for creating the indented structural shaping and for securing the final layout.
Construction Overview
-
The project begins with a long, sturdy chain that acts as the central structural spine for the entire garland assembly.
-
The large leaf is worked in a single continuous round along both sides of a foundation chain to create a classic, tapered foliage shape.
-
The pumpkin relies on flat, ribbed rows that are seamed into a hollow tube, stuffed, and then compressed vertically to create distinct, plump sections.
-
The latte cup uses a traditional three dimensional amigurumi structure, transitioning from a flat circular base into a sturdy cylinder with defined structural ridges.
Stitch and Shaping Clarity
-
The leaf shaping uses a progressive height scaling technique, transitioning smoothly from single crochet up to treble crochet and back down to create natural looking curves.
-
Working into the back loops only during the pumpkin rows creates a stretchy, corrugated fabric that naturally mimics the deep ridges of a real pumpkin.
-
The front loop only round on the cup creates a crisp, extended rim that visually separates the cup container from the dark coffee and whipped cream inside.
Step by Step Pattern Instructions
Stem and Connector
-
Using light brown yarn, leave a long tail and chain 80 or adjust to preferred length
-
Fasten off and leave another long tail for assembly
Large Leaf
-
Chain 16 with dark green yarn
-
Single crochet in the second chain from the hook
- Half double crochet in the next stitch
- Double crochet in the next stitch
- Treble crochet in the next stitch
- Double crochet in the next stitch
- Half double crochet in the next stitch
- Single crochet in the next three stitches
- Half double crochet in the next stitch
- Double crochet in the next stitch
- Treble crochet in the next stitch
- Double crochet in the next stitch
- Half double crochet in the last stitch
- Place three single crochets in the final stitch to turn the corner
- Half double crochet in the next stitch
- Double crochet in the next stitch
- Treble crochet in the next stitch
- Double crochet in the next stitch
- Half double crochet in the next stitch
- Single crochet in the next three stitches
-
Half double crochet in the next stitch
-
Double crochet in the next stitch
-
Treble crochet in the next stitch
-
Double crochet in the next stitch
-
Half double crochet in the next stitch
-
Place two single crochets in the final stitch
-
Slip stitch to finish and weave in ends
-
Pull the long stem chain through the center of the leaf
Pumpkin
-
Chain 13
-
Half double crochet in the second chain from the hook and across for a total of 12 stitches
-
Chain 1, turn, and work 12 half double crochets in back loops only
-
Repeat the previous step until you have 12 rows total
-
Fold the rectangle in half and slip stitch the sides together to form a tube
-
Weave the yarn tail through the bottom edge and pull tight to close
-
Lightly stuff the pumpkin
-
Weave through the top edge and pull tight to close
-
Pull yarn from top to bottom through the center six times, tightening between ridges to shape the pumpkin
-
Chain 4 for the small leaf
-
Single crochet in the second chain from the hook
-
Half double crochet in the next two stitches
-
Sew the small leaf onto the top of the pumpkin
Latte Cup
-
Make a magic ring and work 6 single crochets
-
Slip stitch and chain 1 at the end of each round
-
Increase in each stitch around for 12 stitches
-
Work one single crochet and one increase around for 18 stitches
-
Single crochet in back loops only for one round
-
Single crochet in each stitch for three rounds
-
Change to light brown yarn and single crochet in each stitch for three rounds
-
Change to white yarn and single crochet in each stitch for one round
-
Single crochet in front loops only for one round and fasten off
-
Attach dark brown yarn to the remaining back loops and single crochet around
-
Decrease nine times to close the top, stuffing before fully closing
Finishing Details
-
Embroider a small pumpkin on the cup sleeve using orange, green, and brown yarn
-
Chain 5 for the straw and slip stitch in the remaining stitches
-
Sew the straw onto the top of the cup
-
Chain 11 for whipped cream and slip stitch across
-
Coil the whipped cream and sew next to the straw
-
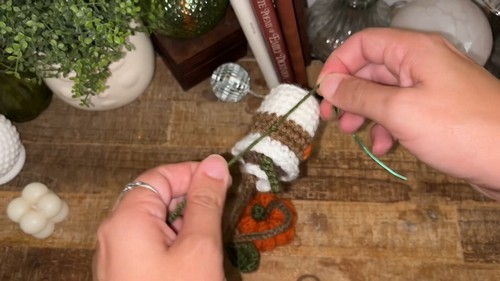
Use the long stem tails to attach the pumpkin to one end and the latte cup to the other
Assembly Guidance
-
When seaming the pumpkin tube, align the stitches perfectly row by row to keep the ribbed texture continuous all the way around the shape.
-
Secure the top and bottom cinches of the pumpkin with a double knot before starting the external section wraps to prevent the base structures from slipping.
-
Position the small accessories like the straw and coiled whipped cream slightly off center on the dark brown surface to leave ample room for balanced visual composition.
Eye and Facial Feature Placement
-
While this design features clean, minimalist embroidery on the cup sleeve, you can add small safety eyes between rounds five and six of the cup if you prefer a classic kawaii look.
-
Space any added facial features four stitches apart, ensuring they sit directly above the embroidered sleeve design for proper vertical symmetry.
Stuffing Tips
-
Roll your fiberfill into a firm, smooth ball before inserting it into the pumpkin tube to encourage an even expansion against the ribbed fabric walls.
-
Avoid overstuffing the latte cup near the final rounds so the flat bottom stays completely flat, allowing the finished toy to sit upright without tilting.
Finishing Notes
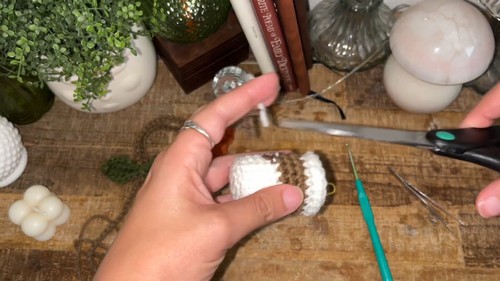
-
Hide all remaining yarn tails by threading them into your darning needle, passing them completely through the center of the stuffed pieces, pulling taut, and clipping close to the fabric.
-
Gently roll the completed pumpkin between your palms after sculpting it to distribute the internal stuffing evenly into the six newly formed exterior sections.
Beginner Notes
-
If your leaf ends up twisting or curling drastically, your stitches may be too tight; try relaxing your tension on the tall treble crochets.
-
When working the slip stitches to join the cup rounds, ensure you do not accidentally crochet into the slip stitch itself on the following round, which would unintentionally increase your stitch count.
Troubleshooting
-
If your latte cup base bulges outward instead of resting flat, check that your back loop only round was worked precisely, as this step creates the structural rim needed for stability.
-
If the pumpkin surface shows gaps where the white stuffing peeks through, reduce your stuffing amount or switch to a slightly smaller hook size to tighten up the fabric weave.
Customization Ideas
-
You can easily scale this pattern into a full room banner by repeating the pumpkin and cup instructions to create multiple alternating motifs along a much longer central chain.
-
Try substituting a variegated autumn yarn for the pumpkin body to create a beautiful, multi tonal rustic look without needing to manually introduce new yarn colors.