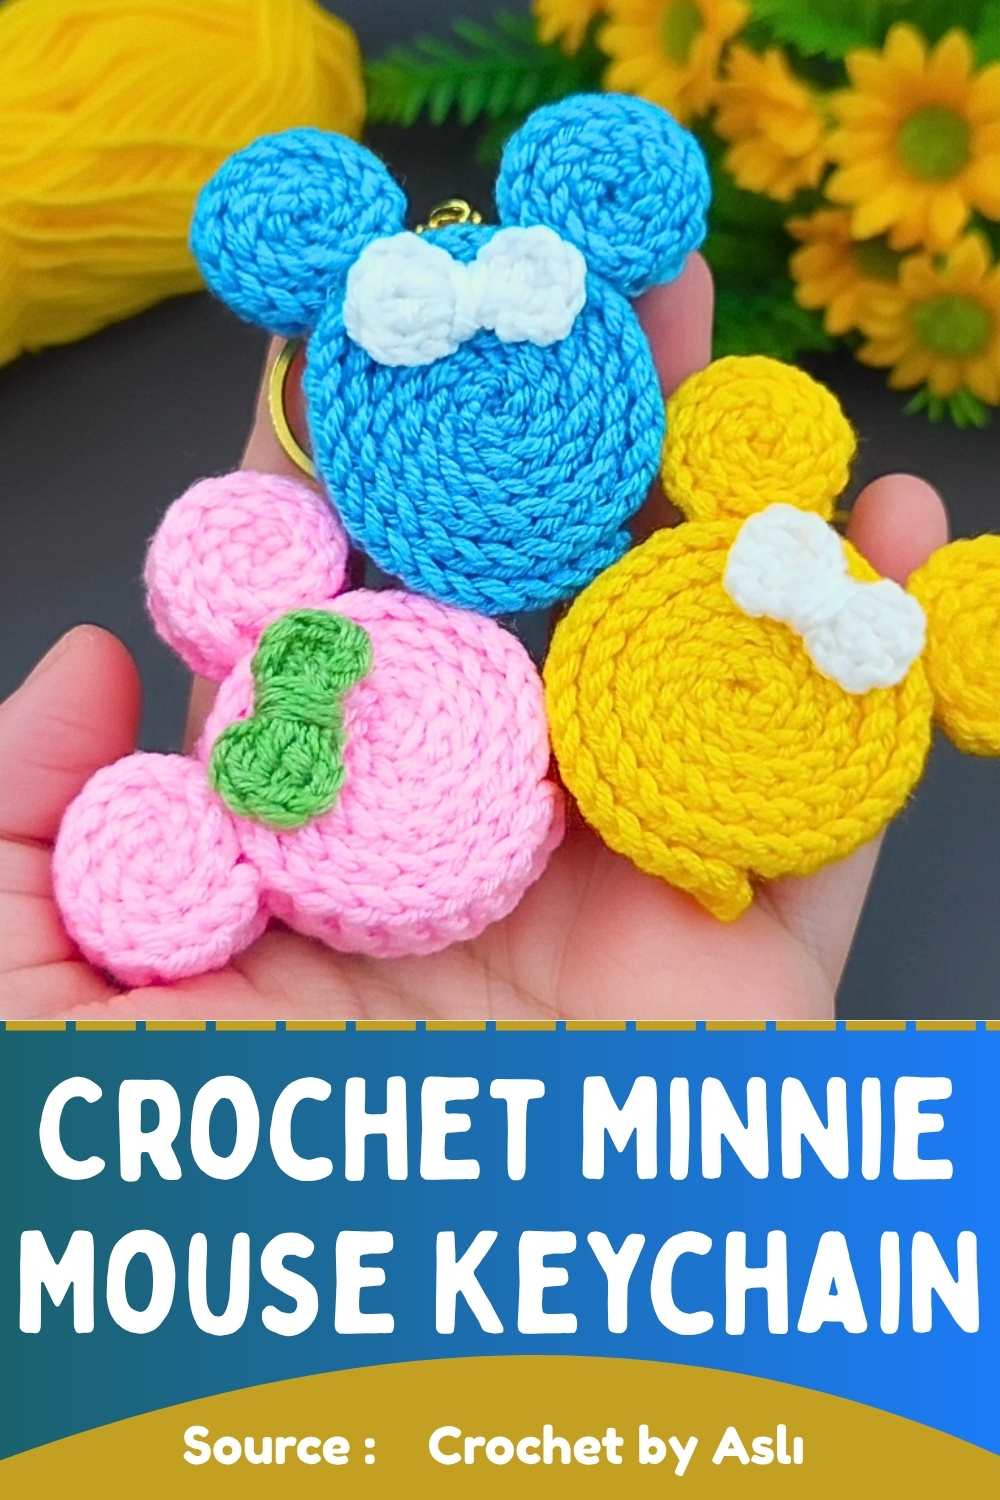
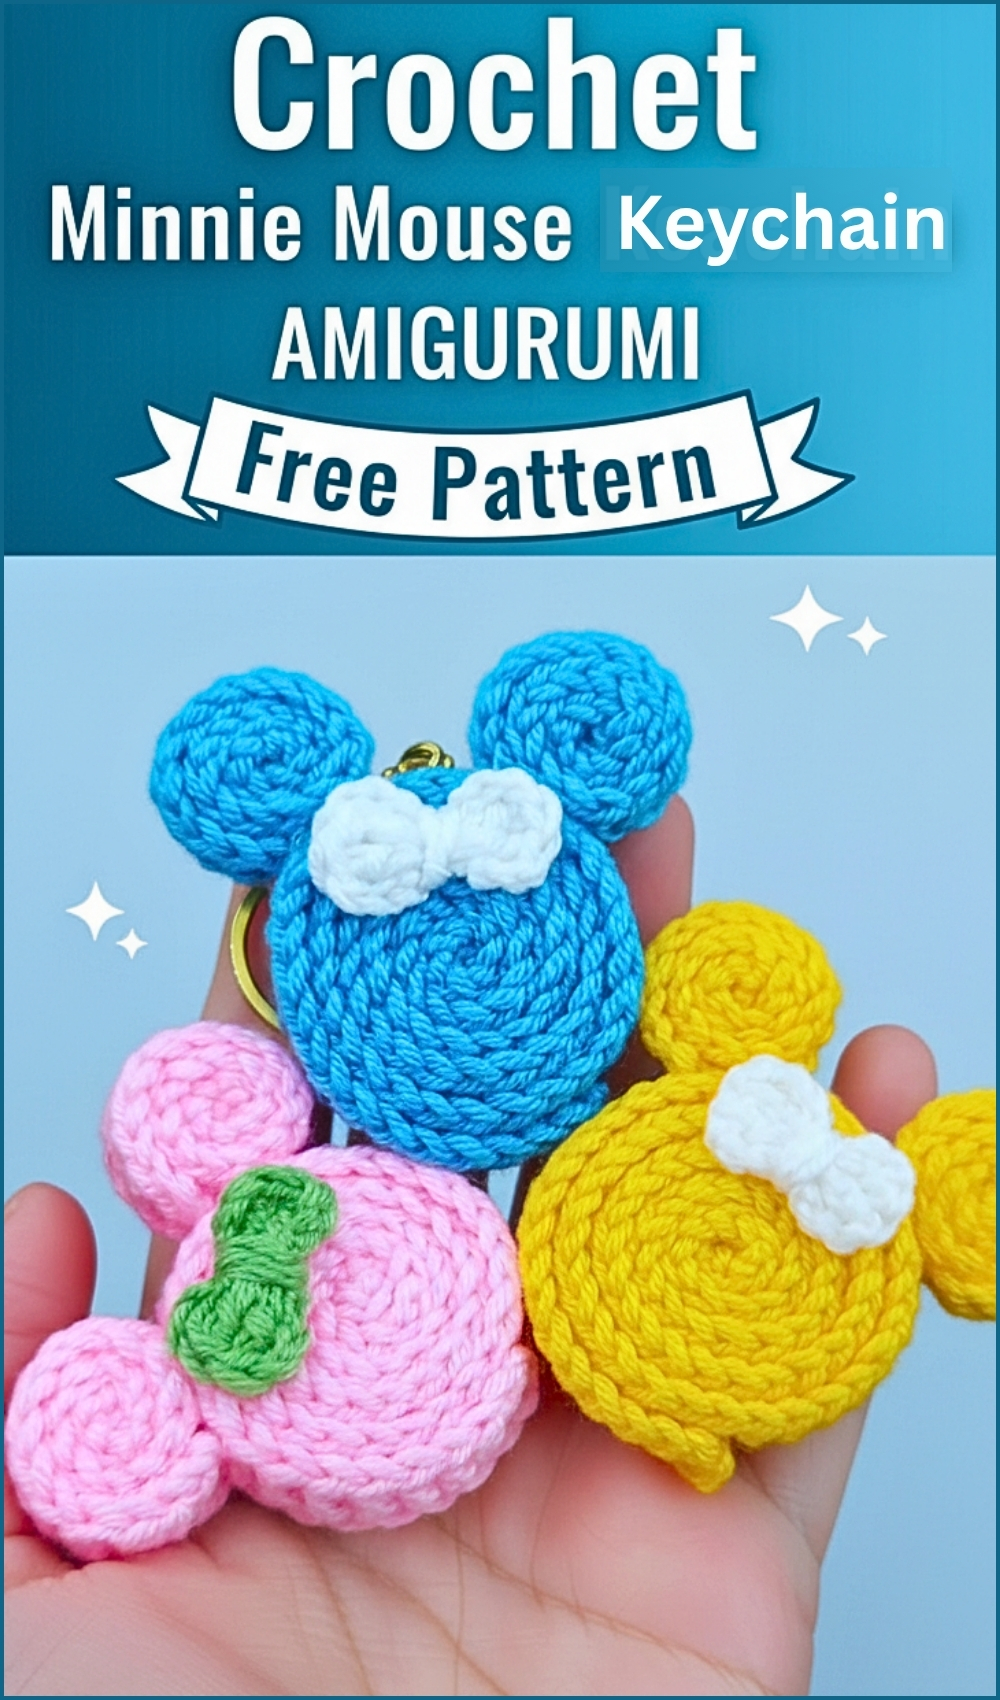
Crochet Minnie Mouse Keychain Pattern With Easy Steps
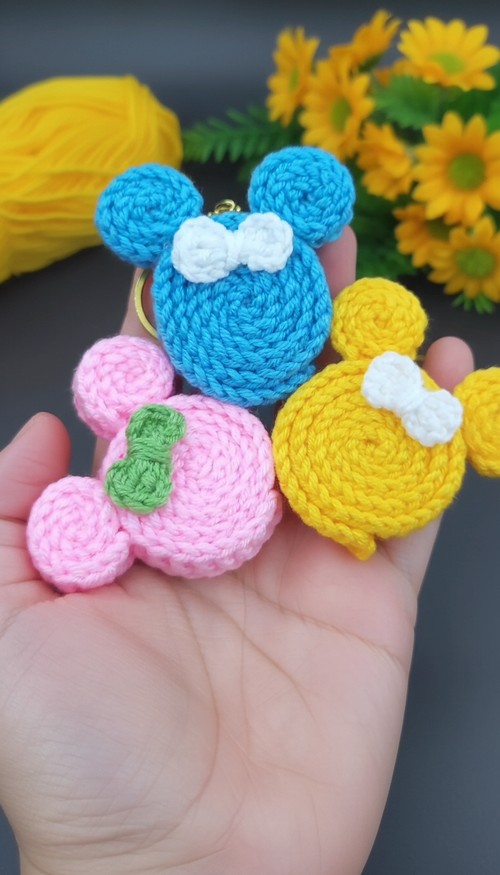
Working with long chains and simple stitches can open up creative ways to shape crochet beyond flat pieces. In this project, a long strip is transformed into a smooth spiral to build a bold, rounded base, then paired with matching rolled details to form a playful character-inspired keychain.
Crochet Minnie Mouse Keychain
It’s a great exercise in controlling tension, shaping with structure instead of increases, and assembling pieces with clean symmetry.
Skill Level
Beginner to Easy
This project uses basic stitches and focuses more on shaping and assembly than complex techniques.
Finished Size
- Approximate size depends on yarn and hook choice
- Typically fits comfortably as a palm-sized keychain
Materials
- Yellow yarn
- White yarn
- Crochet hook suitable for your yarn
- Scissors
- Yarn needle (optional)
- Glue
- Keychain ring
Abbreviations
- ch = chain
- dc = double crochet
- sl st = slip stitch
Helpful Notes Before Starting
- The structure of this project comes from rolling crocheted strips, not traditional amigurumi increases.
- Keep your stitches even and not too loose, or the spiral may look uneven.
- When rolling strips, tightness matters—a loose roll will create gaps, while a tight roll gives a clean circular shape.
- Glue is used for shaping and assembly instead of sewing, so work carefully and neatly.
Construction Overview
This piece is built in three main parts:
- A long strip rolled into a large spiral circle (the head)
- Two smaller rolled strips for ears
- A decorative bow made with chain loops
Everything is then assembled and secured into a keychain.
MAIN CIRCLE (MINNIE'S HEAD)
- Using yellow yarn, create a starting loop.
- Chain 100 stitches, then chain 2 more.
- Double crochet into the third chain from the hook and continue for 100 stitches.
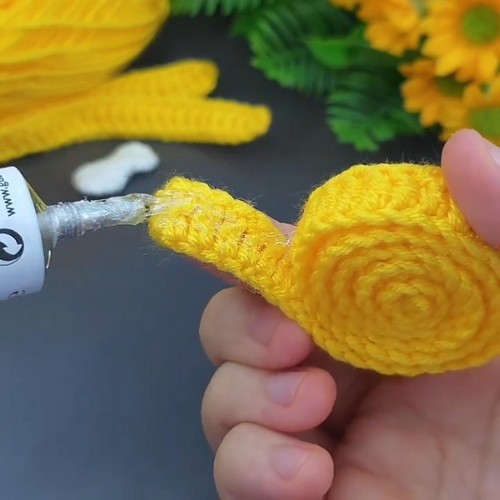
- Roll the long crocheted strip into a tight, circular spiral.
- Apply glue to the end and along the remaining parts of the rolled-up fabric to secure the shape.
What’s happening here
- The long chain creates length, and the double crochet adds height and flexibility, making it easier to roll.
- Rolling the strip forms a flat spiral disk, similar to how fabric coils naturally.
- Glue replaces sewing, locking the spiral so it doesn’t unwind.
- Tip: Start rolling from the beginning edge and keep the center tight—this sets the shape for the entire circle.
EARS (2 TOTAL)
- Using yellow yarn, make a magic ring.
- Chain 30 stitches.
- Double crochet into the second chain from the hook and continue for 29 stitches.
- Repeat this process to create a second, identical ear.
- Roll the short strips into tight, circular spirals to form the ears and glue the ends to secure them.
What’s happening here
- These are smaller versions of the main circle.
- Keeping both strips the same length ensures matching ear size, which is important for symmetry.
- Tip: Roll both ears tightly and compare them before gluing to make sure they match.
BOW
- Using white yarn, make a starting loop and chain 3 stitches.
- Double crochet into the first chain, then chain 3 again.
- Slip stitch into the same first chain to create the first loop of the bow.
- Chain 3, double crochet into the first chain again, and chain 3 once more.
- Slip stitch into the same stitch to complete the second loop.
- Wrap the tail of the yarn around the center of the two loops to form the bow shape.
- Cut the excess yarn, secure it, and place a small amount of glue on the back.
What’s happening here
- Both loops are worked into the same base stitch to form a balanced bow shape.
- Wrapping the yarn around the center creates that pinched look, just like a real ribbon.
Tip
Adjust the loops before tightening the center wrap so both sides look even.
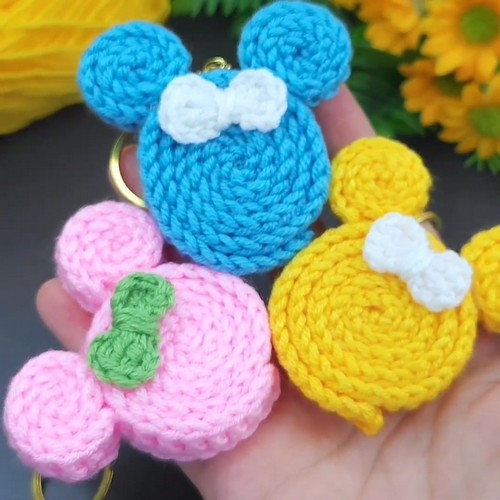
ASSEMBLY
- Attach the keychain ring to the top of the main circle.
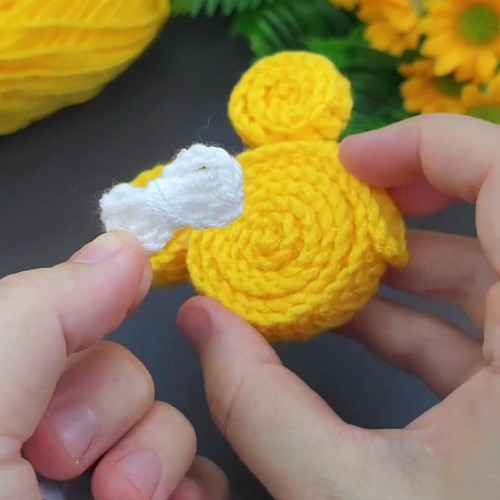
- Glue the two ears to the top of the main circle, one on each side.
- Glue the finished bow to the center of the main circle.
Assembly Guidance
- Place the ears slightly angled outward, not straight up, for a natural look.
- Position them evenly by checking spacing from the center before gluing.
- The bow should sit between the ears, slightly overlapping them if needed.
Placement and Symmetry Tips
- Lay all pieces out before gluing to preview placement.
- Use a ruler or visual center line to align ears evenly.
- Press gently after gluing and allow time to fully set.
Stuffing Notes
This design does not use stuffing. The structure comes entirely from tightly rolled crochet strips.
Beginner Notes
- If your spiral looks uneven, check your tension—loose stitches can create gaps.
- Rolling too loosely will flatten the shape; rolling tightly creates a cleaner result.
- Glue in small amounts to avoid soaking the yarn.
Troubleshooting
- Spiral won’t stay tight: Roll tighter and glue gradually as you go, not just at the end
- Ears look uneven: Re-roll before gluing or remake one strip to match length
- Bow looks unbalanced: Adjust loop size before wrapping the center
Finishing Notes
- Trim any visible yarn tails neatly
- Allow glue to dry completely before attaching to keys
- Check all pieces are secure, especially the keychain ring
Customization Ideas
- Change colors to create different character styles
- Add stitched facial features for more personality
- Use thicker yarn for a larger keychain
- Replace glue with sewing if you prefer a fully crocheted finish