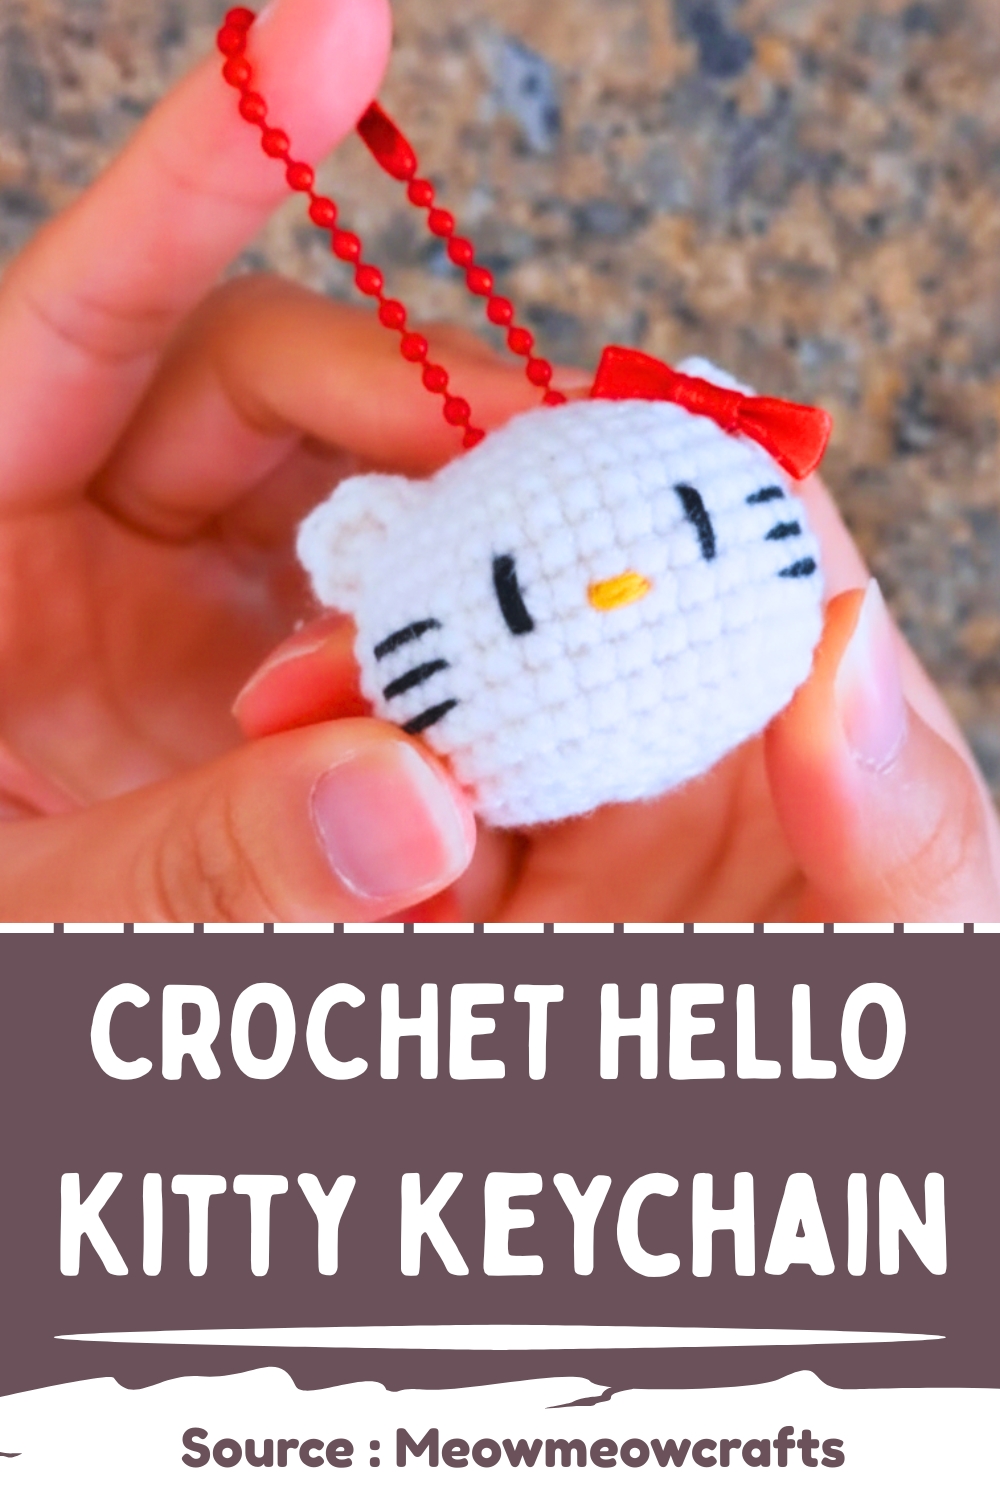
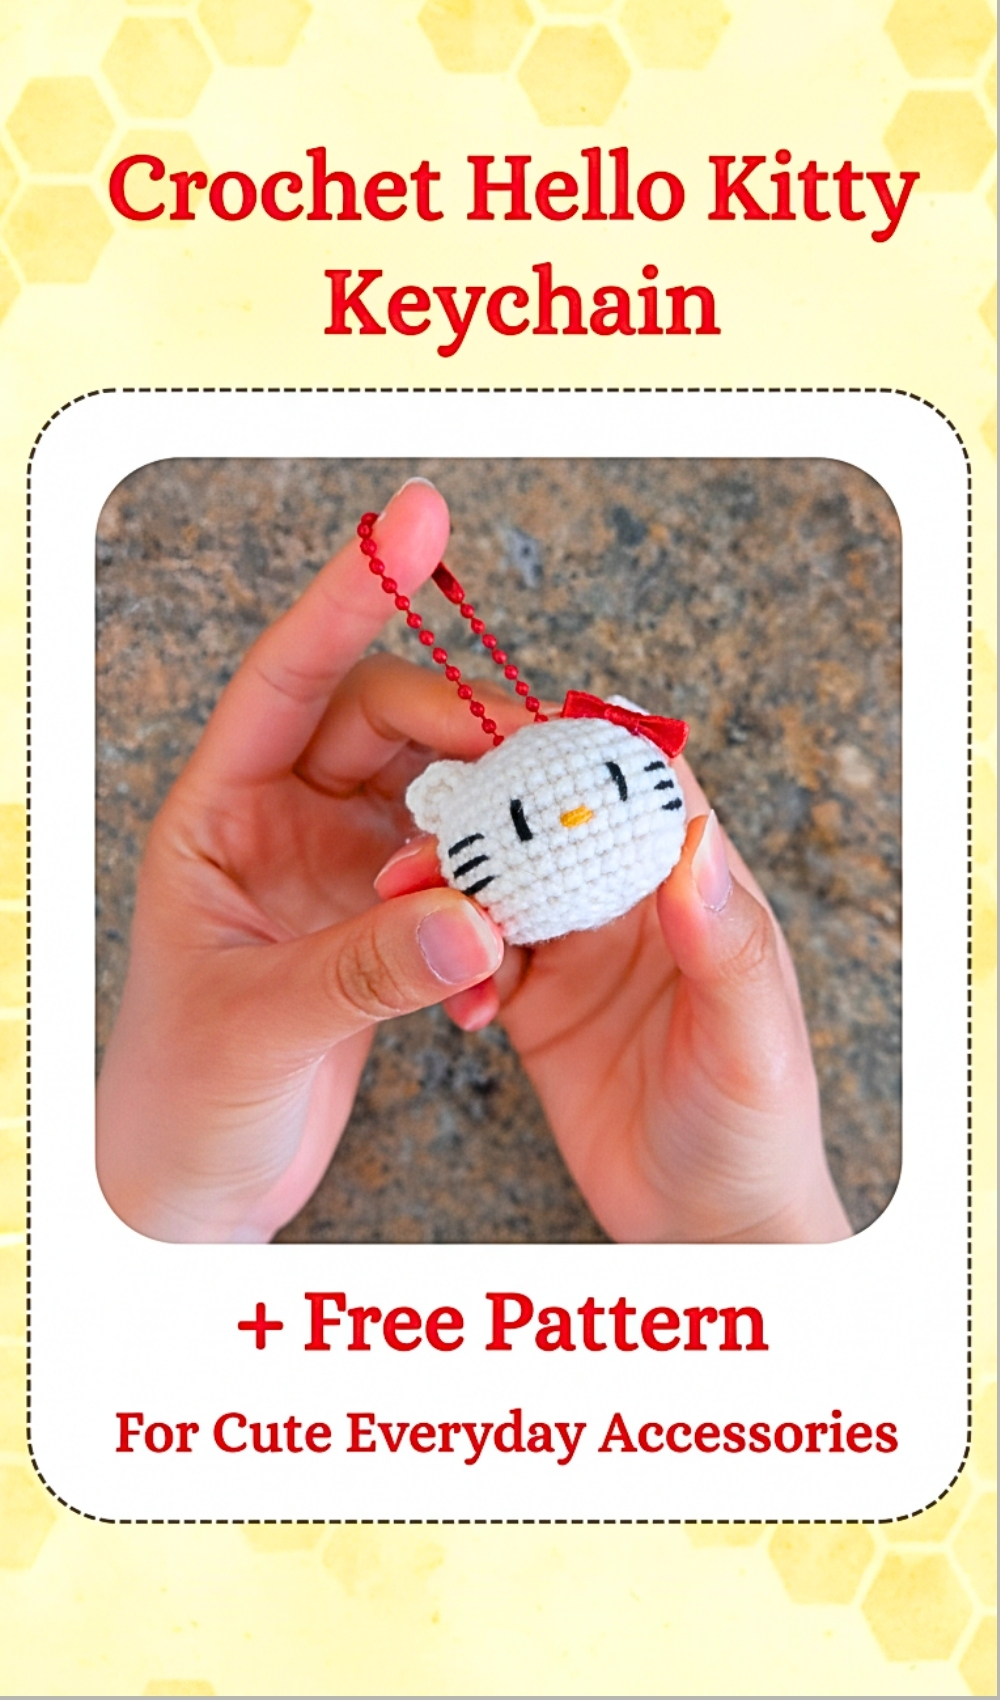
Crochet Hello Kitty Keychain Free Pattern For Cute Everyday Accessories
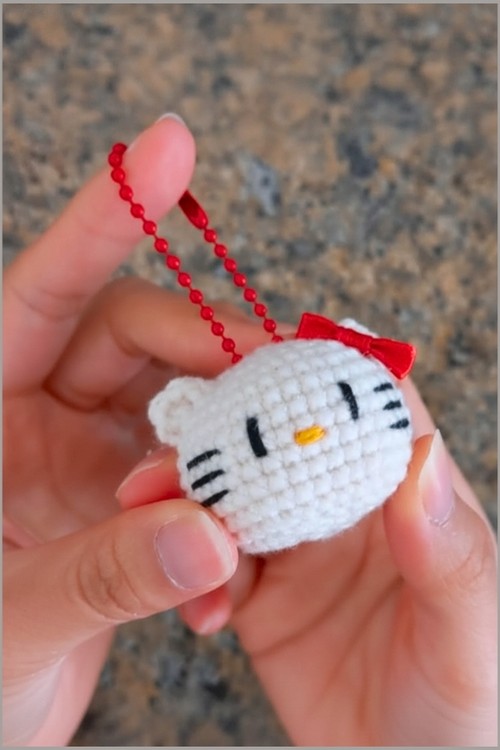
This Crochet Hello Kitty Keychain pattern is a charming mini project designed for fans of cute and collectible crochet items. The pattern guides you through creating a small yet detailed Hello Kitty head that works perfectly as a keychain, bag charm, or handmade gift. Its compact size makes it quick to complete, while the clean shaping and embroidered facial details give it a polished, professional look.
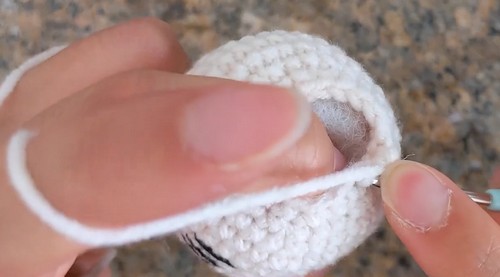
Crochet Hello Kitty Keychain
You can easily customize the yarn color, bow style, or size to match personal preferences or themed collections. Whether you are making gifts, stocking handmade shops, or adding a kawaii touch to everyday accessories, this Crochet Hello Kitty Keychain is a versatile and satisfying project.
Materials
- Light-weight white milk cotton yarn in ivory shade
- 3.0 mm crochet hook
- Black embroidery thread for eyes and whiskers
- Yellow embroidery thread for nose
- Stuffing
- Tapestry needle
- Red ribbon approximately ¼ inch wide
- Glue
- Scissors
- Optional keychain hardware
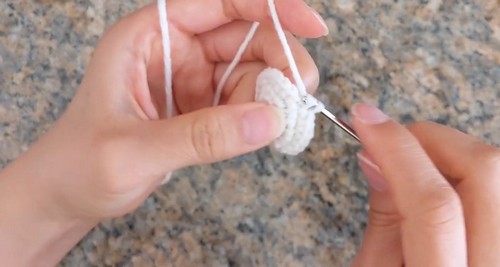
Main Head Pattern
- All rounds are joined with a slip stitch and chain 1
- The first stitch of the next round is worked into the same stitch as the slip stitch
- Round 1: Create a magic ring and work 6 single crochets (6 stitches)
- Round 2: Increase in every stitch (12 stitches)
- Round 3: One single crochet, one increase repeated 6 times (18 stitches)
- Round 4: One single crochet, one increase, then two single crochets and one increase repeated 5 times, one single crochet in the last stitch (24 stitches)
- Round 5: Three single crochets and one increase repeated 6 times (30 stitches)
- Round 6: Two single crochets, one increase, then four single crochets and one increase repeated 5 times, two single crochets in the last stitches (36 stitches)
- Rounds 7 to 12: One single crochet in every stitch with no increases (36 stitches each round)
Face Details
- Eyes are placed between rounds 7 and 8 with five stitches of space between them
- Embroider the eyes using black thread looping approximately three times
- Embroider whiskers on both sides of the face with a single thin loop
- Embroider the nose centered between the eyes using yellow thread with three loops
Closing the Head
- Round 13: Two single crochets, one invisible decrease, then four single crochets and one decrease repeated 5 times, two single crochets in the last stitches (30 stitches)
- Round 14: Three single crochets and one decrease repeated 6 times (24 stitches)
- Round 15: One single crochet, one decrease, then two single crochets and one decrease repeated 5 times, one single crochet in the last stitch (18 stitches)
- Add stuffing to the head
- Round 16: One single crochet and one decrease repeated 6 times (12 stitches)
- Round 17: Six decreases (6 stitches)
- Fasten off, leaving a tail, and weave through the front loops to close the opening
Ears
Right Ear
- Attach yarn between rounds 6 and 7 two stitches away from the whisker
- Work one single crochet in the same stitch
- In the next stitch moving upward, work one half double crochet, one double crochet, and one half double crochet
- In the next stitch, work one single crochet
- Fasten off and weave in ends
Left Ear
- Attach yarn between rounds 4 and 5
- Work one single crochet in the same stitch
- In the next stitch moving downward, work one half double crochet, one double crochet, and one half double crochet
- In the next stitch, work one single crochet
- Fasten off and weave in ends

Final Touch
- Tie a small bow using the red ribbon
- Glue the bow onto the right ear
- Attach a keychain if desired