Crochet Donut Amigurumi Free Pattern Everyone Loves
This amigurumi donut crochet pattern is a fun and beginner friendly project that results in a soft, adorable donut with dripping frosting details. The pattern is worked in simple rounds, making it perfect for practicing shaping, increases, and decreases while creating a cute decorative piece or gift.
Crochet Donut Amigurumi
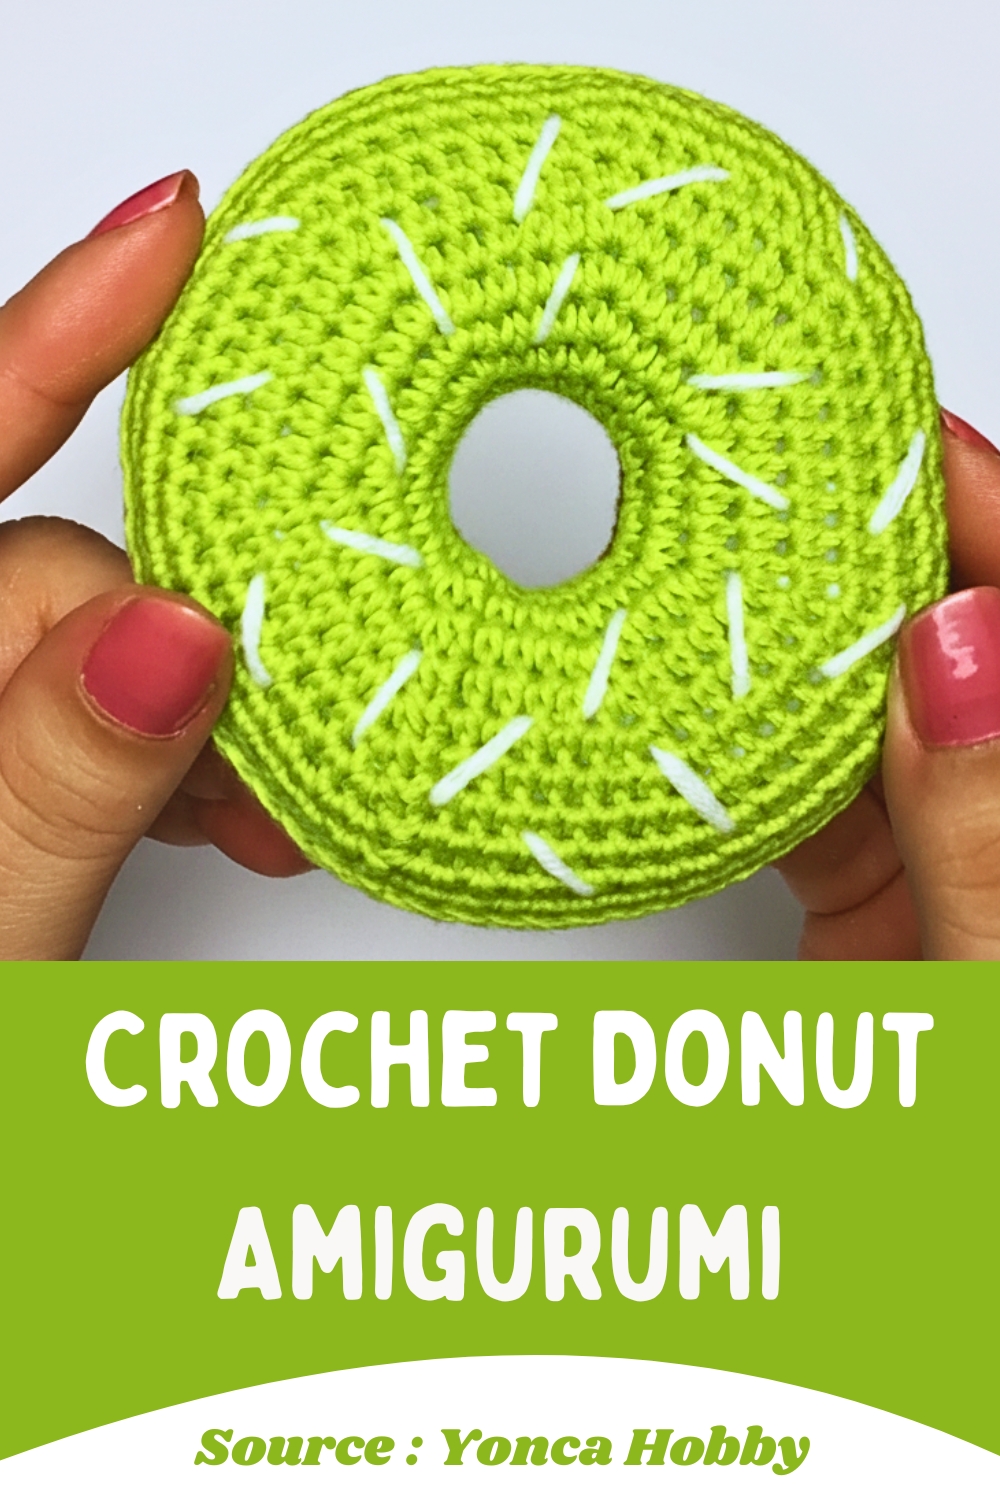
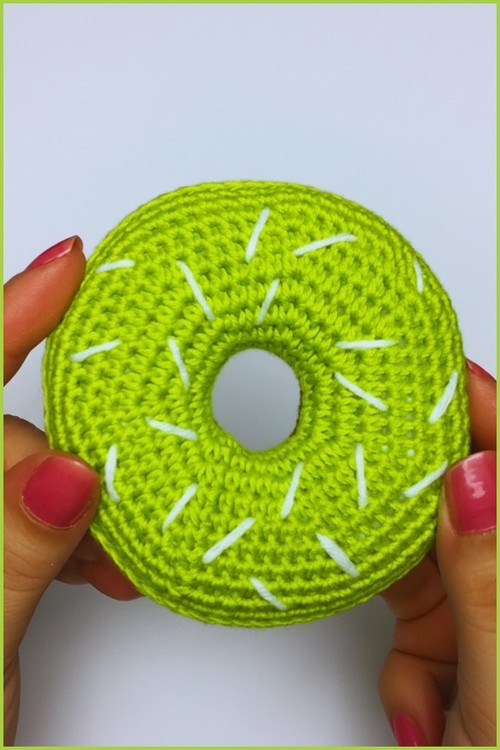
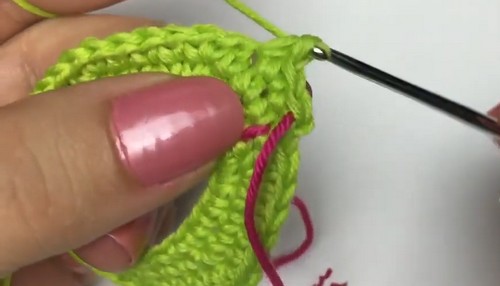

Colorful icing details make the Crochet Donut Amigurumi pattern a fun project for adding sweetness to handmade collections and playful room décor. Soft textured stitches, rounded shaping, and tiny decorative sprinkles create an eye-catching design that feels cheerful and creative. Perfect for gifts, keychains, or craft displays, this adorable crochet idea allows endless color combinations while bringing a charming dessert-inspired touch to every finished piece.
Skill Level
-
Intermediate Beginner. This project requires comfort with working in a foundation ring and managing basic increases and decreases.
Finished Size
-
Approximately 3 to 4 inches in diameter, depending on your yarn tension and hook choice.
Materials
-
Yarn in beige or light brown for the donut base
-
Yarn in pink for the frosting
-
Crochet hook 2.0 mm or 2.5 mm
-
Fiberfill stuffing
-
Tapestry needle
-
Embroidery thread for sprinkles
Abbreviations
-
ch: Chain
-
sc: Single crochet
-
hdc: Half double crochet
-
dc: Double crochet
-
inc: Increase (two stitches in one stitch)
-
dec: Decrease (two stitches joined together)
-
st: Stitch
-
sl st: Slip stitch
Helpful Notes Before Starting
-
Use a stitch marker to keep track of the beginning of each round since amigurumi is worked in a continuous spiral.
-
When joining the initial chain 18, ensure the chain is not twisted to avoid a warped center.
-
Keep your tension consistent, especially on the inner ring, to ensure the center hole remains circular.
Construction Overview
-
The donut is worked as a hollow tube that is eventually folded and sewn together at the center.
-
The frosting is a separate flat piece worked with a decorative scalloped edge to mimic melting icing.
-
Stuffing happens gradually as you join the pieces to ensure the fiberfill is distributed evenly without lumps.
Stitch and Shaping Clarity
-
Rounds 3 through 5 create the outward expansion of the donut.
-
Rounds 6 through 10 provide the "wall" or thickness of the donut.
-
Rounds 11 through 13 pull the fabric back inward to mirror the top half.
-
The "dripping" edge in the frosting uses a height variance—moving from sc to dc and back to sc—to create a natural wave.
Donut Pattern (Beige Yarn)
-
Round 1: Chain 18 and join with a slip stitch to form a ring
-
Round 2: Single crochet in each stitch around for a total of 18 stitches
-
Round 3: One single crochet and one increase repeated around for a total of 27 stitches
-
Round 4: Two single crochet and one increase repeated around for a total of 36 stitches
-
Round 5: Three single crochet and one increase repeated around for a total of 45 stitches
-
Rounds 6 to 10: Single crochet in each stitch around for a total of 45 stitches
-
Round 11: Three single crochet and one decrease repeated around for a total of 36 stitches
-
Round 12: Two single crochet and one decrease repeated around for a total of 27 stitches
-
Round 13: One single crochet and one decrease repeated around for a total of 18 stitches
-
Round 14: Single crochet in each stitch around for a total of 18 stitches
-
Fasten off leaving a long tail for sewing the inner ring
Frosting Pattern (Pink Yarn)
-
Round 1: Chain 18 and join with a slip stitch to form a ring
-
Round 2: Single crochet in each stitch around for a total of 18 stitches
-
Round 3: One single crochet and one increase repeated around for a total of 27 stitches
-
Round 4: Two single crochet and one increase repeated around for a total of 36 stitches
-
Round 5: Three single crochet and one increase repeated around for a total of 45 stitches
-
Round 6: Work one single crochet, one half double crochet, two double crochet in one stitch, one half double crochet, and one single crochet repeated around to create the dripping edge
Assembly and Finishing
-
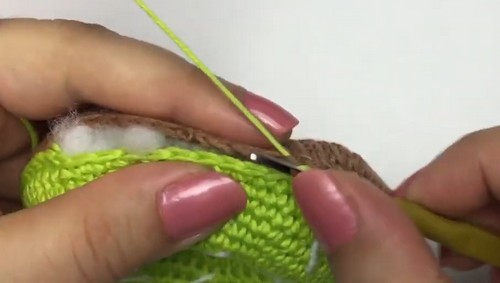
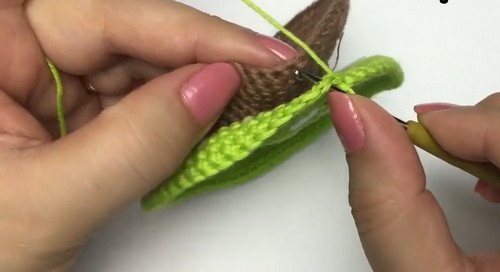
Place the frosting on top of the donut base and sew the outer edge of the frosting to the donut
-
Stuff the donut firmly with fiberfill before closing completely
-
Sew the inner starting chains together to close the center hole
-
Add sprinkles by sewing small straight stitches across the frosting using embroidery thread
Eye and Facial Feature Placement
-
If you wish to add a face, place safety eyes between Rounds 7 and 8 of the beige base before stuffing.
-
Center the eyes about 5 to 6 stitches apart for a classic "kawaii" look.
-
Use black embroidery thread to add a small "v" shaped mouth centered between the eyes.
Stuffing Tips
-
Add stuffing in small, marble-sized clumps rather than one large handful to avoid a lumpy texture.
-
Use the back of your crochet hook to push stuffing into the curve of the tube.
-
Ensure the donut is firm enough to hold its shape but soft enough that the stitches do not stretch open.
Finishing Notes
-
When sewing the inner ring, pull the yarn tail through the foundation chain stitches of both the beginning and end rounds to create a seamless "donut hole."
-
Weave in all ends deeply into the stuffing to prevent them from popping out later.
Beginner Notes
-
If your donut looks like a bowl instead of a tube, check that you aren't accidentally increasing in every stitch.
-
The "join with a slip stitch" in Round 1 is the most critical step; if this is too tight, the center will be difficult to sew.
Troubleshooting
-
If you see stuffing through your stitches, your hook size may be too large for your yarn weight; try dropping down 0.5 mm.
-
If the frosting doesn't lay flat, ensure you haven't skipped any stitches in the Round 6 scalloped sequence.
Customization Ideas
-
Change the frosting color to dark brown for chocolate or white for vanilla.
-
Use variegated yarn for the sprinkles to save time on embroidery.
-
Add a small keychain loop to the top for a portable accessory.