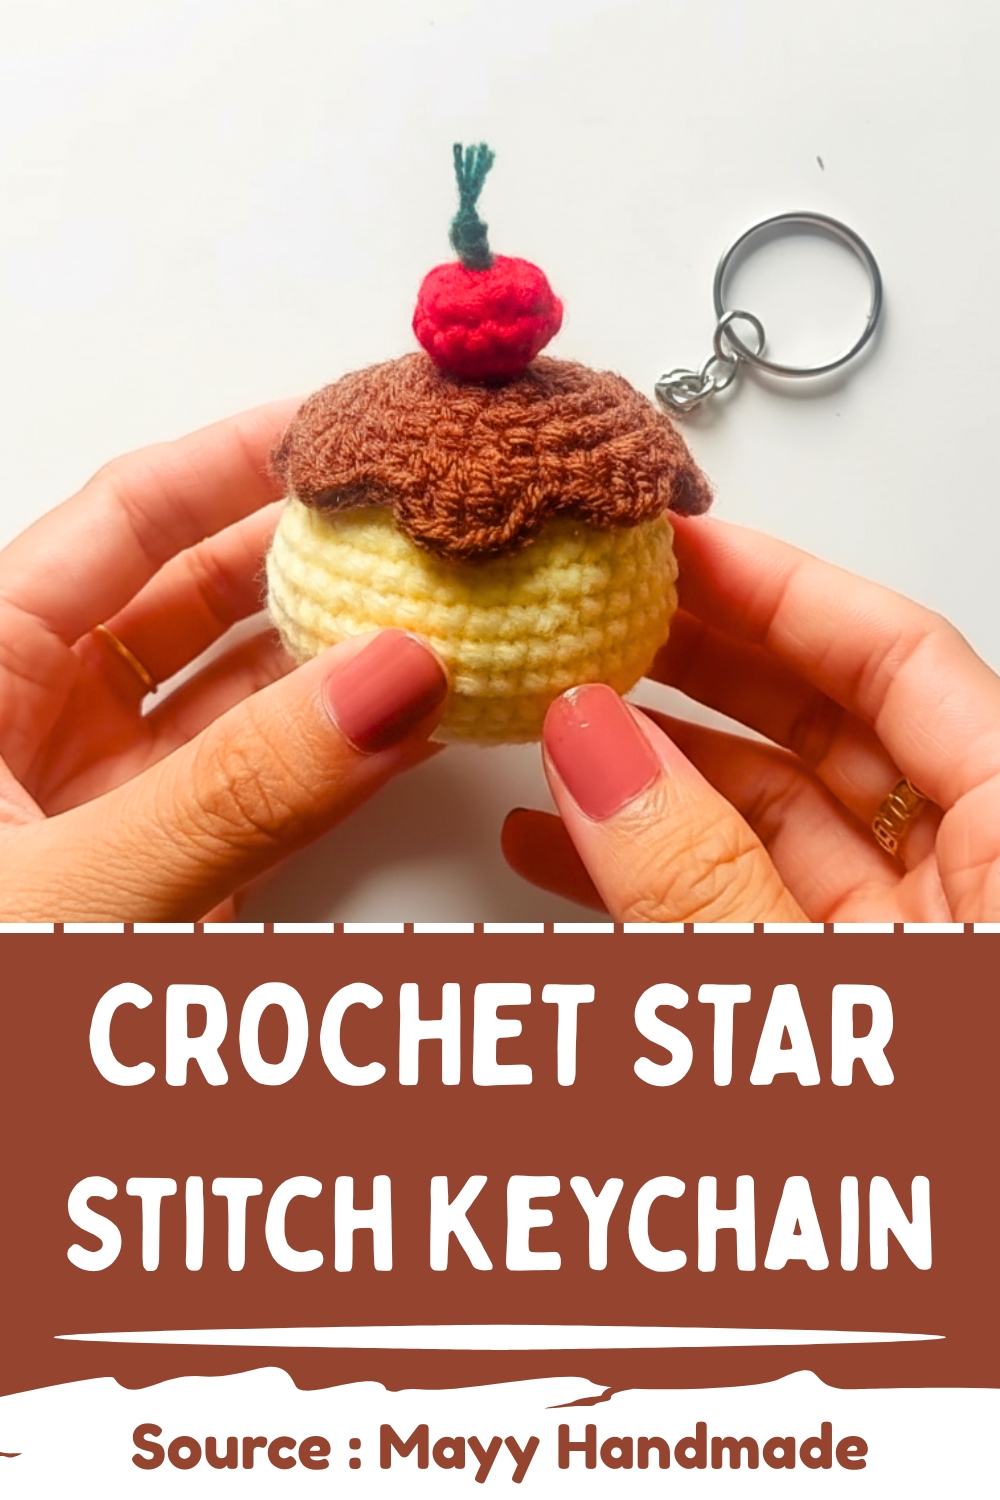
Beautiful Crochet Star Stitch Pattern For Blankets And Scarves
The Crochet Star Stitch, also known as the Seafoam Stitch, creates a beautiful textured fabric that’s perfect for blankets, scarves, and even decorative pieces. This pattern combines elegance and structure, forming small star-shaped clusters that give your project a soft and dimensional look.
Crochet Star Stitch
Skill level
-
This pattern is best suited for intermediate crocheters or confident beginners who are comfortable managing multiple loops on their hook at once.
Finished size
-
The dimensions of your finished piece will depend entirely on your starting chain and the weight of the yarn you choose to use.
Materials
-
Yarn of your choice
-
Crochet hook suitable for your yarn
-
Scissors and yarn needle
Abbreviations
-
CH: Chain
-
HDC: Half Double Crochet
-
YO: Yarn over
-
St: Stitch
Helpful notes before starting
-
Maintaining a consistent, slightly loose tension is vital for this stitch because pulling through six loops at once can be difficult if your stitches are too tight.
-
The "eye" of the star is the small hole created by the chain-1 that closes each star; you will need to identify this clearly for the return row.
-
Always count your loops carefully before pulling through to ensure each star has the signature five spokes plus the starting loop.
Construction overview
-
This design uses a two-row repeat system to create a balanced fabric.
-
Row 1 and all odd rows create the "bottom" half of the stars by gathering loops together.
-
Row 2 and all even rows complete the star shape by adding height and filling in the gaps with half double crochet stitches.
-
The result is a reversible, dense fabric with very little drape, perfect for sturdy items.
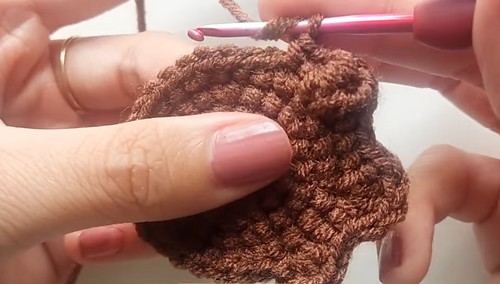
Stitch and shaping clarity
-
The star stitch is unique because it builds horizontally across the row, using the previous star as an anchor for the next one.
-
Instead of working into the top of a stitch like standard crochet, you are picking up loops from specific points: the eye, the last leg of the star, and the base stitches.
-
The half double crochet rows are essential because they reset the row height and provide a flat edge for the next set of stars to sit upon.
Step by step pattern instructions
-
Foundation Chain
-
Chain a multiple of 2 + 1 (for example, 21, 25, or 31).
-
Row 1 Star Stitch
-
Insert hook into the 2nd chain from the hook and pull up a loop (2 loops on hook).
-
Insert hook into the next chain and pull up a loop (3 loops on hook).
-
Insert hook into the next chain and pull up a loop (4 loops on hook).
-
Insert hook into the next chain and pull up a loop (5 loops on hook).
-
Insert hook into the next chain and pull up a loop (6 loops on hook).
-
Yarn over and pull through all 6 loops on the hook.
-
Chain 1 to close the star (this forms the “eye” of the star).
-
For the next star, insert hook into the eye (chain-1 space just made) and pull up a loop (2 loops on hook).
-
Insert hook into the side of the last spoke of the previous star and pull up a loop (3 loops on hook).
-
Skip the chain where the last spoke was worked, insert hook into the next chain and pull up a loop (4 loops on hook).
-
Insert hook into the next chain and pull up a loop (5 loops on hook).
-
Insert hook into the next chain and pull up a loop (6 loops on hook).
-
Yarn over and pull through all 6 loops. Chain 1 to close the star.
-
Repeat across the row until one chain remains.
-
Work one Half Double Crochet (HDC) into the last chain.
-
Row 2 Half Double Crochet (HDC)
-
Chain 2 and turn your work.
-
Place 1 HDC into the first stitch.
-
Place 2 HDC into the eye (chain-1 space) of the first star.
-
Place 2 HDC into the eye of each star across the row.
-
End with 1 HDC in the top chain of the turning chain from the previous row.
-
Row 3 Star Stitch
-
Chain 3 and turn your work.
-
Insert hook into the 2nd chain from the hook and pull up a loop (2 loops on hook).
-
Insert hook into the 3rd chain from the hook and pull up a loop (3 loops on hook).
-
Skip the stitch at the base of the chain, insert hook into the next stitch and pull up a loop (4 loops on hook).
-
Insert hook into the next stitch and pull up a loop (5 loops on hook).
-
Insert hook into the next stitch and pull up a loop (6 loops on hook).
-
Yarn over and pull through all 6 loops. Chain 1 to close the star.
-
Continue making star stitches across the row as done in Row 1.
-
End the row with 1 HDC in the top chain of the turning chain from the previous row.
-
Continuing the Work
-
Repeat Rows 2 and 3
-
Continue alternating the Star Stitch row and the Half Double Crochet row until you reach your desired length.
Assembly guidance
-
While this specific pattern is worked as a flat panel, you can join the edges using a mattress stitch if you are creating a cowl or a sleeve.
-
Ensure the "stars" align correctly when seaming so the texture remains continuous across the join.
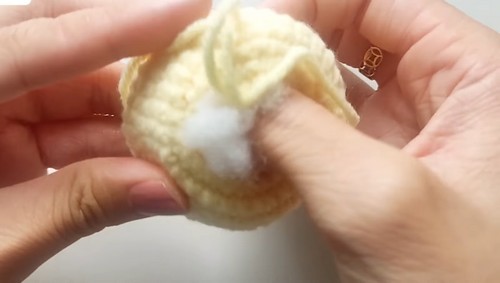
Stuffing tips
-
If you choose to use this stitch for a 3D object or a pillow, be sure to use a lining or a matching yarn color for your stuffing.
-
The star stitch has small gaps in the "eye" and between the spokes where white polyfill might show through.
Finishing notes
-
Fasten off your yarn leaving a tail of at least six inches to ensure a secure weave.
-
Block your finished piece gently to open up the stars and show off the definition of the spokes.
Beginner notes
-
Do not panic if your first few stars look messy; the stitch requires a rhythm that usually develops after about four or five repeats.
-
The most common mistake is forgetting to chain 1 to close the star, which results in a loose cluster that won't hold its shape.
Troubleshooting
-
If your edges are becoming slanted, check that you are placing the final HDC into the turning chain of the row below.
-
If the fabric is curling excessively, your foundation chain or your loops may be too tight; try going up half a hook size for the chain row.
Customization ideas
-
Try changing colors every Row 2 to make the stars pop against a solid background.
-
This stitch works beautifully with variegated yarn, as the star shapes break up the color pooling in a mosaic-like fashion.