Charming Crochet Bird Amigurumi Pattern With Beak Wings And Legs
From the first round of shaping to the final stitched details, a Crochet Bird Amigurumi pattern focuses on creating a smooth, rounded form that highlights both structure and character. The finished design typically features a gently curved body, neatly positioned wings, and a defined beak that brings the face to life.
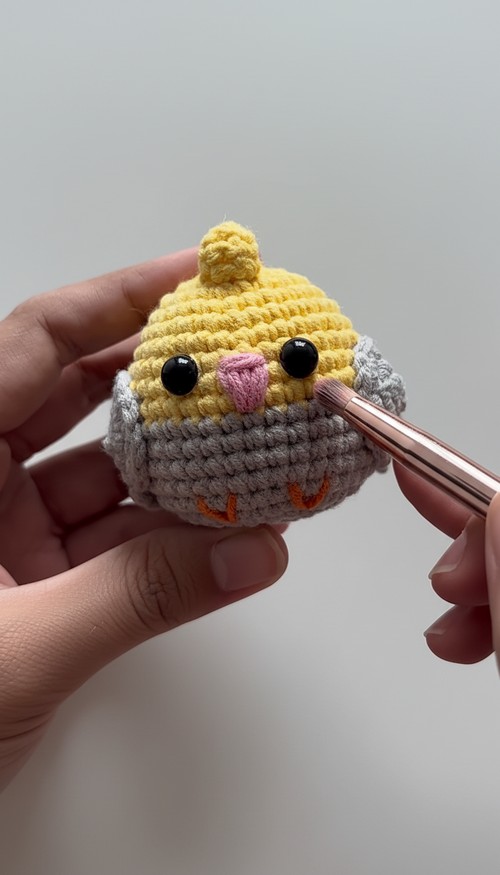
Crochet Bird Amigurumi
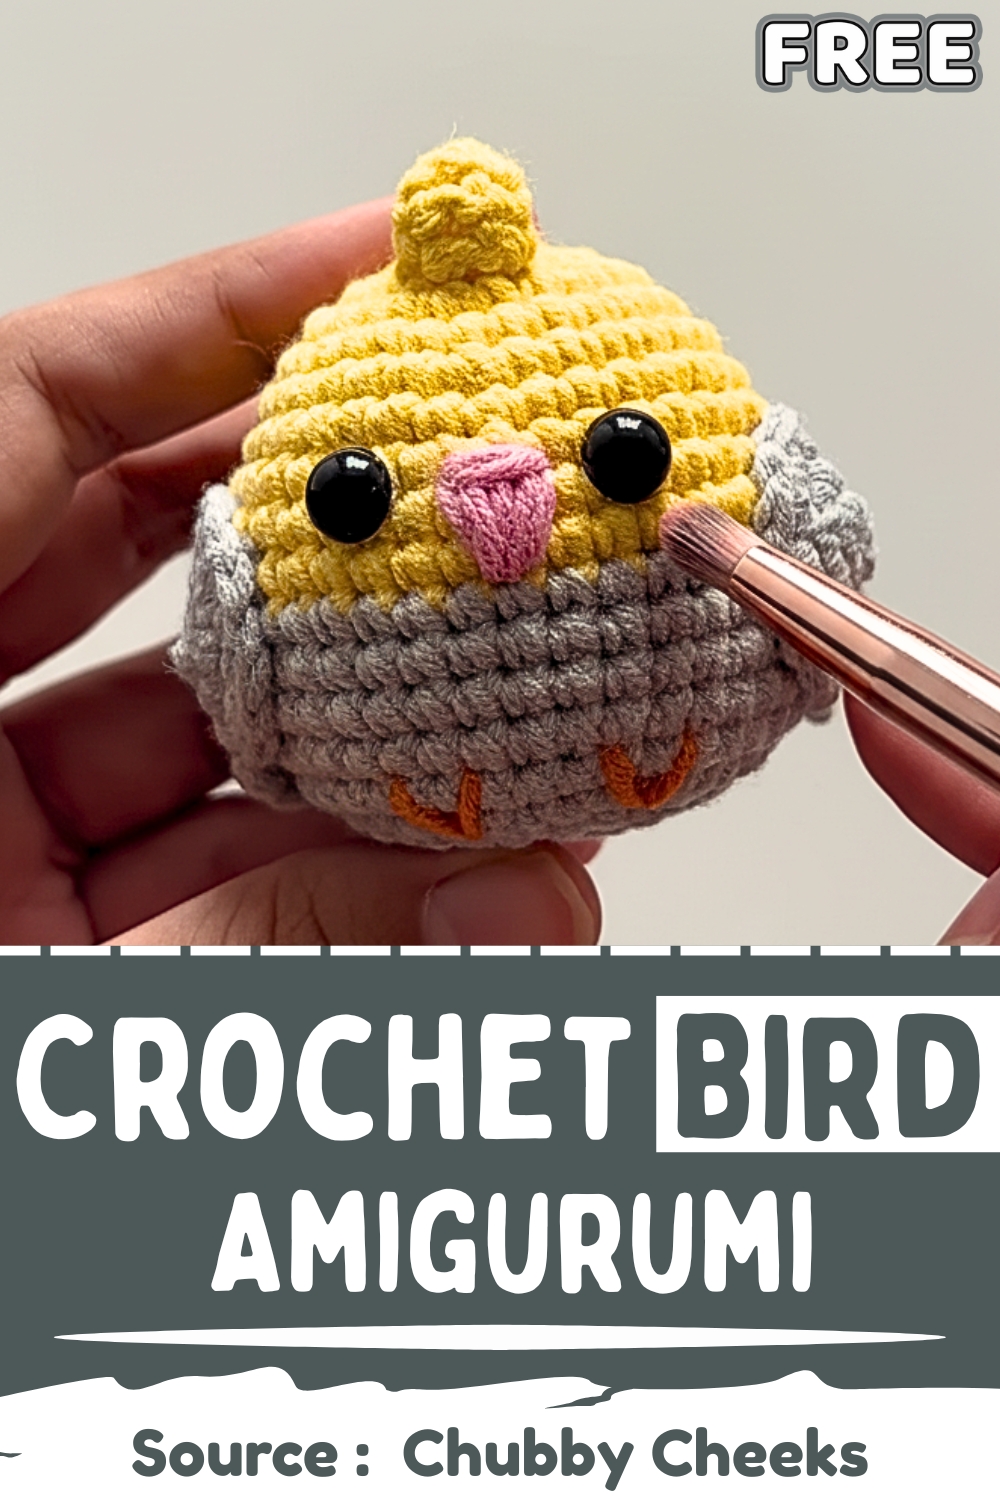
This kind of piece works well as a shelf decoration, a handmade keepsake, or a hanging accent when paired with a loop. With clean stitch definition and thoughtful proportions, the overall appearance feels soft, balanced, and expressive, making it a satisfying project to complete and display.
Skill Level
Beginner to intermediate
Finished Size
Varies depending on yarn and hook size, but typically fits comfortably in the palm of your hand.
Materials
(Use exactly as provided in your pattern if listed separately)
Abbreviations
- sc: single crochet
- inc: increase (2 stitches in one)
- dec: decrease (invisible decrease recommended)
- ch: chain
- sl st: slip stitch
- dc: double crochet
- hdc: half double crochet
Helpful Notes Before Starting
- Work in continuous rounds unless stated otherwise.
- Use a stitch marker to keep track of the beginning of each round.
- Invisible decreases will give a smoother finish, especially for the head shaping.
- Stuff gradually as you go to maintain a clean shape without stretching stitches.
Construction Overview
- This amigurumi is built in sections but centers around a single main body piece. The body is worked from the bottom up, expanding first to create a rounded base, then holding shape through even rounds, and finally decreasing to close the top.
- Details like the beak and legs are stitched directly onto the body, while the wings are made separately and sewn on. The crest is added last and gives the character its identity as a cockatiel.
Stitch and Shaping Clarity
- The early increase rounds create a flat circle that gradually curves into a sphere. As the stitch count grows, the fabric naturally begins to cup, forming the body.
- The middle rounds (with no increases) are important. They build height and give the bird its full shape. The color change section visually separates the body, so keeping tension consistent here helps avoid a visible ridge.
- The decrease rounds mirror the increases, closing the shape evenly. This symmetry is what keeps the body round instead of pointed or uneven.
BODY
- Round 1: Start with a magic ring and make eight single crochet stitches into it.
- Round 2: Make eight increases, resulting in a total of 16 single crochet stitches.
- Round 3: Make one single crochet and one increase, repeated for eight times, for a total of 24 stitches.
- Round 4: Make two single crochets and one increase, repeated for eight times, for a total of 32 stitches.
- Round 5: Make one single crochet in each stitch for a total of 32 stitches.
- Round 6: Make seven single crochets and one increase, repeated for four times, for a total of 36 stitches.
- Round 7: Make one single crochet in each stitch for a total of 36 stitches.
- Round 8: Make eight single crochets and one increase, repeated for four times, for a total of 40 stitches.
- Rounds 9 & 10: Make one single crochet in each stitch for a total of 40 stitches per round.
- Rounds 11-15: Change color and make one single crochet in each stitch for a total of 40 stitches per round.
- Round 16: Make three single crochets and one decrease, repeated for eight times, for a total of 32 stitches.
- Round 17: Make two single crochets and one decrease, repeated for eight times, for a total of 24 stitches.
- Round 18: Make one single crochet and one decrease, repeated for eight times, for a total of 16 stitches.
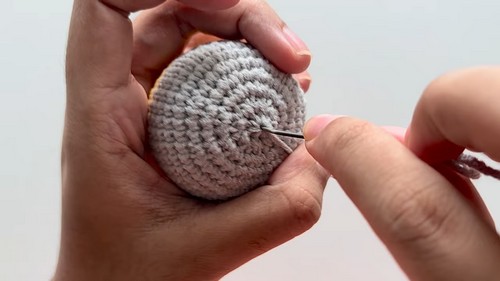
- Stuffing: Stuff the body after Round 18. If using safety eyes, attach them between rounds eight and nine, four stitches apart.
- Round 19: Make eight decreases to close the hole.
BEAK
- The beak is made using a needle and yarn.
- Attach yarn to a needle and make a knot at the end.
- Stitch the beak onto the body between the eyes, over two stitches.
Placement Tip: Keep the beak centered between the eyes. Stitching over exactly two stitches helps maintain a neat, proportional look.
WINGS
- Round 1: Create a magic ring and make six single crochet stitches inside it.
- Round 2: Make six increases for a total of 12 stitches.
- Round 3: Make one single crochet and one increase, repeated six times, for a total of 18 stitches.
- Finish: Make three chains, then one single crochet in the second chain from the hook, one double crochet in the next, and a slip stitch in the third stitch of the row.
- Assembly: Make two wings and sew them onto the body between rounds eight and nine, two stitches away from the eyes.
Shaping Tip: The chain finish creates a slight point, giving the wings a more natural, feather-like look.
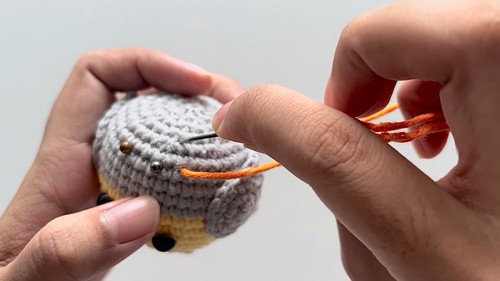
LEGS
- Attach yarn to a needle with a knot at the end.
- Stitch the legs onto the body between rounds 15 and 16, with three stitches separating them.
Balance Tip: Before securing tightly, check that the legs are aligned so the bird sits evenly.
CREST (FOR COCKATIEL)
- Make six chains.
- Starting from the second chain from the hook, make one single crochet, followed by one half-double crochet in the next chain, and three double crochets in the remaining three chains.
- Skip one stitch on the body and make a slip stitch in the next one.
Visual Tip: The mix of stitch heights creates a natural curve, which helps the crest stand upright and fan slightly.
Assembly Guidance
- Attach wings first so you can adjust placement before adding smaller details.
- Add the beak after confirming eye placement.
- Secure the crest last to keep it centered and upright.
Eye and Facial Feature Placement
- Eyes sit between rounds 8 and 9
- Keep four stitches between them
- Beak sits centered directly between the eyes
This spacing keeps the face balanced and expressive without crowding.
Stuffing Tips
- Stuff firmly but not tightly enough to stretch stitches
- Add stuffing in small amounts and shape as you go
- Pay attention to the top before closing to avoid dents

Beginner Notes
- Count stitches at the end of each round to stay on track
- Use a stitch marker consistently
- Take time with sewing pieces—placement affects the final look more than stitches
Troubleshooting
- Body looks uneven: Check increase placement and stitch counts
- Gaps showing: Use a smaller hook or tighter tension
- Wings drooping: Sew through multiple points for stability
- Face looks off-center: Reposition before securing permanently
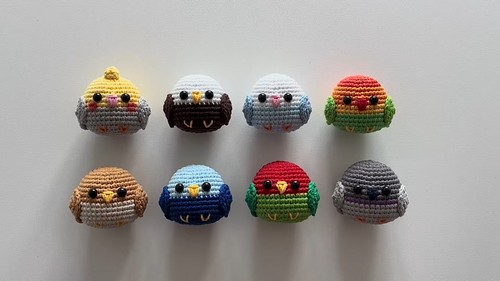
Customization Ideas
- Change colors for different bird species
- Add blush with embroidery or yarn
- Adjust crest length for a different personality
- Use different yarn textures for a fluffy or smooth finish