Amigurumi Crochet Hornet Free Pattern Inspired By Silksong
This Hornet from Silksong crochet pattern is a detailed amigurumi project designed for fans who want to bring this iconic character to life in yarn form. The pattern walks you through creating Hornet’s slim body, expressive head with signature horns, flowing red cloak, and her needle weapon, all with clear and beginner-friendly construction.
Crochet Hornet Amigurumi
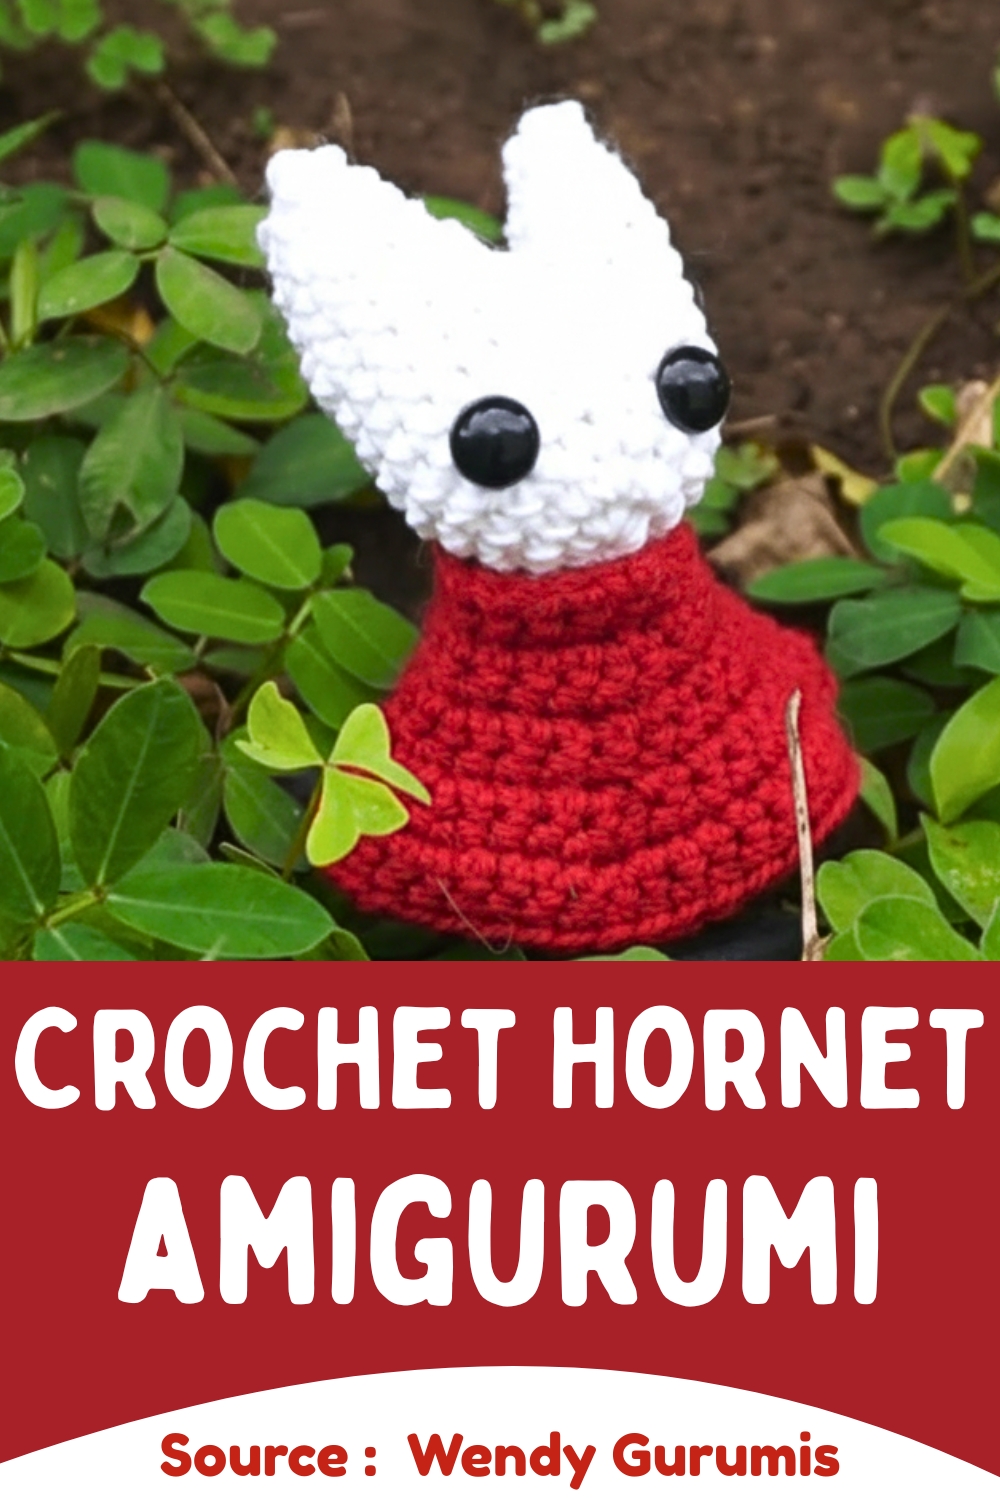

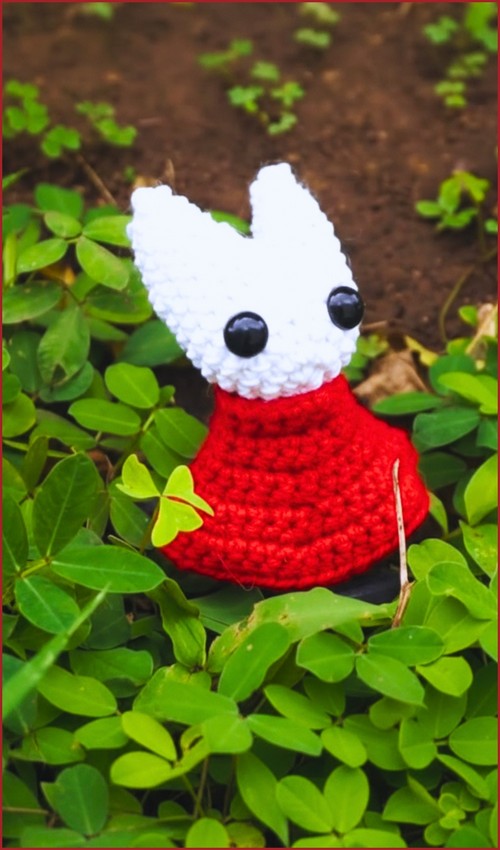

Buzzing into your next crafting adventure, you can stitch an eye-catching insect using a Crochet Hornet Amigurumi design. This project showcases bold contrast stripes, intricate wings, and a cute, teardrop-shaped body. Beyond being a great conversation starter, the finished piece works beautifully as a quirky backpack clip, an educational prop, or a whimsical gift for nature enthusiasts looking for something unique.
Skill Level
-
Intermediate due to the unique head construction and joining techniques
Finished Size
-
Approximately 5 to 6 inches tall depending on your yarn gauge and tension
Materials
-
Yarn in body color, red for the cloak, and silver or gray for the needle weapon
-
Crochet hook appropriate for your yarn weight to ensure tight stitches
-
Safety eyes
-
Fiberfill stuffing
-
Yarn needle
-
Scissors
-
Stitch markers
Abbreviations
-
ch: chain
-
sc: single crochet
-
inc: increase
-
dec: decrease
-
sl st: slip stitch
Helpful Notes Before Starting
-
Work in continuous spirals for the amigurumi pieces unless the pattern specifies rows
-
Use a stitch marker in the first stitch of every round to keep track of your progress
-
Keep your tension firm to prevent the fiberfill stuffing from showing through your stitches
-
Choose invisible decreases instead of standard decreases for a smoother surface on the body and head
Construction Overview
-
The legs are worked separately, then joined in mid-air with slip stitches to create a continuous base for the body
-
The body transitions smoothly from the legs and narrows at the neck before fastening off
-
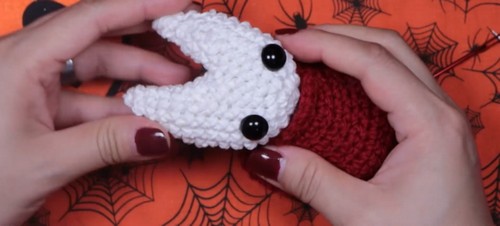
The head begins like a standard ball but undergoes a unique structural fold to divide the top into two separate horn openings
-
Each horn is worked directly out of these openings, pulling the fabric upward and outward
-
The cloak and needle weapon are worked flat in rows to create structure and drape
Stitch and Shaping Clarity
-
When joining the legs with 2 slip stitches, you are creating a bridge that sets the width of the pelvis
-
The decrease rounds on the upper body create an anatomical slope that supports the weight of the head
-
Folding the head piece and joining the center divides your remaining stitches into two separate circular paths for the horns
-
The cloak uses strategic increases at the edges and middle to flare out so it sits perfectly over the shoulders
Step by Step Pattern Instructions
Legs Make 2
-
Round 1: Magic ring with 8 single crochet
-
Rounds 2 to 6: Single crochet in each stitch around for a total of 8 stitches per round
-
After finishing both legs, join them together using 2 slip stitches
Body
-
Round 1: Join the legs and single crochet around both legs for a total of 16 stitches
-
Rounds 2 to 9: Single crochet in each stitch around maintaining 16 stitches
-
Round 10: Four single crochet then one decrease repeated around for 13 stitches
-
Add stuffing to the body at this stage
-
Round 11: Three single crochet then one decrease repeated around for 10 stitches
-
Round 12: One single crochet then one decrease repeated around, fasten off with a slip stitch
Head
-
Round 1: Magic ring with 8 single crochet
-
Round 2: Increase in every stitch for 16 stitches
-
Round 3: Single crochet in each stitch around for 16 stitches
-
Round 4: Two single crochet then one increase repeated around for 21 stitches
-
Rounds 5 to 7: Single crochet in each stitch around maintaining 21 stitches
-
Fold the head piece and join the center with two chains and a slip stitch to create two horn openings
-
For each horn opening, single crochet 12 stitches around the opening
-
Work decrease rounds by crocheting four single crochet then one decrease to reach 10 stitches
-
Continue with two single crochet then one decrease to reach 7 stitches
-
Continue with two single crochet then one decrease to reach 5 stitches
-
Final round: Single crochet 5 stitches and fasten off
-
Repeat the horn steps for the second horn
-
Stuff the head firmly before closing
Cloak Red
-
Row 1: Chain 16
-
Rows 2 and 3: Single crochet 16 stitches, chain one and turn
-
Row 4: One increase, eight single crochet, one increase for 18 stitches, chain one and turn
-
Row 5: Single crochet 18 stitches
-
Row 6: One increase, three single crochet repeated across for 23 stitches
-
Row 7: Single crochet 23 stitches
-
Row 8: One increase, two single crochet repeated across for 31 stitches
-
Row 9: One single crochet, one increase repeated across for 41 stitches
-
Continue working rows of 41 single crochet until the desired cloak length is reached, then fasten off
Needle Weapon
-
Base: Chain 5 and work 6 rows of 3 single crochet
-
Shaping row: One decrease then two single crochet
-
Next two rows: Two single crochet
-
Final shaping row: One decrease then one single crochet and fasten off
-
Handle: Work 6 rows of 1 single crochet along the base
-
Loop: Chain 9 and join to form a circular thread loop at the end of the handle
Assembly Guidance
-
Align the body so the legs face completely forward before pinning the head in place
-
Pin the head securely to the neck opening, ensuring the two horns are perfectly symmetrical and pointing upward
-
Use the mattress stitch to sew the head to the body, pulling the yarn tight after every few stitches for a seamless look
-
Wrap the cloak around the neck area, overlapping the front edges slightly before securing it with a few hidden stitches
-
Position the needle weapon against the side of the body or sew it directly to the side to simulate a hand gripping it
Eye and Facial Feature Placement
-
Insert safety eyes between rounds 4 and 5 of the head piece before you begin the folding and horn construction
-
Space the eyes about 4 to 5 stitches apart, centering them right below the valley between the two horns
-
If you prefer embroidered eyes, wait until the head is fully stuffed and closed to stitch them on with black embroidery floss
Stuffing Tips
-
Stuff the legs firmly before joining them to give the character stability at the base
-
Use small pieces of fiberfill to fill the body completely right after round 10, pushing it down into the hips
-
When stuffing the head, use the handle of your crochet hook to push fiberfill up into the narrow tips of the horns first
-
Ensure the main cavity of the head is stuffed firmly so the face keeps its shape when the yarn stretches
Finishing Notes
-
Weave in all loose yarn ends inside the body cavity using a yarn needle to keep the exterior clean
-
Give the piece a gentle squeeze after assembly to distribute the stuffing evenly and help it stand up straight
-
Trim any stray yarn fuzz with sharp scissors near the surface of the stitches
Beginner Notes
-
If your leg stitch count feels off after the join, count the stitches around both legs before starting round 2 of the body
-
When folding the head, take your time to locate the exact center stitches so your horn openings are completely equal in size
-
Remember to chain one and turn at the end of every row for the cloak to keep the edges straight and even
Troubleshooting
-
If your horns look asymmetrical, undo the center join of the head and re-count your stitches to ensure exactly 12 stitches are allocated to each side
-
If the legs twist inward or outward, adjust the position of your two joining slip stitches slightly forward or backward
-
If the cloak is too short or tight around the shoulders, add two or three extra rows of 41 single crochet before fastening off
Customization Ideas
-
Change the cloak color to green or blue to create a completely different version of this character
-
Use a metallic or sparkly yarn for the needle weapon to make it look like reflective steel
-
Add a tiny fabric lining to the inside of the cloak to give it extra weight and structure