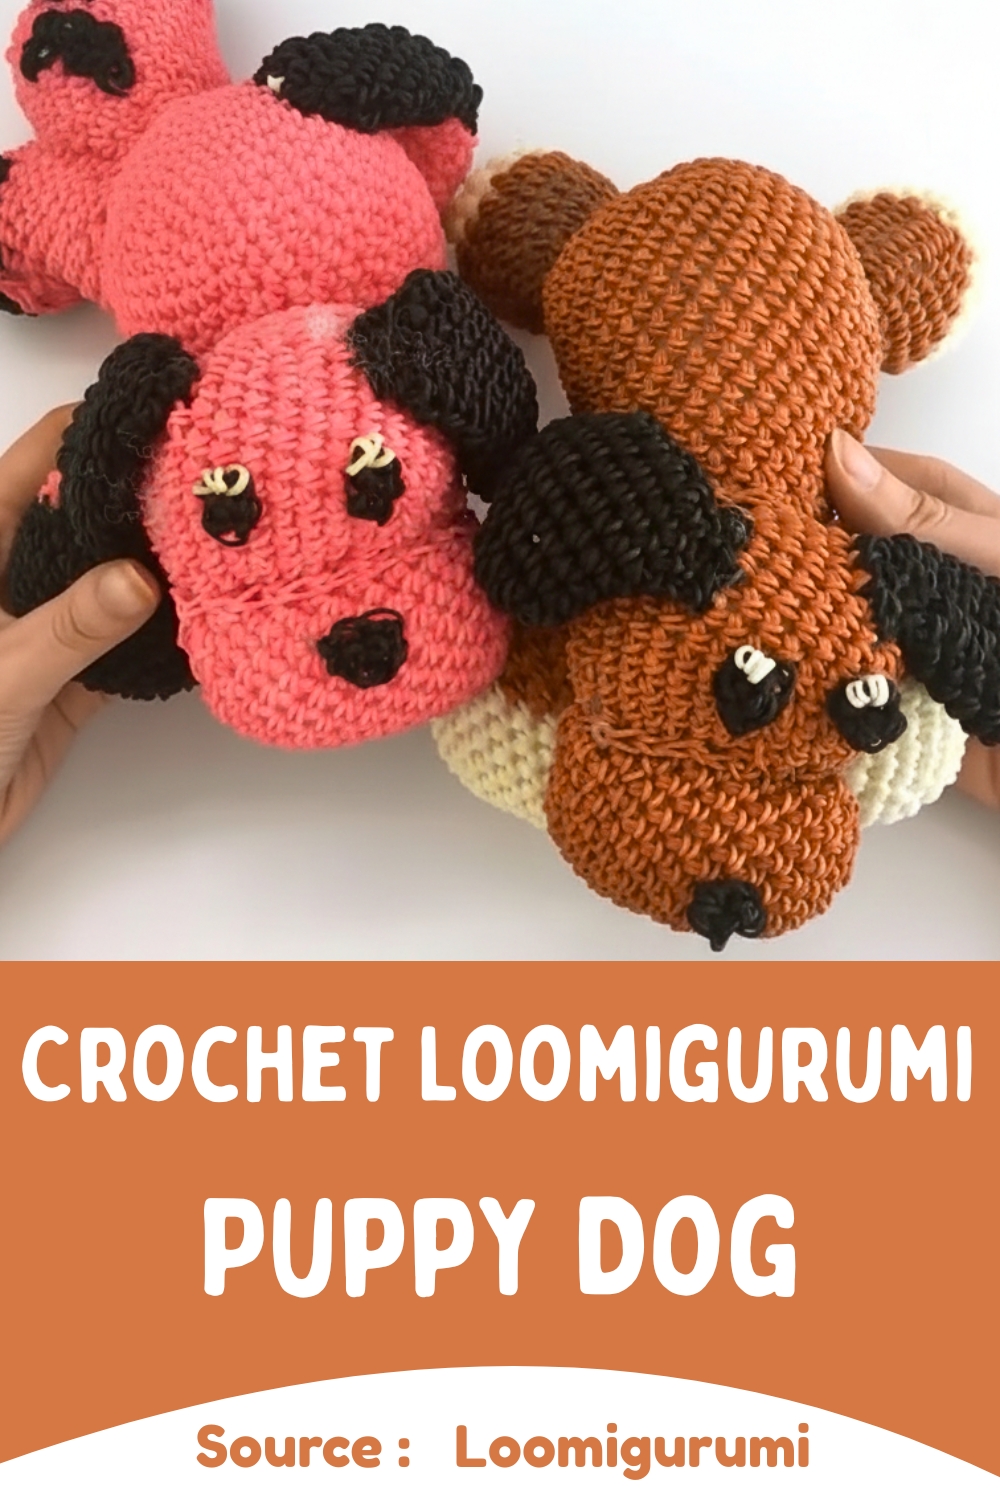
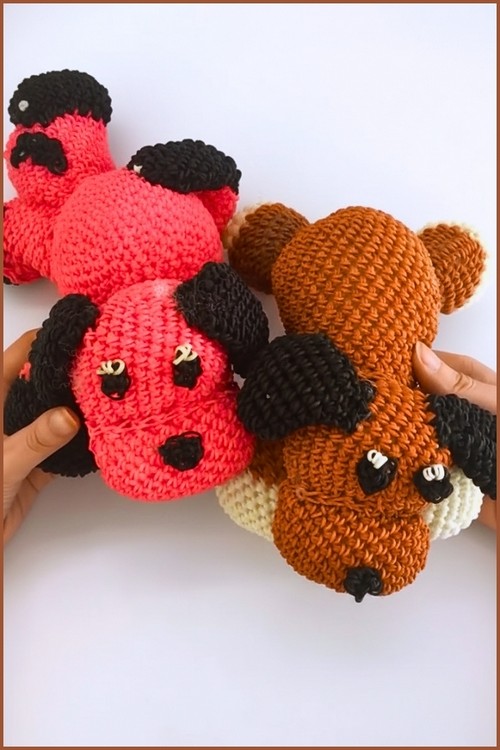
Adorable Crochet Loomigurumi Puppy Dog Free Pattern
This Loomigurumi puppy dog pattern is a fun and beginner friendly project that combines the look of crochet with the simplicity of Rainbow Loom bands. Designed using a hook only Loomigurumi technique, this pattern guides you through creating an adorable puppy with detailed legs, floppy ears, a rounded head, and a cute muzzle.
Crochet Loomigurumi Puppy Dog
The finished puppy is perfect for display, gifting, or adding to a handmade toy collection. With easy shaping and clear construction, this pattern allows for color customization and size adjustments, making it a versatile and enjoyable project for Loomigurumi and crochet lovers alike.
Materials
- Rubber bands in caramel brown, white, and black
- Rainbow Loom hook or crochet hook
- Stitch markers or C clips
- Fiberfill stuffing
- Twist tie optional for starting the magic ring
Legs Make 4
- Start with white bands
- Round 1: Magic ring with 6 stitches
- Round 2: Increase in every stitch to reach 12 stitches
- Round 3: One single crochet and one increase repeated around for 18 stitches
- Round 4: Two single crochet and one increase repeated around for 24 stitches
- Rounds 5 to 8: One single crochet in each stitch for 24 stitches
- Round 9: Ten single crochet, one decrease, ten single crochet, one decrease for 22 stitches
- Switch to caramel brown
- Round 10: Nine single crochet, one decrease, nine single crochet, one decrease for 20 stitches
- Rounds 11 to 15: Decrease by two stitches each round until 10 stitches remain
- Stuff the leg firmly
- Round 16: Decrease to 8 stitches and slip stitch closed
Ears Make 2
- Use black bands
- Round 1: Magic ring with 6 stitches
- Round 2: Increase in every stitch to reach 12 stitches
- Round 3: One single crochet and one increase repeated around for 18 stitches
- Rounds 4 to 7: One single crochet in each stitch for 18 stitches
- Rounds 8 to 12: Decrease by two stitches each round until 8 stitches remain
- Flatten the ear and slip stitch the opening closed


Eyes Make 2
- Wrap a white band around the hook three times to form a capping band
- Chain three using black bands
- Single crochet back along the chain while keeping the white band centered
- Slip stitch to finish and leave loops for attaching
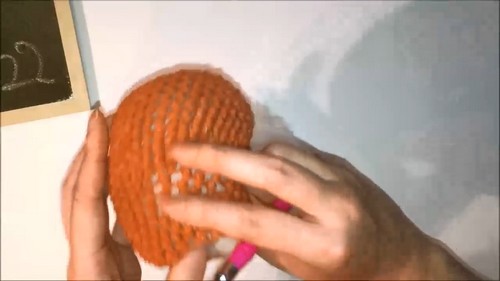
Head
- Round 1: Magic ring with 6 stitches
- Round 2: Increase to 12 stitches
- Round 3: Increase to 18 stitches
- Round 4: Increase to 24 stitches
- Round 5: Increase to 30 stitches
- Rounds 6 to 14: One single crochet in each stitch for 30 stitches
- Rounds 15 to 17: Gradually decrease to 24 then 18 then 12 stitches
- Stuff the head firmly
- Round 18: Decrease to close the opening

Muzzle Snout
- Round 1: Magic ring with 6 stitches
- Round 2: Increase to 12 stitches
- Round 3: Increase to 18 stitches
- Rounds 4 to 15: One single crochet in each stitch for 18 stitches
- Rounds 16 to 17: Decrease to 12 then 6 stitches
- Stuff lightly and close
Body
- Round 1: Magic ring with 6 stitches
- Rounds 2 to 6: Increase evenly each round until 36 stitches
- Rounds 7 to 14: One single crochet in each stitch for 36 stitches
- Rounds 15 to 16: Decrease specific sections to shape the body to 30 then 24 stitches
- Rounds 17 to 21: One single crochet in each stitch for 24 stitches
- Rounds 22 to 24: Decrease to 18 then 12 then 6 stitches
- Stuff firmly and close
Assembly
- Attach the muzzle to the center front of the head
- Secure the head onto the curved section of the body
- Attach all four legs evenly to the bottom of the body
- Stitch the ears onto the top sides of the head
- Pull the connector bands of the eyes and nose through to secure
- Create a small tail with a magic ring of four stitches, increase to six, and attach to the back
