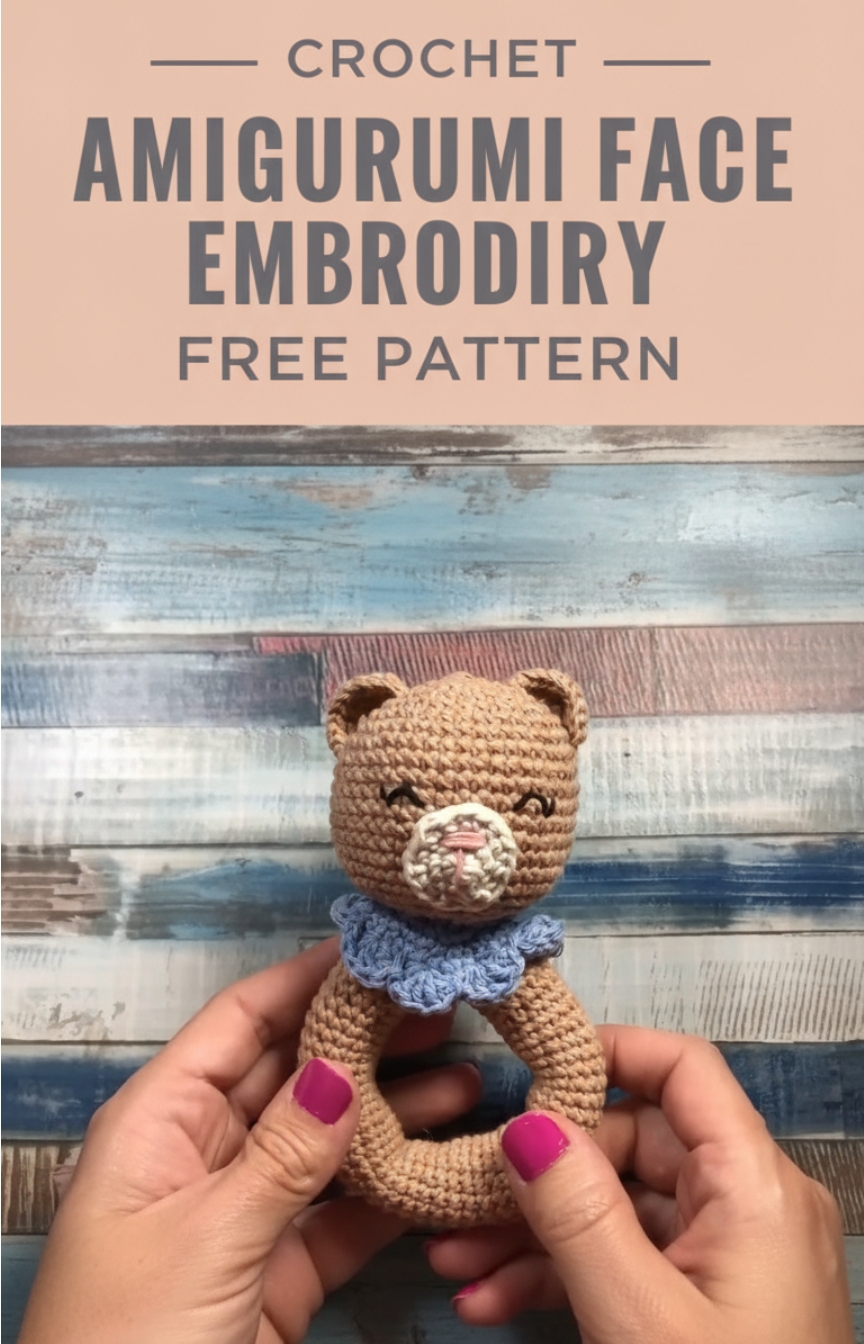
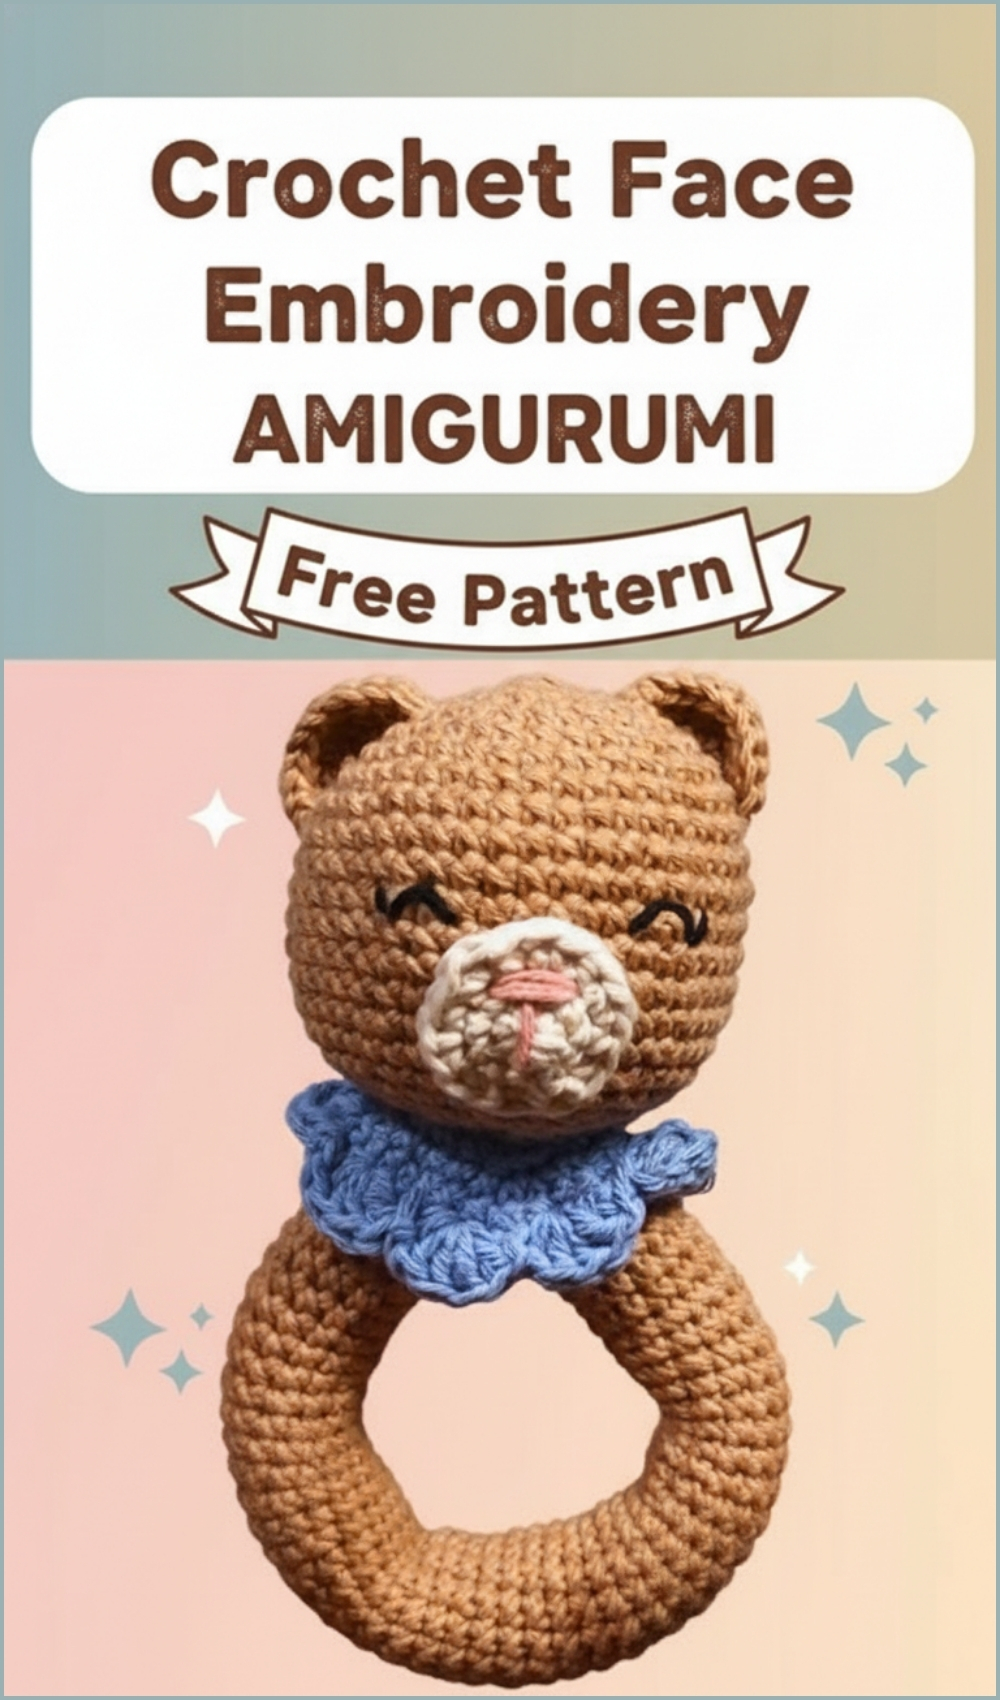
Crochet Amigurumi Face Embroidery Free Pattern For Plush Toys
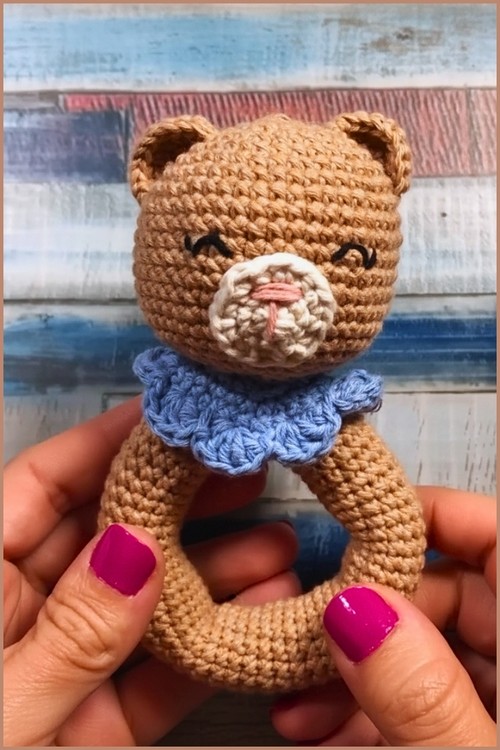
This amigurumi face embroidery pattern teaches you how to create soft, expressive sleeping eyes and a neat triangular nose and mouth using simple embroidery techniques. Designed especially for bear rattles and baby-friendly plush toys, this method avoids hard parts and focuses on gentle stitched details.
Crochet Amigurumi Face Embroidery
The pattern is beginner friendly and easy to adapt to different amigurumi sizes, making it ideal for dolls, animals, and nursery toys. With just a few stitches, you can completely change the personality of your amigurumi and give it a calm, adorable expression.

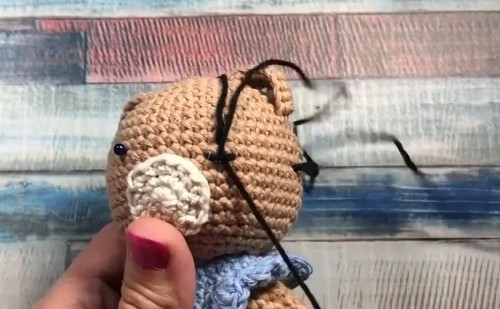
Embroidering the Eyes
- Mark the eye placement using pins, positioning them one stitch above and one stitch to the side of the snout
- Insert the needle through the side of the head and bring it out at the first pin
- Leave one stitch free and insert the needle into the next stitch
- Bring the needle out one stitch above, centered between the two previous points
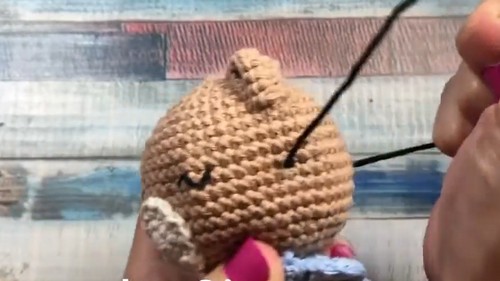
- Pass the needle under the embroidery thread to hook it and gently pull upward to shape the curve
- Reinsert the needle into the same top center point and pull it out through the side of the head
- For optional eyelashes, insert the needle one stitch above and slightly to the side, then pull the thread through to the opposite side
- Repeat the same steps to embroider the second eye
- Tie both thread ends together, hide them inside the head, and trim excess yarn
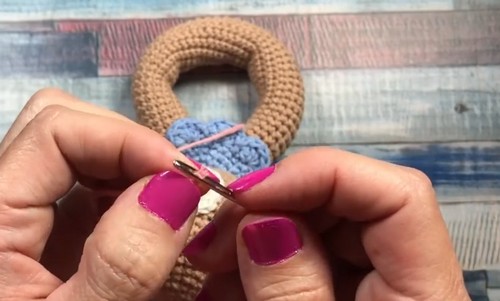
Embroidering the Snout Nose and Mouth
- Mark a triangle shape on the snout using three pins
- Insert the needle through the side of the head and bring it out at the first top pin
- Stitch across to the second top pin and pull the needle back out through the first pin
- Repeat this motion three times to thicken the top line of the nose
- Insert the needle back into the second top pin and bring it out at the bottom center pin to form the triangle point
- Insert the needle in the middle just below the horizontal stitches
- Bring the needle out through the side of the head where you started
- Tie the thread ends together, hide them inside the amigurumi, and trim