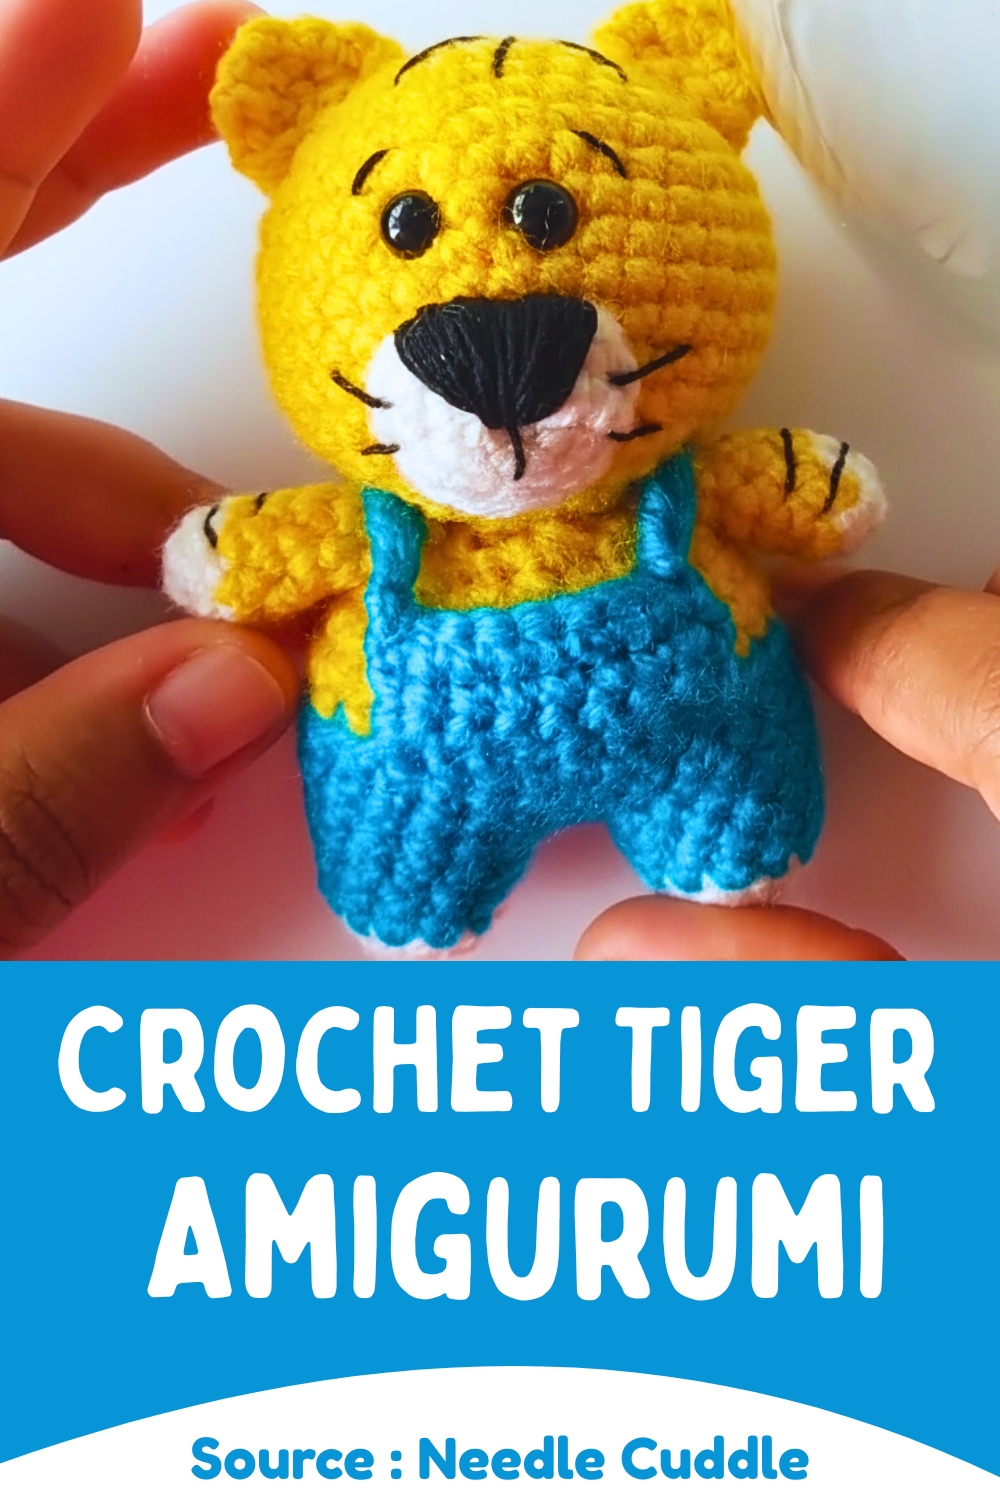
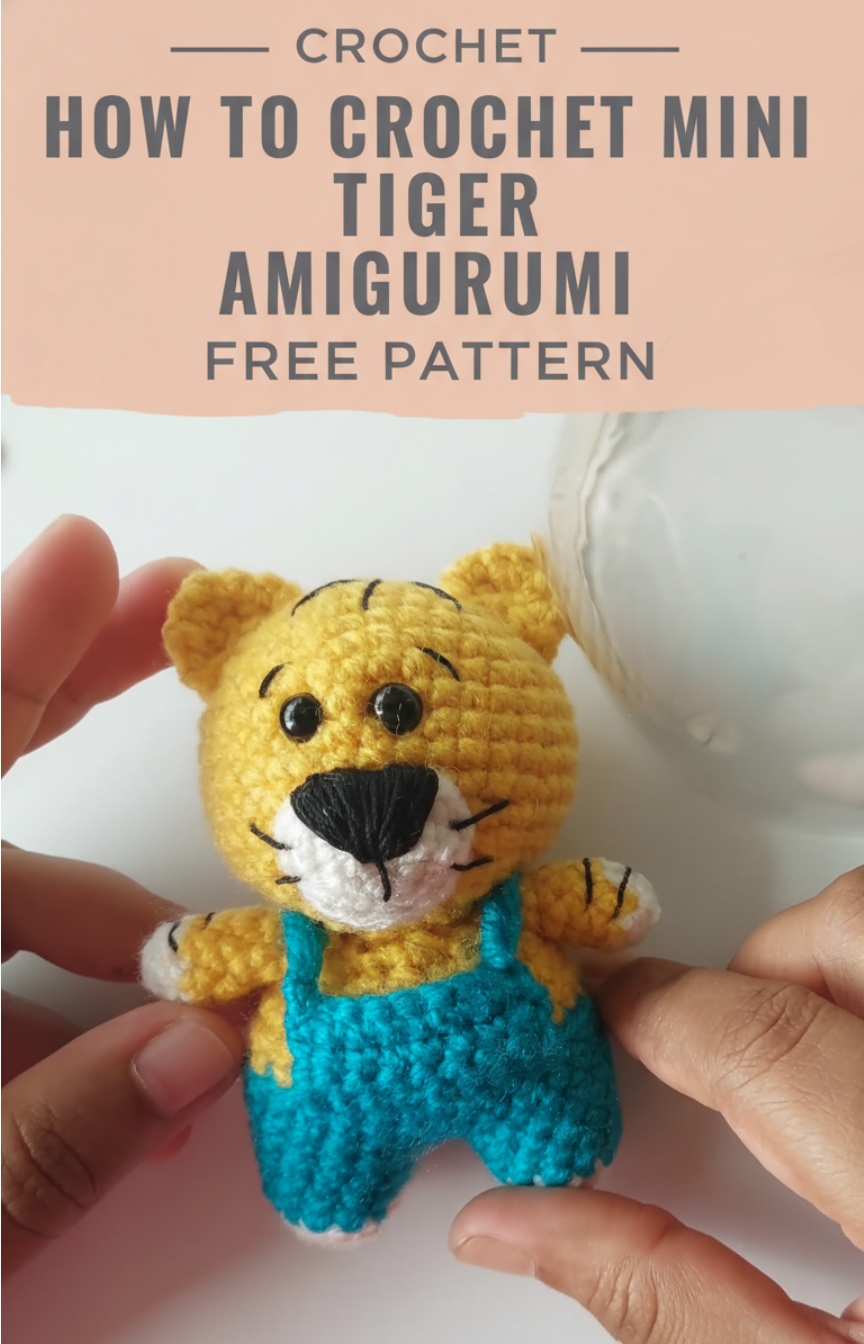
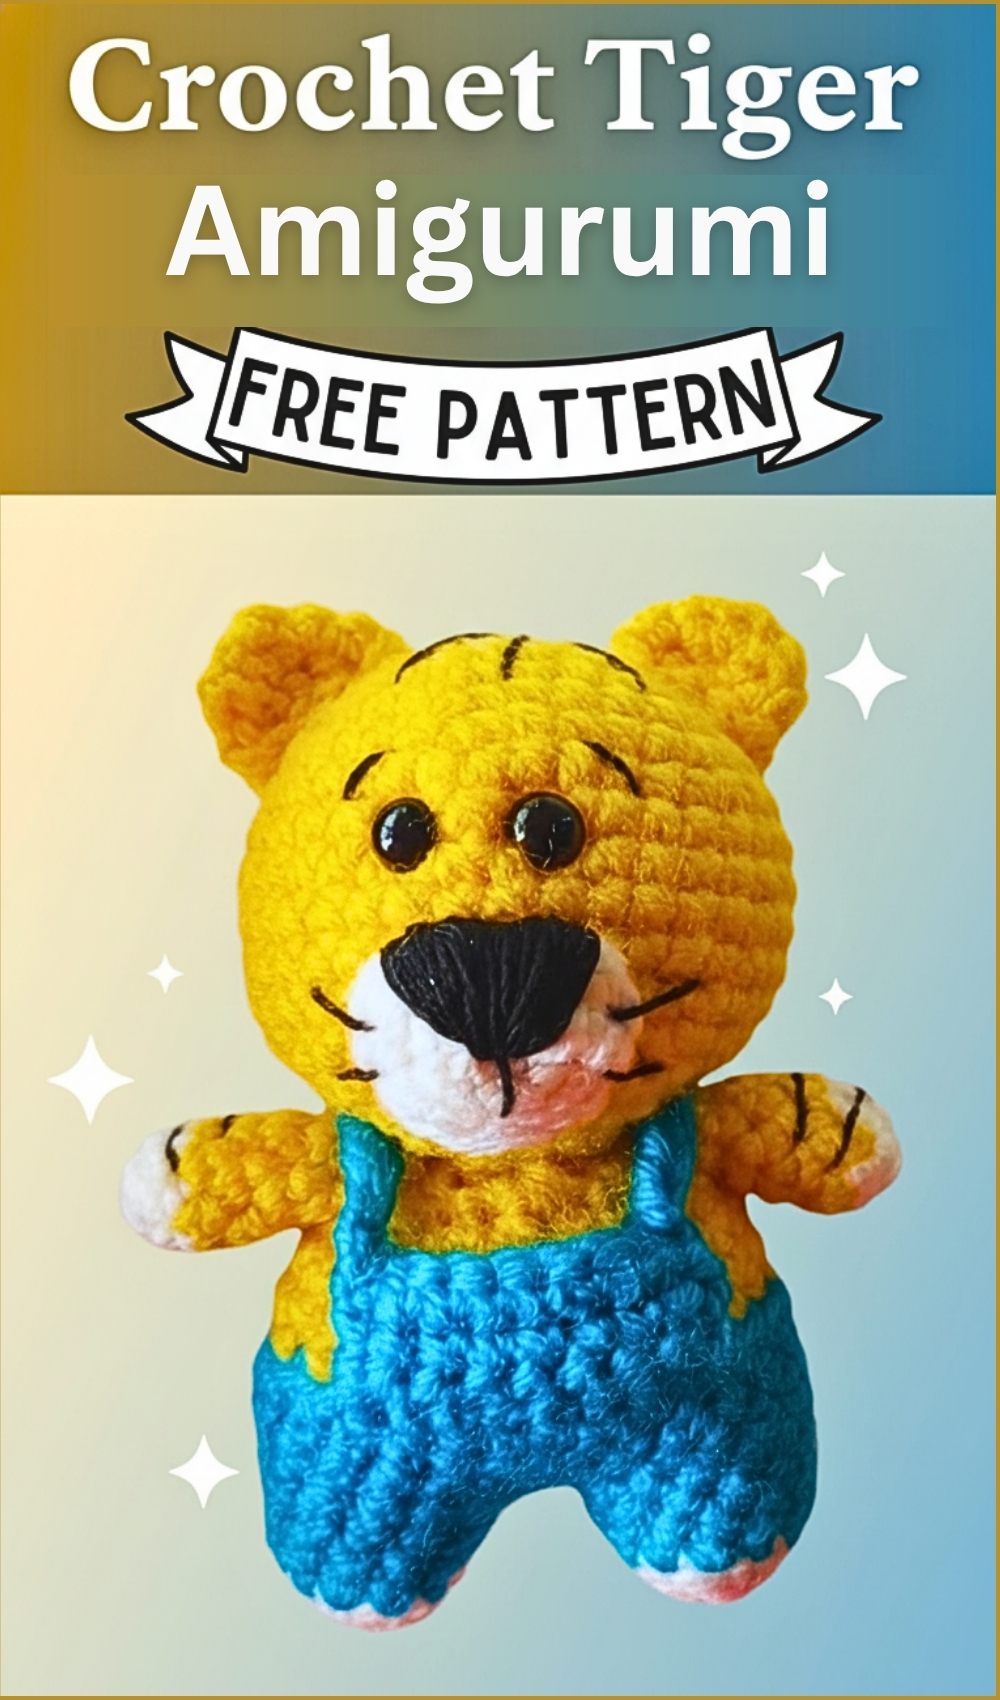
How To Crochet Mini Tiger Plushie Amigurumi Free Pattern
This Crochet Tiger Amigurumi pattern is a charming project designed to help you create a small, adorable tiger with simple shaping and clean details. The pattern guides you through each part step by step, making it suitable for confident beginners and enjoyable for experienced crocheters.
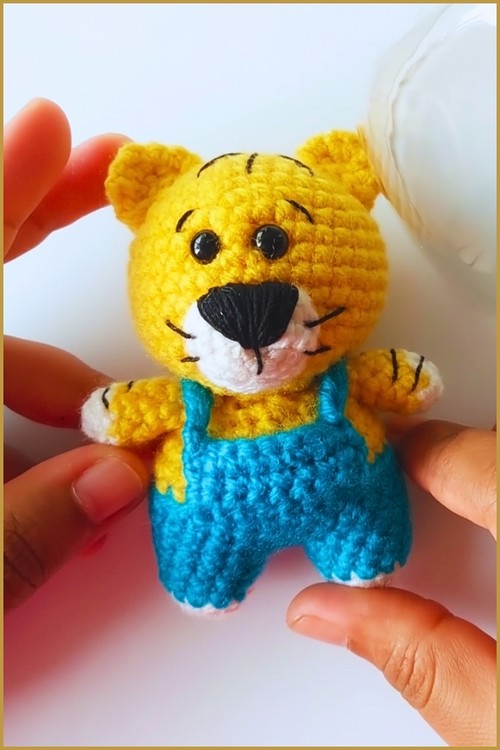
Crochet Tiger Amigurumi
With its compact size, this tiger is perfect as a handmade gift, keychain companion, nursery decor, or collectible plush. You can easily customize the colors, facial expression, or outfit to give each tiger a unique personality while keeping the construction beginner friendly.
Head (Yellow Yarn)
- Row 1 to Row 6: Start with a magic ring and follow a standard increase pattern until you reach 36 stitches
- Row 7 to Row 12: Single crochet in each stitch around for a total of 36 stitches
- Row 13: Four single crochet, one decrease repeated six times for 30 stitches
- Row 14: Three single crochet, one decrease repeated six times for 24 stitches
- Insert safety eyes between Row 8 and Row 9 with three stitches between them
- Row 15: Two single crochet, one decrease repeated six times for 18 stitches
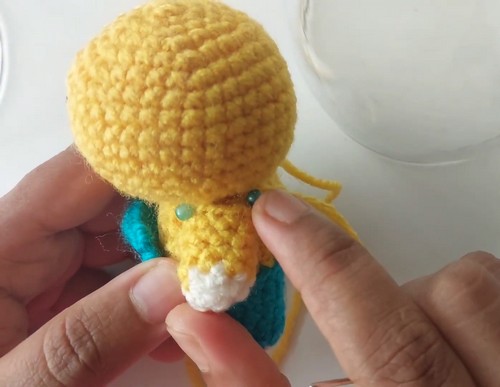
Begin stuffing the head firmly
- Row 16: One single crochet, one decrease repeated six times for 12 stitches
- Row 17: Six decreases, fasten off and close the opening
Muzzle (White Yarn)
- Row 1: Four single crochet into a magic ring
- Row 2: Increase in each stitch for a total of eight stitches
- Row 3: One single crochet, one increase repeated four times for 12 stitches
- Slip stitch, fasten off, and leave a long tail for sewing
Legs and Body
- Leg One
- Row 1: Six single crochet into a magic ring using blue yarn
- Row 2: Increase in each stitch for 12 stitches and change to yellow yarn on the last stitch
- Row 3 to Row 5: Single crochet in each stitch around
- Fasten off
- Leg Two
- Repeat the same steps as Leg One but do not fasten off
- Body Join
- Row 6: Chain two, join to the first leg, work twelve single crochet around the first leg, two single crochet over the chain. Twelve single crochet around the second leg, and two single crochet on the other side of the chain for 28 stitches
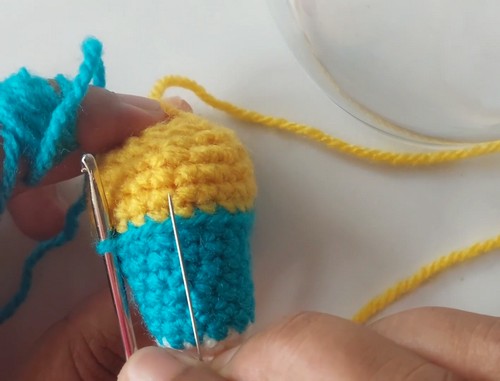
- Row 7 to Row 9: Single crochet in each stitch around, change to yellow yarn at the end of Row 9
- Row 10: Single crochet in back loops only around
- Row 11 to Row 12: Single crochet in each stitch around
- Row 13: Two single crochet, one decrease repeated seven times for 21 stitches
- Row 14: One single crochet, one decrease repeated seven times for 14 stitches and stuff the body
- Row 15: Seven decreases, fasten off
Details and Assembly
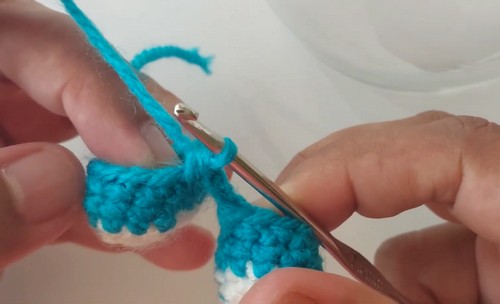
- Dress Top: Attach blue yarn to the front loops of Row 10 and work eight single crochet across for four rows
- Belts: Chain fourteen twice and sew from the dress bib over the shoulders to the back
- Arms: Make two, start with four single crochet in a magic ring using white yarn, increase to eight stitches, change to yellow yarn, and single crochet around for five more rows
- Ears: Make two, four single crochet in a magic ring, increase to eight stitches, then one single crochet and one increase around for 12 stitches
- Final Touches: Sew the head to the body, attach the arms, ears, and muzzle, then embroider the nose, mouth, and tiger stripes using black thread