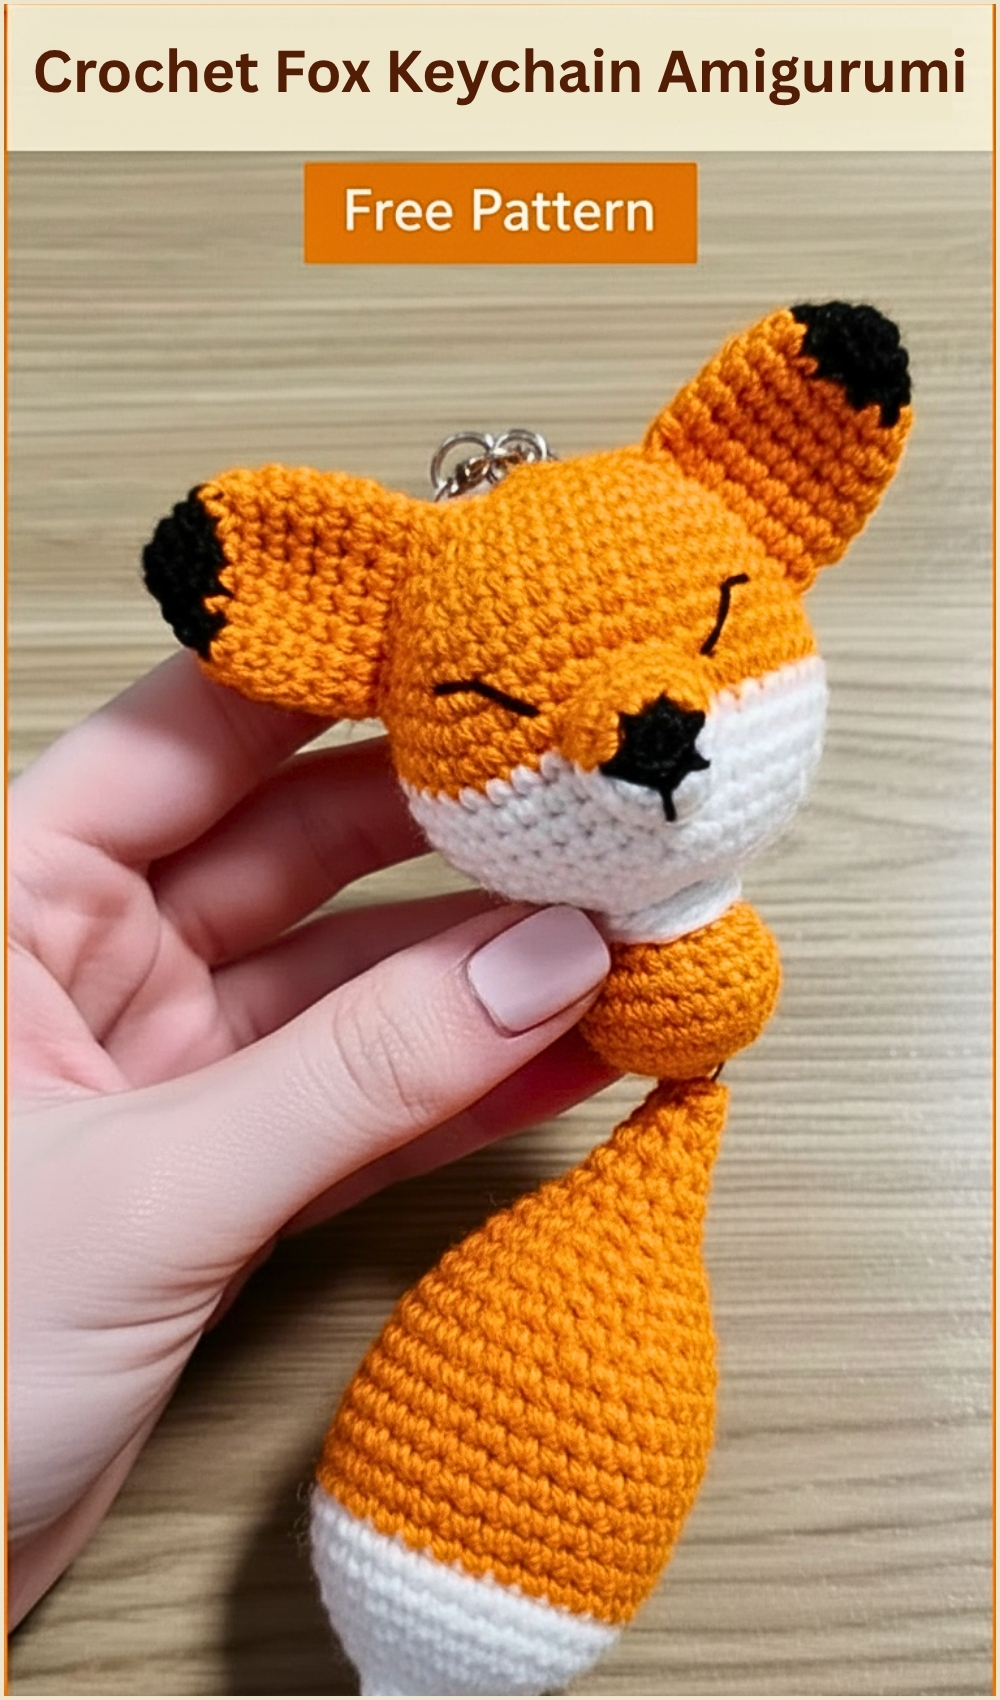
How To Crochet Amigurumi Fox Keychain Pattern
Crochet Fox Keychain Amigurumi

Careful attention to increases, decreases, and color changes will help the final piece look smooth and intentional rather than uneven.
Skill Level
Beginner to intermediate
You should be comfortable with working in the round, increasing, decreasing, and basic assembly.
Finished Size
Varies depending on yarn and hook size, but designed to work as a keychain-sized amigurumi.
Materials
- Orange yarn
- White yarn
- Additional yarn for ear color change
- Crochet hook suitable for your yarn
- Stuffing
- Yarn needle
- Safety eyes or embroidery thread
- Metal ring
- Keychain ring
Abbreviations
- MR – Magic Ring
- sc – Single Crochet
- inc – Increase (2 sc in one stitch)
- dec – Decrease
Helpful Notes Before Starting
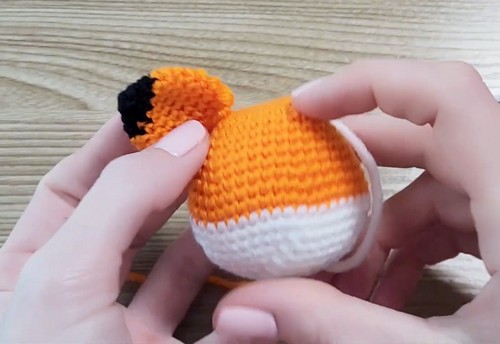
- The head uses an oval base rather than a perfect circle, which is why stitches are worked along both sides of the starting chain.
- Mark the beginning of each round to avoid losing track.
- Stuff gradually, especially in the head, to maintain shape.
- Keep your decreases tight to avoid gaps.
Construction Overview
This amigurumi is made in four main parts:
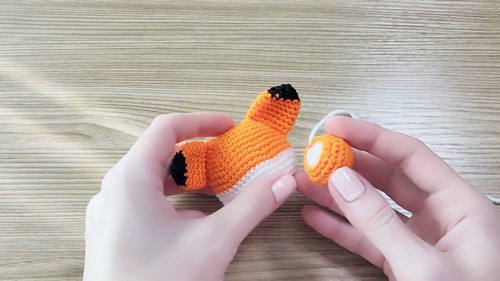
- Head (largest and most detailed shaping)
- Ears (symmetrical pieces, folded for dimension)
- Body (compact and slightly tapered)
- Tail (elongated and shaped through increases and decreases)
All pieces are assembled at the end, with hardware added to turn the piece into a keychain.
Stitch and Shaping Clarity
- The head begins with an oval foundation, which helps create a more natural face shape rather than a round ball.
- Increase rows expand the shape quickly to form volume.
- Straight rows stabilize the structure.
- Decrease rows pull the shape inward to close the piece smoothly.
- The ears are folded, which gives them thickness and helps them hold their position.
- The tail transitions in size, widening and then narrowing, which creates a natural taper.
Step by Step Pattern Instructions
HEAD
- Row 1: 9 loops, then increase, 6 sc. In the last loop, 3 sc. Knit 7 sc on the back side. Total: 18 stitches.
- Rows 2-9: Follow the specified increase patterns to reach 45 stitches.
- Rows 10-12: 45 sc for 2 rows. Change from orange to white yarn.
- Rows 13-18: Follow the specified decrease patterns to reach 15 stitches.
EARS (MAKE 2)
- Row 1: 4 sc in a magic ring.
- Row 2: 4 inc. Total: 8 stitches.
- Row 3: 1 sc, inc, repeat 4 times. Total: 12 stitches.
- Row 4: Change color. 2 sc, inc, repeat 4 times. Total: 16 stitches.
- Rows 5-9: 16 sc for 5 rows.
- Finishing: Fold in half and knit with a single crochet to the end of the row.
BODY
- Row 1: 6 sc in a magic ring.
- Row 2: 6 inc. Total: 12 stitches.
- Row 3: 6 inc. Total: 24 stitches.
- Rows 4-6: 24 sc for 3 rows.
- Row 7: 2 sc, dec, repeat 6 times. Total: 18 stitches.
- Row 8: 4 sc, dec, repeat 3 times. Total: 15 stitches.
TAIL
- Rows 1-4: Follow the specified increase patterns to reach 18 stitches.
- Row 5: 18 sc.
- Rows 6-9: Follow the specified increase patterns to reach 36 stitches.
- Rows 10-16: Change color. 36 sc for 7 rows.
- Rows 17-27: Follow the specified decrease patterns to reach 6 stitches.
- Row 28: 6 sc.

Assembly Guidance
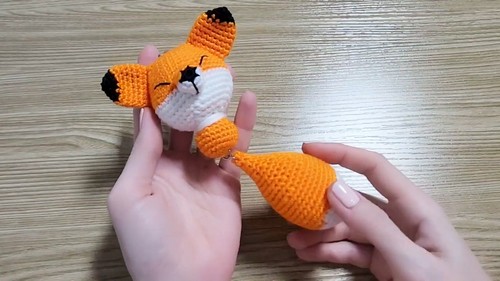
- Attach the head to the body, making sure it sits centered and balanced.
- Position the ears symmetrically on top of the head.
- The tail should be attached securely so it hangs naturally without pulling the body backward.
- Use strong stitches when attaching pieces, especially since this will be handled as a keychain.
Eye and Facial Feature Placement
- Place the eyes evenly on the front of the head, leaving enough space between them for the nose.
- The nose should sit slightly below the eye line.
- Keep features centered to avoid a tilted or uneven expression.
Stuffing Tips
- Stuff the head firmly to maintain shape.
- Keep the body slightly softer so it compresses naturally.
- Shape with your fingers as you go to avoid lumps.
Finishing Notes
- Secure all yarn ends carefully since the piece will be handled often.
- Reinforce attachment points, especially where metal rings are used.
- Check symmetry from multiple angles before finalizing.
Beginner Notes
- If the oval start feels confusing, take it slowly and count stitches carefully.
- Folding the ears may feel unusual, but it helps them keep structure.
- Use a stitch marker to stay on track during increase and decrease rounds.
Troubleshooting
- Head looks uneven: Recheck stitch counts and placement of increases.
- Gaps in fabric: Use tighter tension or a smaller hook.
- Tail feels too loose or floppy: Add slightly more stuffing or tighten decrease rounds.
Customization Ideas
- Change colors to create different animal variations.
- Add embroidery details like whiskers or markings.
- Use different yarn textures for a unique finish.
- Add a bell or charm to the keychain ring for extra detail.