Easy Crochet Christmas Tree Ornament Pattern For Festive Decor
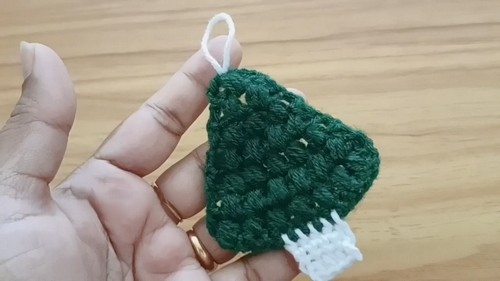
This crochet Christmas tree ornament pattern is a charming and festive project that adds a handmade touch to your holiday décor. Designed with textured puff stitches, the tree forms a beautiful triangular shape that looks elegant yet playful.
Crochet Christmas Tree Ornament

The pattern is worked flat and is easy to follow, making it suitable for beginners who want to explore decorative stitches as well as experienced crocheters looking for a quick seasonal project. Perfect for Christmas trees, garlands, gift toppers, or handmade holiday gifts, this ornament can be customized in different colors, sizes, or yarn types to match your festive theme.
Materials
- Green and white yarn
- 3.5 mm crochet hook
- Scissors
- Tapestry needle
Base Foundation
- Make a slip knot and chain 16
- Starting from the second chain from the hook, work 1 single crochet in each chain across the row
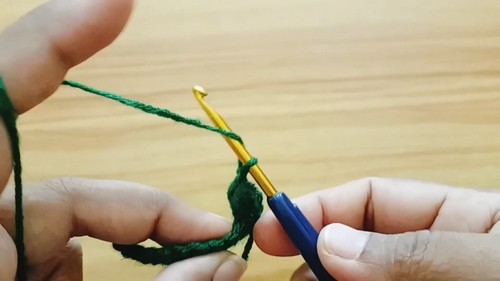
Tree Body Puff Stitch Rows
- Chain 1, turn, work 1 half double crochet in the first stitch, make a puff stitch in the next stitch, skip one stitch, repeat puff stitch and skip pattern, end the row with 1 half double crochet to complete 7 puff stitches
- Chain 2, turn, work puff stitches in the spaces between the previous row’s puff stitches, end with 1 half double crochet to complete 6 puff stitches
- Continue the same pattern while decreasing one puff stitch per row
- Work 5 puff stitches for the next row
- Work 4 puff stitches for the following row
- Work 3 puff stitches for the next row
- Work 2 puff stitches for the next row
- Work 1 puff stitch at the top
- Fasten off and weave in ends

Tree Trunk
- Locate the center of the base aligned with the middle puff stitches
- Attach yarn and work 5 half double crochets across the center
- Chain 1, turn, and work 1 half double crochet in each stitch across for the next two rows
- Fasten off and weave in ends

Finishing
- Attach a hanging loop at the top if desired
- Adjust shape and secure all yarn ends neatly
